Project Log: Saturday, January 12, 2013
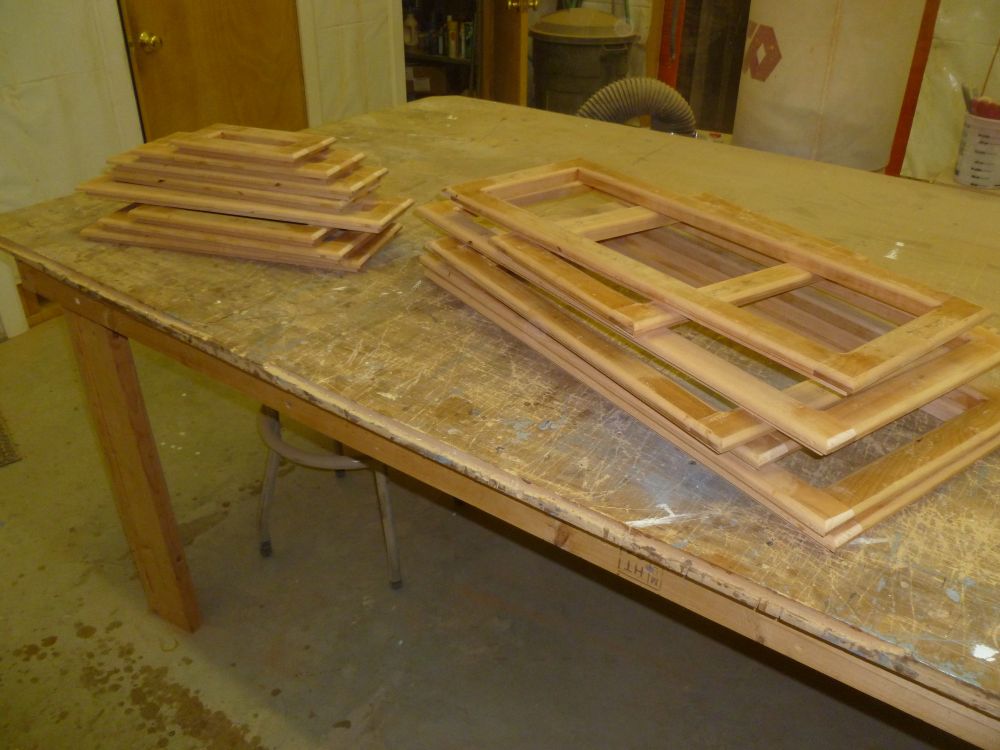
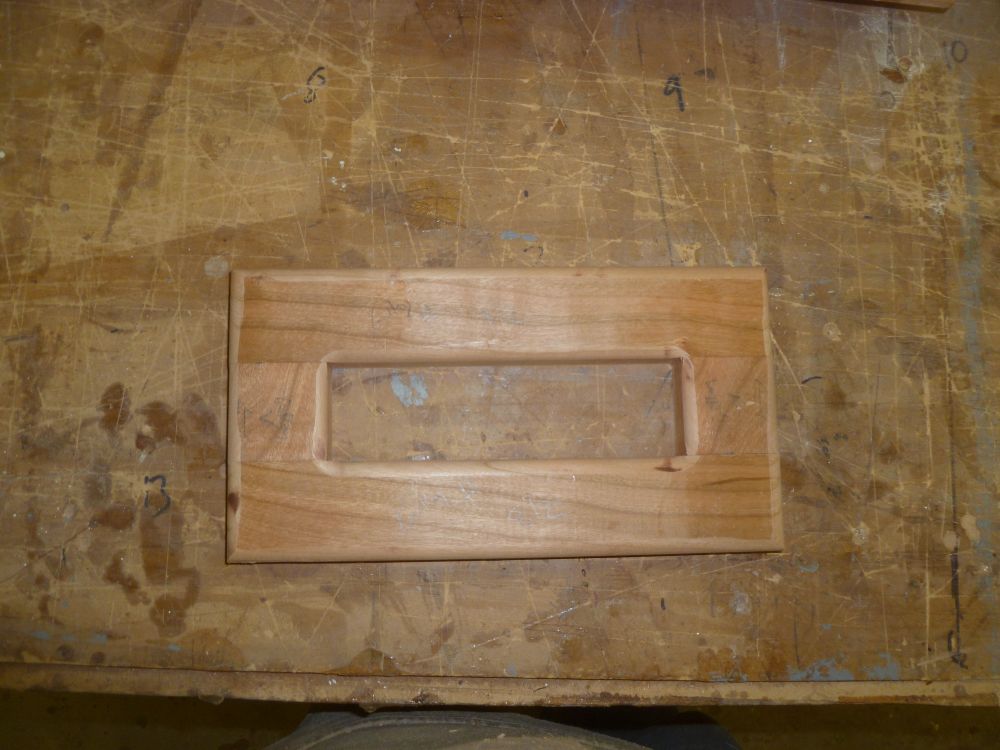
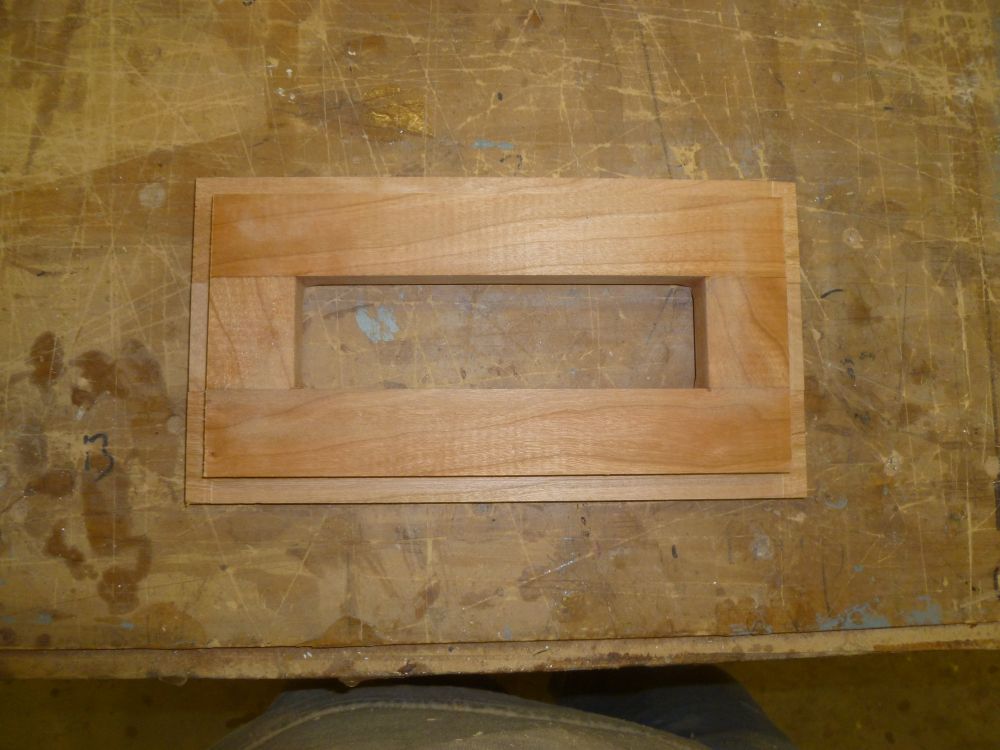
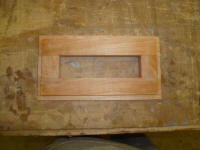
Earlier in the week, I performed a series of milling
operations on the cabinet door blanks that I'd glued up
earlier. In separate operations, I used a router
to mill 1/4" roundovers on the inside and outside edges
of the frame, then milled 3/8" square rabbets on the
back of the doors to provide the overlay required for
installation. Sometime soon, I'd get to work
sanding the blanks smooth for varnish work. |


 |
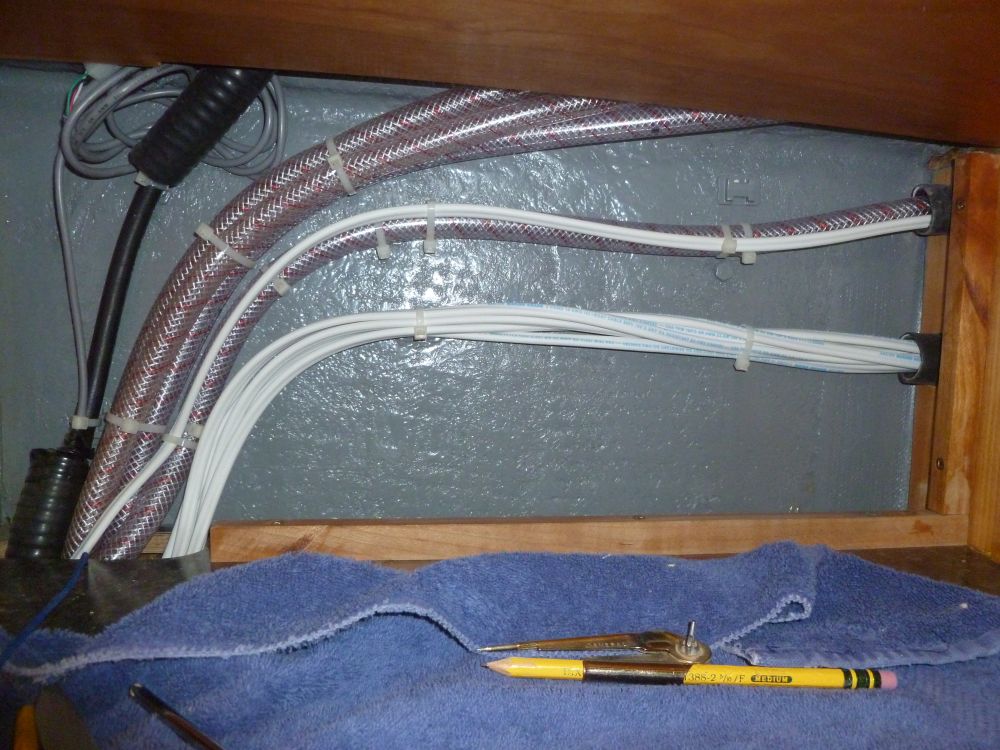
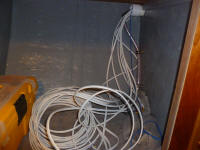
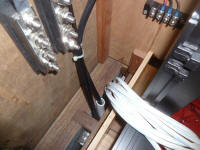
I moved forward with additional wiring, beginning on the
starboard side. Thinking about the additional
lights, pumps, and other components in the forward and
starboard sides of the boat, I snaked six additional
wire pairs through the wire chase behind the
galley--enough conductors for the job plus at least one
extra set for future use. I cut the six lengths of
wire to allow sufficient length for slack at the forward
end, as well as the wires' lengthy route from the
galley, through the starboard utility space and engine
room, and eventually into the console, then pulled all
six sheathed cables through at once. I left the
raw forward ends alone for now. |
 |
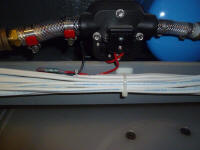
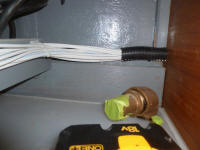
After leading the wires through the after bulkhead and
into the starboard utility space, I added a couple
additional conductors for other lighting circuits and
the fresh water pump, both located in that space, plus
an additional cable into the galley area for the 12-volt
refrigeration, then led the whole cable bundle through
the engine room and to the console, where I'd make up
all the final connections. |
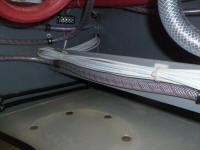 |
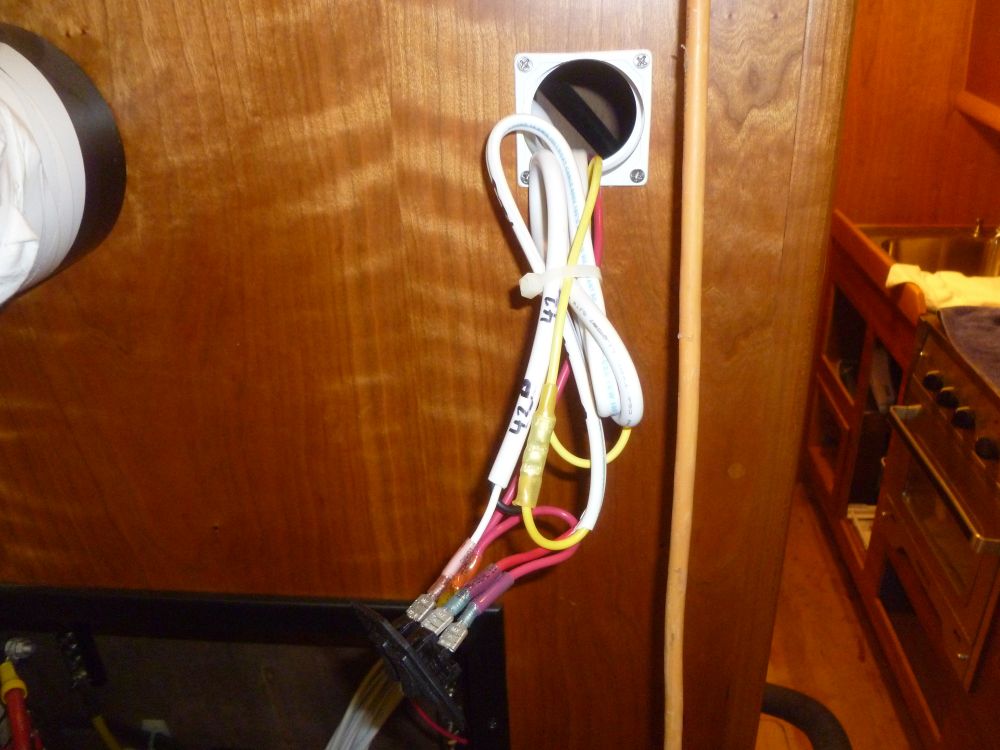
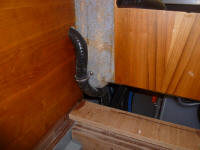
There was a lumpy-bumpy section of the aft pilothouse
wall where I'd omitted the cherry paneling, choosing to
leave the area open for some future treatment.
this worked in my favor now, as this area made a logical
place for the starboard wiring harness to exit and pass
into the engine room; later I could build a box to cover
the whole area, including the wiring. So I drilled
a large hole and passed the wires through, then added a
length of hose for chafe protection before leading the
wires forward along the starboard and forward sides of
the engine room on their way to the console. |

 |
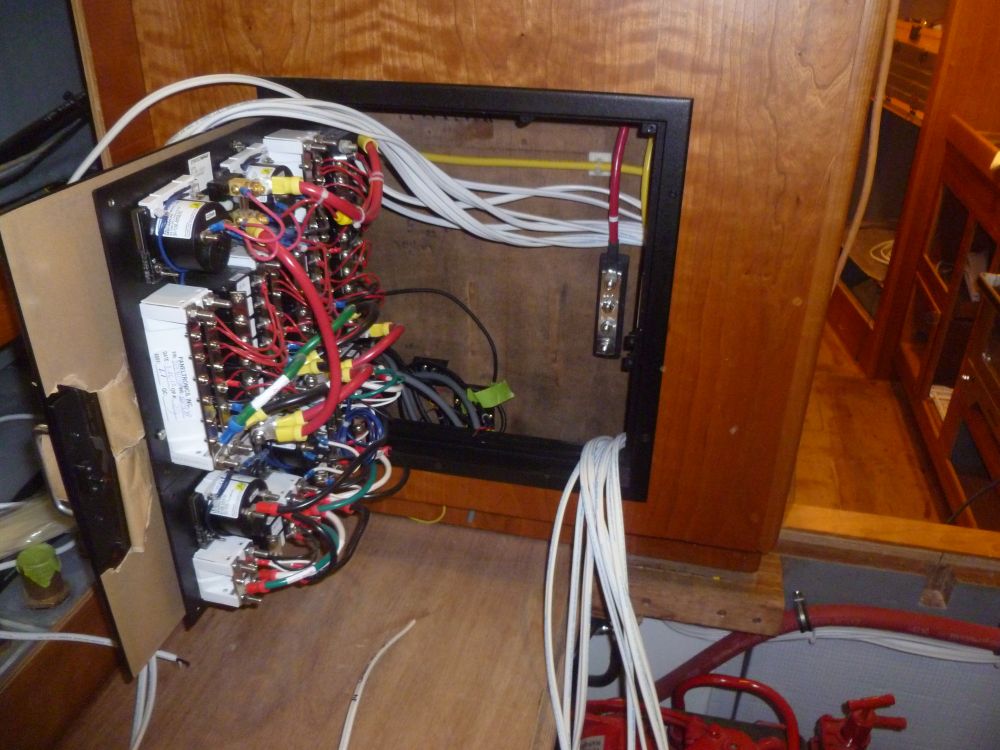
Some of the earlier wiring I'd run--electronics and
other lighting circuits that I'd installed before
completing the overhead in the main cabin and
elsewhere--was already inside the console, but still
required final connections. Adding the numerous
new conductors from the morning's work created a vaguely
overwhelming situation, but eventually I got set up and
started sorting through the cables as I began to figure
out how and where I'd run the cables for their final
connections within the console and to the main
electrical panel.
|
 |
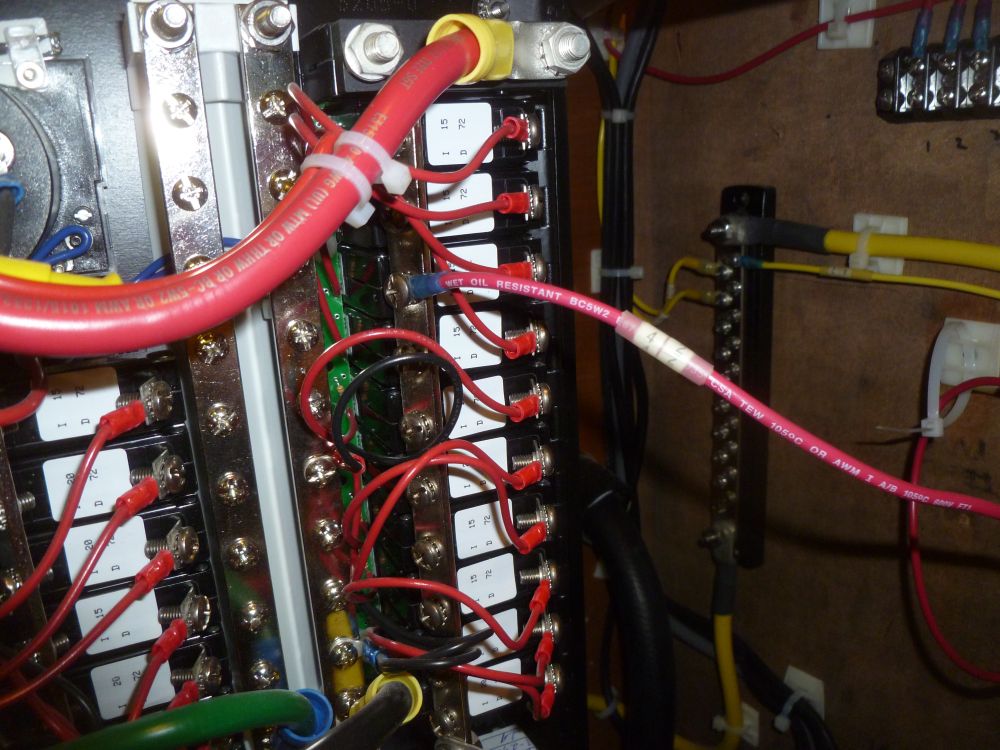
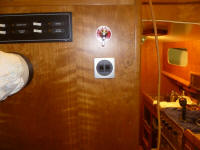
To begin, I installed a little set of rocker switches
for the indirect lighting in the main cabin, choosing
the face of the console beneath the bilge pump switch.
I ran the wires from the LED rope lights that I
installed earlier up to the switch, then another set of
wires that would provide the power supply to the switch. |

 |
This became the first wire officially hooked into the
main electrical panel (oops, I blindly put that wire on
the wrong side of the breaker...will fix that). Many more would follow
soon. |
 |
| |
Total Time Today: 6.25 hours
|
<
Previous | Next > |
|
|