Project Log: Sunday, November 24, 2013
I started by vacuuming and solvent-washing the entire
deck. To prepare for priming the remaining
portions of the deck (cabin trunk sides, foredeck,
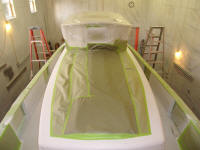
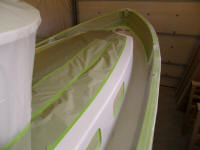
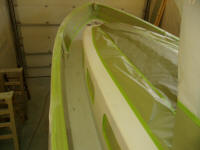
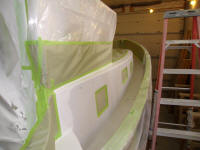
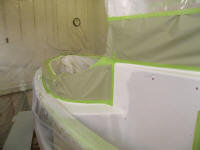
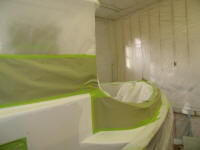
sidedecks, and most of the bulwarks), I masked off the
bulk of the already-primed portions of the deck,
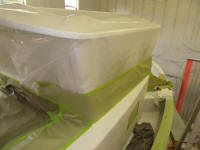
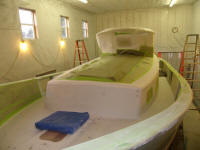
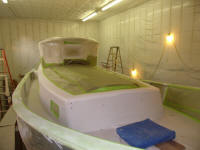
starting with some plastic to cover the pilothouse.
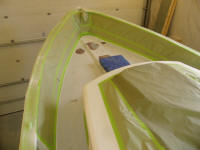
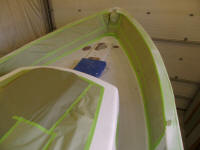
To help blend the new primer with that which I'd already
applied, I left wide borders of already-primed surface
between the new tape lines and the areas still to be
painted. This way, I could allow overspray to
extend somewhat onto the existing primer, without
forming a hard, thick paint line right at the tape,
making for easier blending.
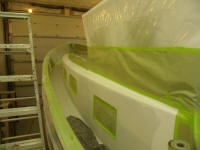
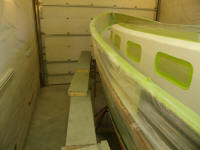
In this way, I masked off the coachroof, pilothouse,
cockpit, and forward bulwarks--all the areas I'd just
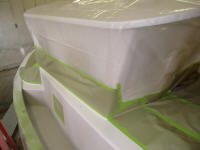
finished priming. Though I covered the pilothouse
with plastic, I used a band of paper at the lower edge
(nearest the new paint to come), since plastic, once
painted over, tends to crack and flake paint bits all
over once touched. This doesn't happen with paper
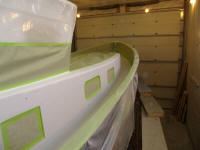
and tape. The port openings and freeing ports were
already masked off from much earlier in the preparation
process.
|
 |
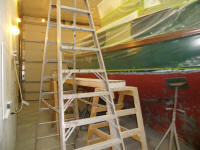
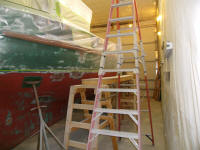
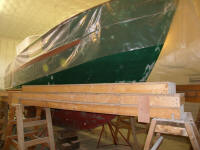
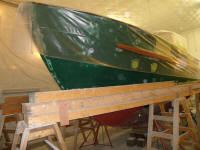
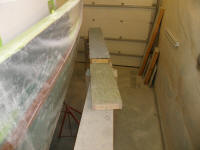
In order to paint the remaining areas, I set up staging
around the forward 2/3 of the boat--actually the first
time I'd set up staging around this boat on a large
scale. I didn't need to stage the after end since the
coamings and cockpit area was not part of the next phase
of priming.
To gain height at the bow and allow me to reach the
center part of the foredeck and cabin trunk, I stacked
additional staging planks on each other, giving me
enough height for spraying at this stage of the game.
The height I ended up with probably wouldn't be enough
when it came time to spray the topcoats a little later
on, particularly the forward bulwarks, but was OK for
what I needed now. |
 |
| |
Total Time Today: 4.25 hours
|
<
Previous |
Next > |
|
|


