Project Log: Sunday, September 22, 2013
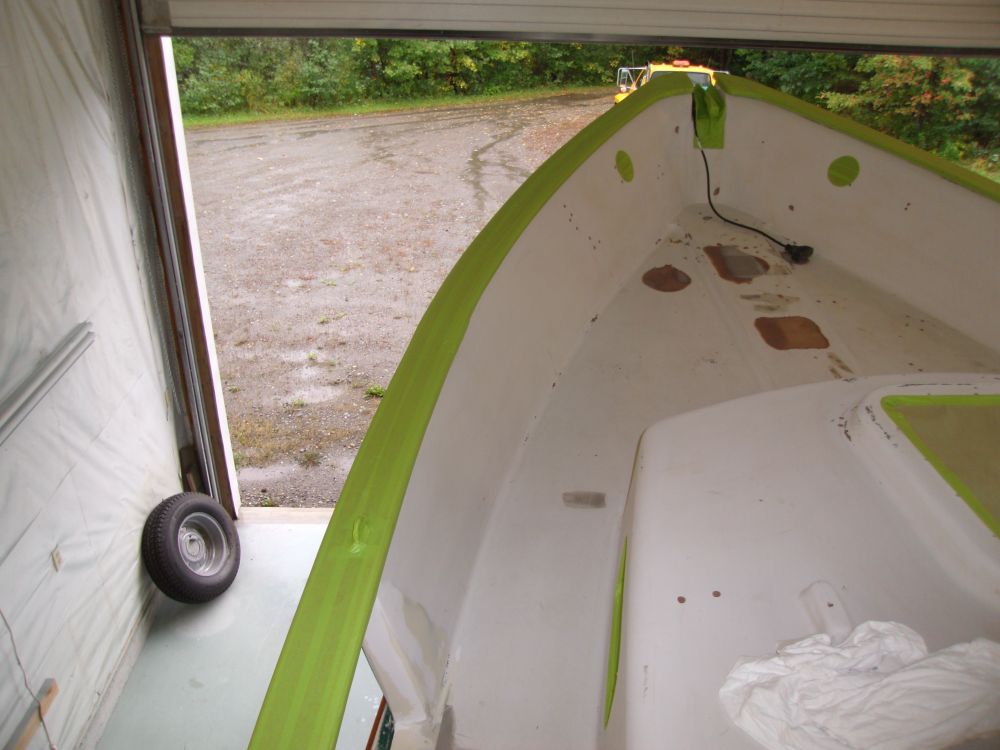
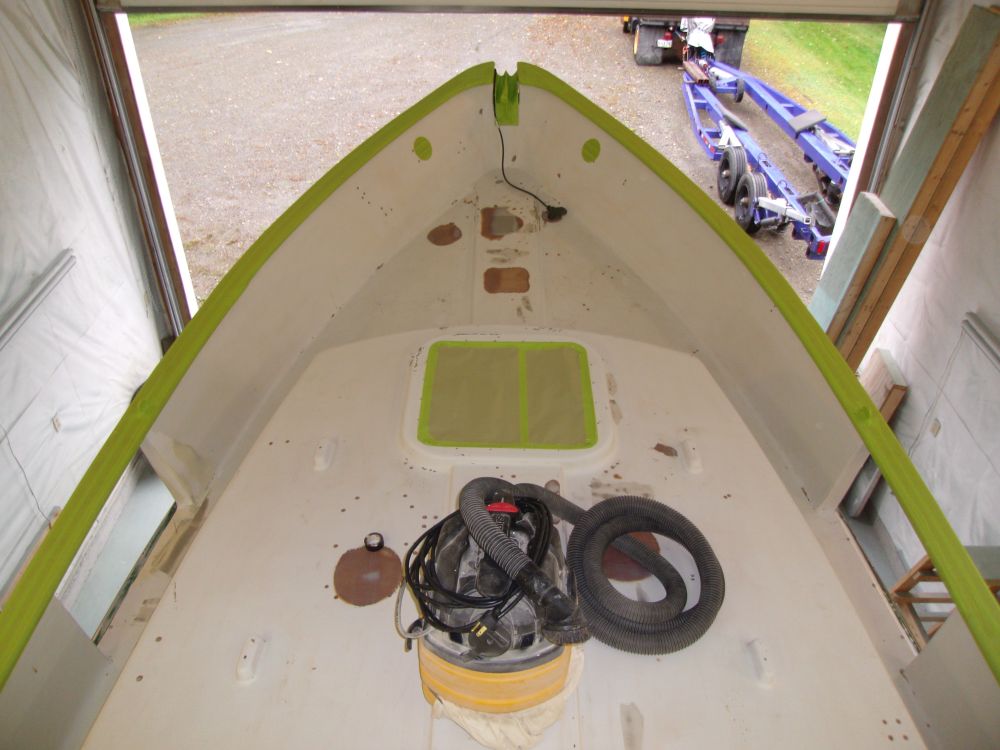
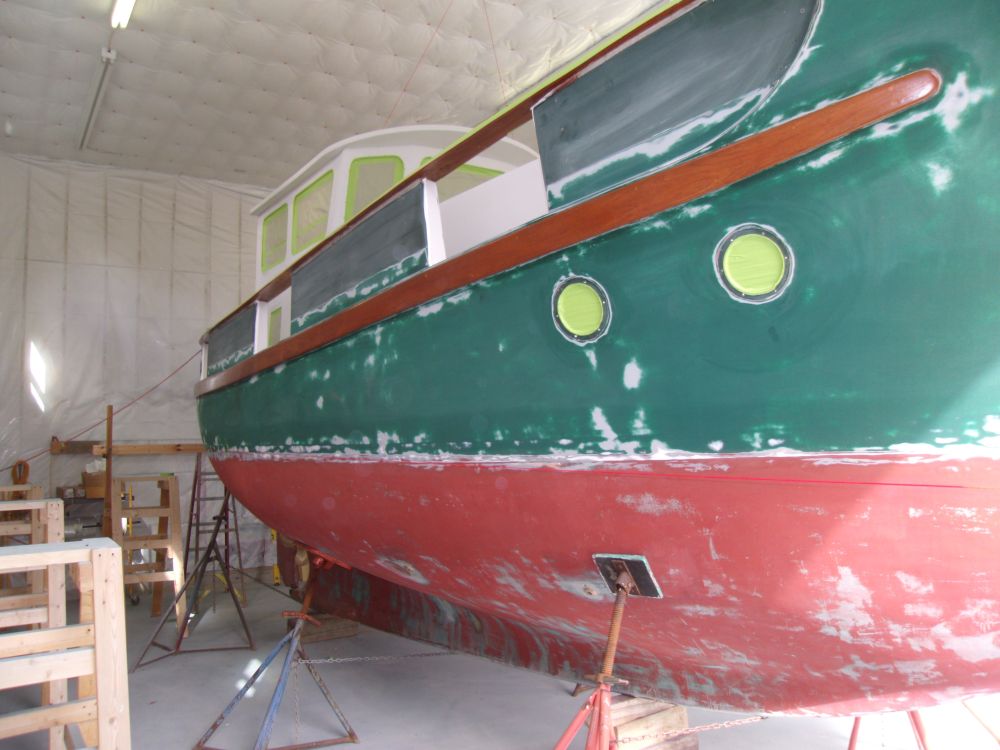
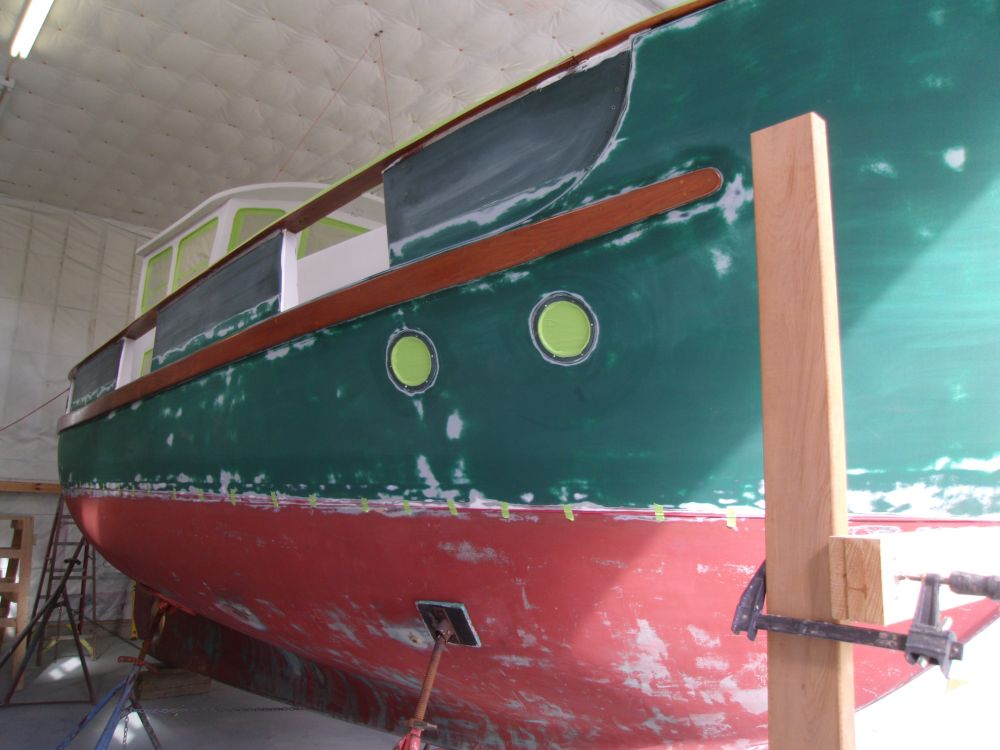
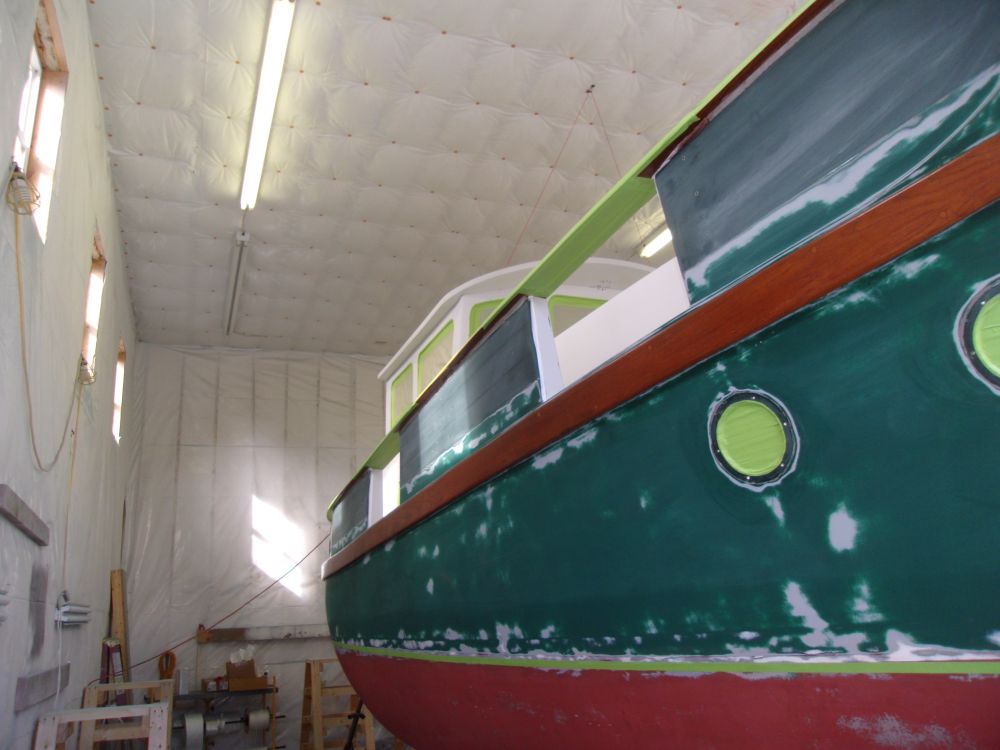
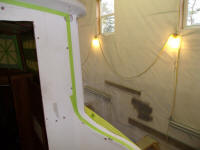
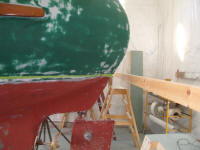
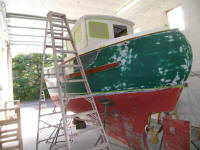
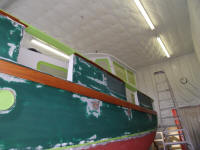
I continued masking the deck, this time with the port
caprail. This marked the end of major deck taping
for this stage of the painting process, though I
still needed to mask around the edge of the freeing
ports and cover the hull--steps I'd take a little later,
as I wanted to give the new sealant around the freeing
ports more time to cure first.
|

 |
Because of the layout of the deck, and the impossibility
of reaching it all at once while spraying, I already
planned to prime and paint in several stages (the
details of which I'd not fully worked out). With
this in mind, and also to keep the greater progress
moving along, I'd earlier reached the conclusion that
I'd work on the cockpit later on, once the bulk of the
painting was done. So the cockpit would get
finished and painted sometime later in the process.
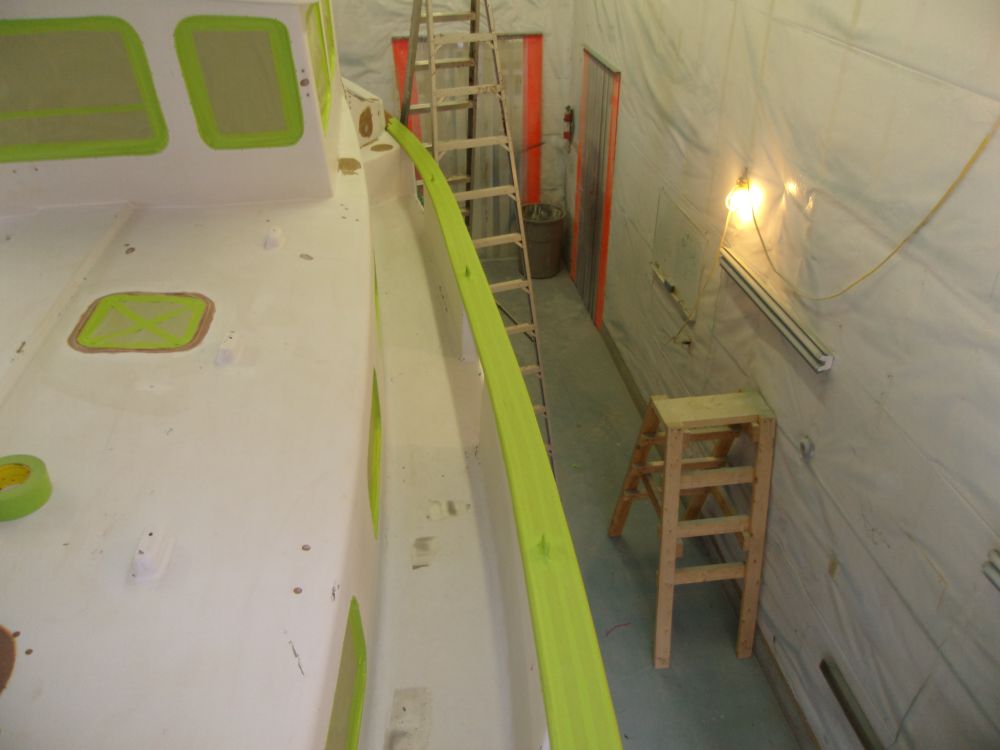
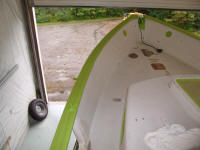
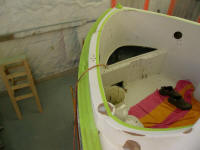
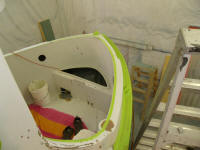
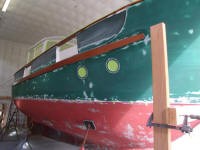
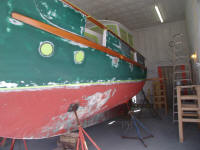
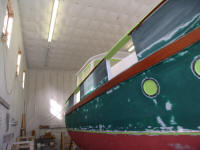
But while taping adjacent areas, I decided that the
outboard sides of the cockpit coamings would best be
painted along with the forward sections of the deck.
Knowing there'd be parting lines from this approach, I
spent a moment determining how best to lay out these
planned tape lines for future hiding or blending.
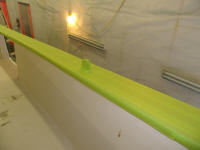
To this end, I decided to mask 1" from the inboard edge
of the coamings, for the simple reason that it was easy
to lay out with the 1" masking tape, and made sense for
hiding/blending reasons as well.
I then brought this line up the aft end of the
pilothouse on each side as well., and masked beneath the
pilothouse roof overhang. This position would
allow adequate room for blending in the tape lines
later, once painting was done, and allow sufficient
overlap of the eventual cockpit paint to assist the
blending. Later, I'd cover over the inside of the
cockpit against overspray, but not till the last minute
so I could keep easy access to the boat for now. |
 |
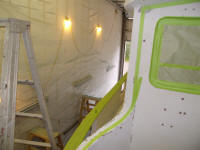
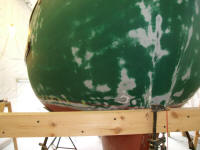
The next step on deck really should have been to sand
the decks lightly to smooth the few areas where I'd
applied fine filler a few days earlier, and to generally
clean up the deck surfaces one final time before
priming. However, I simply didn't feel like
sanding at the moment, so instead I decided to restrike
the waterline (i.e. top edge of bottom paint), something
which I didn't strictly need to do now, but which needed
to be done soon enough anyway, so it was a good focus
for my non-sanding energies.
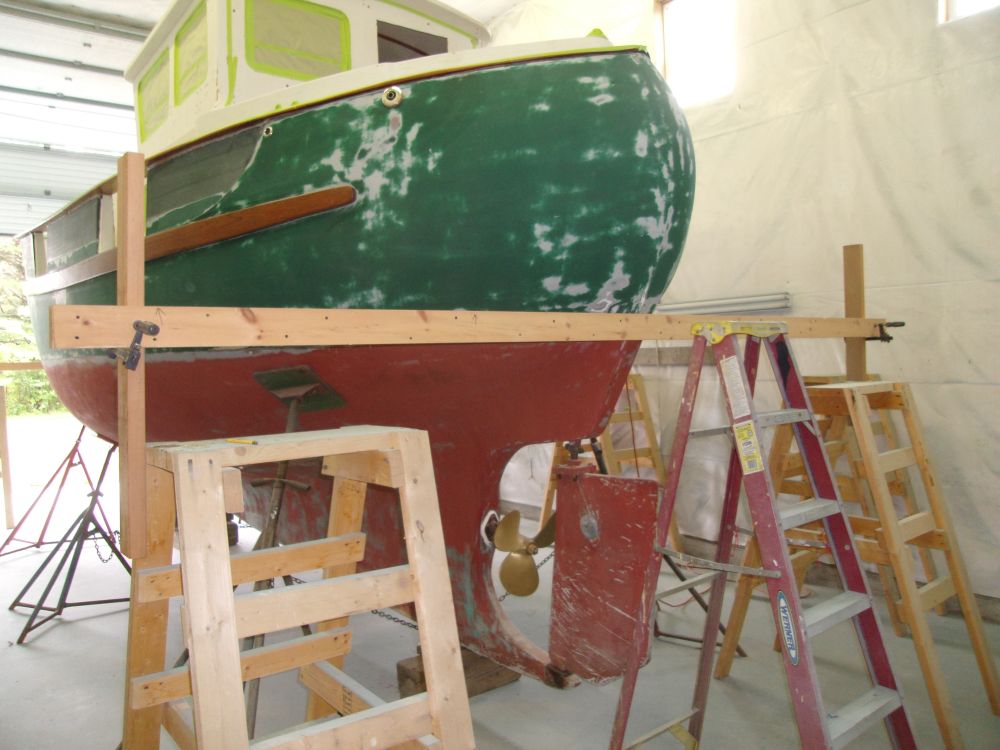
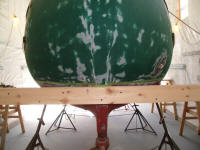
When I moved the boat over to this side of the shop
earlier, I'd set her up level, but I double-checked to
be sure she was level side to side. I made a few
minor adjustments, checking the athwartships level in
several positions till I was satisfied.
From measurements I took very early in the rebuilding
process, I recreated the two ends of the waterline (stem
and stern). I'd already spent much time over the
past years analyzing these marks and their relative
position on the boat vis-a-vis the scum line on the
bottom paint (since sanded away), and studying photos of
this boat and sisterships to best determine that these
marks were higher than "normal"--clearly this boat's
waterline had been raised/changed in the past--and in a
better position. I wanted the antifouling (and
therefore the boottop) to be well above the actual
waterline for better appearance, to prevent
unsightly fouling and staining, and to prevent damage to
the boottop paint from immersion.
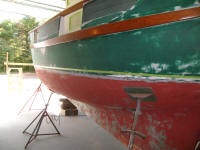
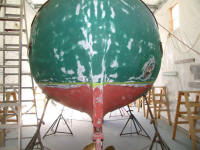
I knew the existing waterline was not "right"; it was
different on each side, and more or less all over the
place. It dipped in the center and became higher
at the ends, and formed neither a pleasing, sheered
shape nor a flat, planar line.
My personal taste leaned away from the swoopy/raised at
the ends look frequently seen on Fishers and boats of
similar design. I did not plan to recreate this
appearance in the waterline or boottop. Instead,
for the waterline I chose to strike a planar line
connecting the two salient points at stem and stern.
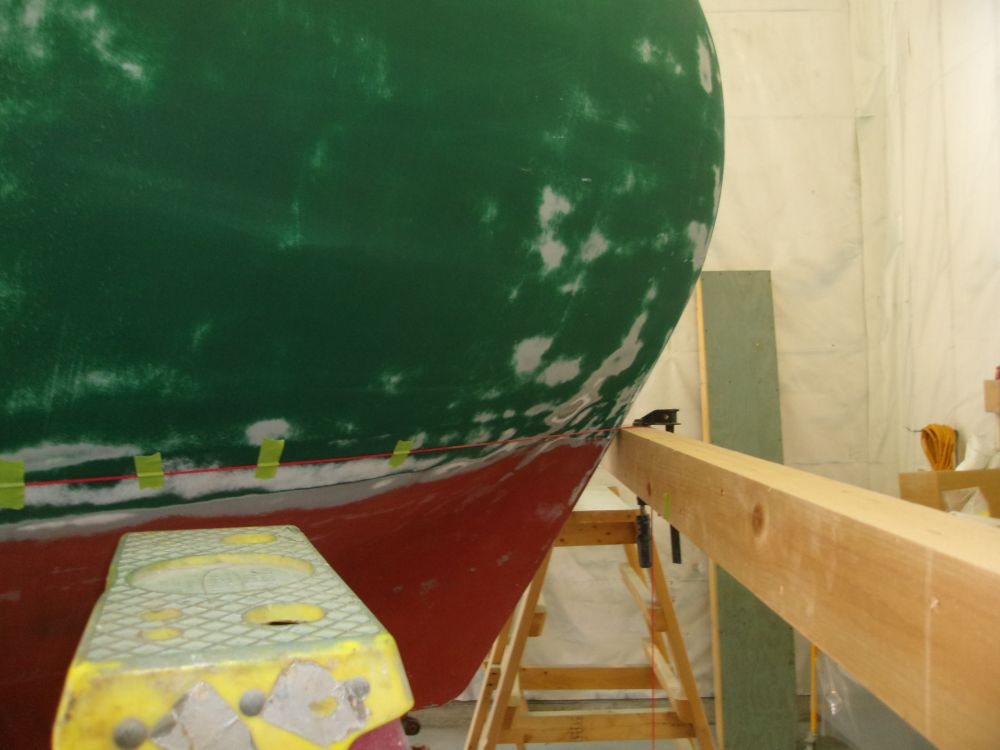
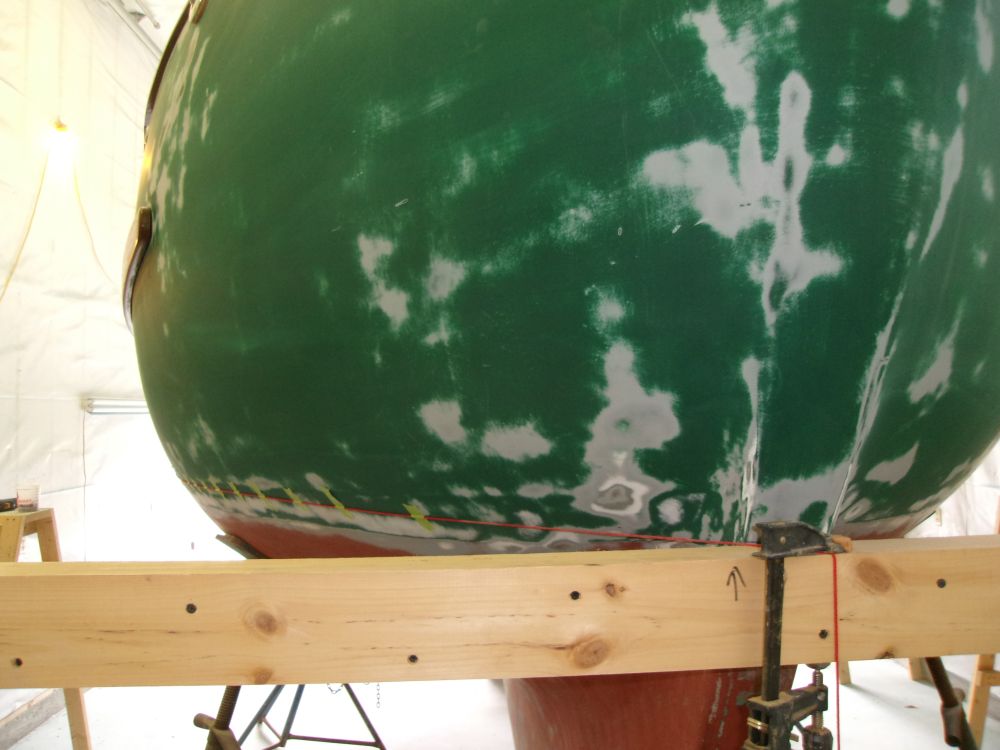
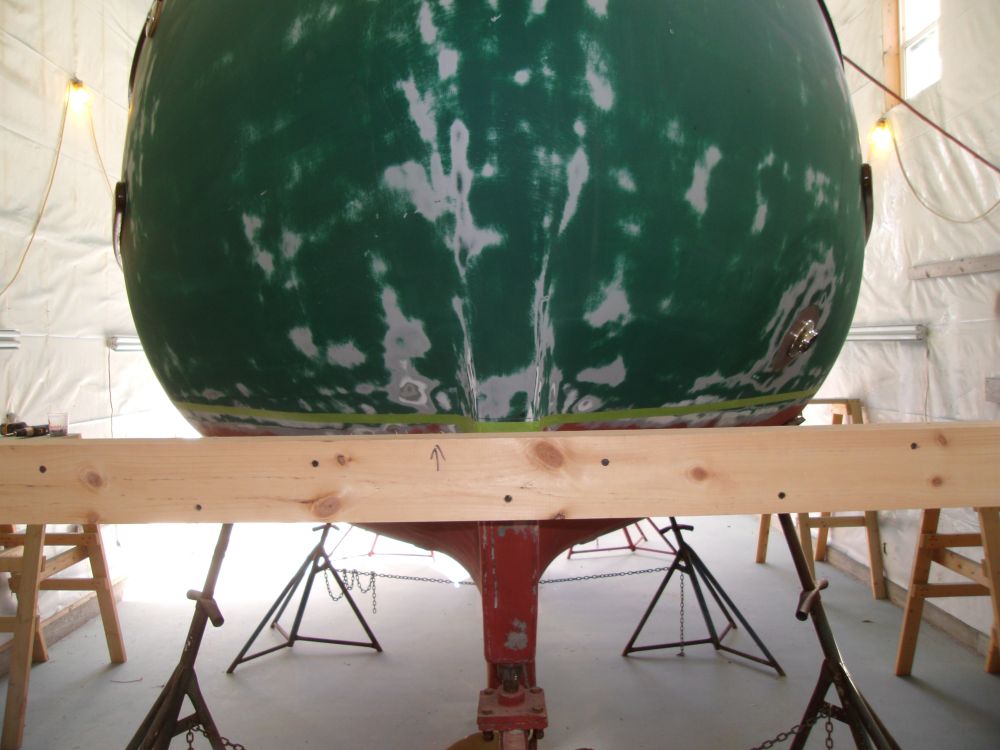
I set up horizontal beams at each end off the boat, at
the proper height to match the waterline ends that I'd
marked, and ran a weighted, tensioned string between,
which represented a planar line between those two
points, and level in an athwartships way.
(Though the boat was essentially level fore and aft
also, this was not critical to striking the waterline in
this way.) |
 |
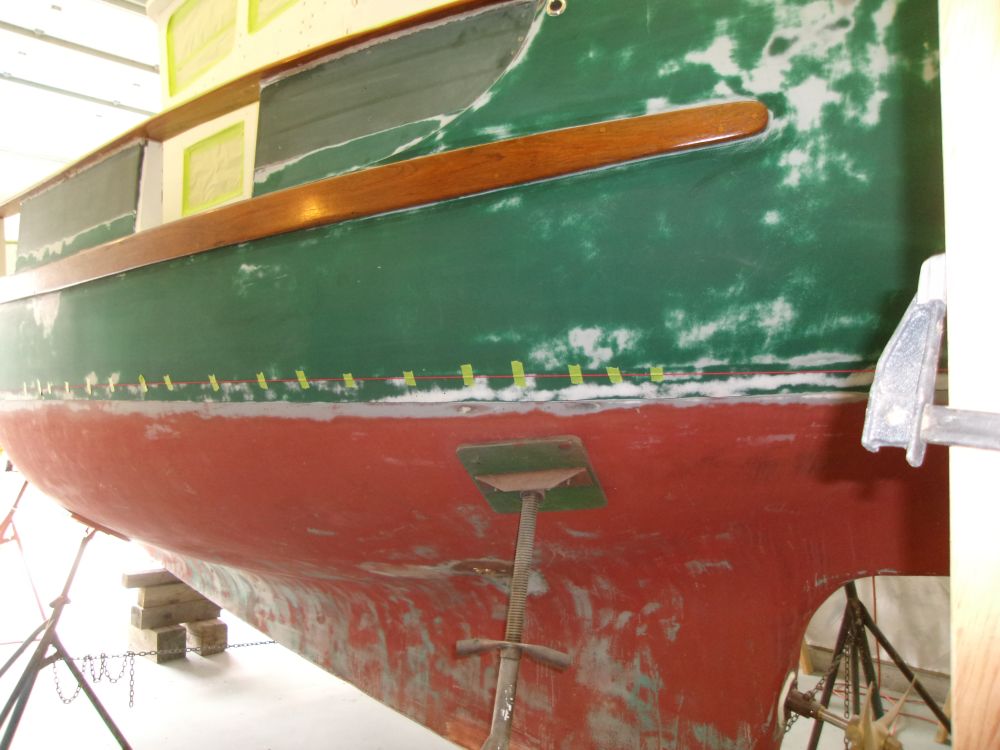
With the string just touching the hull amidships, I made
marks where the string touched, and taped the string in
position to hold it while I worked my way aft,
slowly bringing the string in till it touched the hull
again and repeating the marking, taping, and moving
process till I reached the stern. The shape of the
hull at the stern didn't allow the string to touch
everywhere, so I carefully made additional marks in the
hollows by eye, keeping the marks aligned with the
string by eye. This ensured that the line I struck
would be visually straight despite the curvature of the
hull.
|


 |
Untaping the very tight string, I repeated the process
from amidships to the bow. The net result of this
process was a series of pencil marks on the hull to
denote the straight, planar waterline connecting the two
points at stem and stern. |
 |
I repeated the process on the other side of the boat. |


 |
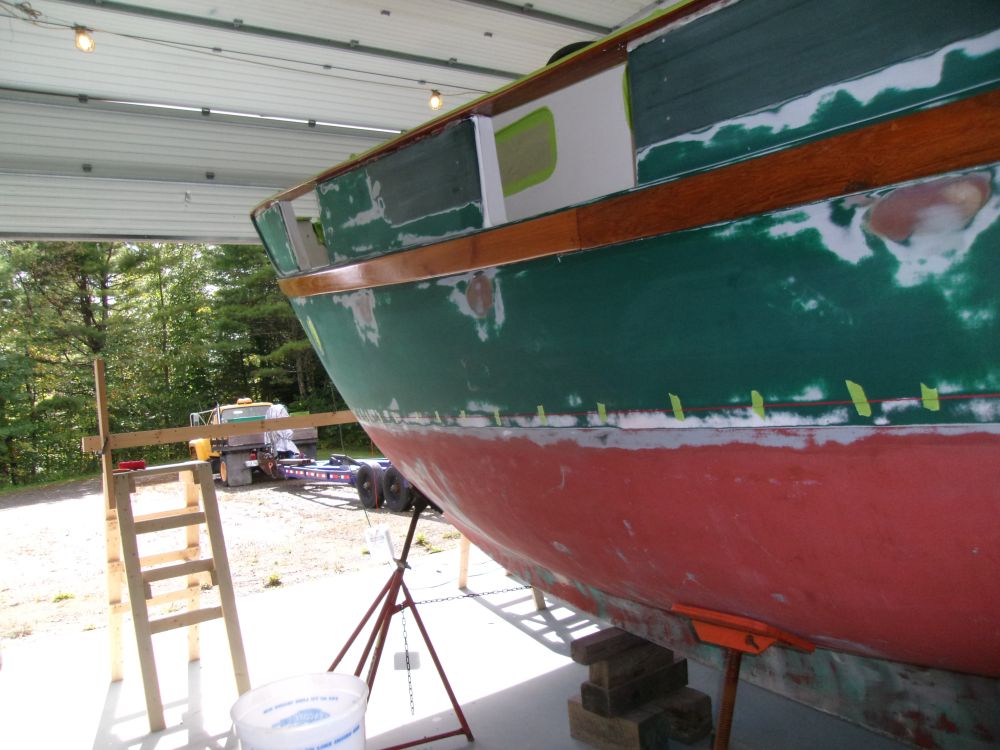
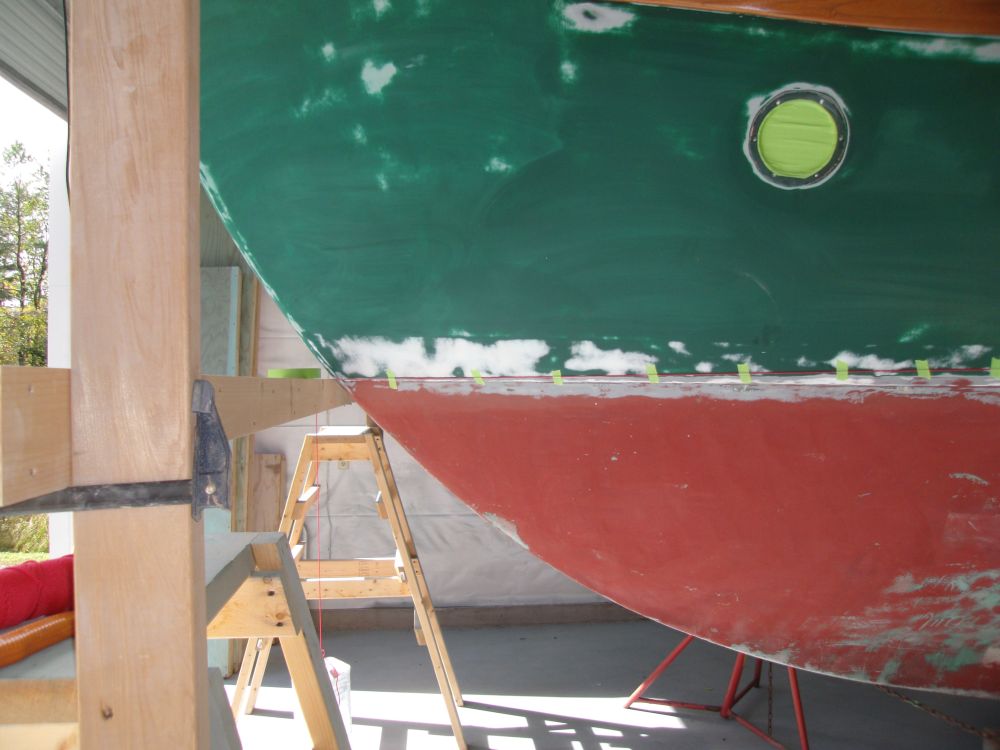
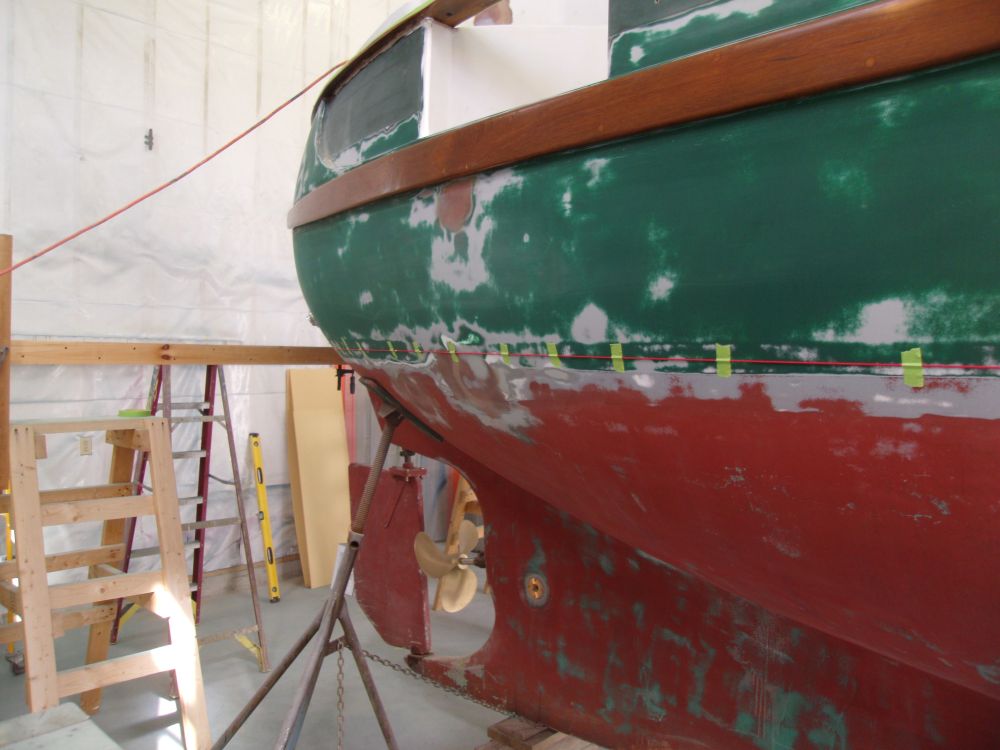
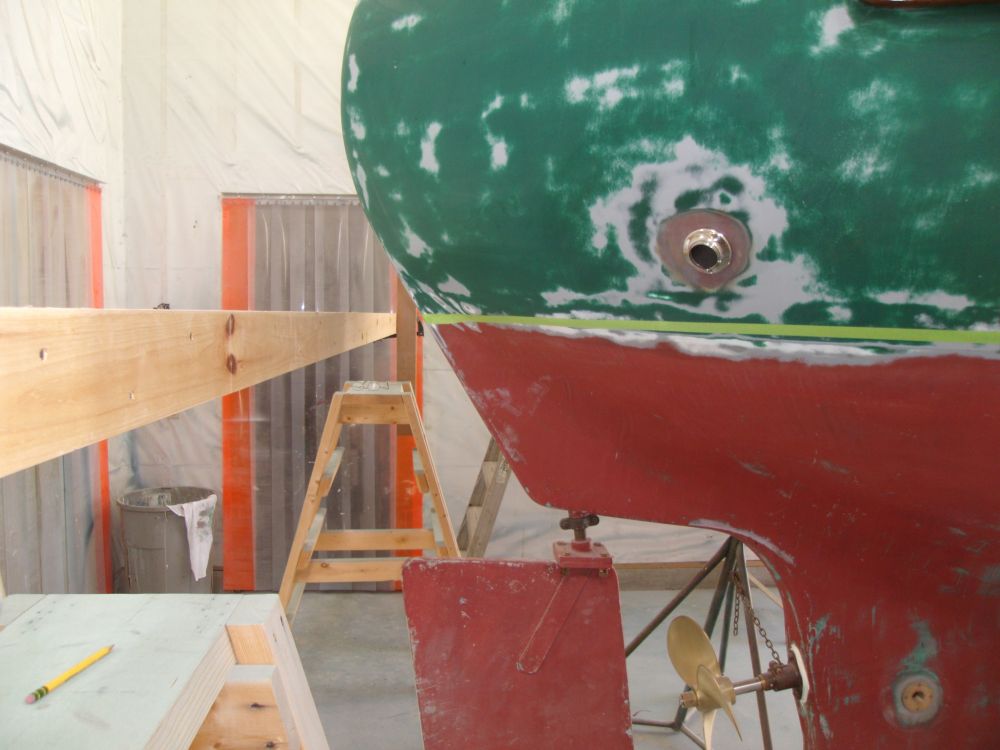
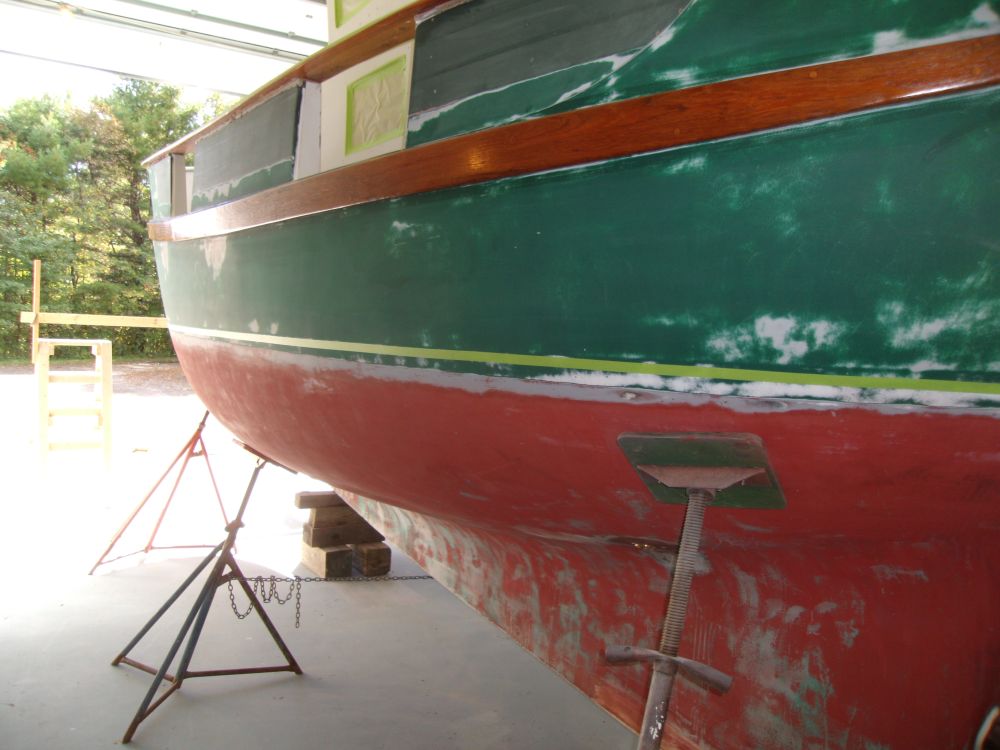
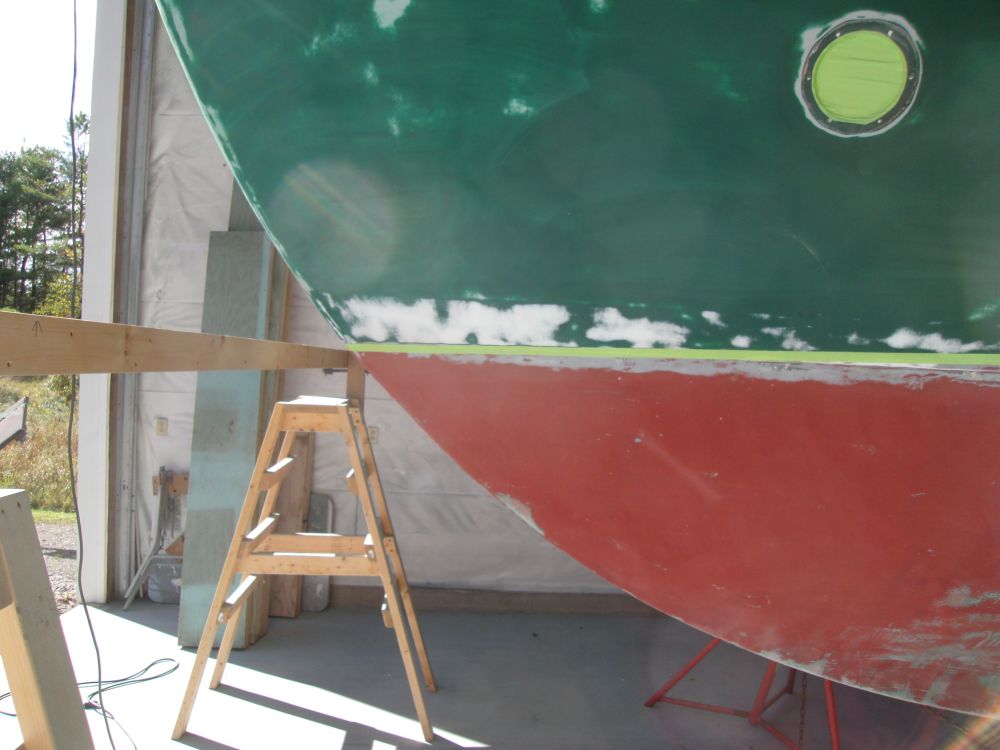
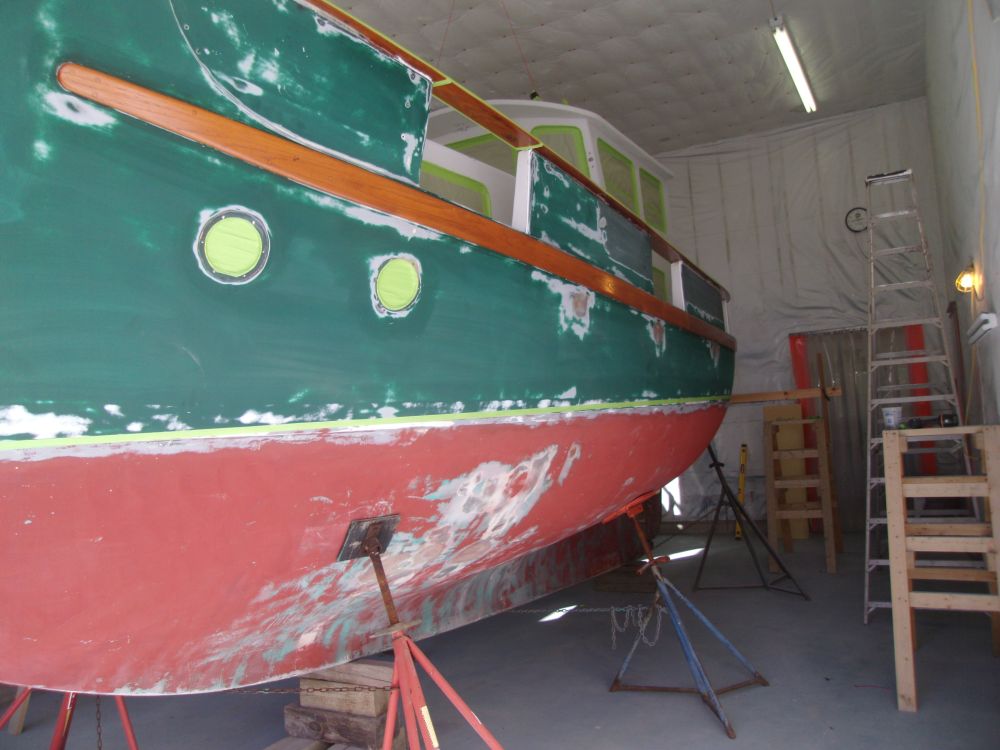
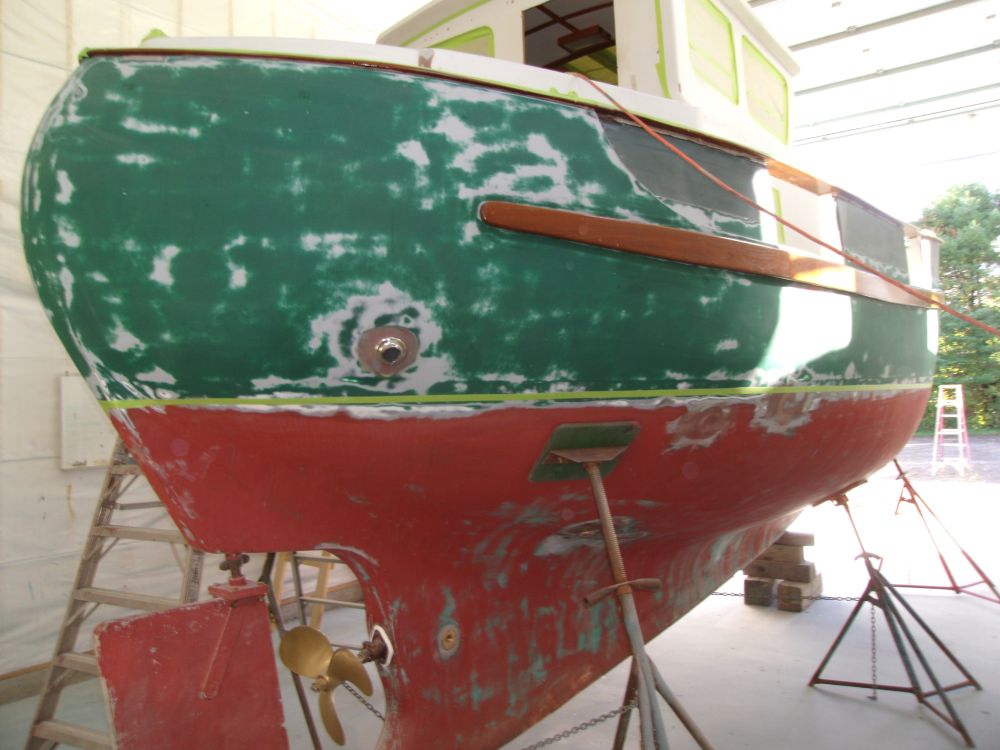
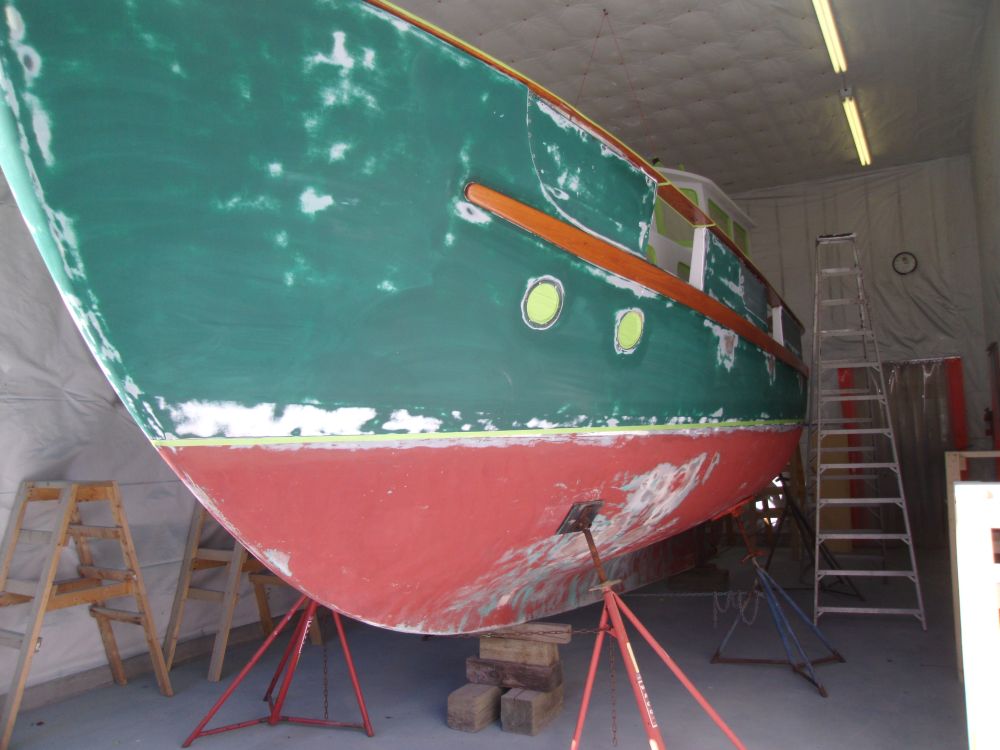
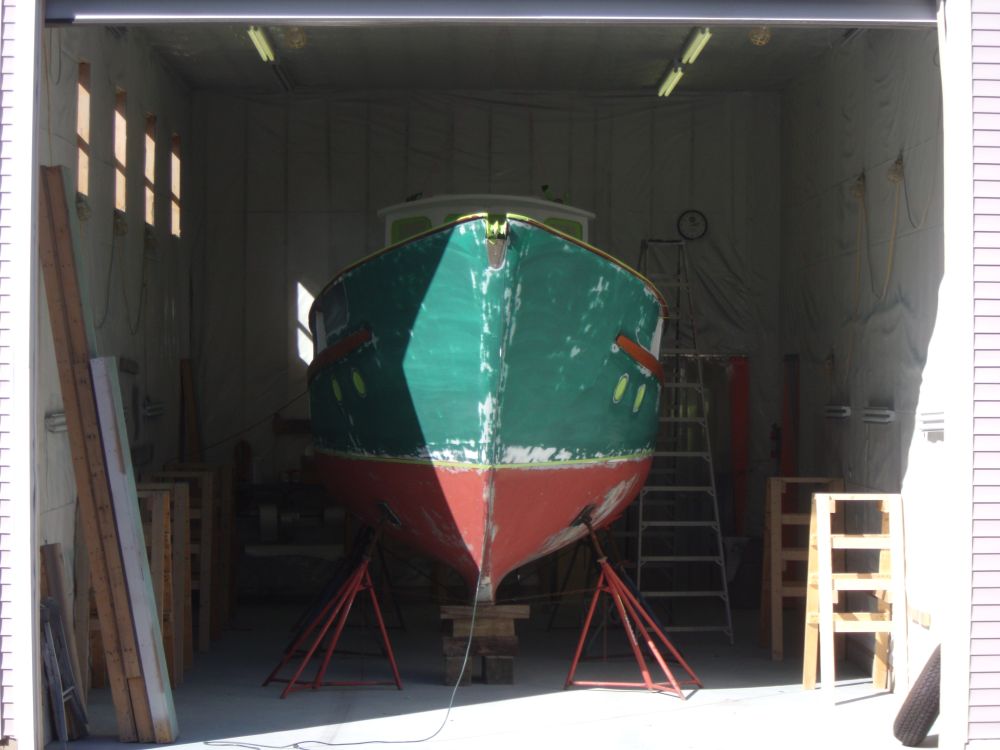
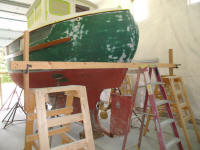
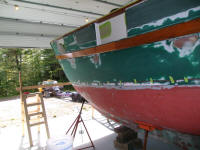
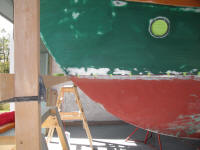
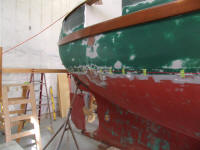
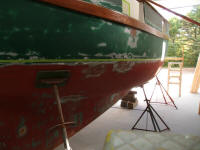
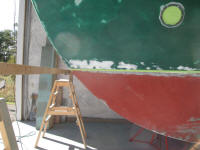
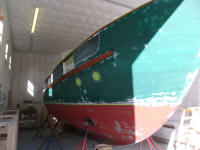
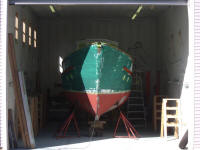
Afterwards, I masked to the pencil lines, fairing the
tape by eye as needed. The top edge of the tape
represented the "waterline", or top edge of the bottom
paint. I'd prime and paint the topsides down to
this level. |


 |
To wrap up the day, from outside the boat, I masked
beneath the caprails at each freeing port location |
 |
| |
Total Time Today: 5.25 hours
|
<
Previous |
Next > |
|
|