Project Log: Sunday, October 6, 2013
After covering over the doorway to the pilothouse, and
the open top of the after steering room, I moved on to
the next inexorable step as I closed in on final
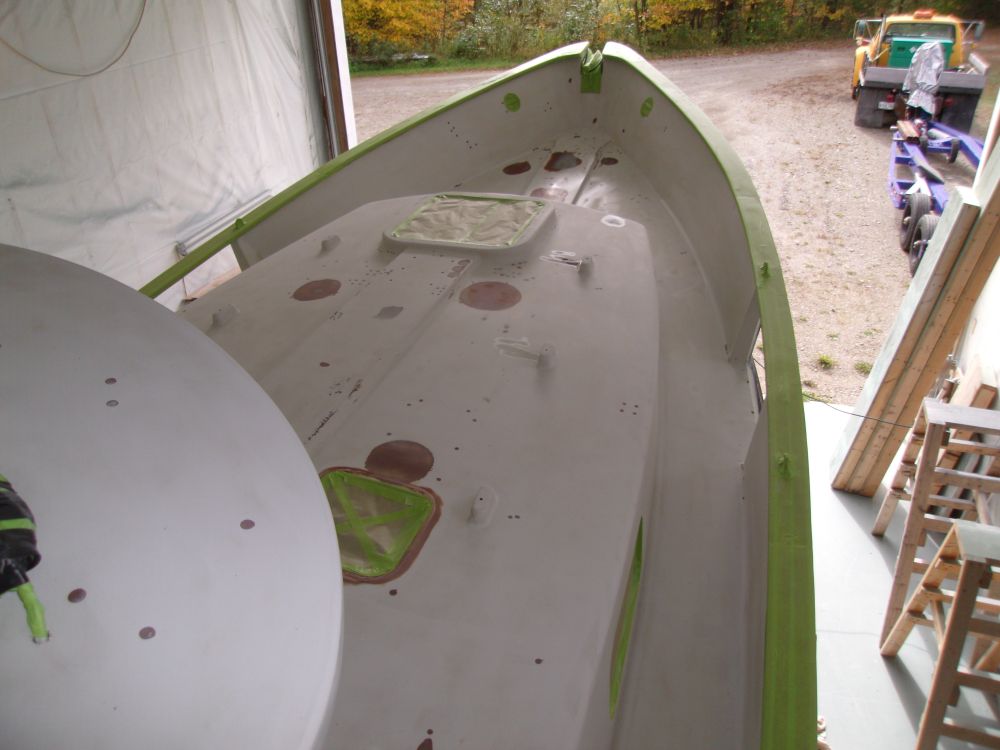
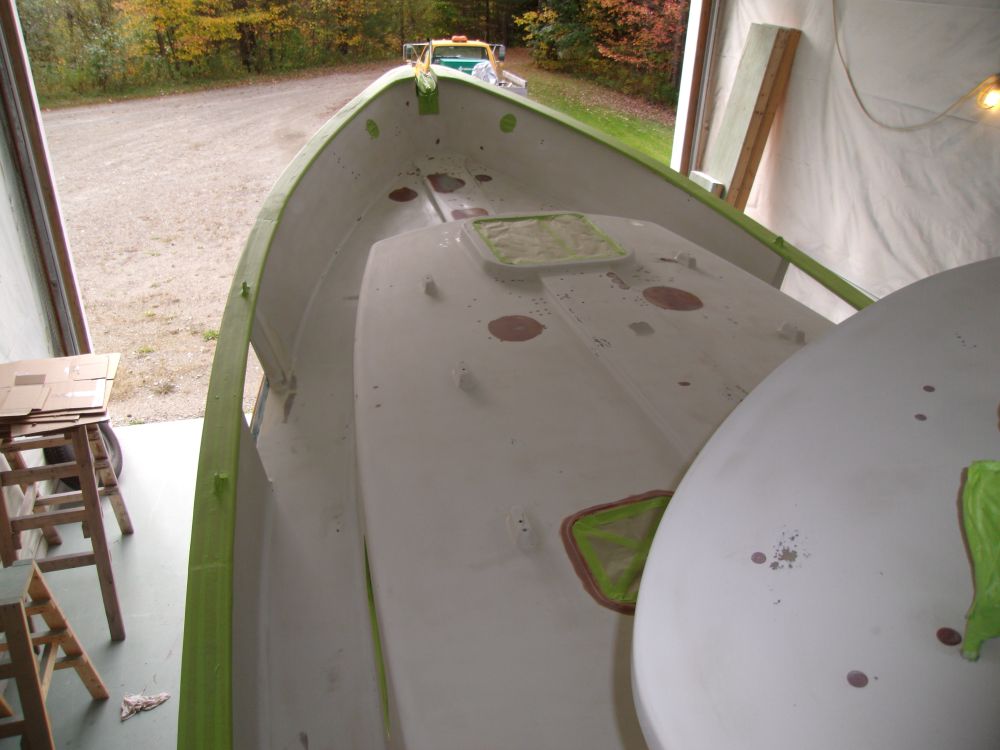
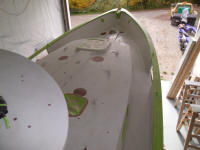
preparations for priming: sanding. Over
time, the previously-sanded deck areas had become
stained and dirty, and I'd also applied some fine epoxy
filler to a few last-minute areas that now needed to be
sanded flush. For the best substrate, I thought
it'd be best to do a quick cleaning pass with 120 grit
paper to clean up the decks and smooth out the few
filled areas.
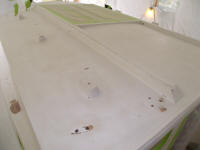
As it turned out, this was straightforward and quick,
given the cursory nature of the job. The
"dirtiest" areas, such as they were, were the sidedecks,
but even sanding these areas didn't require much effort
or time. Once I'd sanded all areas as needed, I
vacuumed and solvent-washed to prepare for the work
ahead.
|

 |
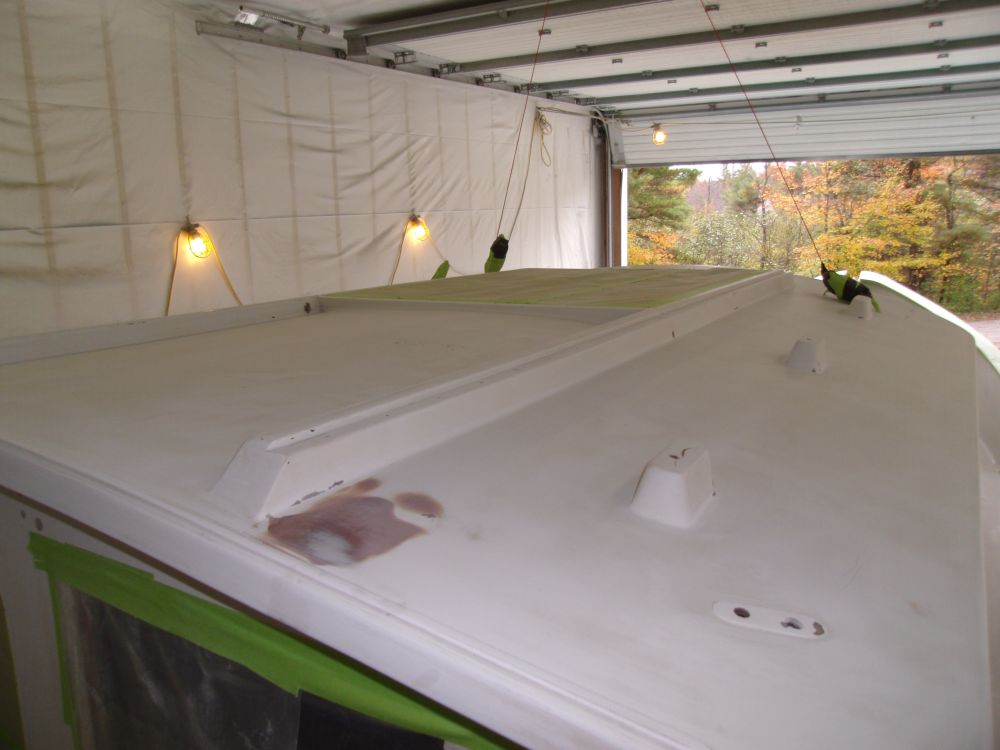
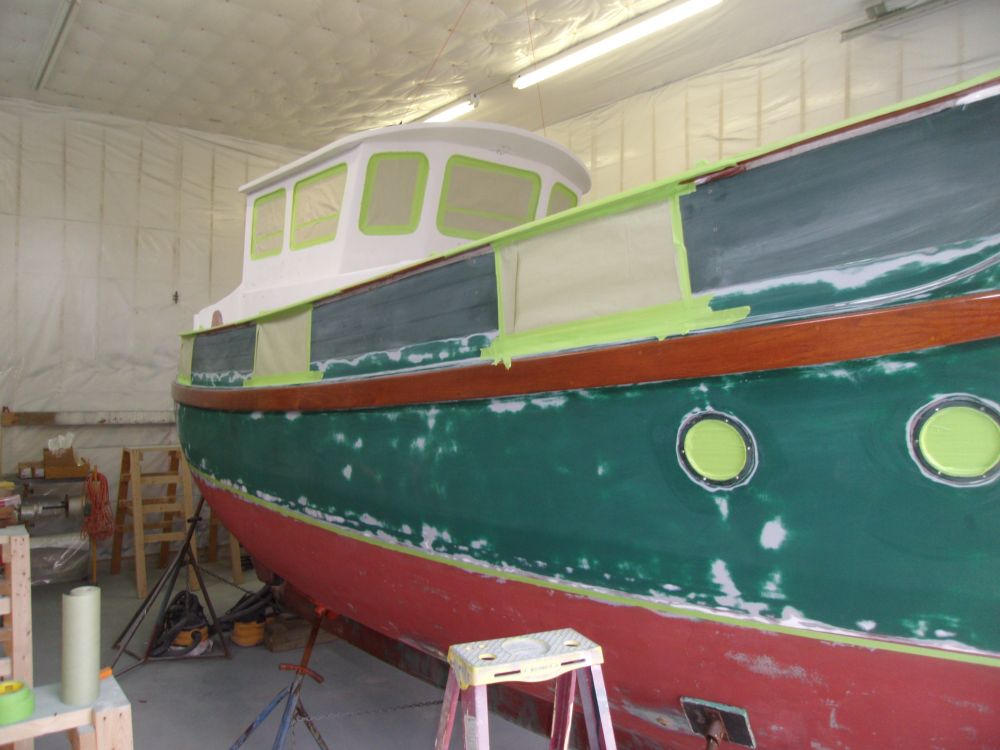
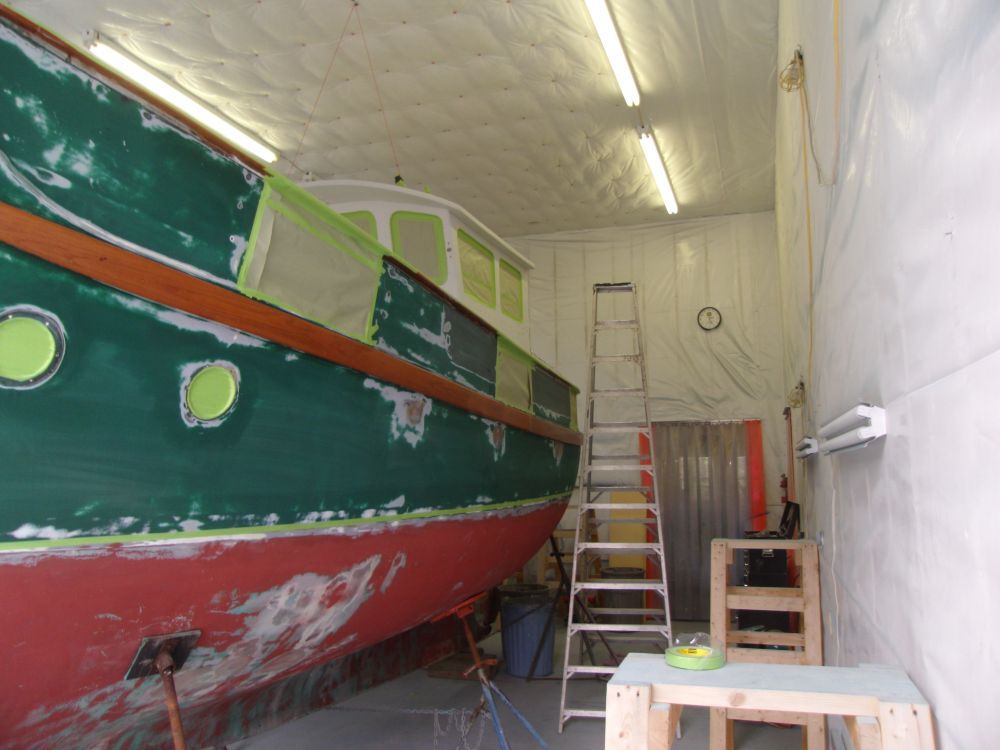
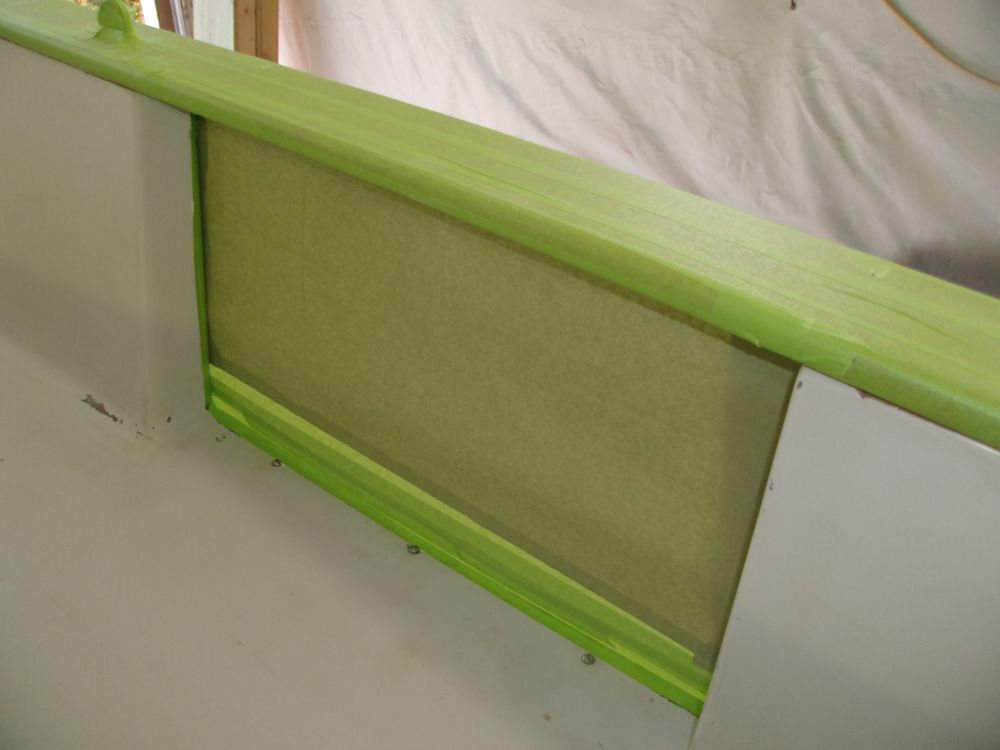
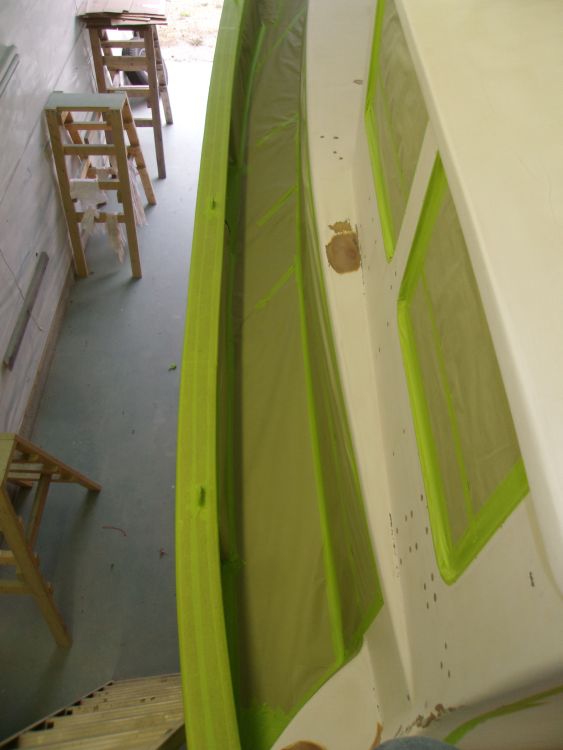
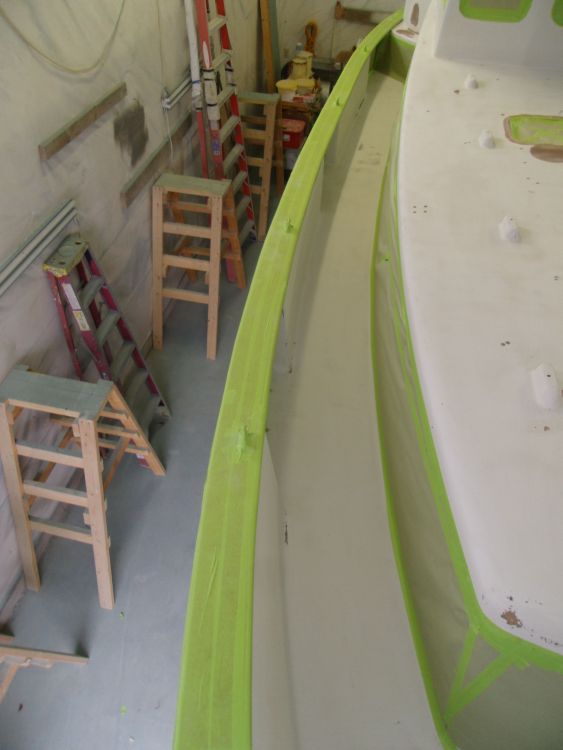
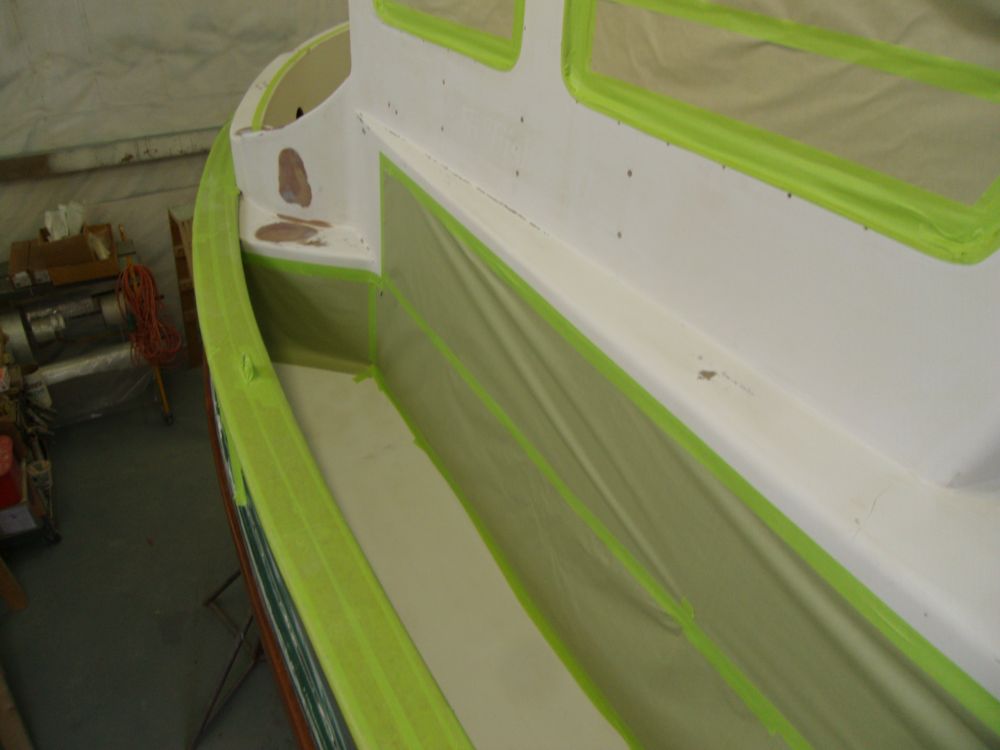
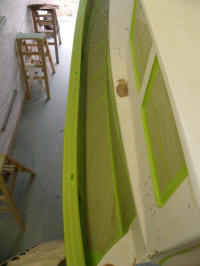
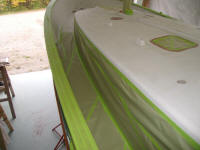
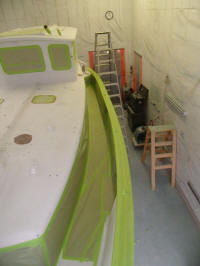
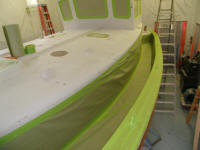
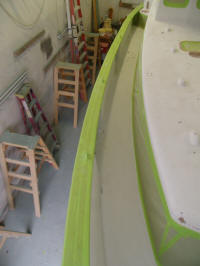
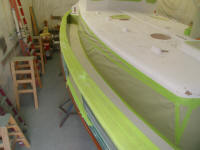
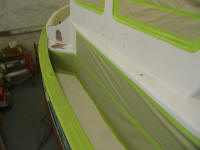
Now that the new sealant around the freeing ports had
had plenty of cure time, I moved ahead with masking off
these openings, closing them off from the outside to
prevent overspray out onto the surrounding hull areas as
I worked on the decks. At each opening, I masked
around the perimeter, at the edge of the deck area, then
covered the centers with paper and tape as needed. |

 |
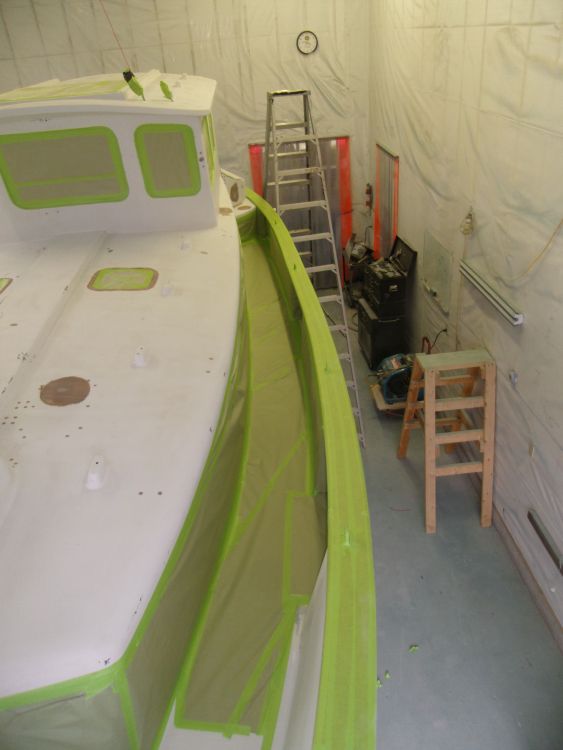
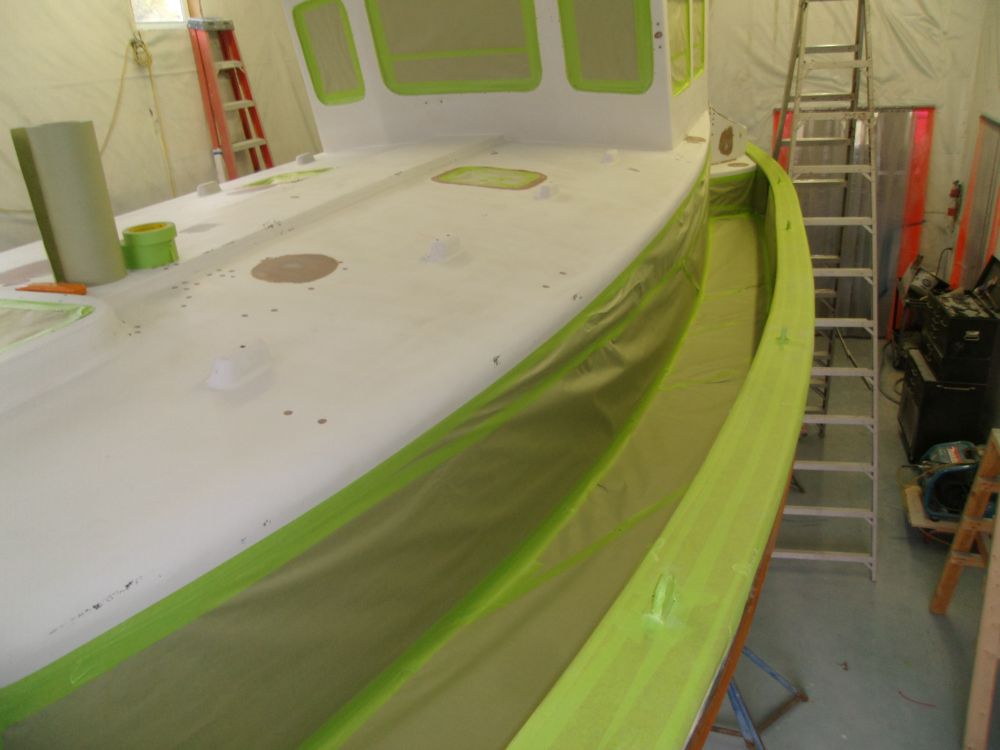
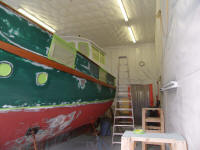
After more thought and rumination about the deck
painting procedure over the past months than I could put
to words, I moved forward with final plans for a
multi-stage approach to painting the complicated deck.
With no way to reach all areas from outside the boat,
and the challenge of the bulwarks and deep sidedecks, my
plan called for at least two separate stages:
first, the pilothouse overhead, coachroof, cockpit
coamings, and pilothouse sides; then, the sidedecks,
cabin trunk sides, and bulwarks, hopefully in a single
stage. The cockpit, as I'd determined earlier,
would be its own separate entity sometime later on,
along with the locker changes I planned there.
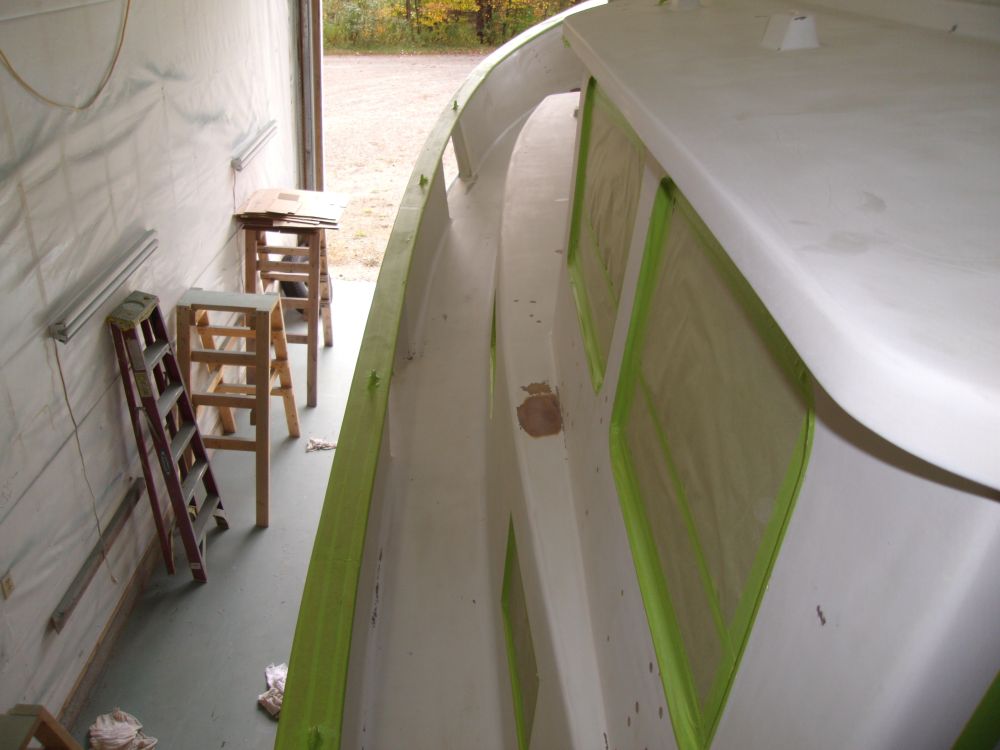
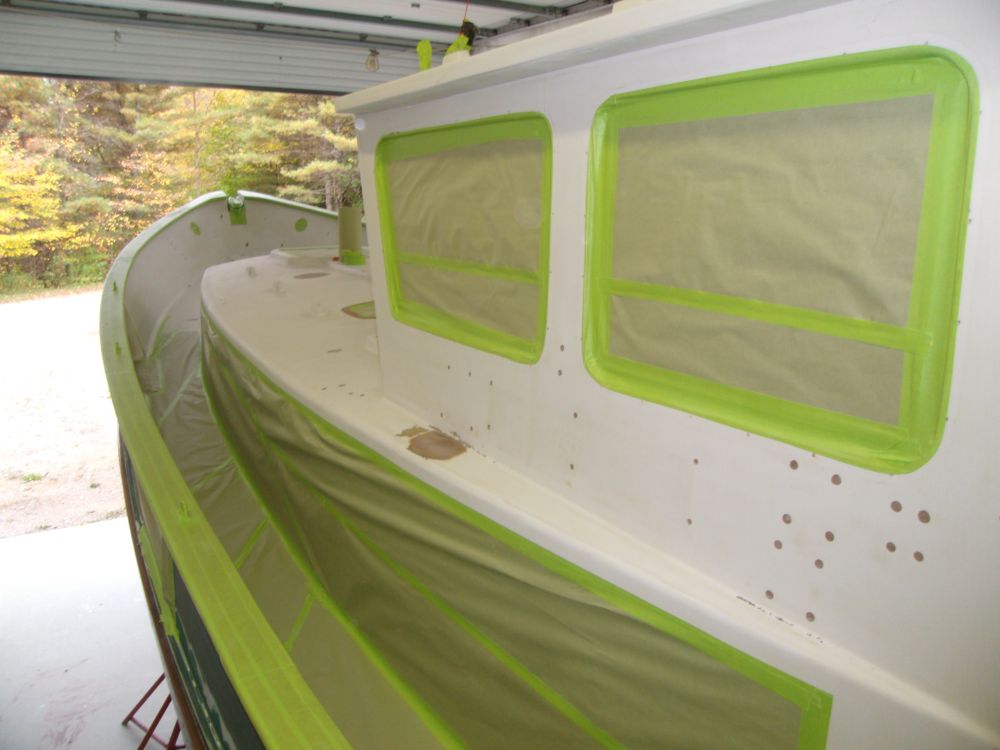
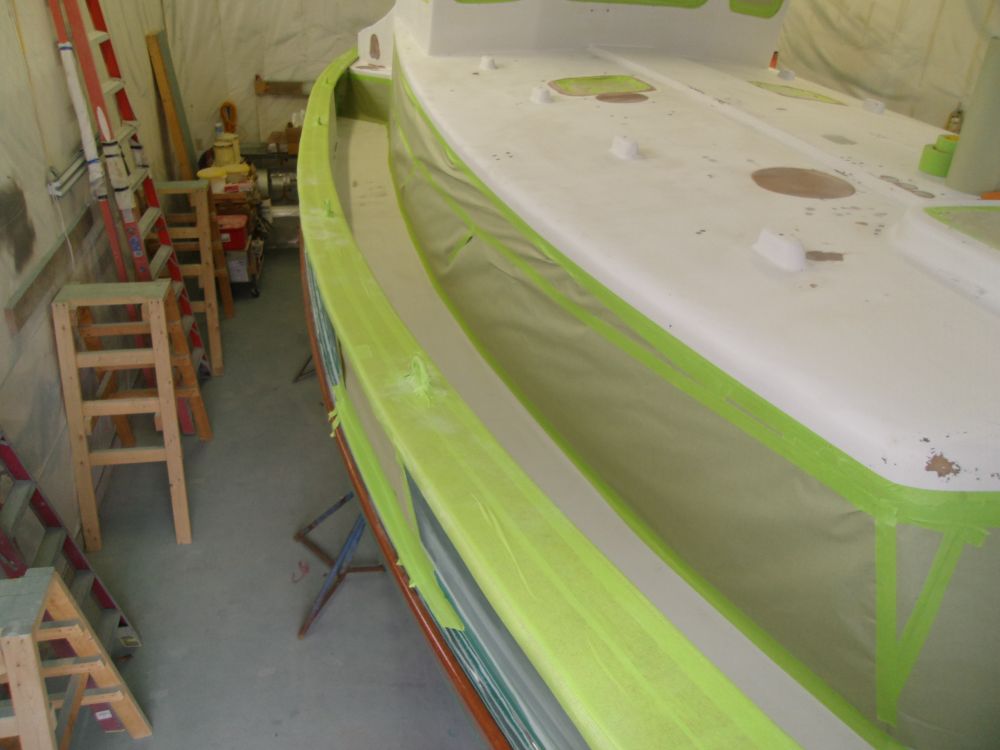
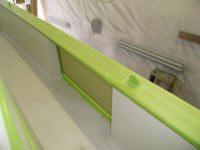
To this end, I struck an arbitrary tape line down the
sides of the cabin trunk and pilothouse, about an inch
below the top edge of the cabin sides. The
position of this line wasn't important or final in and
of itself, as first I'd prime the areas above this line,
then, later, retape and work on the areas beneath,
eventually feathering and overlapping the primers
between these two areas; the topcoats would present
their own challenges and taping procedures.
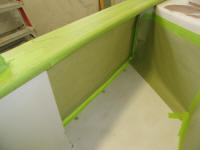
Below the tape line, I started covering the remaining
areas with tape and paper to protect them during the
work ahead, working my way along the port side and part
of the starboard before running out of available time
and gumption in the afternoon. |

 |
|
Total Time Today: 4.5 hours
|
<
Previous |
Next > |
|
|