Project Log: Friday, April 11, 2014
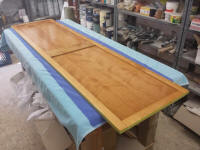
Earlier in the week, during a slack half hour, I got
back to work on the head door frame varnish, and the
other side of the head door. I'd continue this
varnish work sporadically over the coming days.
I know the photos stink, but they're what I have.
The door frame is hard to get decent pictures of between
angles and lighting issues. I'm not looking for a
Pulitzer, just documenting.
|
 |
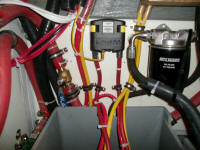
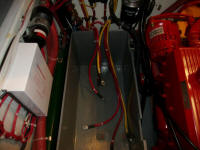
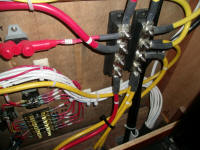
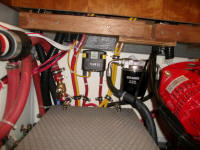
To complete, for now, the battery cables, I ran two
lengths of negative cable from the distribution buss
within the console to the port battery box. For
the short term, I had decided to stick with a single
pair of 6V batteries for my house bank, so for the
moment there was no need to run jumpers over to the
starboard side, where eventually I planned another pair
of batteries for the house bank. But for immediate
needs, this enhanced bank was not necessary. |
 |
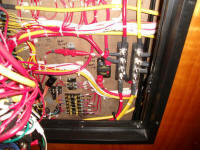
Meanwhile, I finished up a couple things in the console,
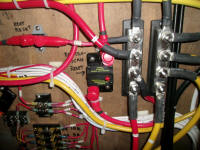
starting with mounting a new 60A circuit breaker
(external) for the waste treatment system, the size
specified in the instructions. I couldn't locate a
type A panel breaker in this amperage (they stopped at
50A), so I wired the power cable to the new breaker,
then on to the main positive distribution buss next
door. |
 |
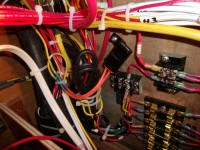
In the 12AWG negative lead from the ACR unit, I
installed a fuse holder with 10A fuse, then led the
cable to a nearby negative distribution buss, completing
that circuit and completing the battery system wiring. |
 |
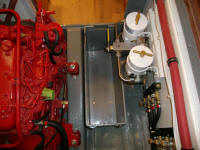
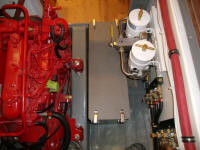
Though I wouldn't immediately be filling it with
batteries, I decided to install the starboard battery
box so I could get used to working around it, and also
so I could determine the path for the final lengths of
diesel fuel line required to connect the engine with the
supply and return manifolds. There were no legs on
this battery box to be in the wrong place, but I made
sure to carefully mark the locations required for the
bolt holes before drilling. As with the port side,
I secured the box to the transverse engine foundation
supports with machine screws in tapped holes. |
 |
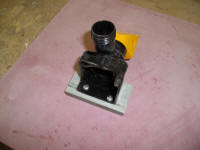
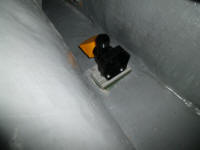
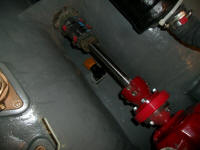
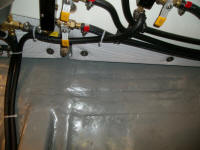
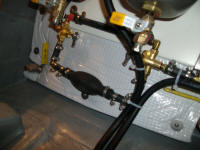
In the bilge aft of the engine, I prepared to mount an
electric bilge pump, intended for removal of nuisance
water. I also planned a manual pump. To
mount the electric pump, one I'd never tried before--it
incorporated automatic switching, external filter, and
the pump in one slim unit--I started by screwing the
mounting base to a scrap of 1/2" fiberglass sheet with
machine screws. Then, I sanded away the paint in
the bonding area in the bilge, and epoxied the
fiberglass in place--all this to avoid putting screws
directly into the bottom of the bilge. I left the
epoxy to cure before moving on with the installation. |
 |
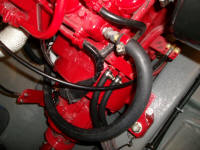
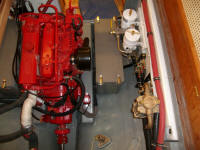
In my mind, all along I'd been imagining the final run
for the fuel lines to the engine. On this engine,
both supply and return connections were located
together, at the starboard aft corner of the engine.
The lines needed to cross the open space of the
starboard engine room to connect to their respective
ports at the fuel filter and the return manifold, and
I'd held off installing them so they wouldn't be in the
way or risk damage until they were needed. I'd
been vaguely expecting that I'd end up securing the
lines to the battery box to keep them out of the way.
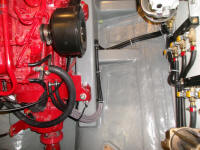
But once I had the battery box in place, I noticed a
tempting narrow space between the box and the engine
foundations. If I could run the fuel lines through
there, and beneath the center part of the box, it would
keep them out of the way with or without the battery box
in place, and provide a neater, cleaner installation.
As it happened, the space was the perfect width for the
fuel lines and clamps required.
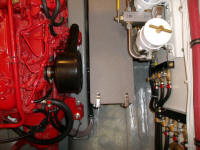
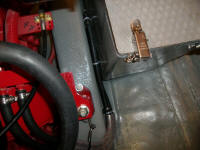
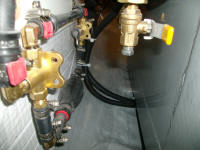
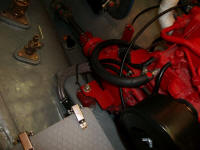
I removed the battery box, and led the fuel lines
beneath and alongside it, securing them along the way
and adding some chafe protection at the after end, where
I curved them up to the engine. With the box back
in place, the fuel lines were well protected and free
from chafe points, yet everything critical was
accessible. |
 |
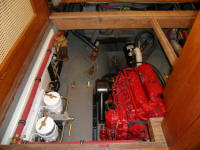
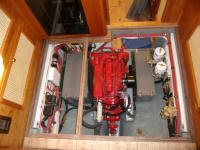
What had once seemed a luxurious, expansive space had
inexorably filled up with the required installations,
but of course that's what the space was for. With
nearly all installations within complete, it was still a
workable space considering the size of the boat, and
with the minor future inconvenience (should it be
necessary) of removing the batteries and battery boxes,
there'd be excellent access to every system. |
 |
| |
Total Time Today: 5 hours
|
<
Previous | Next > |
|
|


