Project Log: Friday, December 12, 2014
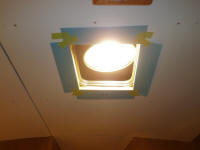
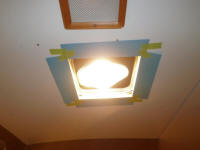
My down-and-dirty templating method for the forward
deadlights had worked so easily and so well that I did
the same thing for the overhead hatches in the main
cabin. Although these openings were (at least
supposedly) square, I still felt it'd be easier to cut
the trim pieces with the template close at hand by the
saw. In this instance, I planned to run the flat
overhead trim right up to the edge of the trim pieces
I'd installed within the openings for the hatches, so I
used more paper to create the new templates for each of
the two hatches.
|
 |
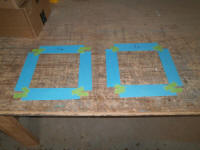
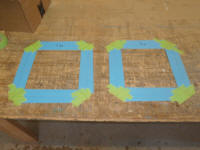
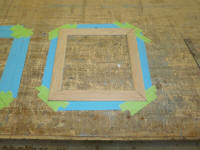
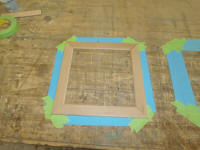
On the bench, I attached the two templates, then used a
scrap piece of the trim stock to draw the outlines and
bisect the angles at the corners, before cutting and
fitting 1-1/2" x 1/4" cherry trim (with both edges
rounded) to the templates. |
 |
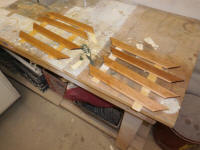
I dry-fit, by hand, the trim pieces at the hatches to
check that they looked OK before lightly sanding them
smooth and clean and treating them with several coats of
tung oil. Meanwhile, I applied a cosmetic bead of
sealant between the inner hatch trim and the hatches
above, to clean up that joint and prepare the inner
frames for primer and paint. (oops, no pictures of
this yet...) |
 |
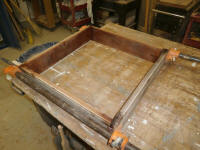
After measuring the forward hatch, I prepared a frame to
the appropriate dimensions, using the 4" wide plywood
stock I'd cut earlier. After sanding the inside
(what would be the visible) surface, I glued the frame
together with epoxy, checking it for squareness and
clamping securely. |
 |
| |
Total Time Today: 3.75 hours
|
<
Previous |
Next > |
|
|


