Project Log: Wednesday, December 10, 2014
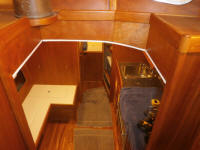
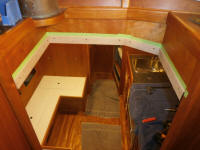
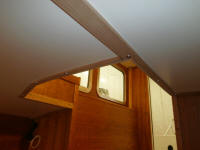
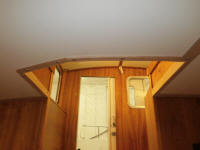
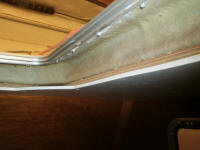
The overhead panels extended aft where they landed on
the solid wood companionway trim, leaving an exposed
edge.
|
 |
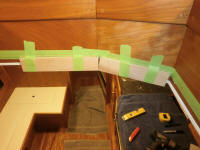
To trim out this opening, I started with 1-1/2" x 1/4"
cherry stock to cover the edge of the overhead panel
within the opening. The forward side of the
opening featured a compound angle, so I started with
this joint, as it was the most difficult to lay out.
With a couple pieces of scrap material, I worked out the
angles and cuts required, and then used the trial pieces
to determine the final lengths of the real trim pieces.
I let the trim hang down to cover the plywood edge, as
well as an additional amount to accommodate the
thickness of additional trim pieces that would band the
area from beneath. The green tape around the
opening simply gave me a place to draw layout lines for
the appropriate height of the top of the trim. |
 |
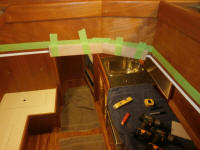
With the first two pieces eventually cut and fit into
position, and temporarily secured with exposed bronze
screws (my choice for these particular pieces in this
visible location), I cut and fit the two side pieces,
which were more straightfoward. |
 |
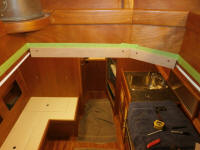
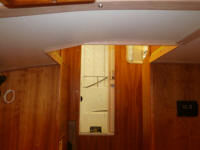
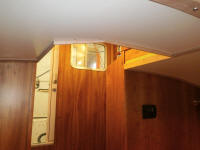
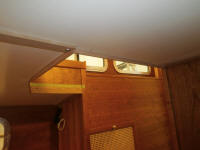
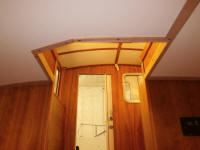
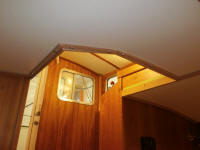
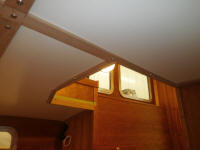
The trim extended below the opening to accommodate the
variable curvature of the overhead at the forward side,
and the thickness of the additional trim that would
surround the opening at the overhead. Now that the
vertical trim was in place, I worked to install the
final trim around the edges. Because of the way
the main ovberhead centerline trim landed at the
opening, it dictated a 9/16" width for the trim on that
side, which I carried around the whole opening. |
 |
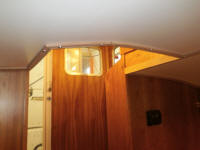
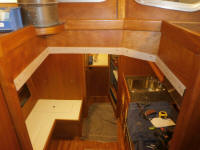
With the new trim in place, I marked the vertical trim
where I needed to trim it so it would be flush all the
way around, and removed the pieces so I could do the
work, after which I reinstalled the trim for a final
fit. |
 |
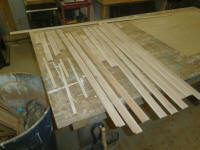
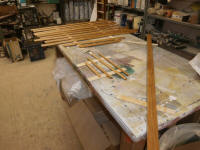
That wrapped up the current round of overhead trim in
the main cabin, so I removed all the pieces from the
companionway and overhead and, down in the woodshop,
milled rounded edge profiles on the trims at the router
table as needed before sanding them smooth once more
with 220 grit. Afterwards, I applied tung oil to
the trim, managing a couple coats before the end of the
day. |
 |
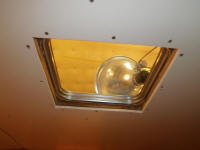
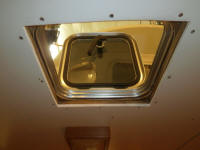
The three overhead hatch openings required their own
trim details. In the main cabin, this trim would
be fairly straightforward, as the smaller hatches were
already banded with overhead framework that would make
trim details easier. I planned to install narrow
strips of solid wood within the opening, bringing them
as close to the underside of the hatch as made possible
by the openings and the hatches themselves; for various
reasons I also decided that I'd paint this portion of
the trim, as it would make dealing with the corners and
the awkward transition between the hatch, its cutout,
and the overhead frame and trim much easier to deal
with, plus there was already plenty of natural wood in
the interior. Then, I planned to install
flat trim (like that on the other portions of the
overhead) to cover the edge of the vertical trim and the
screw holes in the overhead. |
 |
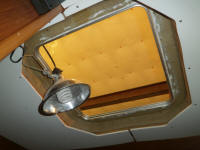
In the forward cabin, however, the large opening and the
way the molded cabin trunk and hatch surround worked
meant that there was a pretty deep and wide area to be
trimmed somehow. I'd brought the overhead framing
up as close to the raised molded hatch surround as
possible, but this still left a large gap and void to
deal with.
It had been easy to ignore this problem so far, but
during the past couple days I'd found that in the usual
way, an idea had begun to take form on its own for how
to finish off this opening. From
appropriately-sized material, I'd build a box that I
could install close around the hatch, glued into
position as needed, and then span the gap between the
overhead and the new box with trim to cover the wide
void. As with the smaller hatch openings, I
decided to paint the box portion of the trim, which
opened the door to various materials on hand and would
make otherwise fussy trim details much more
straightforward to deal with. |
 |
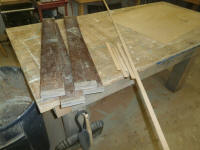
From leftover sections of the original plywood cabin
sole from this boat, I milled four 4" wide strips of the
3/4" thick material that would form the basis for the
forward hatch surround. It looked awful now but
would clean up easily for gluing and paint. I'd
come back to the forward hatch a little later.
Then, choosing the least-good piece of remaining cherry
overhead trim stock that I'd milled earlier, I milled
3/4" wide strips to use to band out the smaller hatch
openings in the main cabin; since this would be painted
it was a good way to use an otherwise unsatisfactory
piece. |
 |
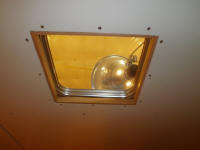
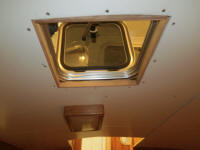
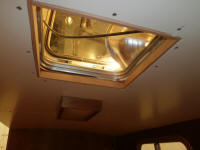
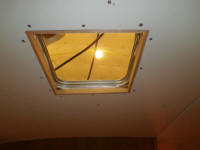
Cutting the cherry to length as needed, I trimmed out
the two small hatch openings in the main cabin,
installing the trim with glue and brads into the
overhead framework (but not to the overhead itself, as
the overhead would remain removable); I held the bottoms
of the trim flush with the overhead. I chose
simple butt joints at the corners. Later, I'd
apply a bead of sealant between the tops of the new trim
and the hatch above to finish off that particular seam
before painting this area to match the overhead.
Then, I'd install mitered flat cherry trim around the
edges to complete the work. |
 |
| |
Total Time Today: 6.75 hours
|
<
Previous |
Next > |
|
|


