Project Log: Sunday, December 28, 2014
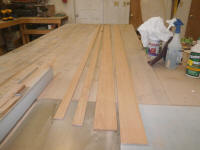
Getting back to work on the overhead trim, I turned my
focus to the forward cabin and hatch area. To
begin, I milled one of the cherry boards I'd dimensioned
a few sessions ago into 1/4" thick planks for the
overhead trim--first a couple 3-1/2" wide planks to span
and cover the gap around the new forward hatch coaming,
then a couple more 1-1/2" wide planks for the other
overhead trim. The planks were smooth, but for the
moment I left the edges in their saw blade-unfinished
state, since there'd be some final milling operations
once I'd dry-fitted all the remaining trim.
|
 |
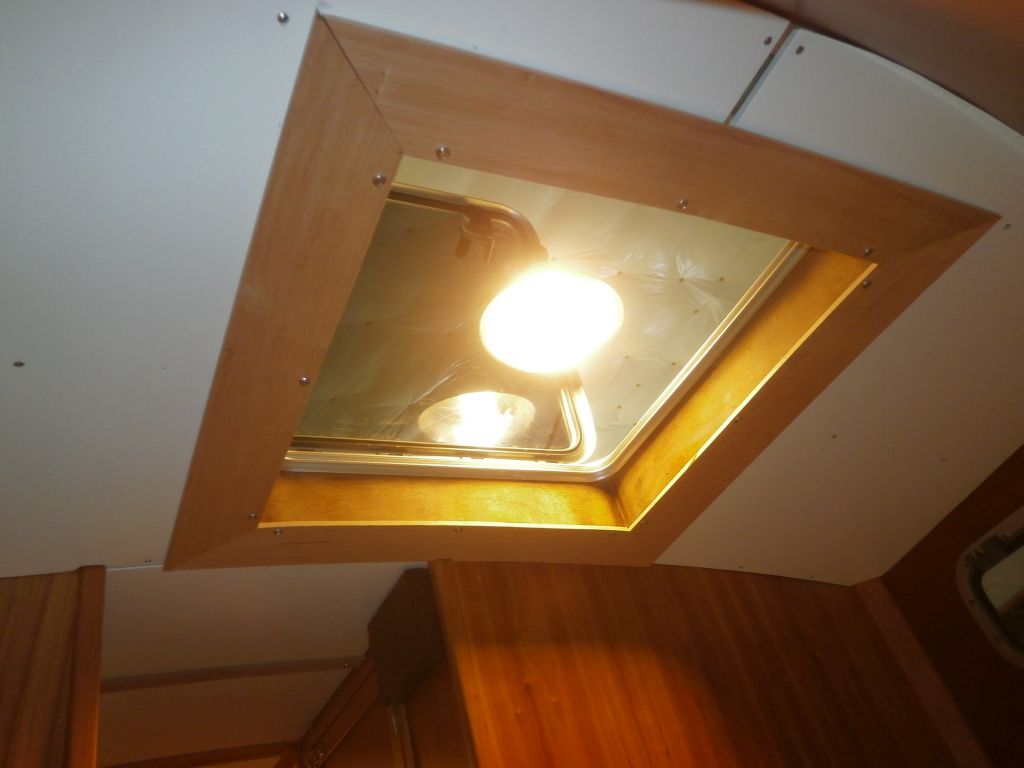
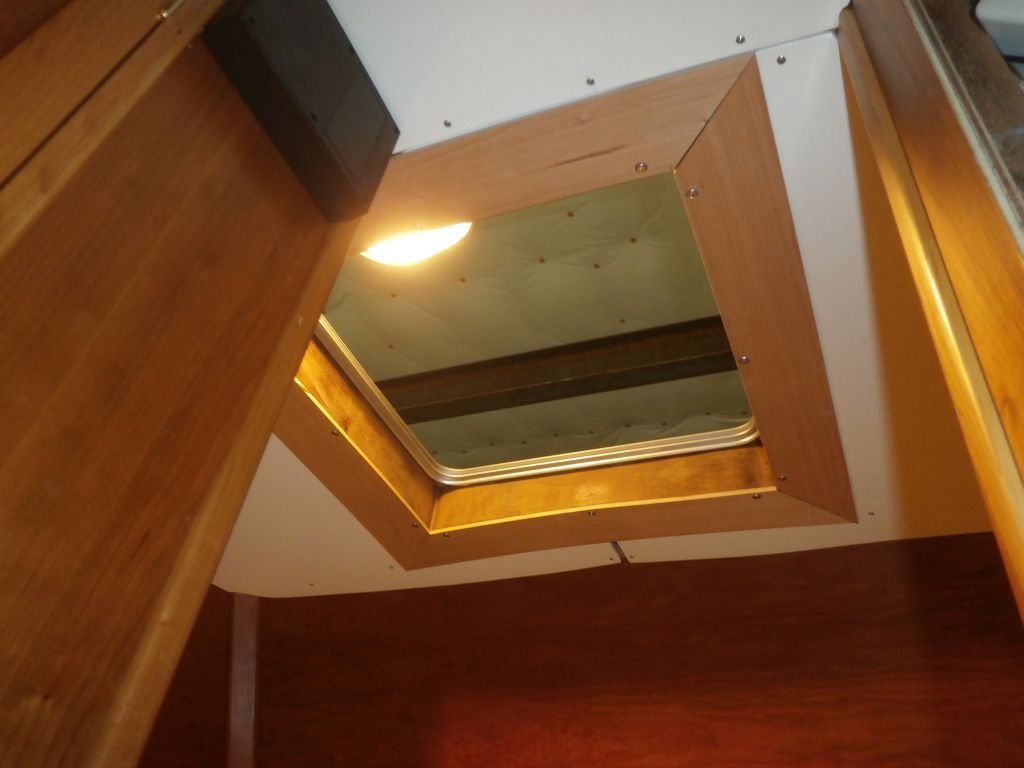
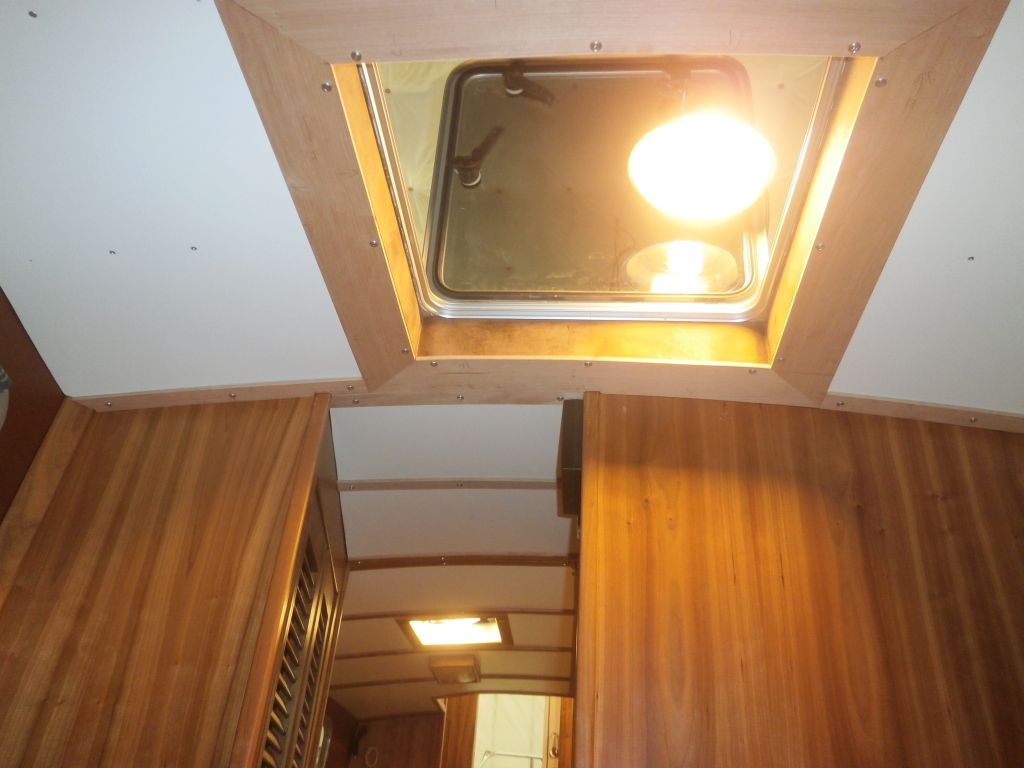
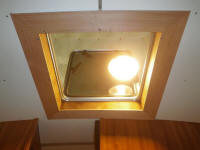
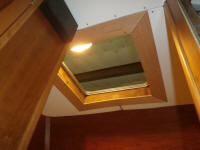
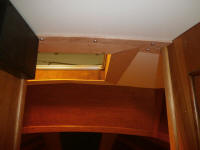
I started with the forward hatch, and cut and fit the
wide planks around the base of the opening, securing
them with a few screws for now (there'd be more later)
and spanning the open gap between the overhead panels
and the hatch coaming. |


 |
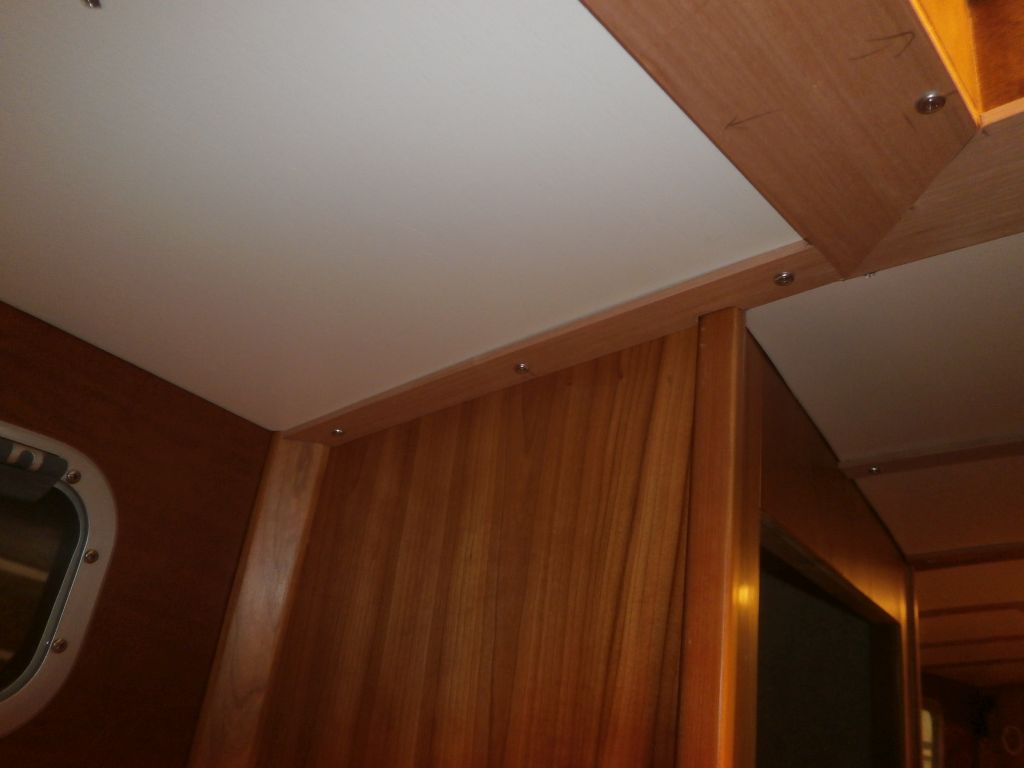
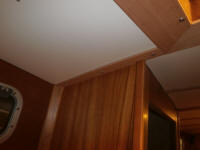
At the aft end of the space, I cut and fitted two
narrower pieces of trim at the aft edges of the
overhead, where it met the bulkhead. |
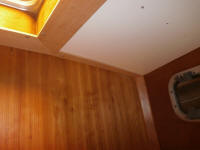 |
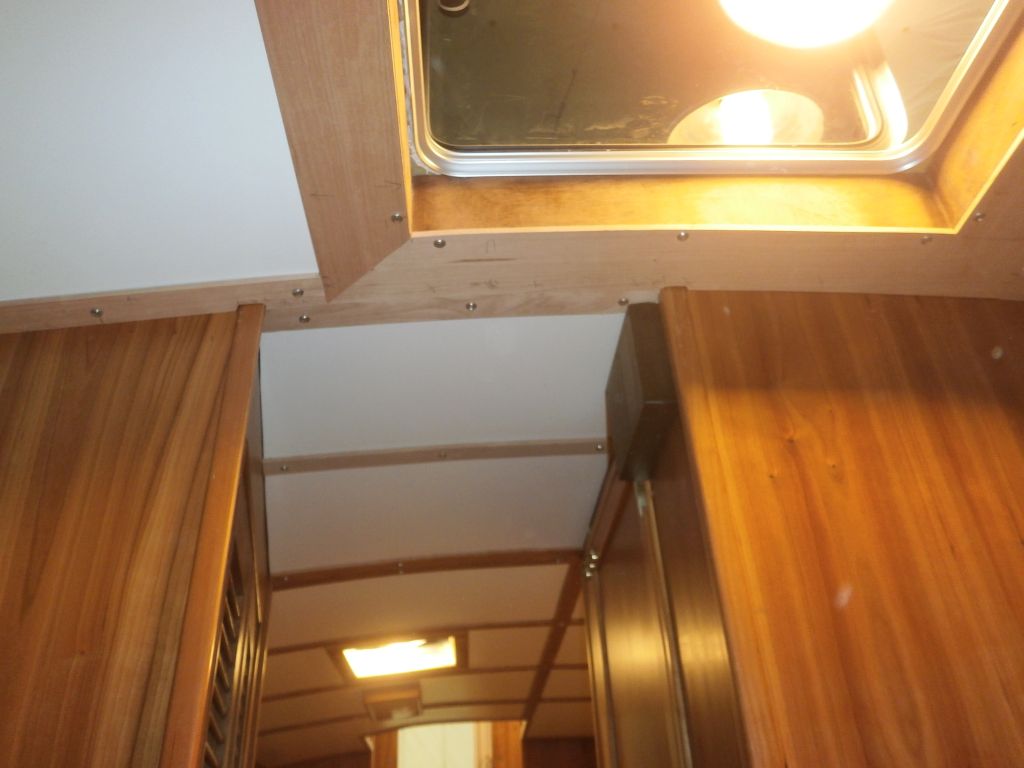
At the forward end of the passageway, I required one
additional piece of the 1-1/2" wide trim to wrap up that
area, where it met the wide trim from the forward cabin. |
 |
I still needed two sets of trim on this part of the
overhead, to cover the screw locations holding the
panels in place, but I'd deal with those another time.
While none of the trims I'd installed this time were
particularly difficult in execution, there was a lot of
cutting and fitting required for most of the pieces,
necessitating a lot of trips up and down the ladder, and
I'd had enough of it for now. |
 |
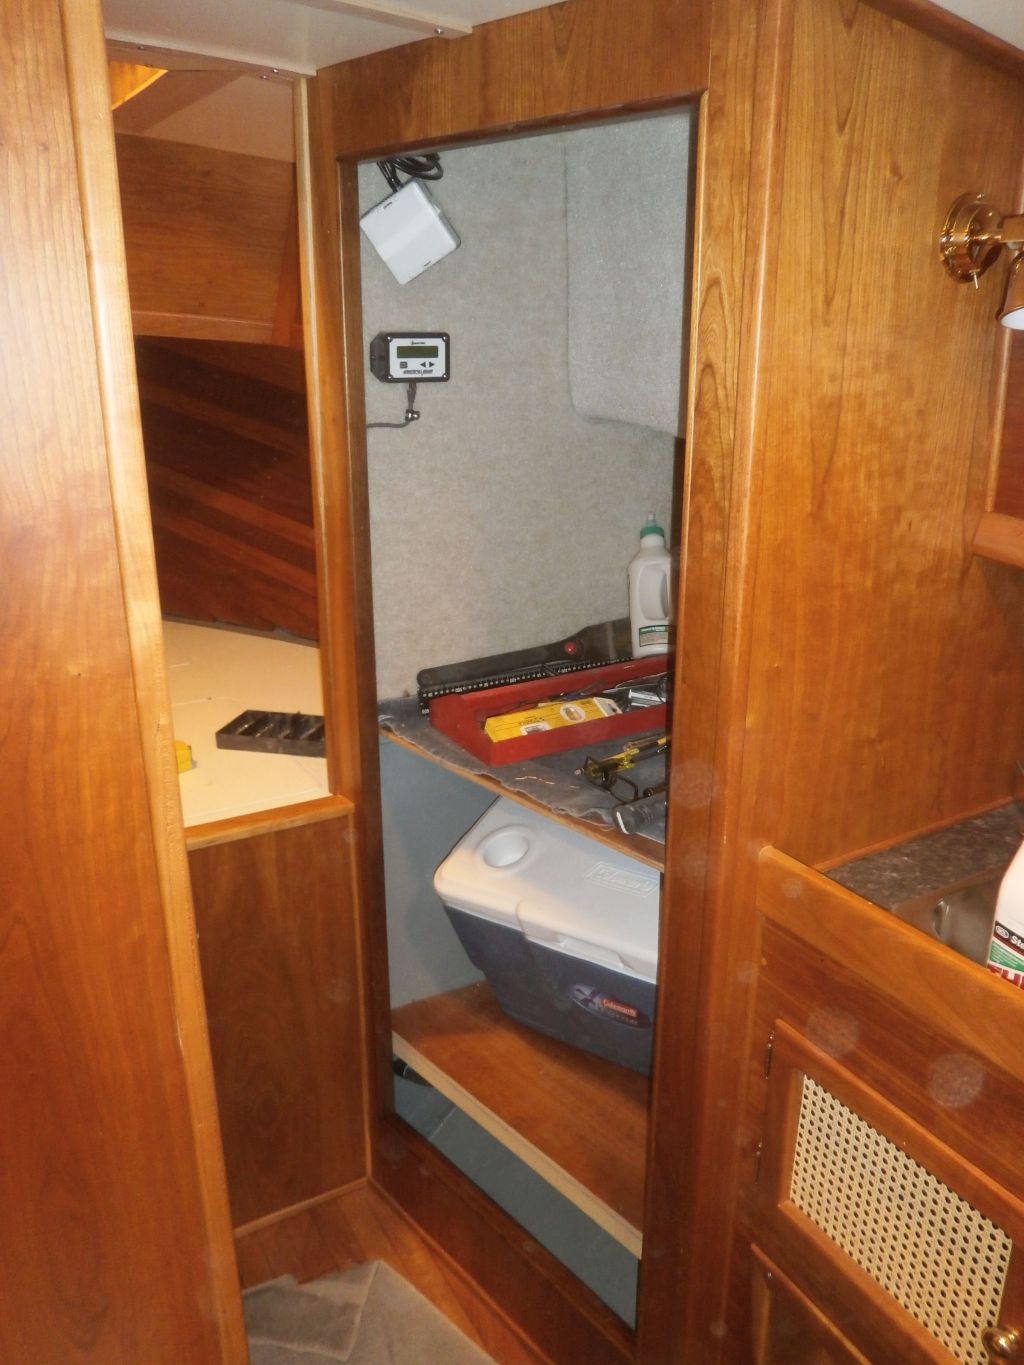
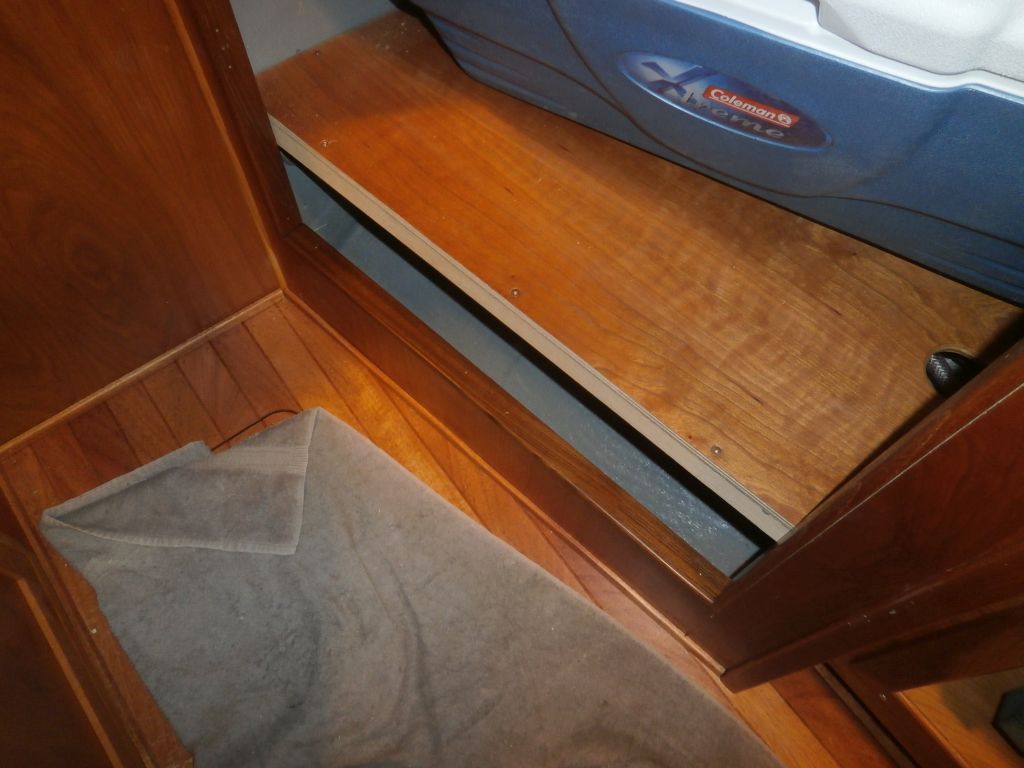
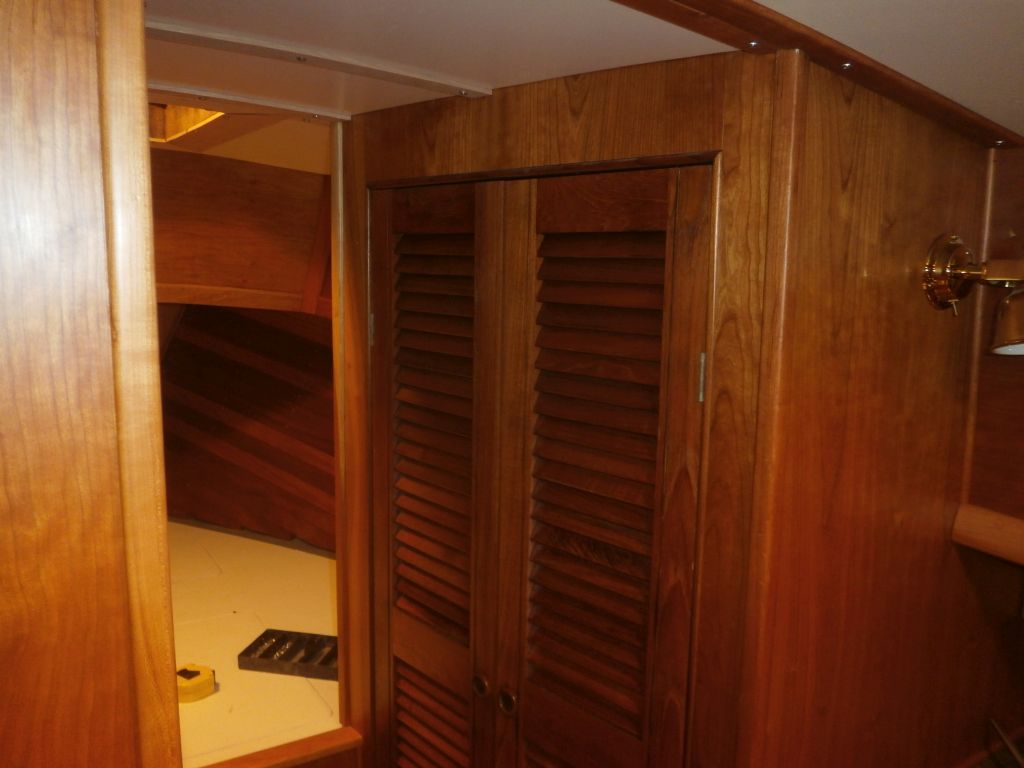
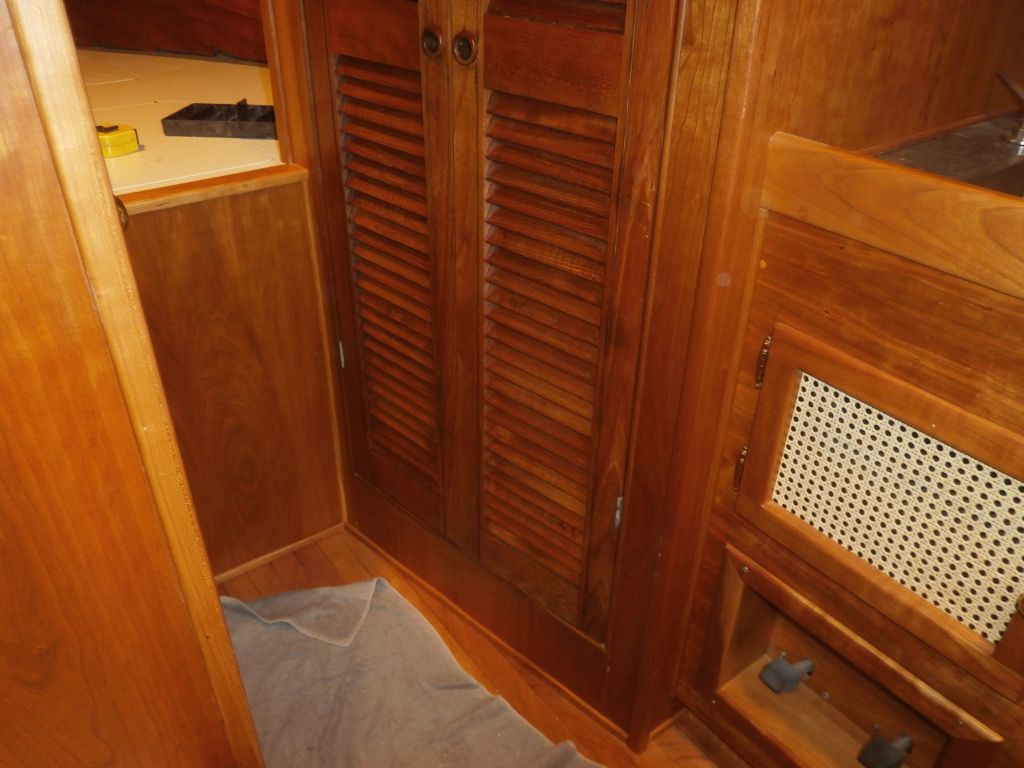
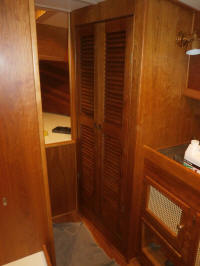
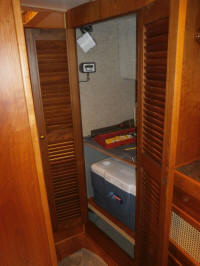
Instead, I turned to the starboard storage locker, just
opposite the head, and removed the one door that was
still in place after my earlier attempt to finish off
this space (when I'd discovered there was supposed to be
trim rimming the inside of the opening). Then, I
installed the newly-refinished trim that had originally
graced this space. Because I'd made no changes to
the opening (other than facing the bulkhead with
cherry), the trim still fit easily into place with glue
and stainless brads. |

 |
With the trim back in place, I reinstalled the two
original doors. This was straightforward since I
could use the original screw holes for location
purposes. All I needed now was to install some
simple door latches, which I'd do soon. |


 |
| |
Total Time Today: 3 hours
|
<
Previous |
Next > |
|
|