Project Log: Tuesday, December 30, 2014
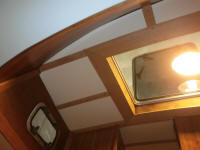
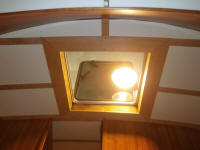
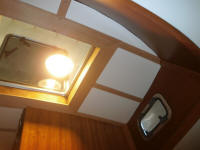
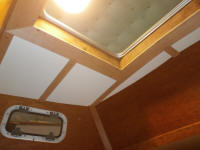
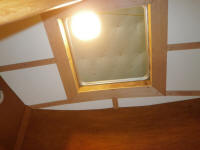
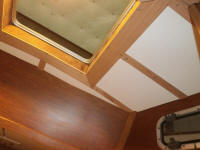
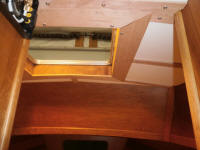
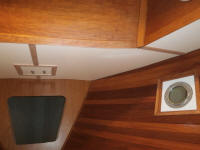
Continuing in the forward cabin, I prepared five new
pieces of trim on the overhead around the hatch frame,
covering the last of the overhead panel screw locations
and seams. The forwardmost pair was finicky to cut
and fit, with the various angle cuts required at the
outboard ends, but fortunately it was easy enough since
I could run the trims long towards the centerline till I
got the end cuts where they needed to be--it just took a
lot of trips up and down the ladder.
|
 |
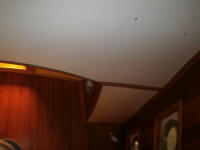
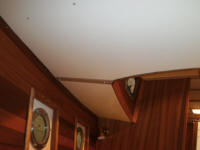
Because it was not visible except to occupants of the
forward bunk, I decided on a simpler approach for the
last part of the overhead--those areas beneath the
foredeck and sidedecks. I could have covered all
the panel screw locations with trim as I'd done in the
other parts of the boat--where the overhead was highly
visible--but here I thought that painting the exposed
screw heads so they'd basically disappear would be fine,
and I'd build cherry trim strips only to cover the
longitudinal centerline seam and two short transverse
seams between the panels. The seams where the
panels met the forward and after bulkheads were clean
and required no trim for the sake of appearance, at
least not in this location.
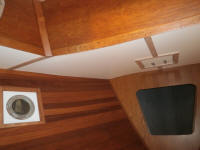
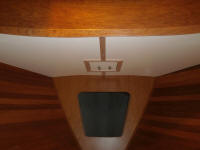
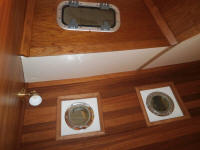
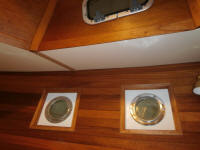
Starting with the centerline seam, I began by wrapping
mitered trim around the edge of the square backing plate
for the mooring bit, covering the edge of the plywood
overhead panels there. At either end, I cut and
installed short lengths of trim to cover the centerline
seam. |
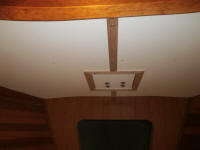 |
An interesting note about this backing plate, and the
bolts from the mooring bit: I installed the
backing plate in the measured center of the space below
decks (and it's therefore centered visually with the two
overhead panels), and the mooring bit is centered in the
raised portion of the foredeck from above decks.
There is obviously disparity between the two, as one can
see by the bolt locations that are not centered on the
backing plate. I though having the bitt visually
centered and in the right place overshadowed the minor
asymmetry of the bolts in this not-really-visible
location. This was certainly not the first nor
only place this sort of boat-y weirdness showed itself.
Finally, I cut and fitted the two shorter pieces of trim
to cover two transverse seams further aft, and dabbed
some paint on the screw heads in all the other
locations. I'd come back with another coat of
paint as needed later. |
 |
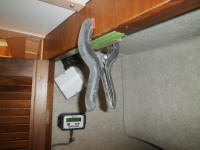
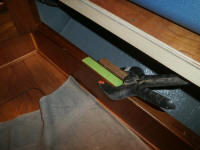
Before closing down for the day, I cut some backing
blocks from some scrap wood and glued them inside the
starboard storage locker (formerly known as the hanging
locker), one each at top and bottom centerline.
Once secure, these blocks would support the door
catches. The green tape marks the centerline, with
an additional piece at the top to prevent glue from
draining out before it cured. |
 |
| |
Total Time Today: 3.25 hours
|
<
Previous |
Next > |
|
|


