Project Log: Saturday, February 15, 2014
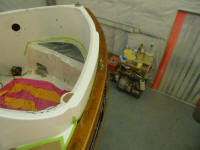
The first order of business, in my habitual way, was to
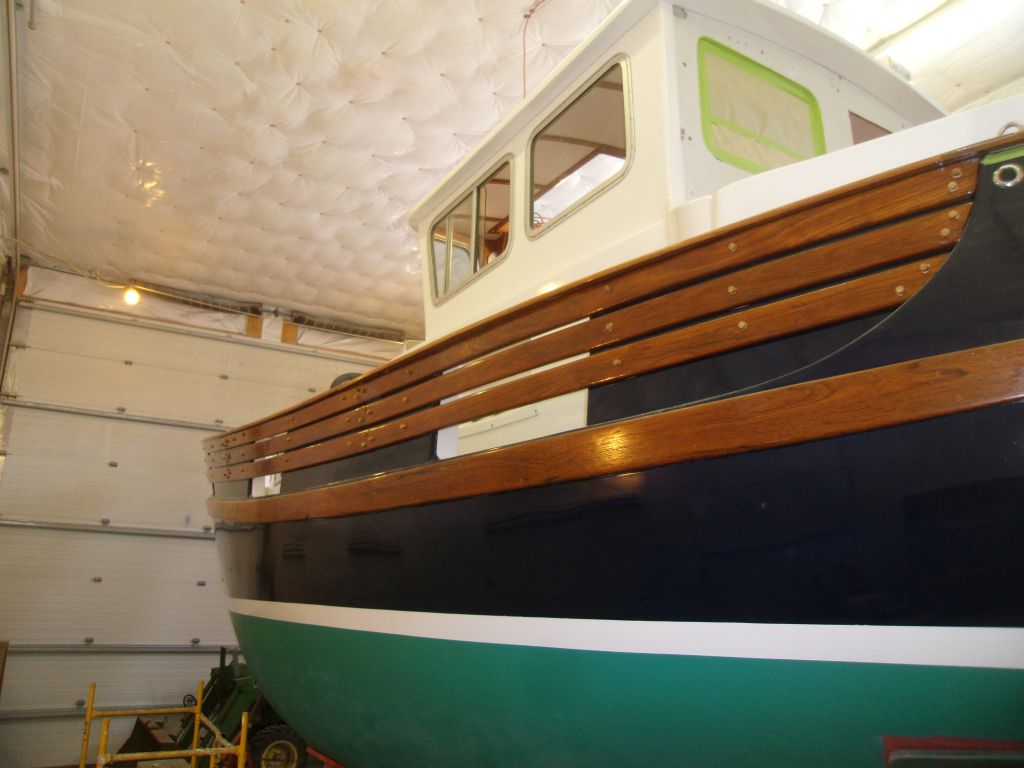
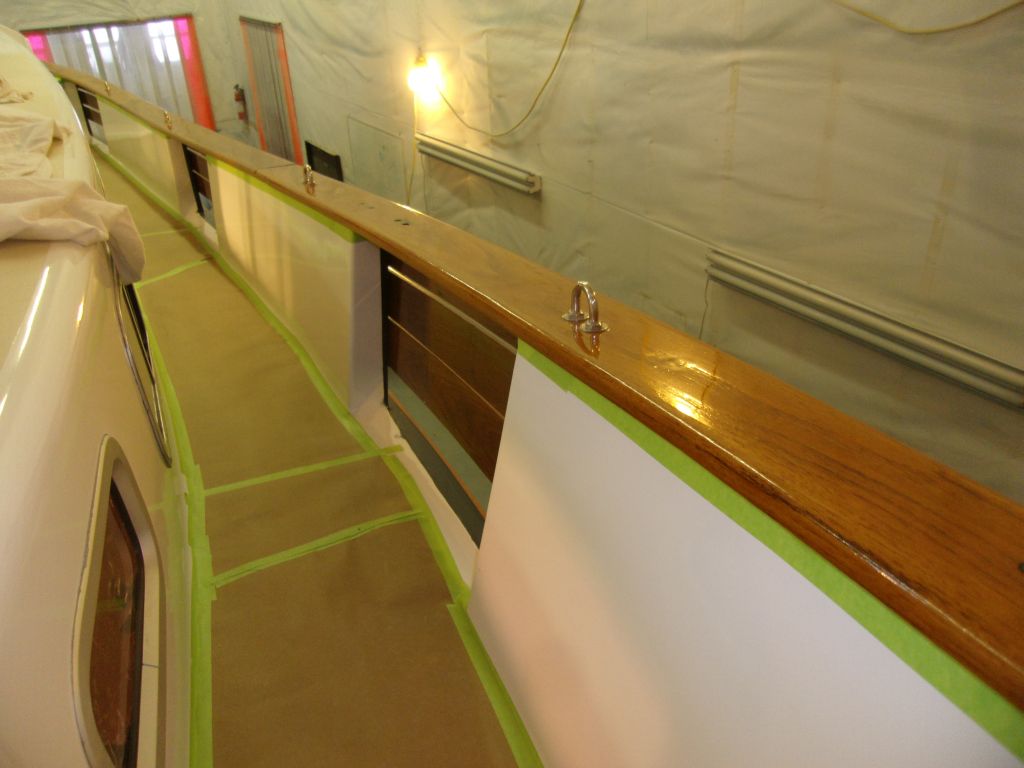
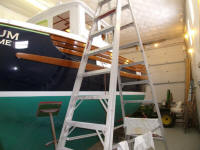
sand and clean the caprails to prepare for varnish later
in the day. I also sanded the inside faces of the
bulwark planks where they passed over the freeing ports,
as I wanted to apply additional varnish there as well.
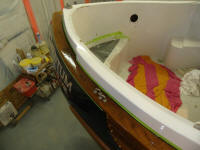
Then, I turned to the bulwarks, and installed teak bungs
to cover all the screw holes still exposed after
installation. Because of the thin half-lap joints
where the planks joined each other along their lengths,
several of the screws were barely recessed.
Somehow I managed to glue bungs into each screw hole,
even those barely recessed, but time would tell how this
worked out, and whether there was enough bonding area to
hold the bung in place. I'd trim the bungs
flush later, once the glue cured, and if I had to do
something else on those barely-recessed screws, I'd
address it then.
|


 |
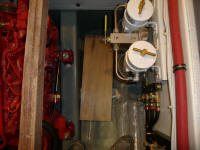
One of the final segments of the boat's systems still
unfinished was the ship's batteries and related cabling.
There'd been no hurry to complete this system, and I'd
planned all along to put the batteries in the engine
room, on either side of the engine itself. I
planned a house bank composed of four 6-volt batteries
(for a total of about 450 amp-hours' capacity), plus a
separate engine start battery. To hold the
batteries, I'd need boxes on each side of the engine:
I planned two batteries on each side, plus the start
battery somewhere.
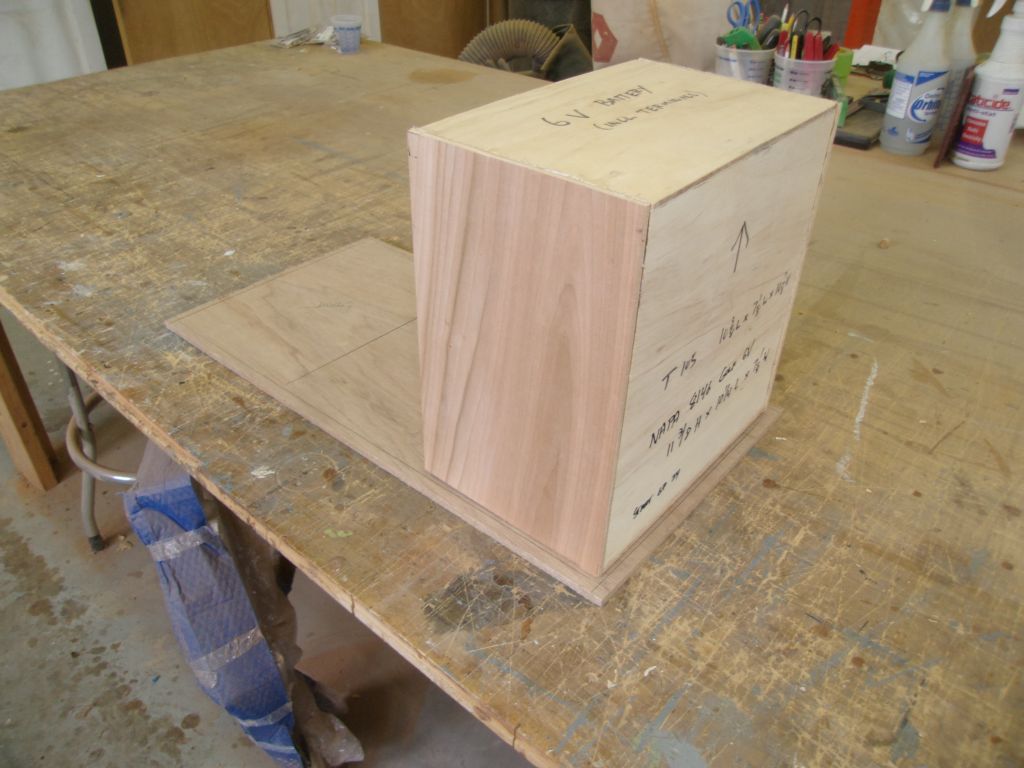
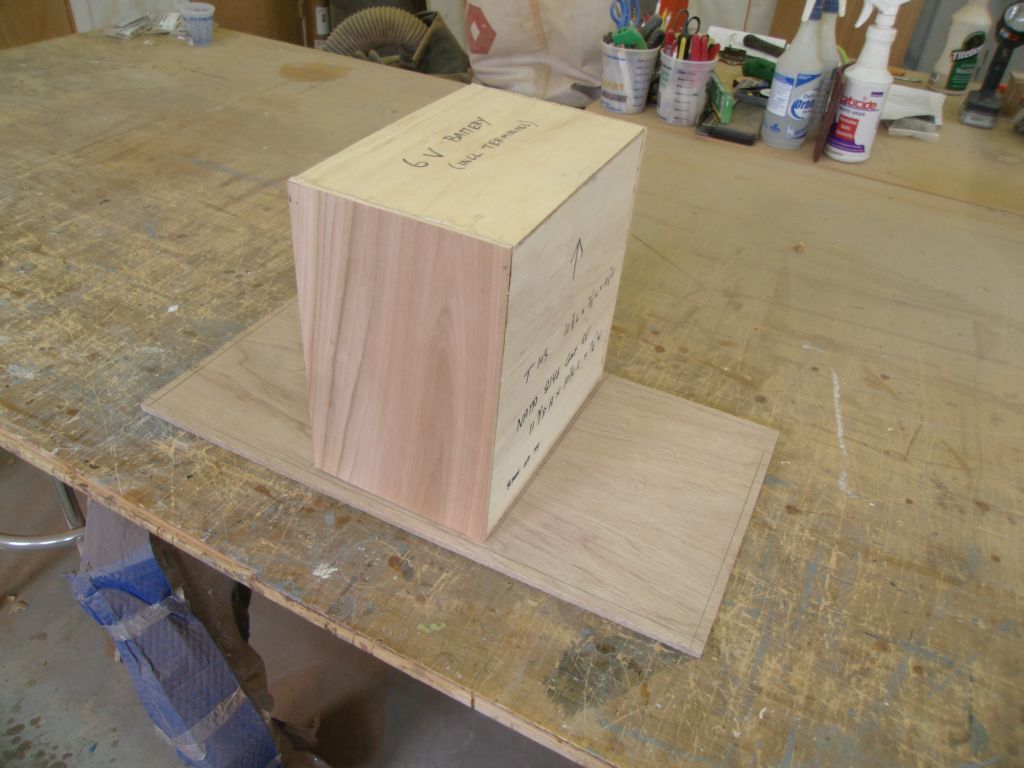
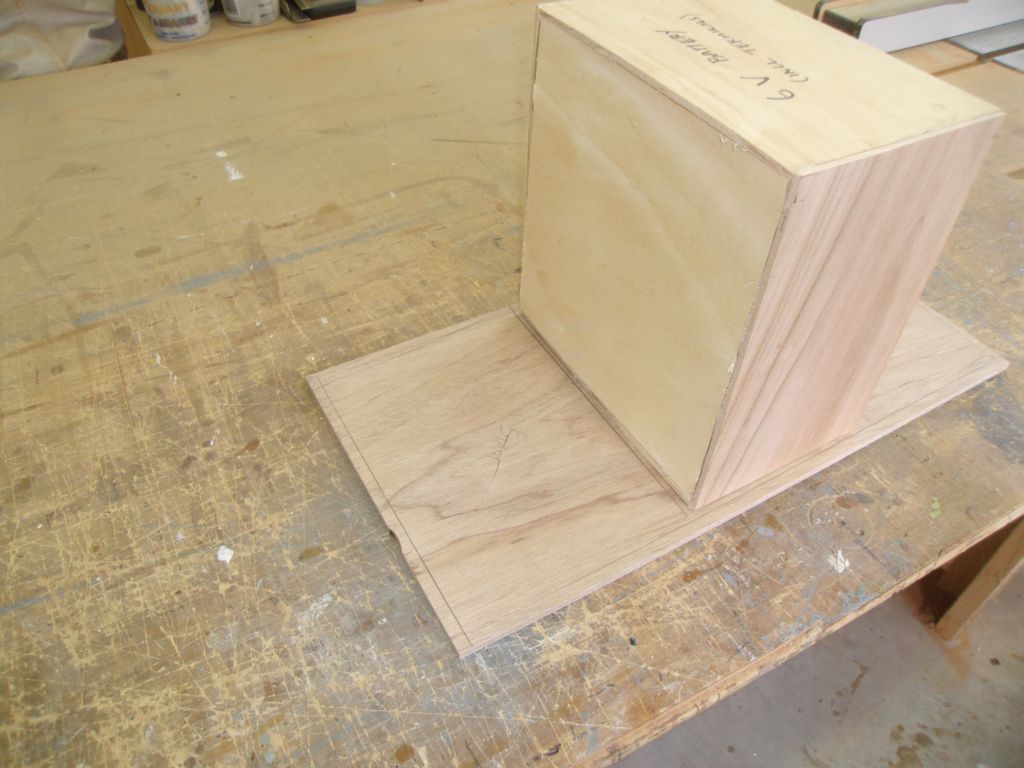
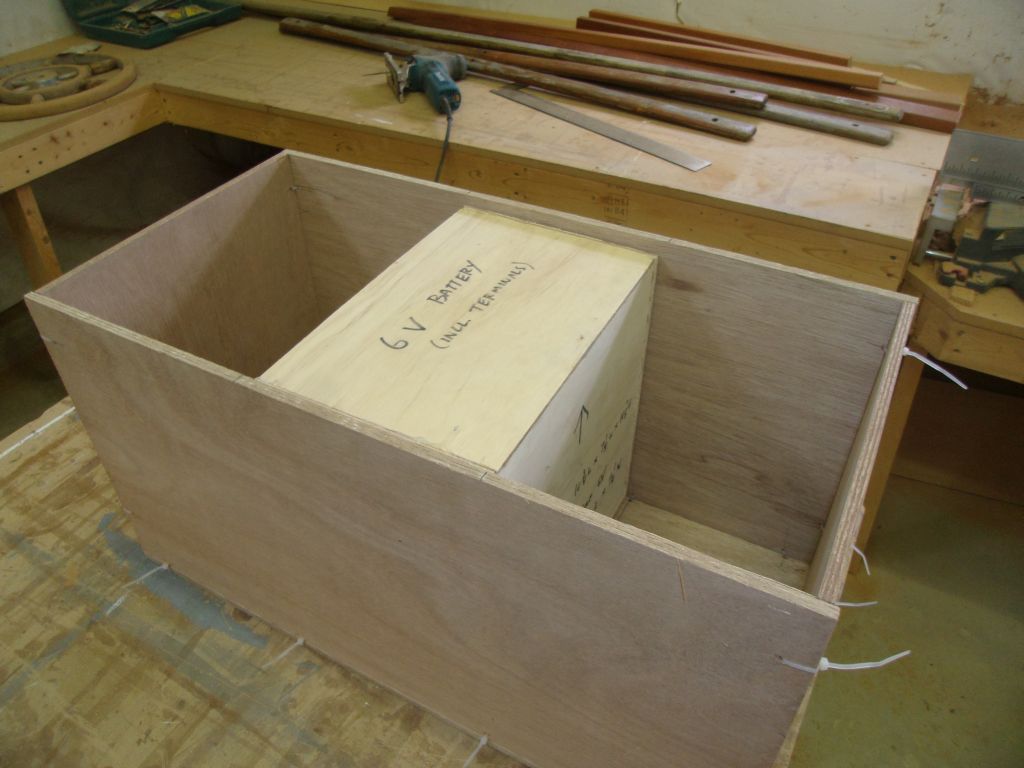
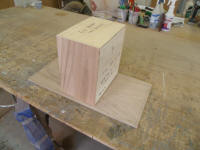
Some time long ago, I'd built a plywood mockup of a
standard 6-volt battery to use for layout purposes.
I generously sized the mockup to represent the maximum
dimensions of the batteries, including the terminals,
plus a little extra. So with my mockup as a guide,
I used a piece of scrap pattern plywood to cut a base of
approximately the size I expected for the battery box,
sized for a pair of the 6-volt batteries. I took
this to the boat to check its fit.
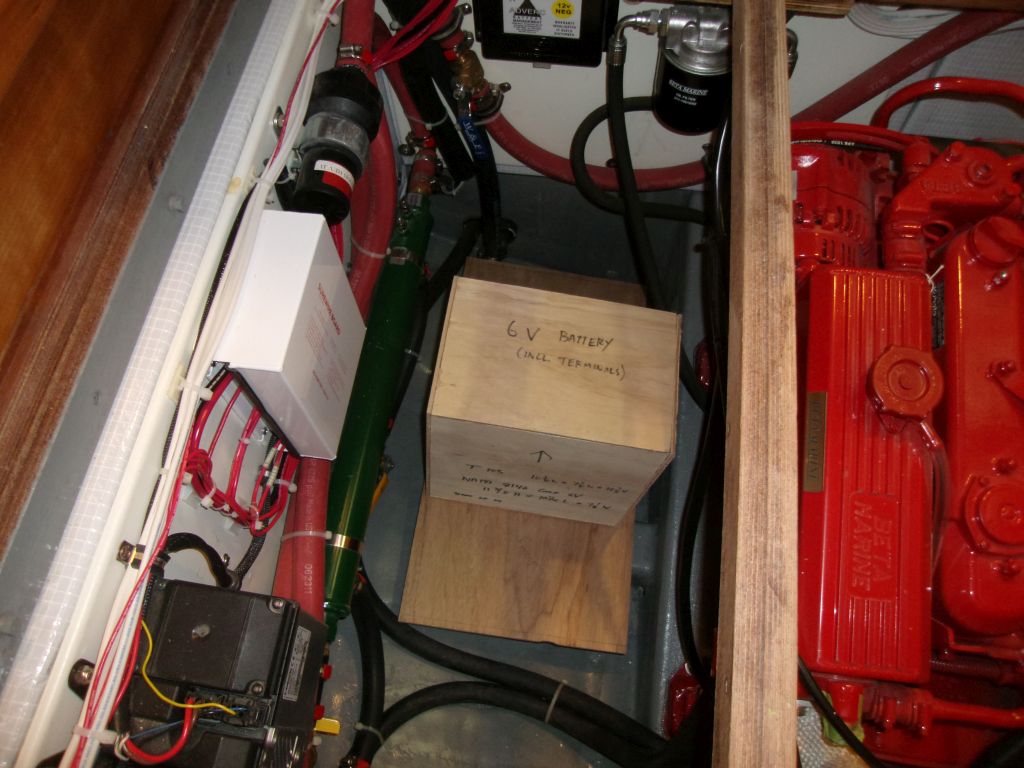
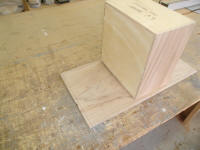
On the port side, there was plenty of space available,
both in footprint and in height, and I immediately saw
that there'd be room to extend this box aftward to
provide space for the start battery within as well. |
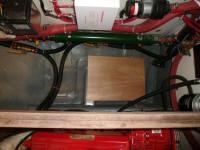 |
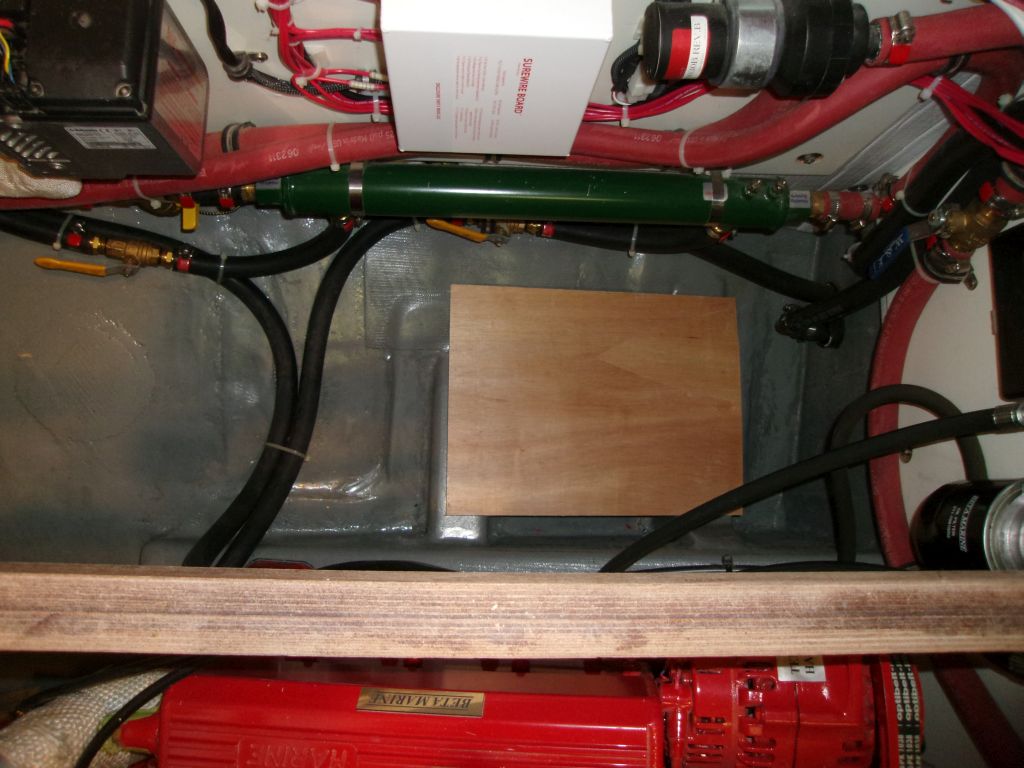
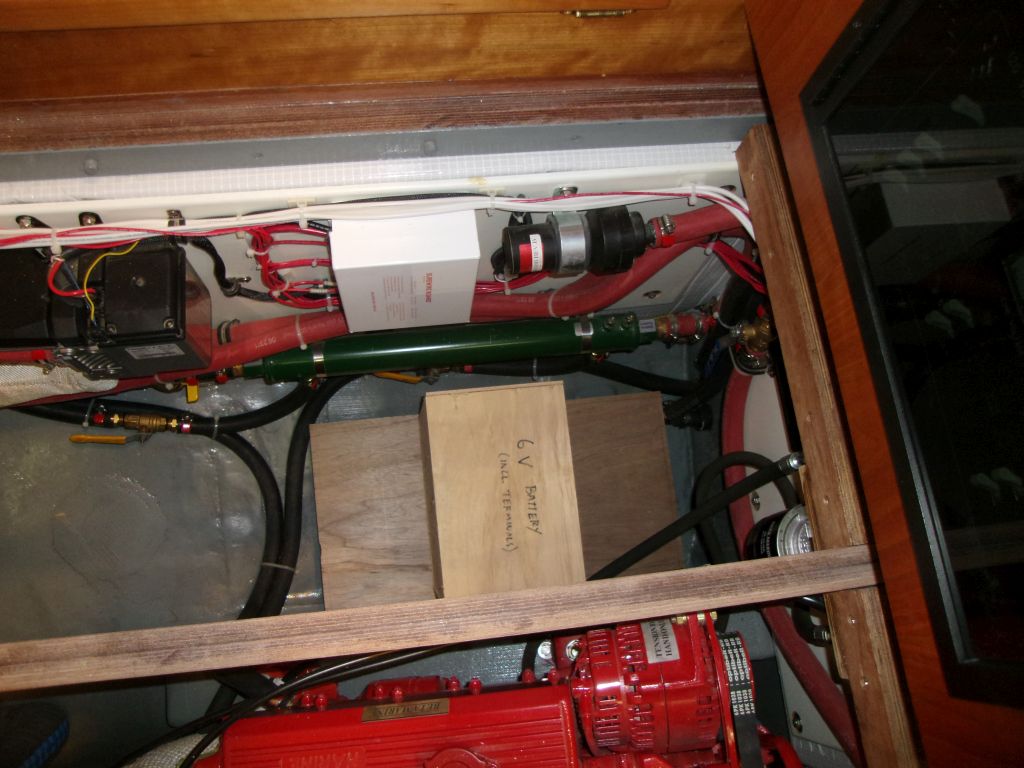
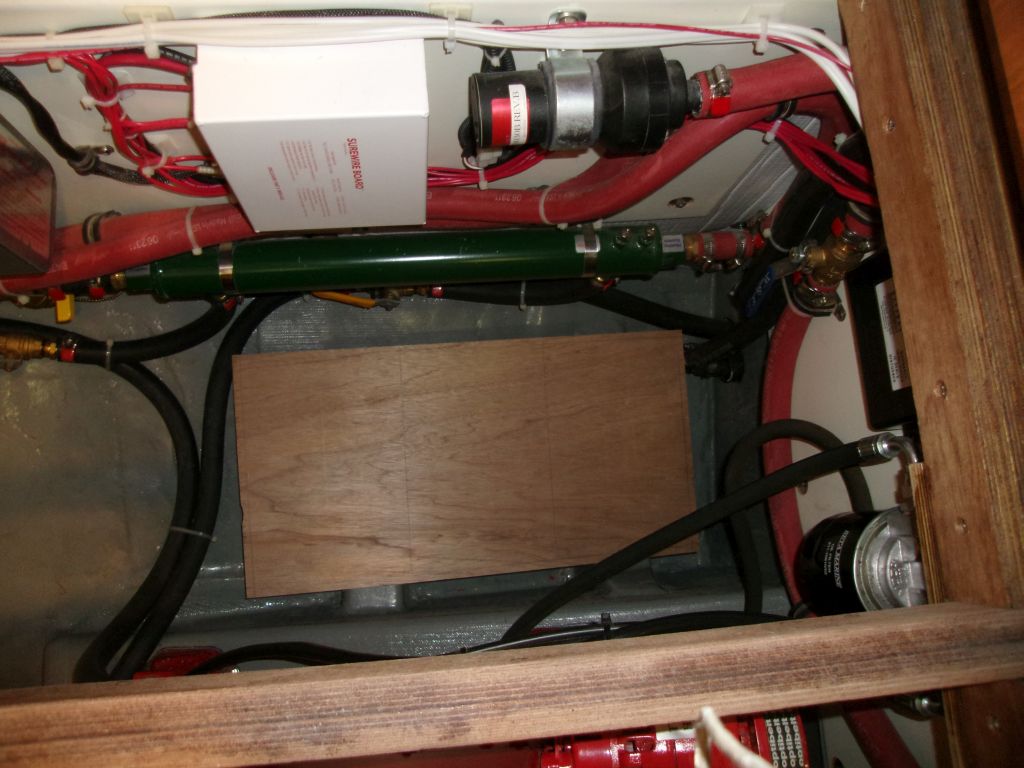
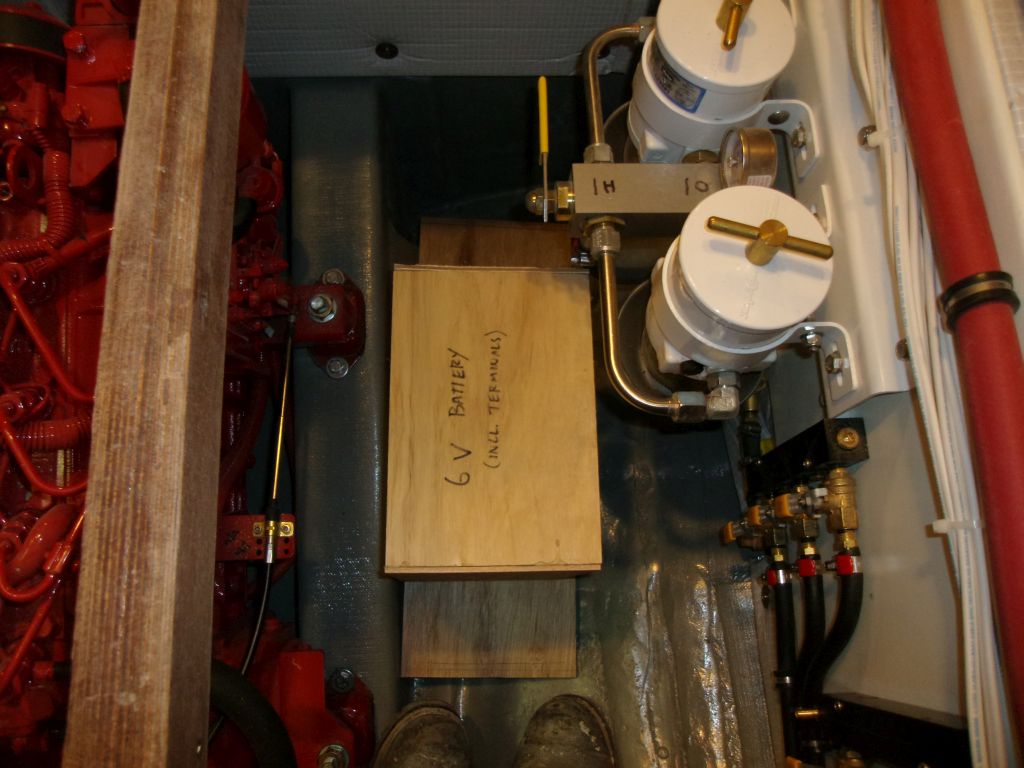
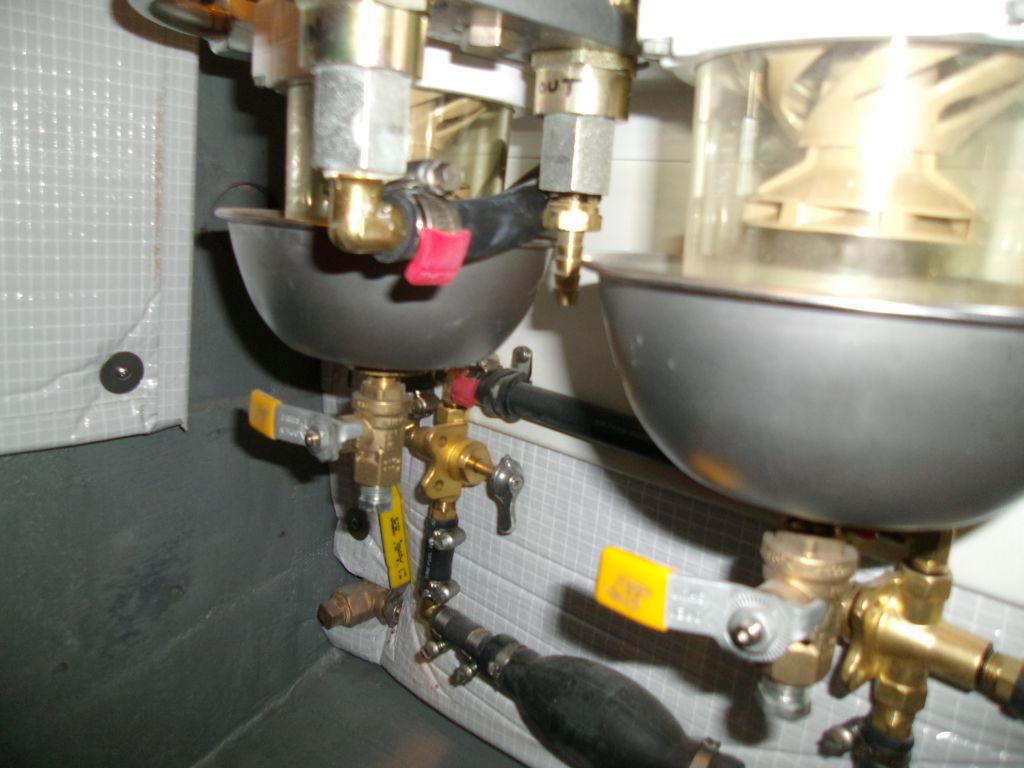
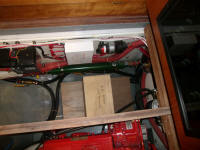
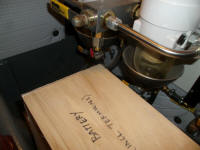
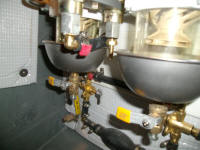
On the starboard side, however, I ran into some
obstructions, mainly from the dual fuel filter assembly.
While there was clear space beneath it, the height of
the batteries was going to cause issues with the current
shape of the box. However, it looked like I could
build a narrower box and align the batteries with their
long dimension parallel to the boat's centerline, which
would keep the height further inboard and clear of the
filters. |
 |
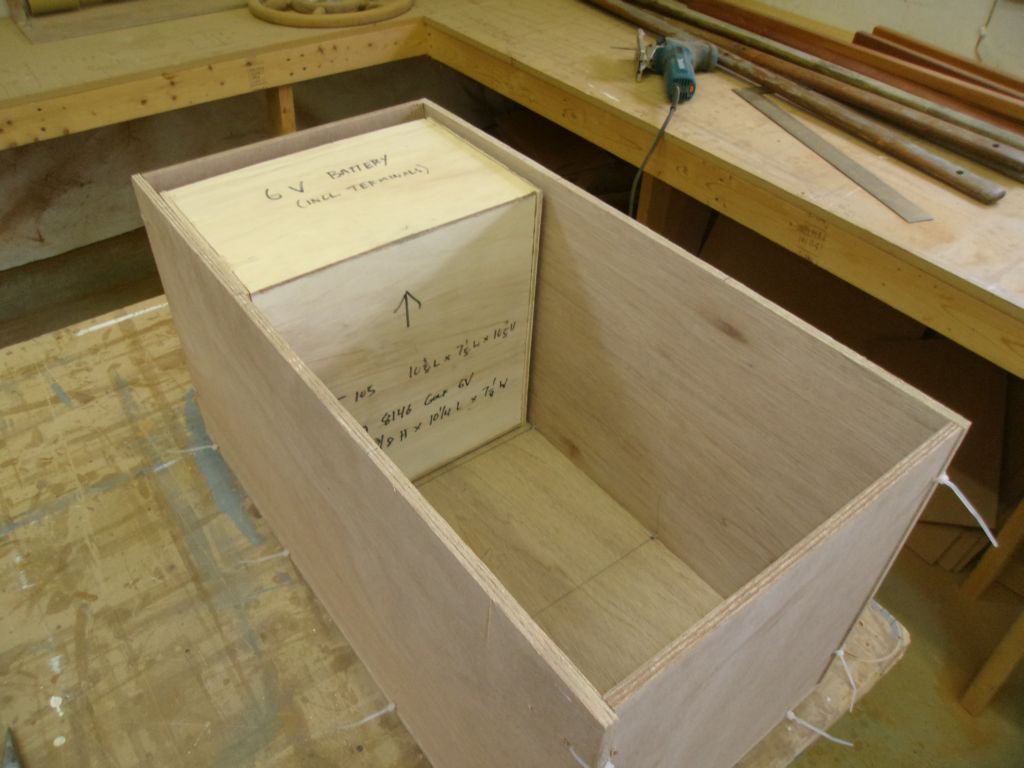
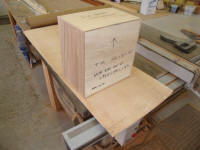
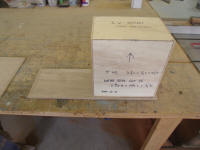
With the basic mockup out of the way, I prepared two
plywood bases for the two boxes required, using various
scraps of marine plywood. For the port side, I
allowed for a pair of the 6-volt batteries, plus a
standard group 24 starting battery (which was a little
narrower than the 6-volts, and quite a bit shorter, but
otherwise of similar footprint). I left room for
the thicknesses of the box walls when I dimensioned the
bases. |

 |
For the starboard box, I built a narrower base that
provided room for two batteries lengthwise as shown. |

 |
With the two "real" bases in the boat, along with the
battery mockup, I tested the fits again. No
problem on the port side: |


 |
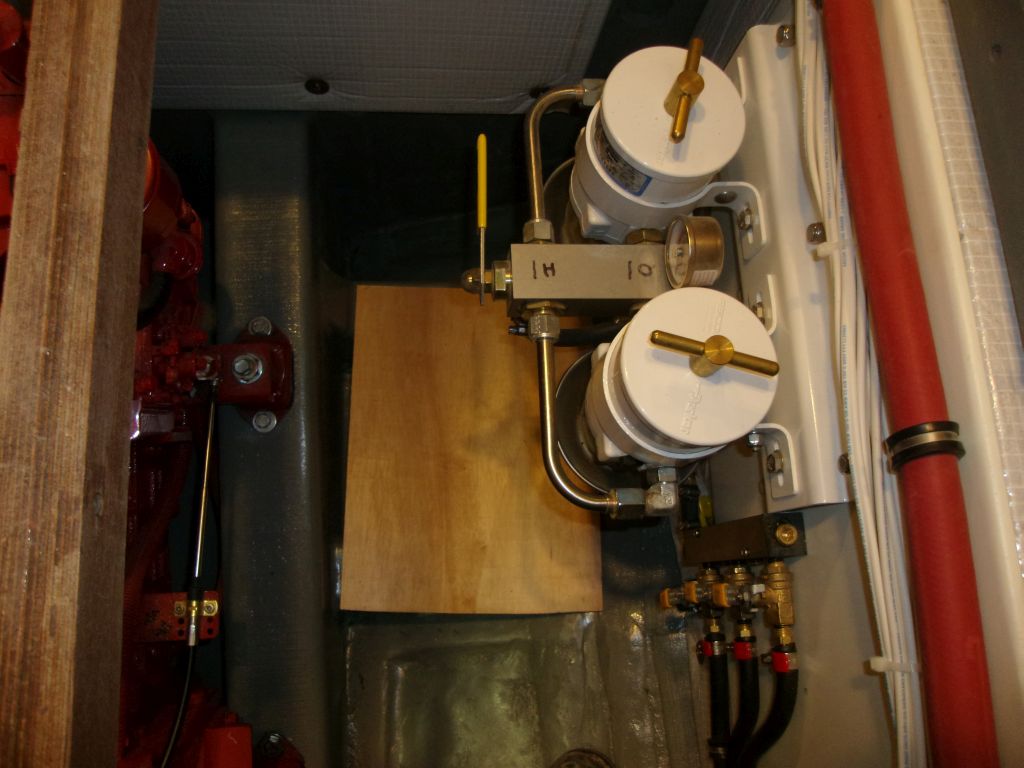
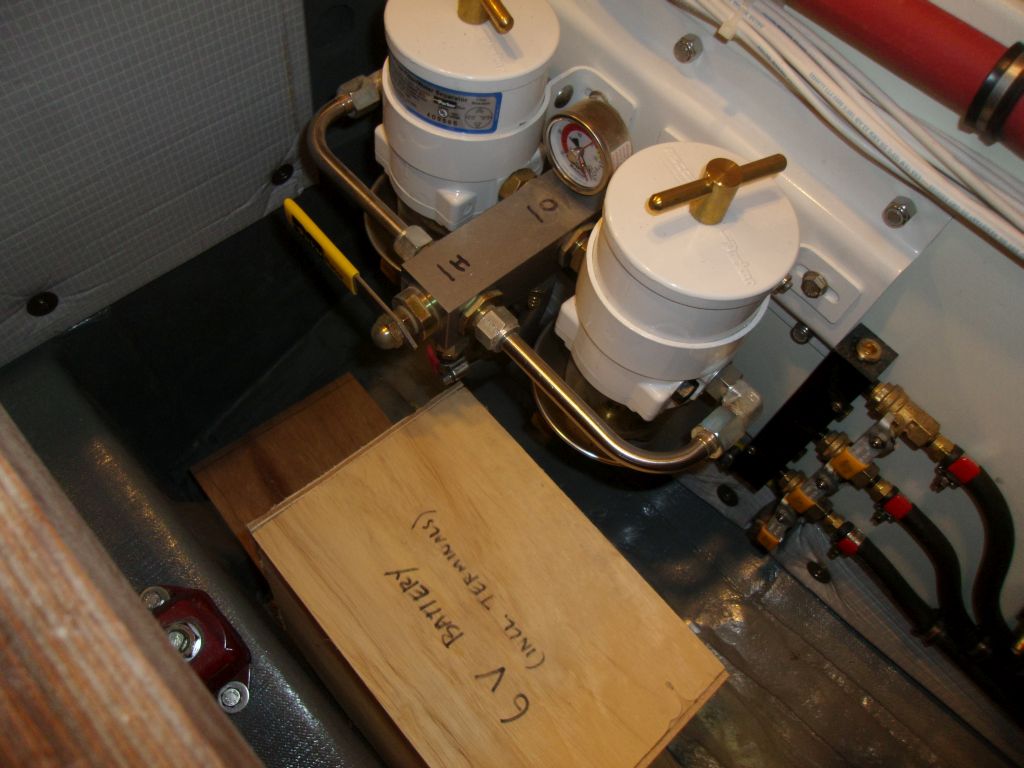
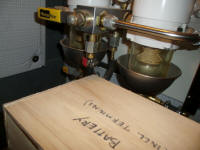
On the starboard side, the base platform fit well
enough, and generally looked like it would work as
planned. However, I noticed interference between
the fuel filter intake fitting and the battery height.
The straight barbed fitting I'd used on the filter
assembly extended down far enough that it would contact
the corner of the box I hoped to place nearby. |


 |
To correct this, and provide an additional inch or so or
critical clearance, I replaced the straight fitting with
a 90° barbed fitting instead, which rerouted the hose
and barb away from the battery box area and saved
crucial vertical clearance. This would make all
the difference. |
 |
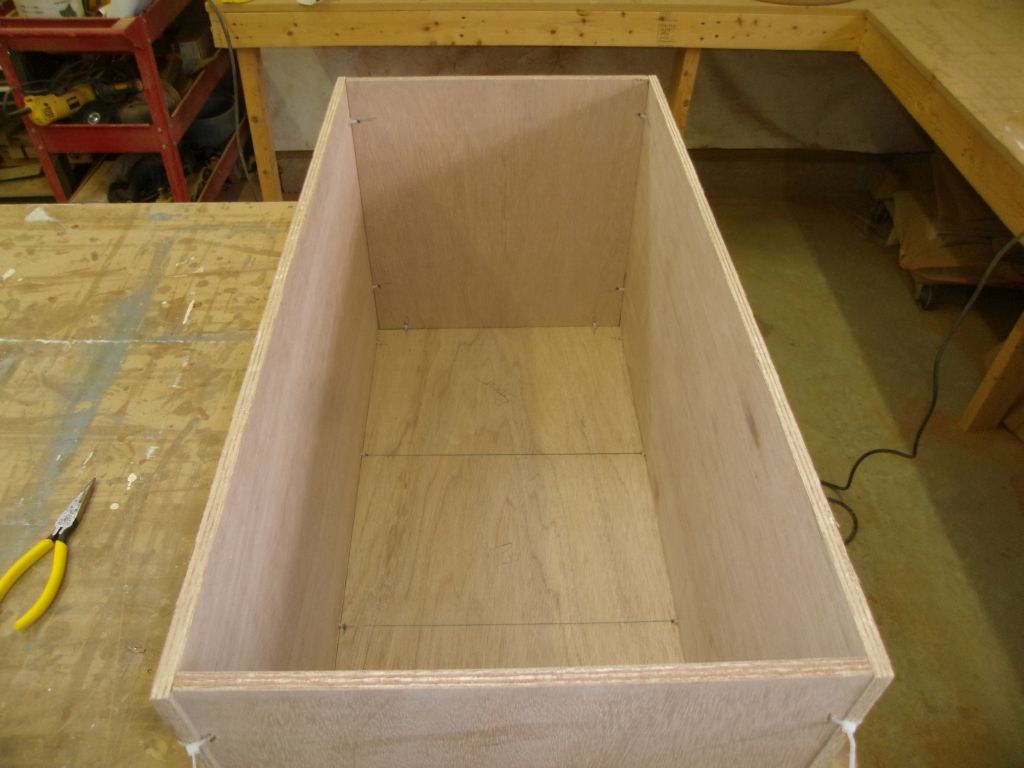
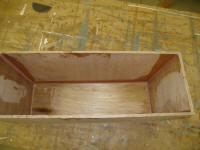
Satisfied that my boxes would work--and, frankly, they
had to, since there really wasn't any alternative
location for the batteries--I went ahead and cut the
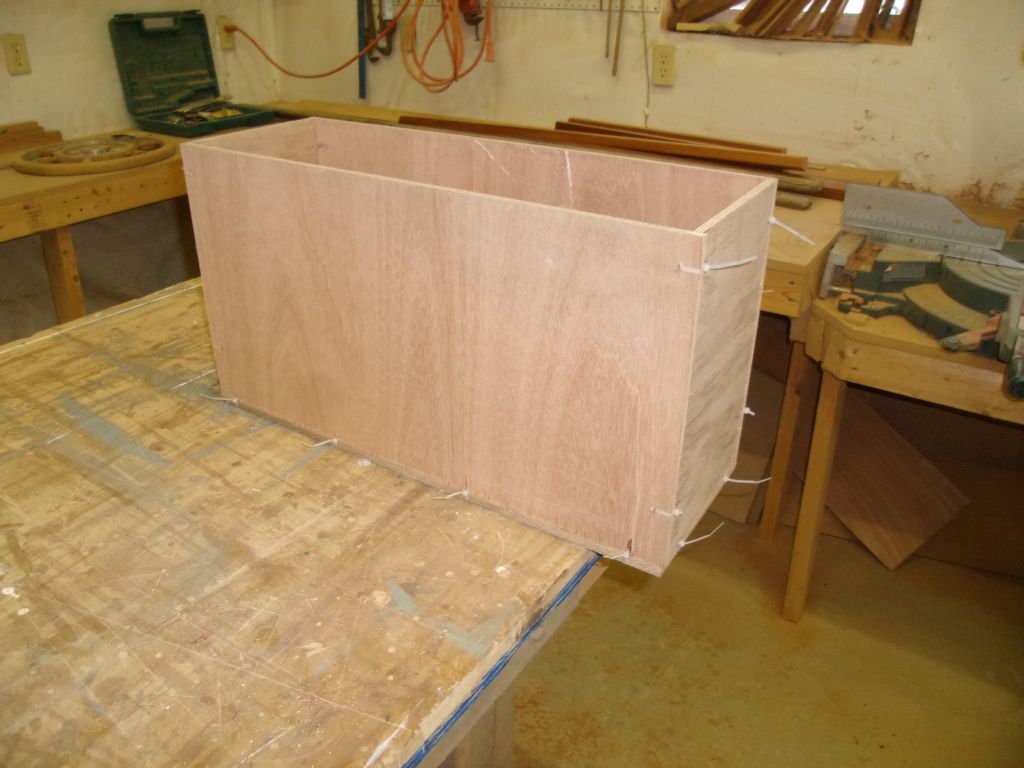
remaining plywood parts for the boxes, "stitching" them
tightly together with plastic wire ties through small
holes at the various edges--the first step in
stitch-and-glue construction.
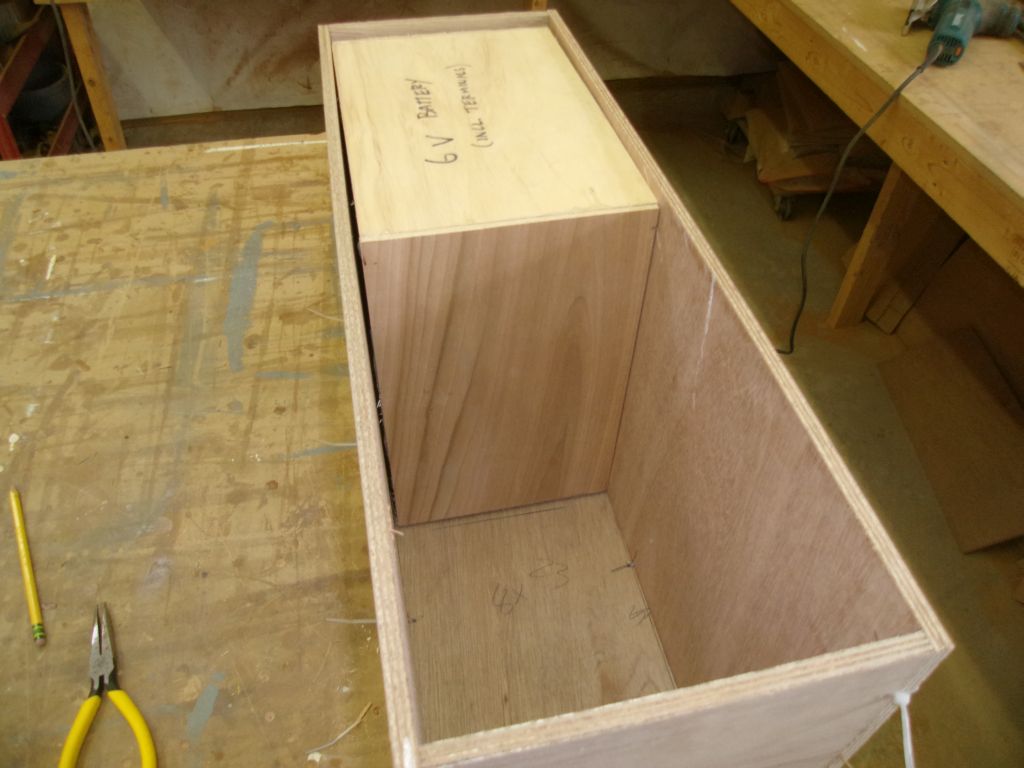
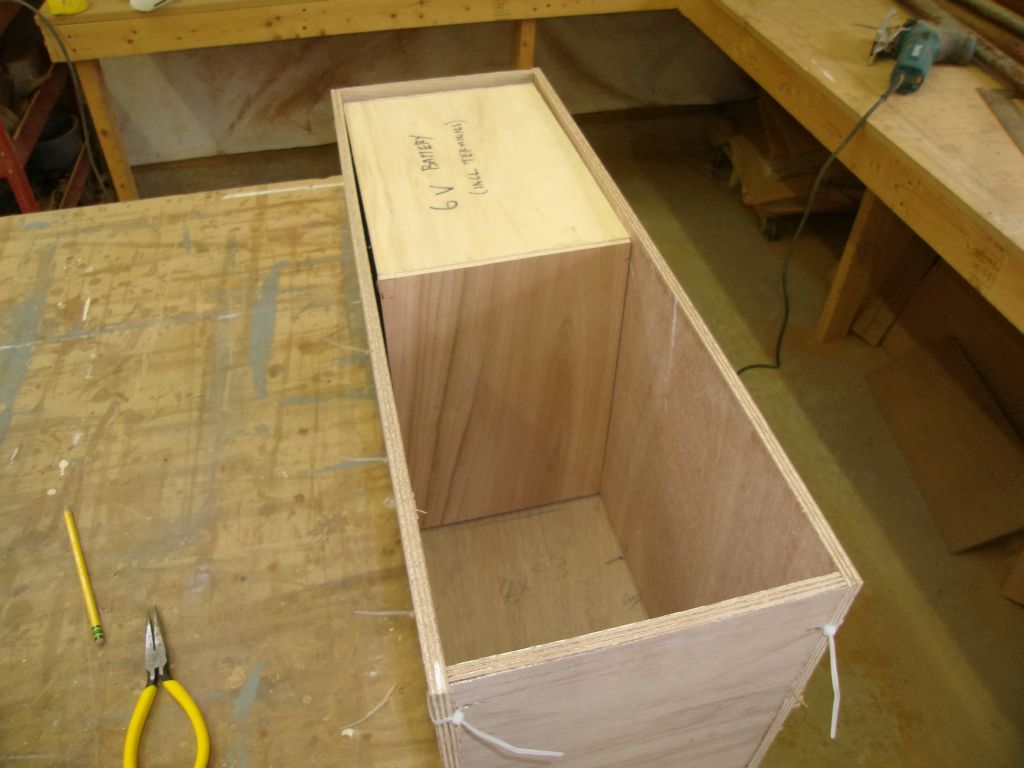
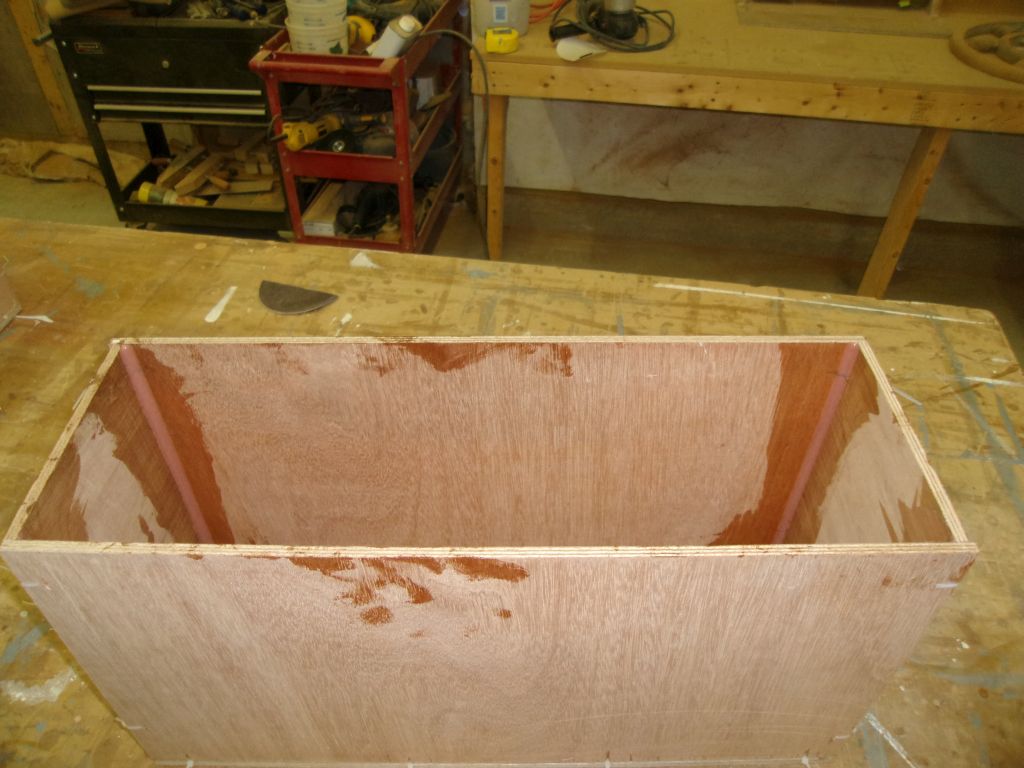
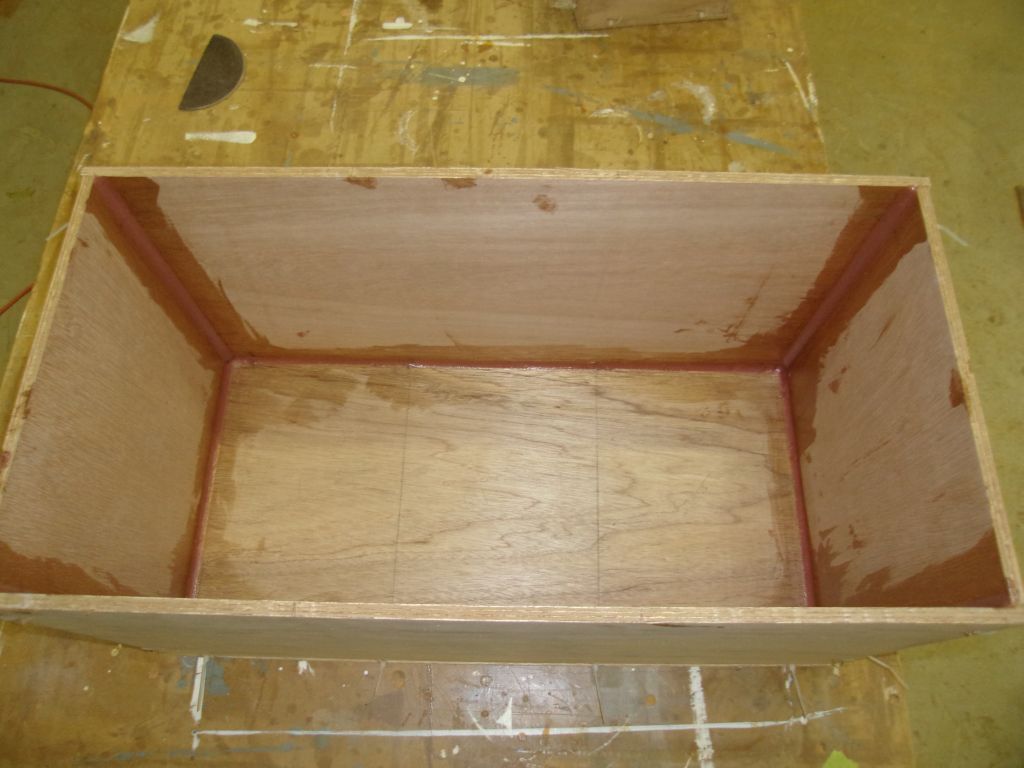
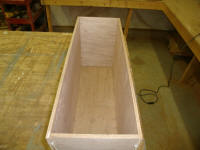
Port box, with room for three batteries: |
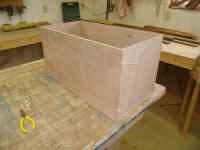

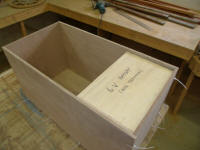
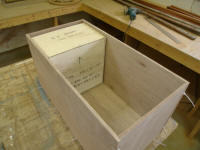 |
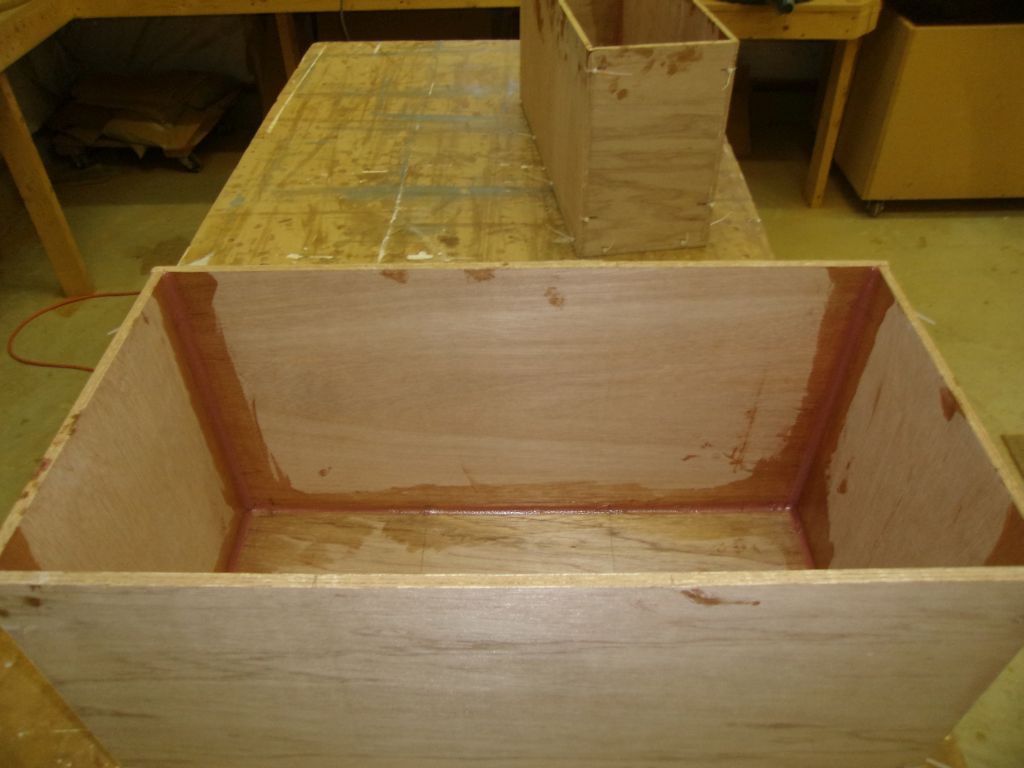
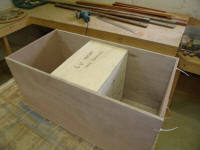
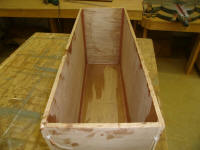
Starboard box, designed for two batteries oriented
lengthwise: |


 |
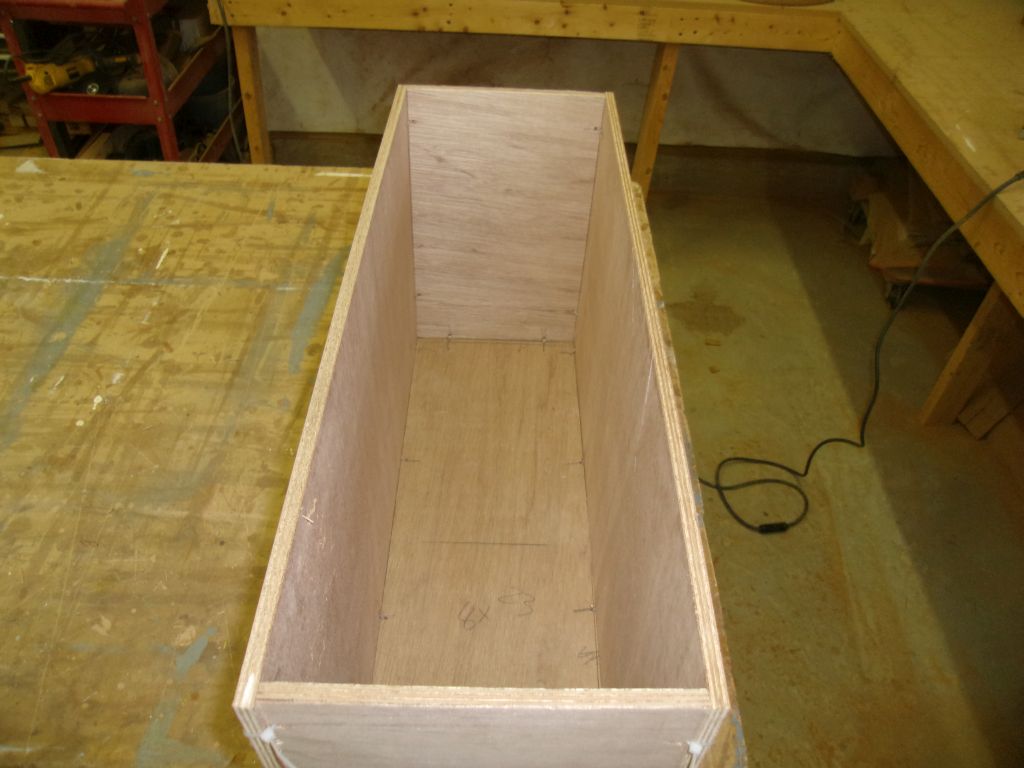
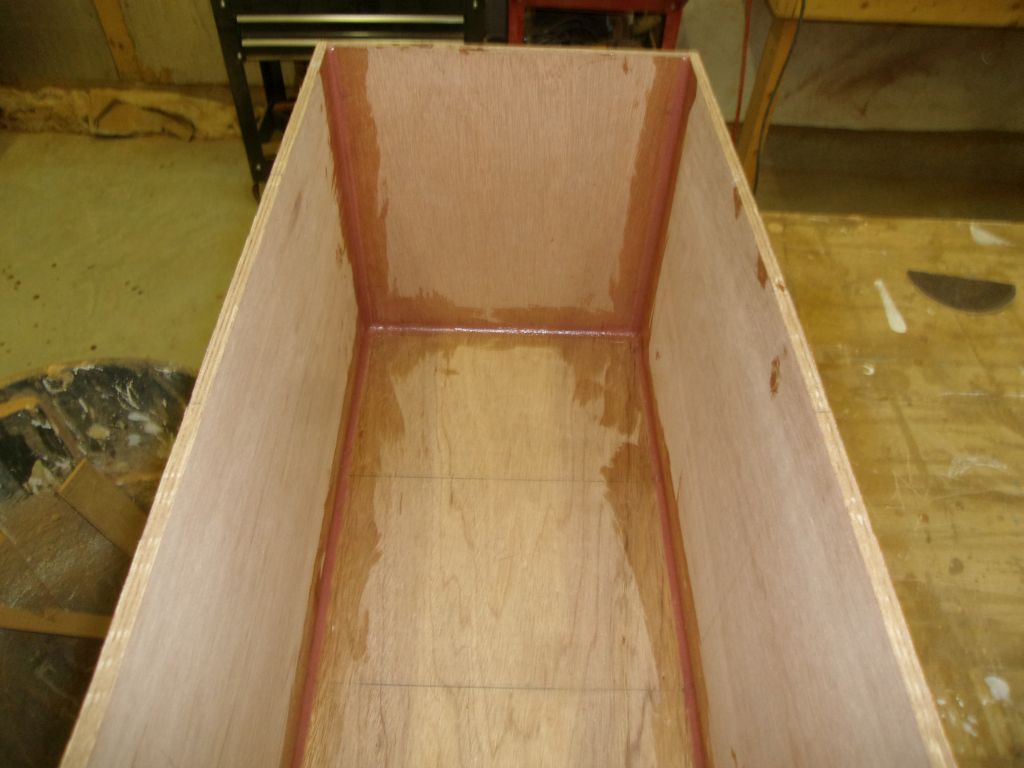
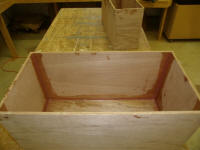
With the boxes held securely in this way, I mixed some
thickened epoxy and formed fillets along the inside
corners of the boxes, which fillets would, when cured,
glue the boxes together and hold them while I
fiberglassed the joints from outside. I kept the
fillets relatively small so as not to impede the fitment
of the batteries in the closely-dimensioned boxes. |


 |
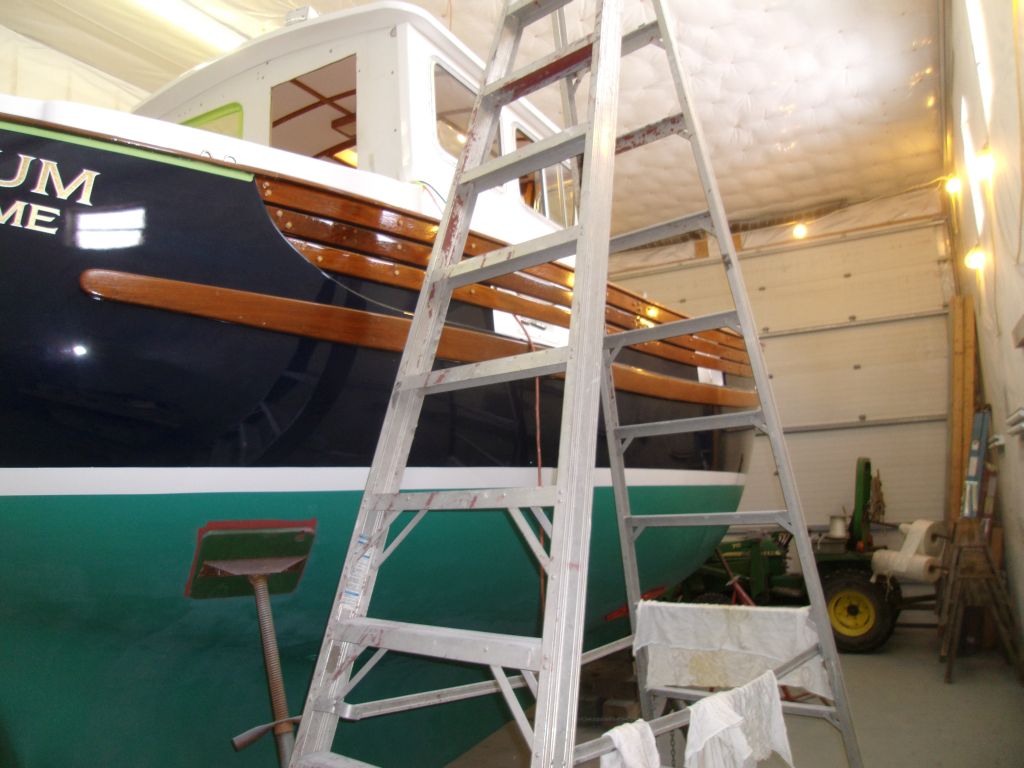
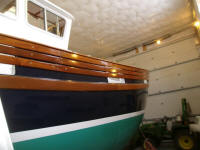
To round out the day, I applied another coat of varnish
to the caprails... |

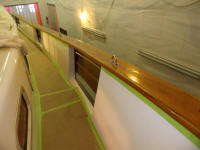
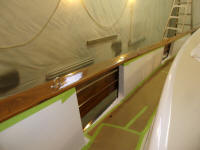
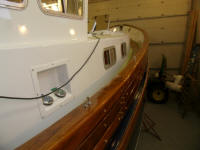 |
...and to the running light boards. |
 |
| |
Total Time Today: 6.25 hours
|
<
Previous | Next > |
|
|