Project Log: Sunday, February 23, 2014
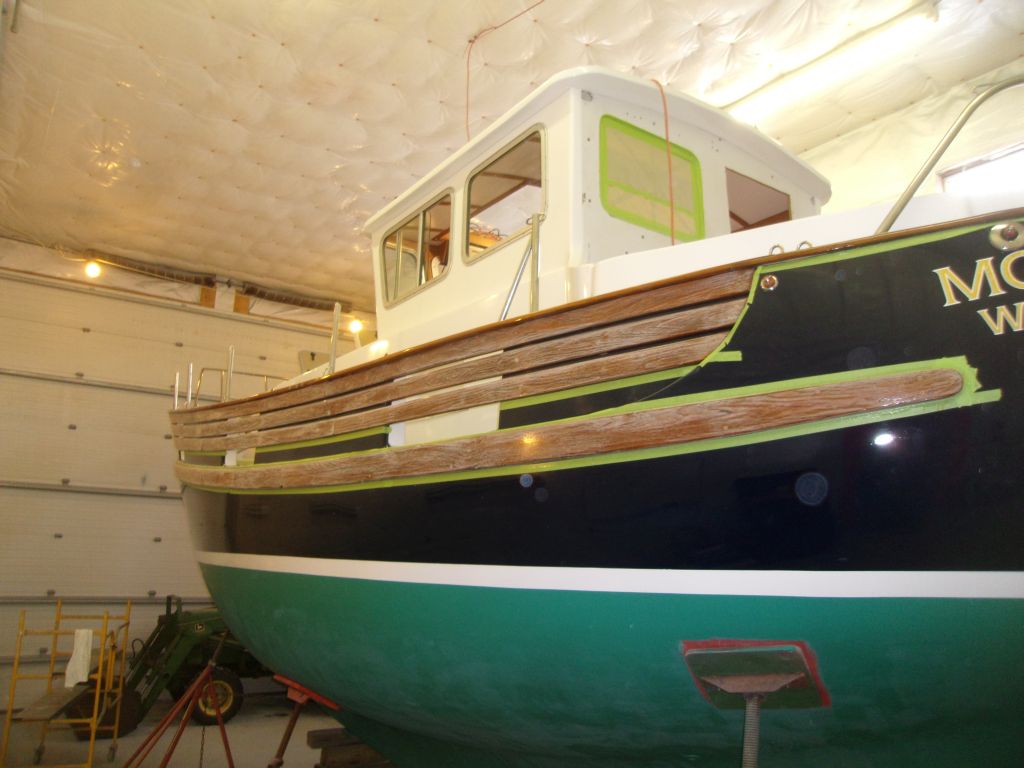
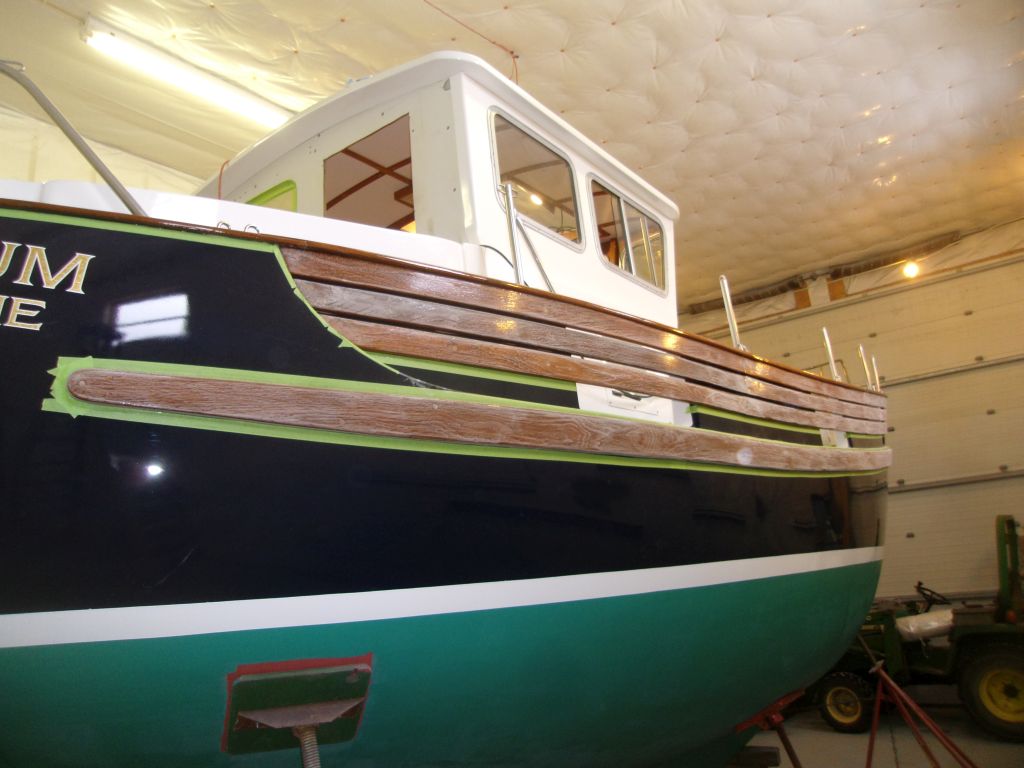
I sanded the fresh varnish on the bulwarks and rubrail,
and cleaned up to prepare for the next coat, whenever I
got to it.
|

 |
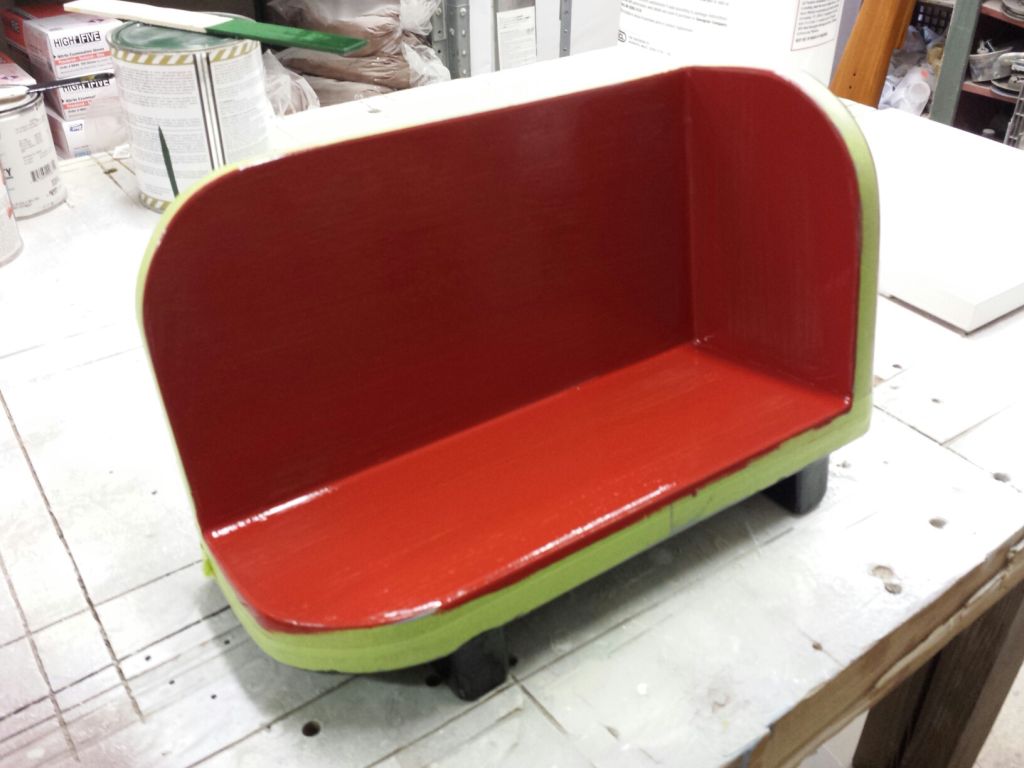
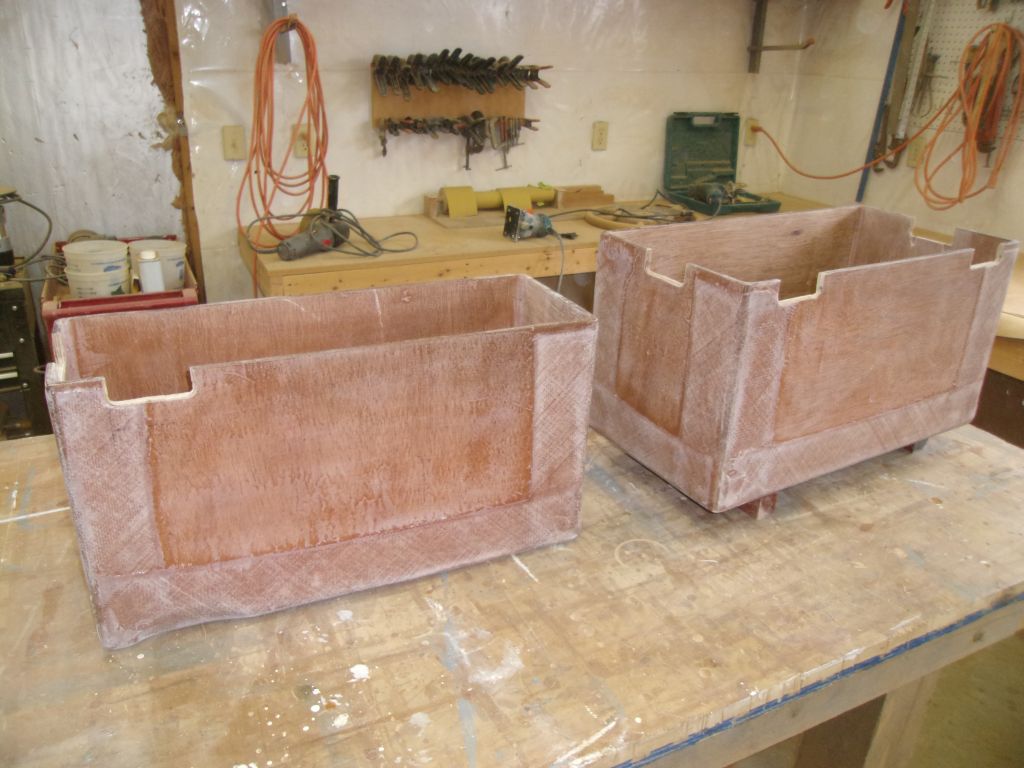
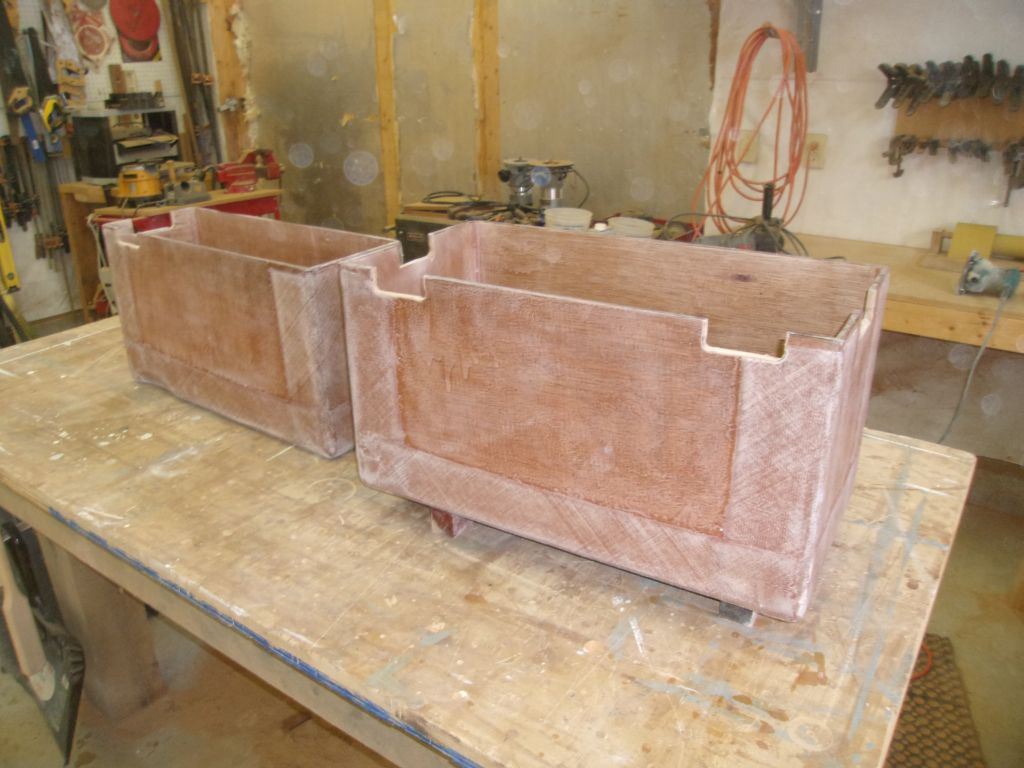
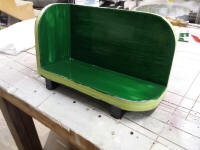
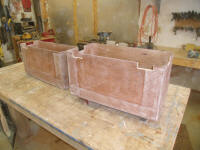
I lightly sanded the primed running boards, then painted
the underpinnings black. Then, I painted the port
side red and starboard side green, first of at least two
coats of paint on the inside surfaces of these units. |

 |
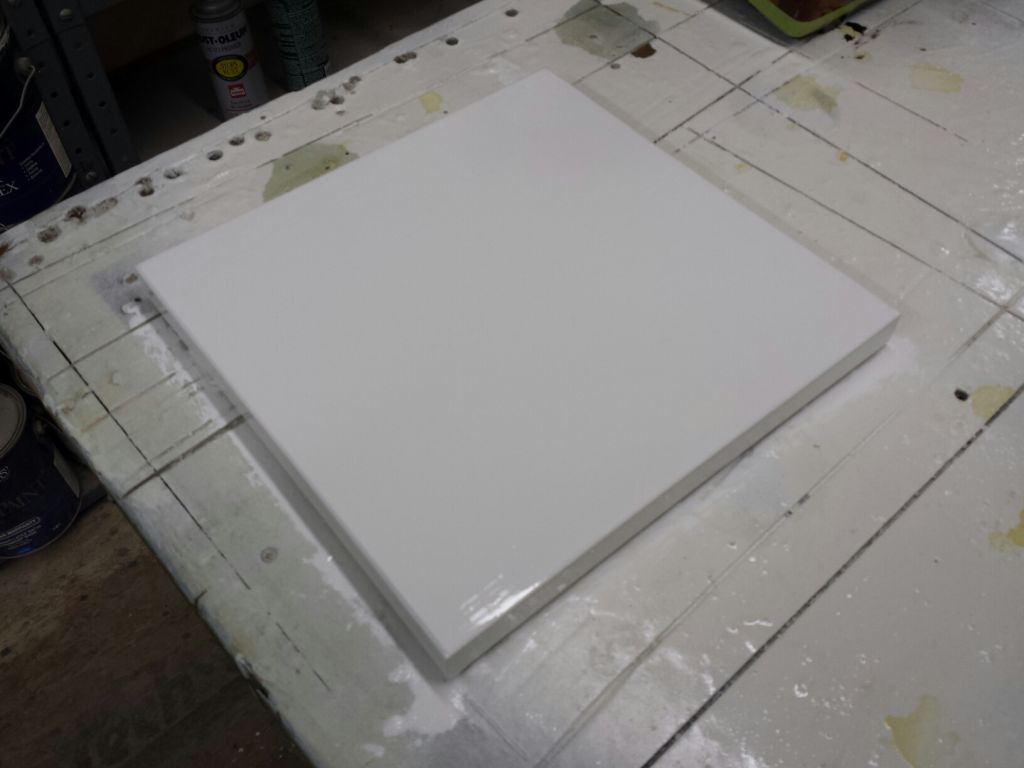
A fiberglass backing plate for the forward mooring bitt
that I'd made and painted long, long ago had been
affected by some overspray during another project in the
shop, so I lightly sanded the surface and applied more
of the semi-gloss white paint that I'd used before. |
 |
After water-washing, I lightly sanded the epoxy-coated
battery boxes, just to scuff the surface for paint, and
prepared openings to provide access for the battery
cables later. |

 |
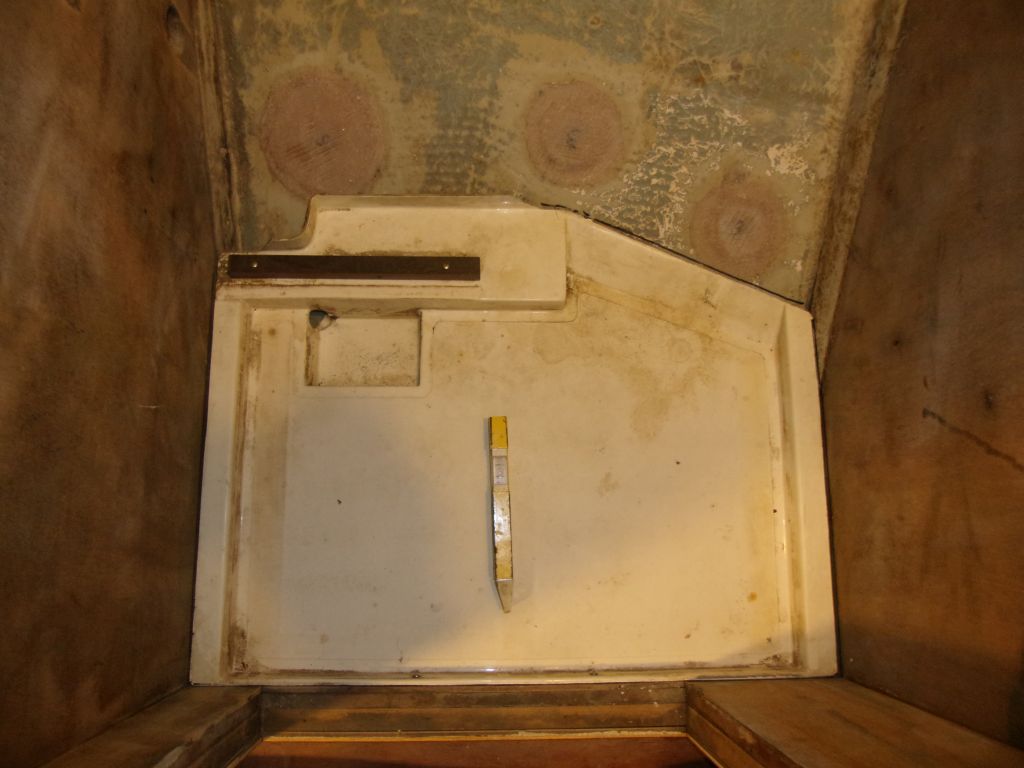
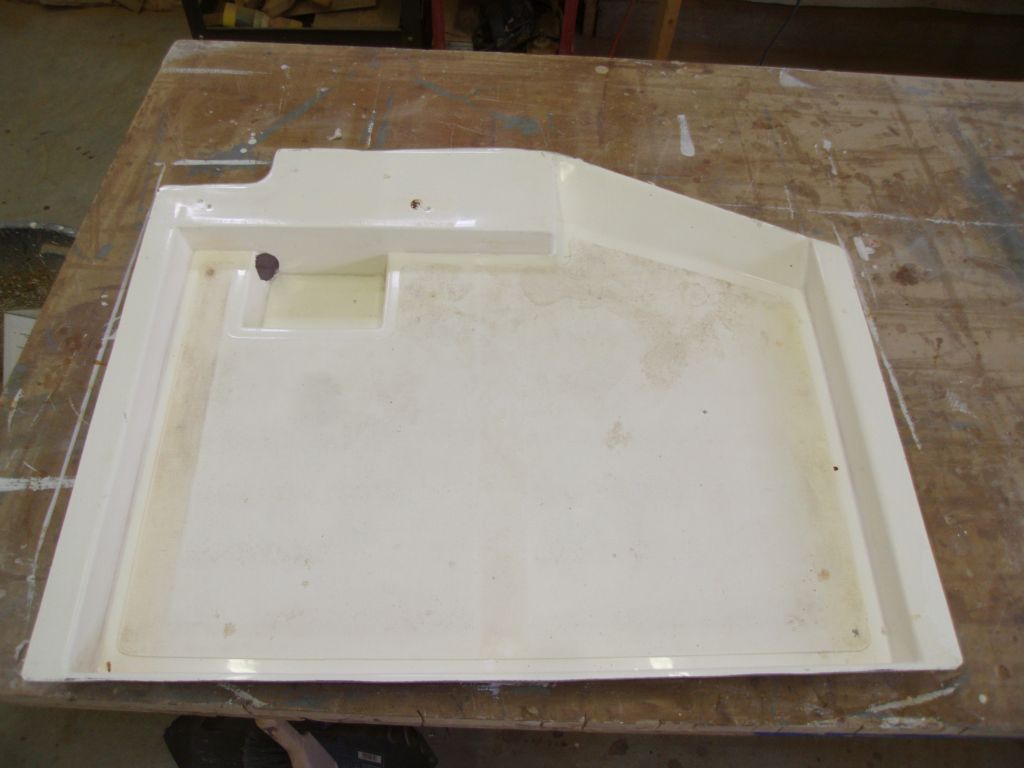
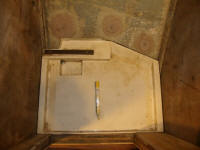
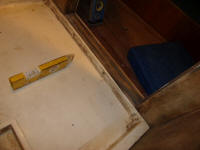
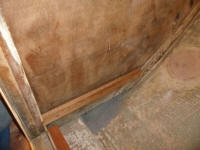
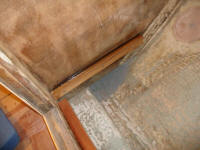
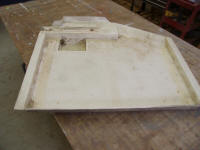
Next, I turned to the head. In order to
build the platform for the marine toilet itself, I first
had to figure out the shower pan, which acted as the
sole in the space. It'd been a long time since I
removed it, and at first remembered nothing about its
original installation. Looking over the
space and the pan, I noticed several holes on the
inboard edge of the pan, which corresponded with holes
in the existing bulkhead, so I temporarily refastened
the molded pan in its now-obviously original location,
which positioned the pan correctly in the space, with a
slight angle towards the outboard, after side where the
shower sump drain was located. |
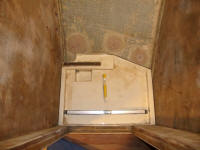 |
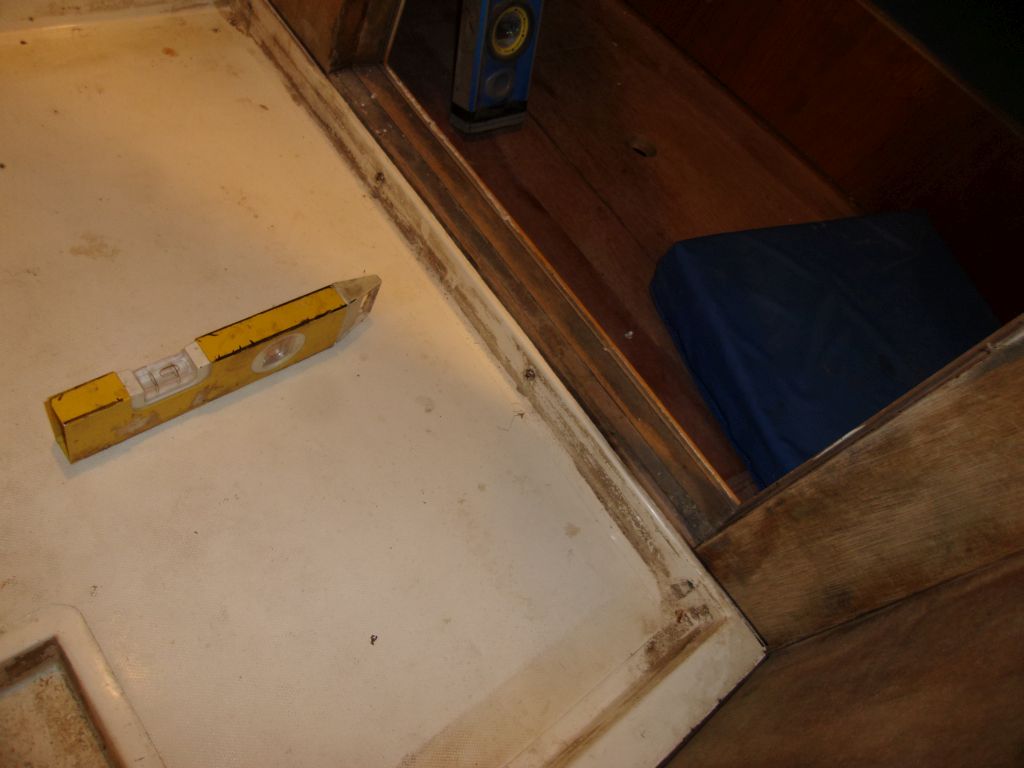
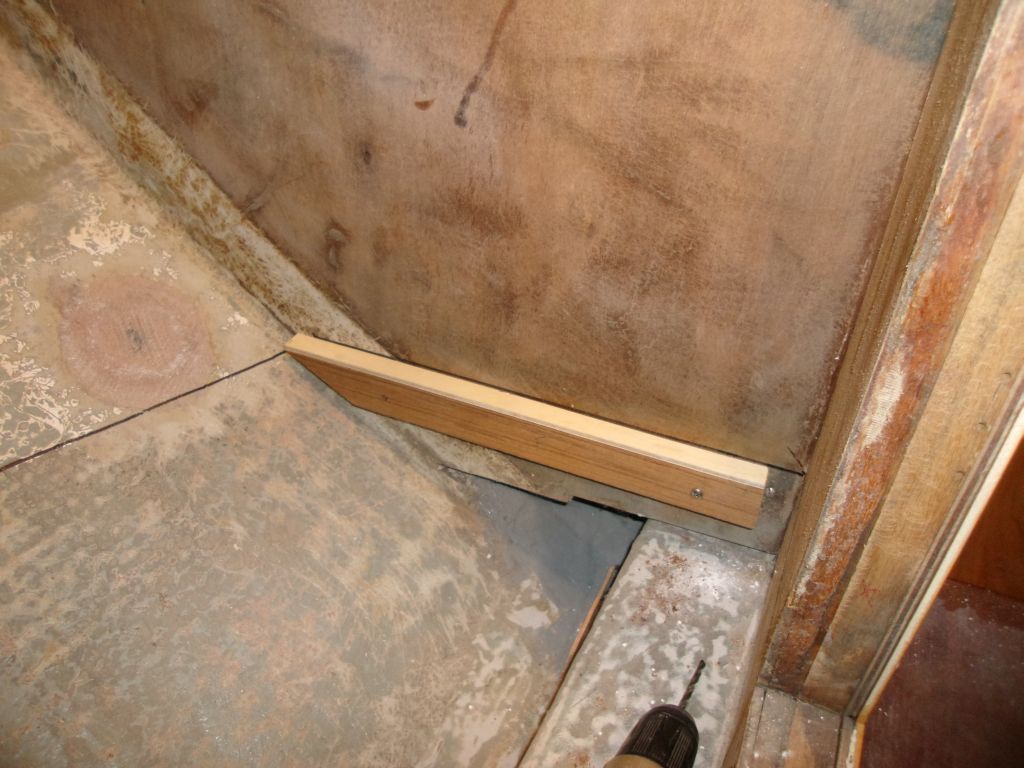
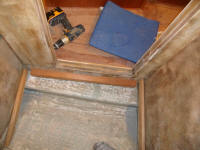
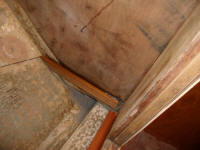
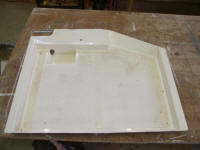
The molded unit required additional support beneath its
edge flanges, so I marked the bulkheads along the top
edges of the platform in its current position. The
flanges at each edge were about 1/4" thick, so I'd
adjust the tops of the cleats downward accordingly
during installation.
I thought a support cleat at the inboard edge (that's
the side at the bottom of the photos of the space) would
be good too, rather than relying just on four screws to
hold up the pan. Here, there wasn't a molded
flange, so I'd need a wider cleat located 2" down from
the top edge, the depth of the molded pan itself.
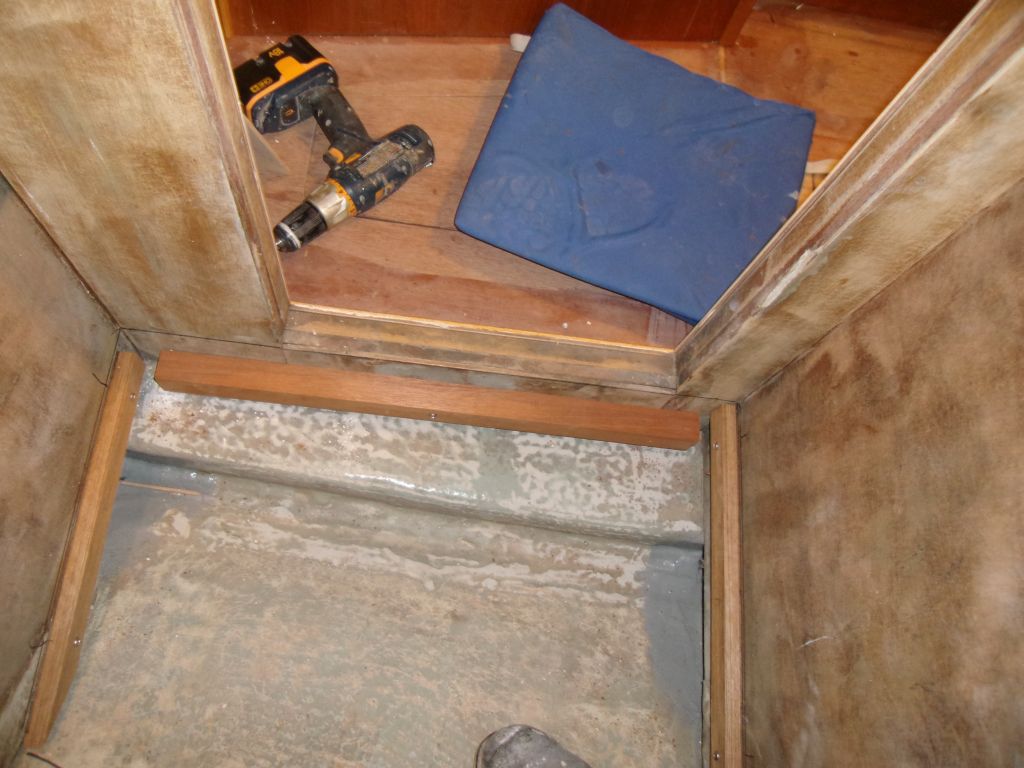
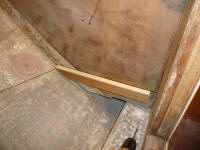
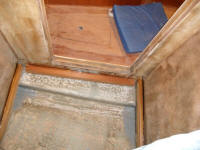
From scrap teak and mahogany, I prepared support cleats
of the proper size for each location. To properly
position the fore and after cleats, I used a scrap of
1/4" plywood to position the cleats at the proper height
to support the edge flanges. For now, I dry-fit
the cleats with screws. |
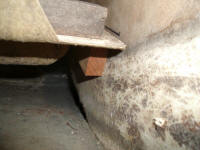 |
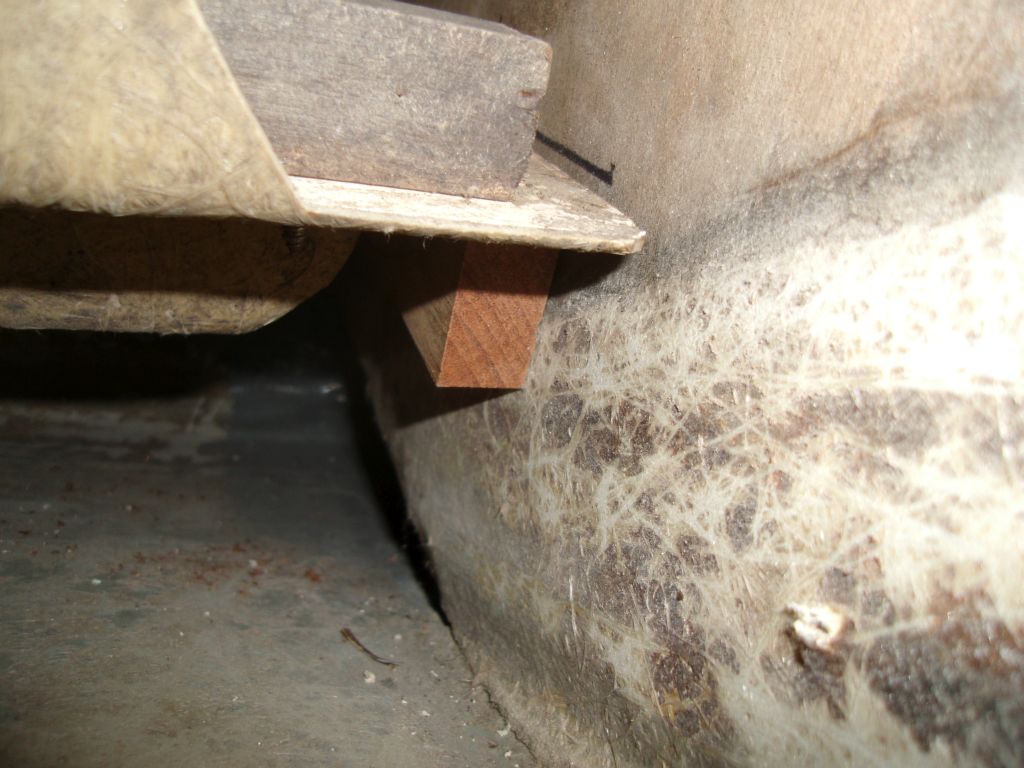
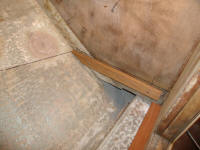
Next, I reinstalled the cleats with epoxy adhesive,
using the screws to hold the cleats while the epoxy
cured. |
 |
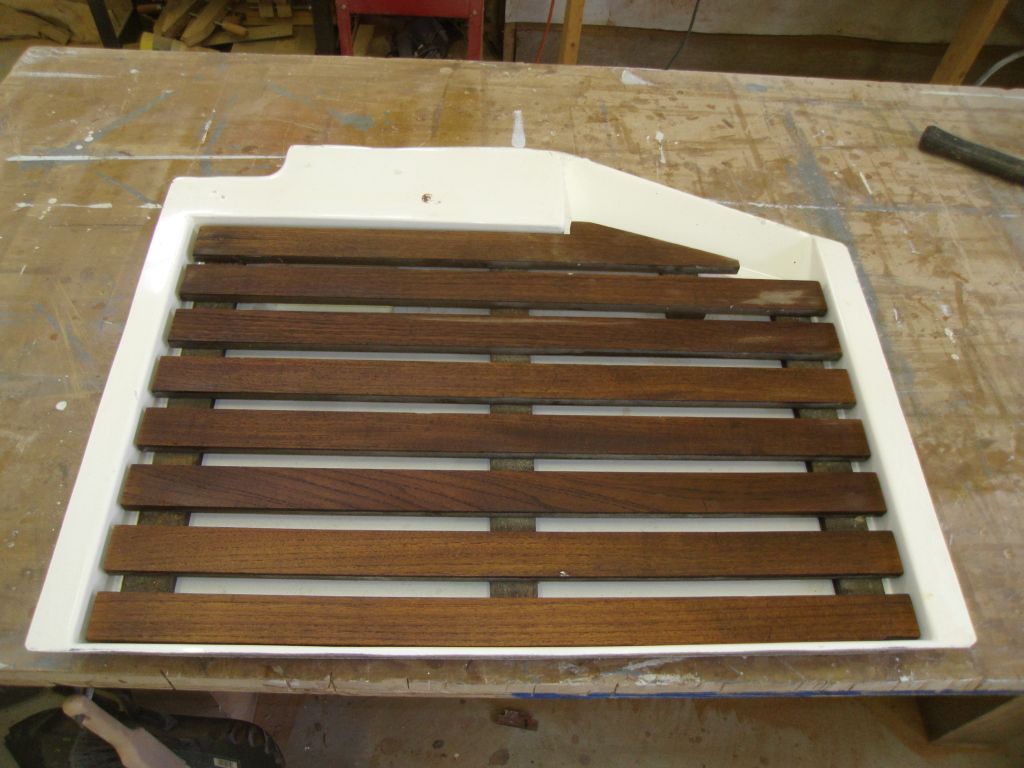
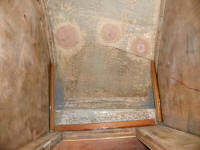
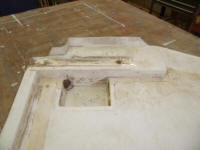
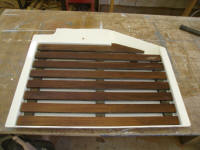
Looking at some pictures of other boats online, I
remembered that there was a teak grate that fit inside
the molded pan, which I went and found in my storage
area. The grate was in good condition, once I
lightly sanded the bare teak to renew its surface.
Meanwhile, I used some rubbing compound on the molded,
gelcoated pan to clean up the surface. With the
teak grate that would cover the surface, I saw no need
to go to extensive efforts to restore the pan beyond
that which normal cleaning products would achieve.
I did remove an old wooden cleat of unknown purpose,
along with a molded, upturned flange at the outboard
edge, both of which would serve no use in my planned
installation. |
 |
Before installation, I'd install a new drain fitting in
the sump, and paint the underside of the platform along
with the spaces in the boat. Once the shower pan
was installed, I could move on with the head platform
itself, through hulls, and other aspects required to
finish off the space. |
| |
Total Time Today: 4.75 hours
|
<
Previous | Next > |
|
|