Project Log: Friday, February 28, 2014
I had to run errands and take care of other business all
morning, but after lunch I got back to work in the head,
with the through hulls. To begin, I lightly sanded
inside the holes in the hull, and around the backing
plates as needed, and also sanded away the bottom paint
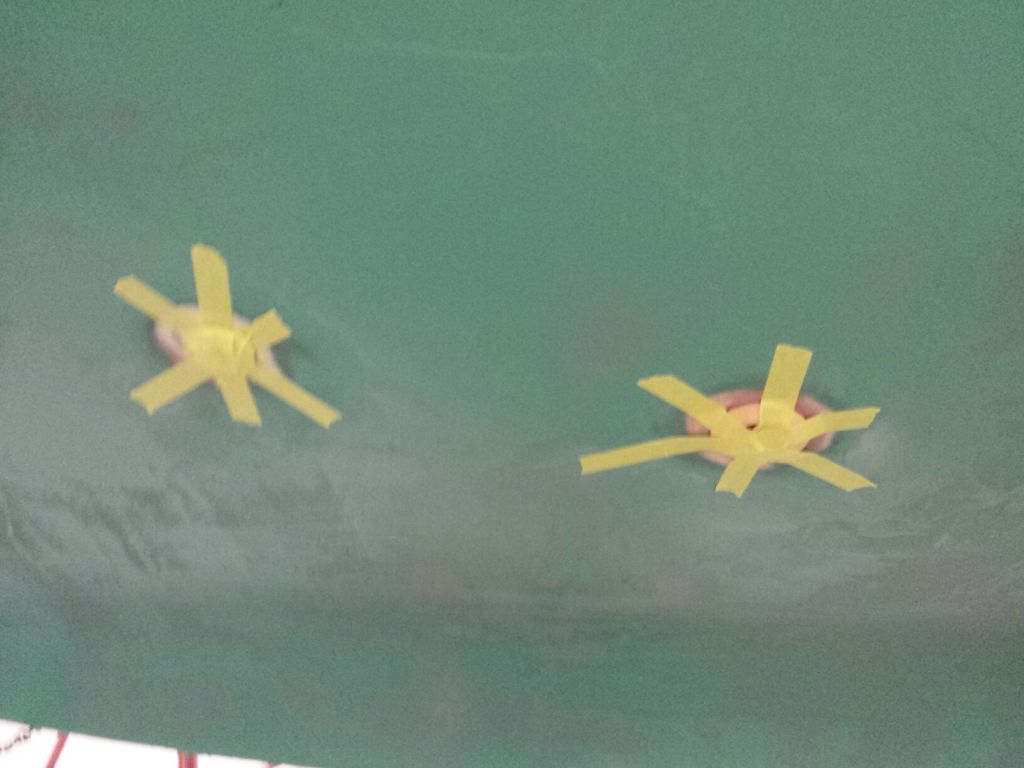
around the outsides of the holes. After cleaning
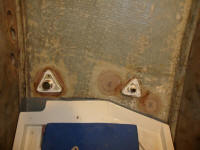
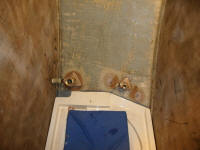
up, I inserted the through hulls from outside and taped
them in place.
|
 |
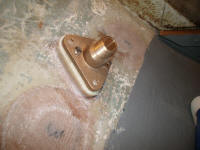
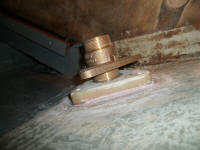
Inside, I threaded on the flange base fittings to
determine how much, if at all, I needed to cut off the
length of the through hull fitting. The intake
fitting was OK as is; I was able to thread the flange on
all the way without bottoming out. |
 |
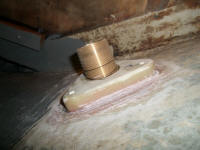
However, as expected, the discharge fitting was too
long, and with the base threaded on all the way there
was about 1/2" of excess length beneath. So I'd
need to cut down the through hull by about this amount. |
 |
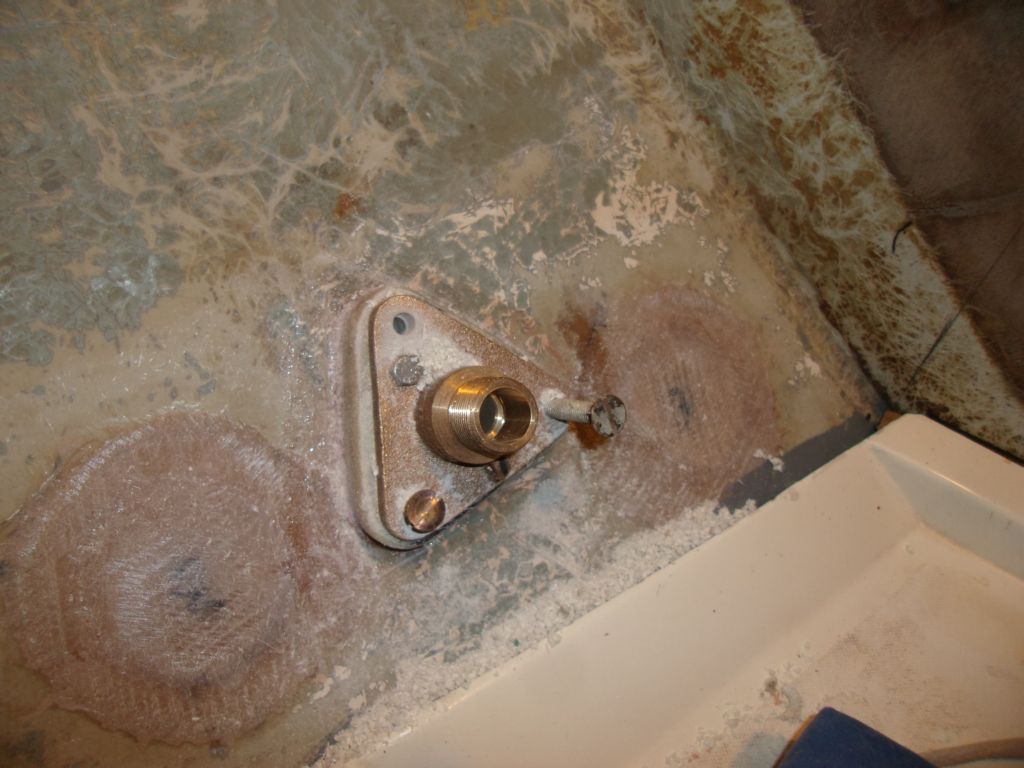
After cutting off the excess, I rechecked the fit.
With the fittings now tightly threaded and rotated to
the orientation I wanted, I drilled holes from the
inside for the base mounting bolts, inserting a bolt
into each hole before I drilled the next.
Then, outside, I milled countersinks at each hole
location so the screw heads would be flush or slightly
recessed. |
 |
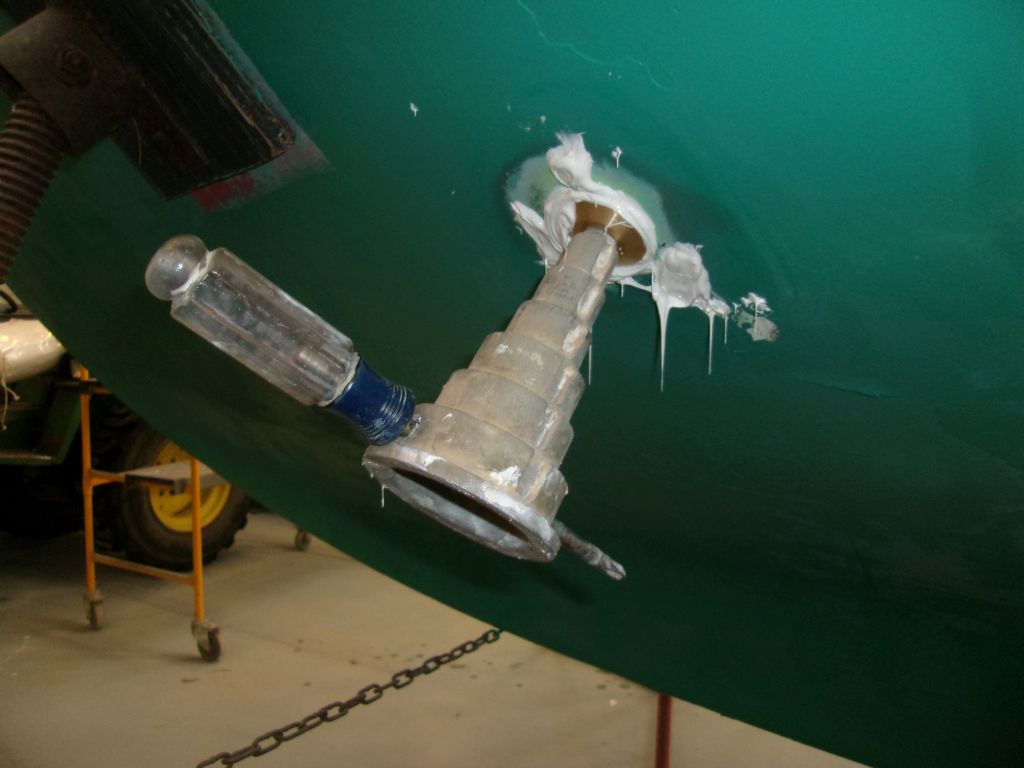
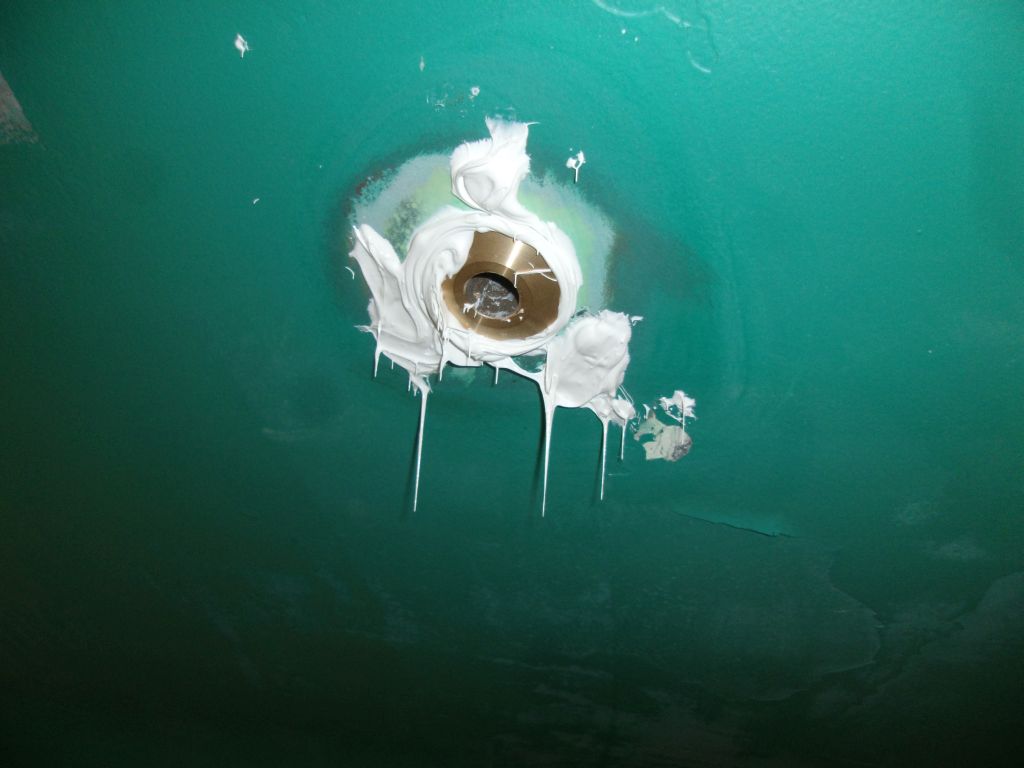
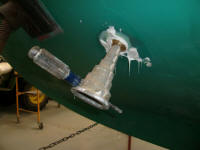
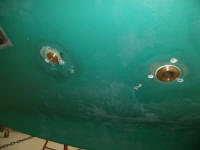
After cleaning up the spoils once more, it was time for
final installation. I heavily applied sealant
(4200) to the through hull flange and portion of the
neck, and inserted them in the holes, taping them in
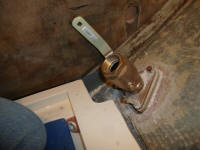
place as needed. Then, inside the boat, I applied
more sealant around the through hull threads and at the
bolt hole locations, and threaded on the flanges and
seacocks most of the way, till they were nearly tight
but I could still adjust the base to the correct
position; then, I inserted temporary bolts from inside
to align the bases with the bolt holes.
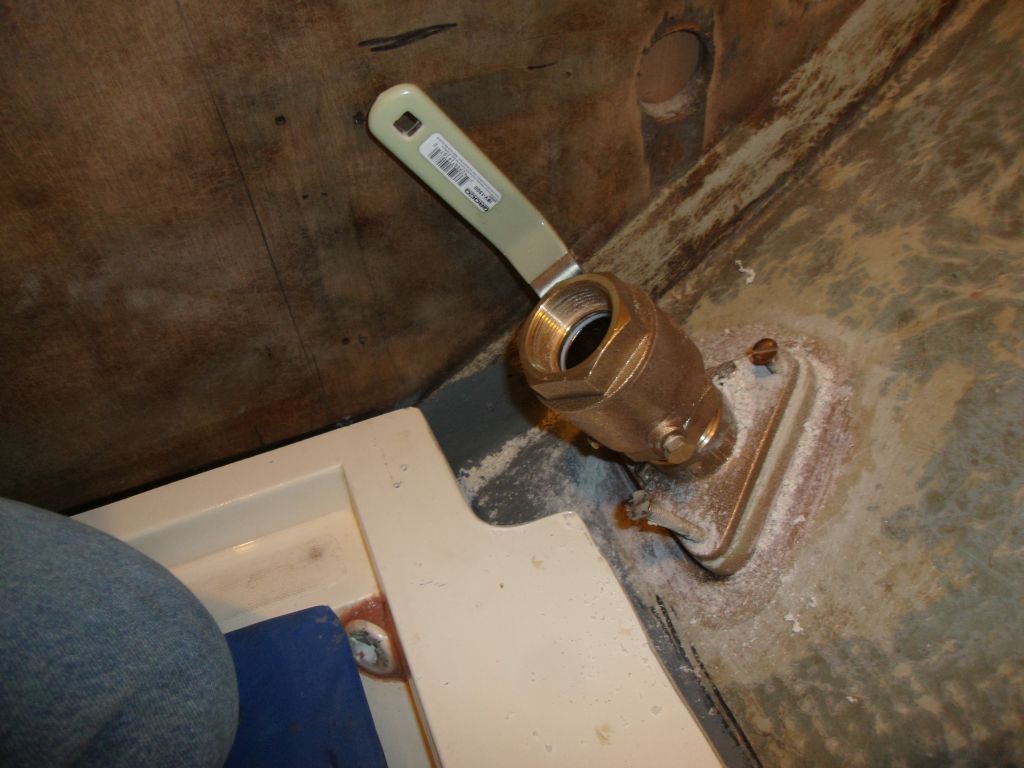
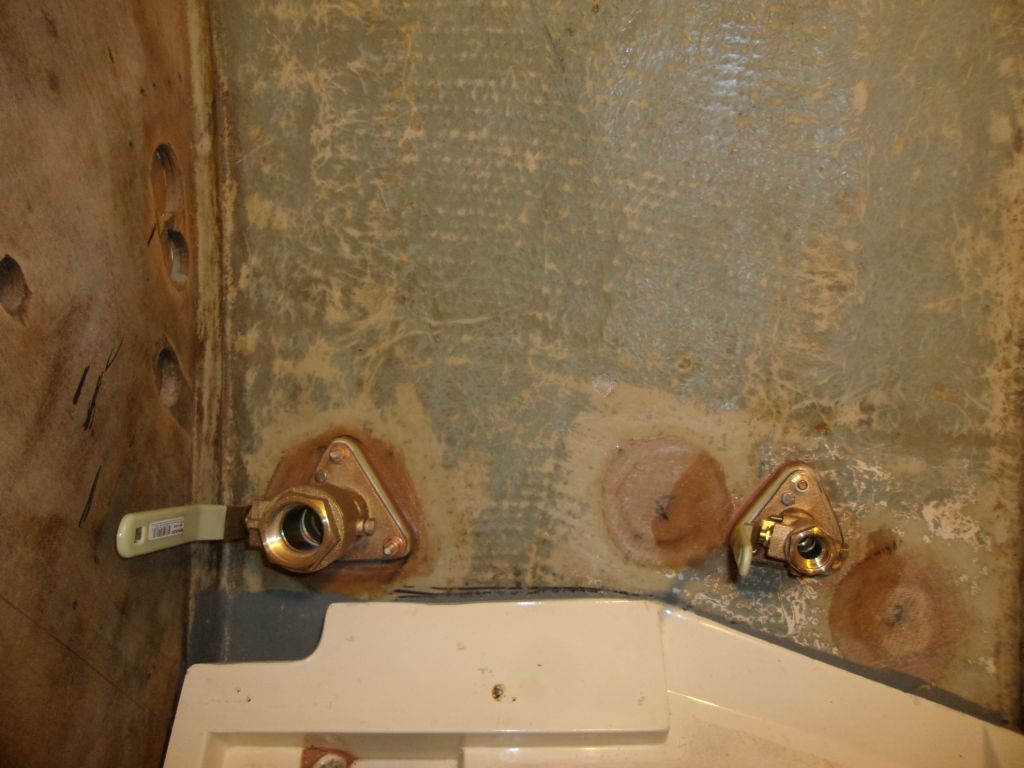
Note that I pre-installed the valves on the flange bases
down on the bench before installing things in the boat.
This ensured that I could get the valves oriented the
way I wanted. |
 |
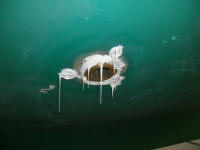
Back outside, I inserted bronze bolts, coating them
heavily with sealant, into the holes, pushing out the
temporary bolts on the inside in the process. The
sealant was thick and sticky enough to hold these bolts
in position on their own. Now, I used a through
hull installation tool to tightly thread in the through
hull the rest of the way, now that the flanges were
locked in place with the bolts. |
 |
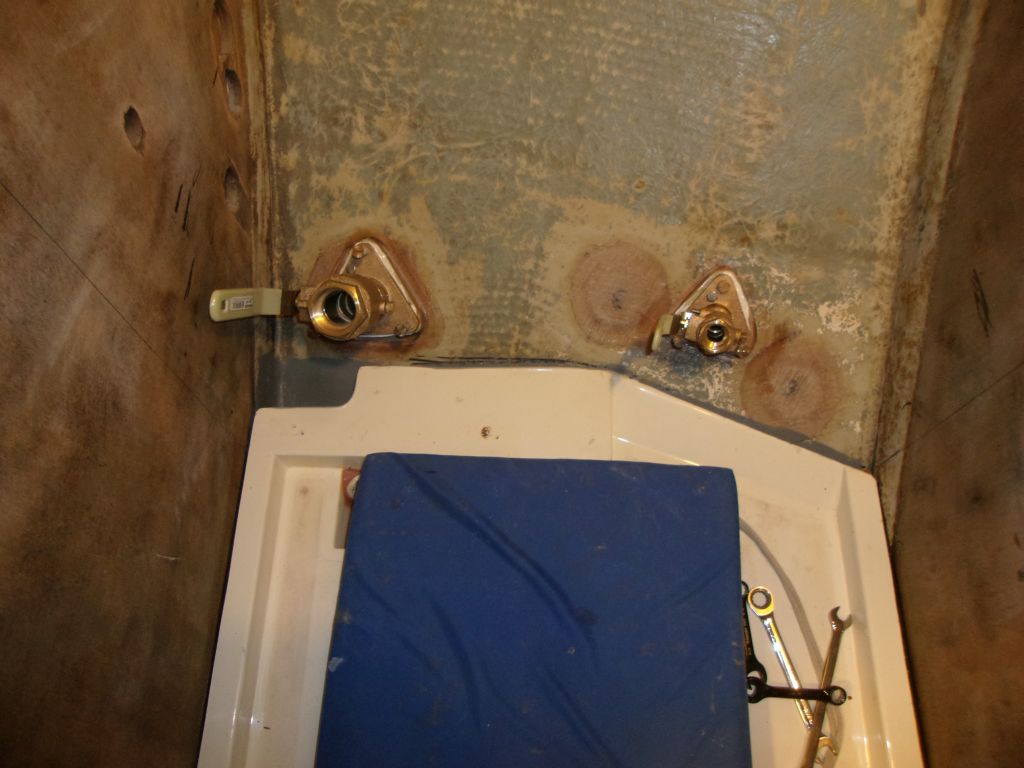
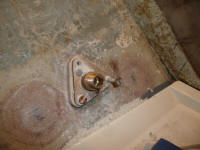
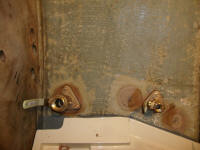
Inside once more, I installed nuts and washers on the
bolts, and tightened them securely before cleaning up
all the excess sealant inside and out. |
 |
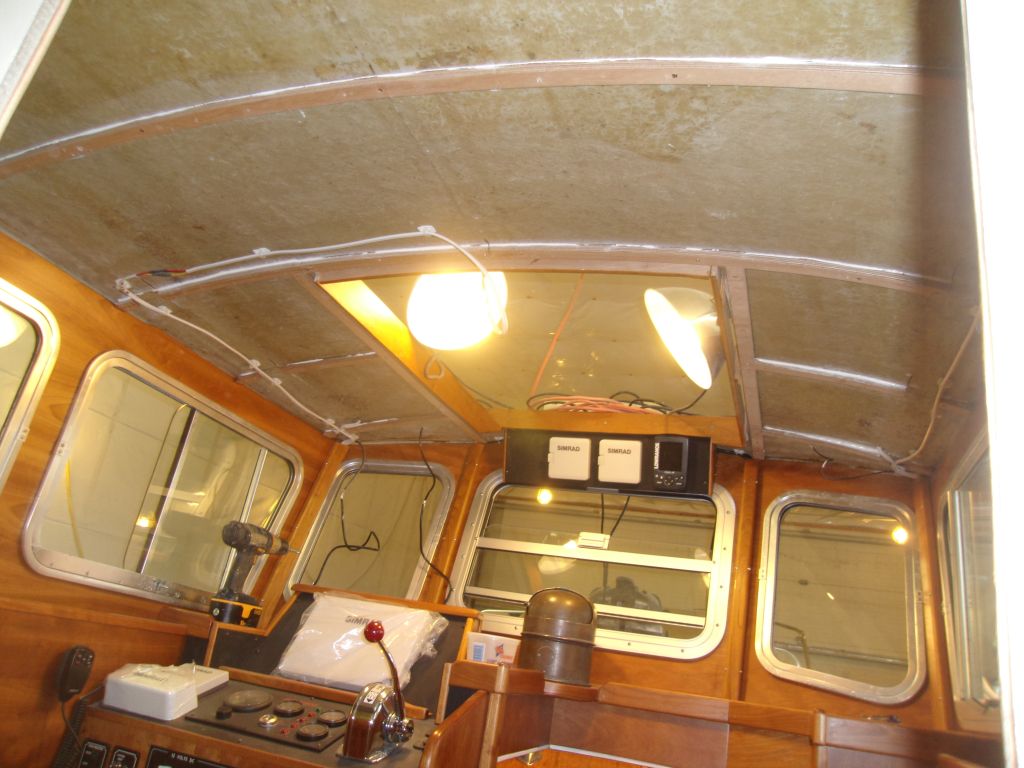
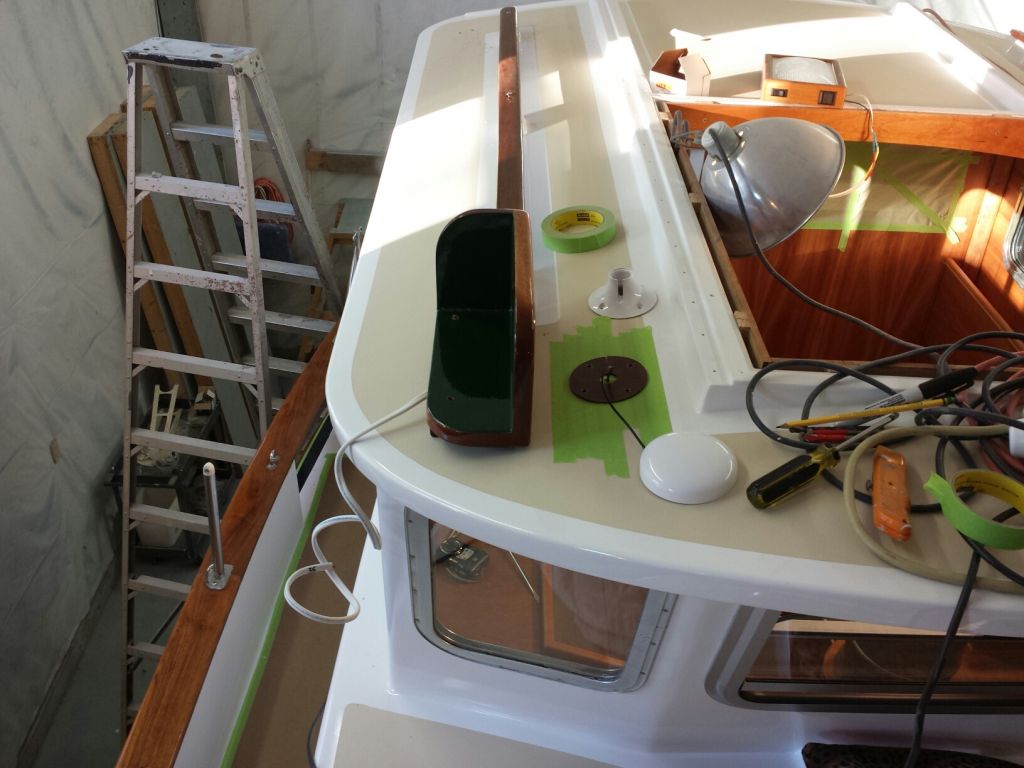
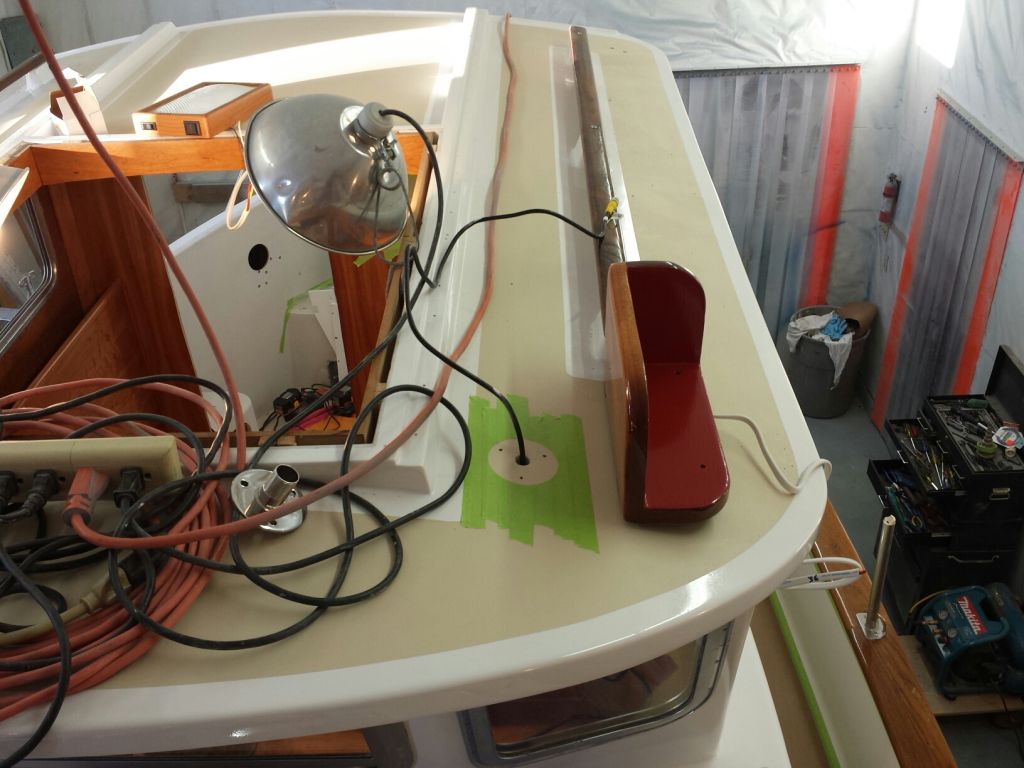
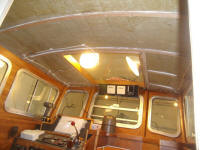
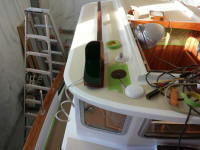
I'd been accumulating projects and installations for the
pilothouse roof, saving them so I could do everything at
once and be done with it. This included the
handrails, GPS antennas, running lights, and a pair of
rigging U-bolts at the aft end. For access
beneath, I had to remove the headliner, so that was my
first task. While I'd designed the headliner to be
removable, it certainly wasn't something I wanted to do
on a regular basis. It took perhaps 30 minutes to
remove all the trim, and the panels themselves. |
 |
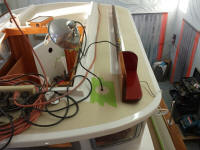
My goal for this late afternoon was to get the fastener
locations marked and epoxy-potted before quitting time,
so I could continue work next time. To begin, I
dry-installed the handrails, dropping bolts through
their holes to align them properly. This was
important since their final position would affect where
the running light boards ended up, as these went just
forward of the handrails.
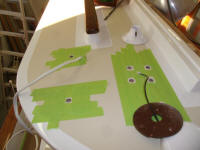
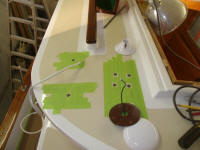
First, down on the bench, I drilled mounting holes
through the running light board bases, located so they
went through the angled feet beneath. Then, by eye
and trial and error, I finalized their positions on the
pilothouse roof, and marked the hole locations. |
 |
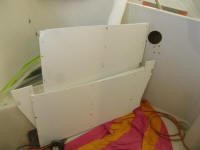
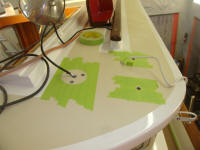
There were two GPS antennas: one main, and a
dedicated one for the AIS. I'd previously located
these and run the cables, so their positions were
pre-determined. I'd mount the AIS antenna directly
to the deck, but had a small riser for the other one,
and I used this to mark the location on the deck, and to
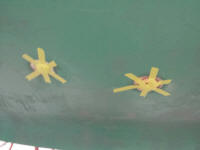
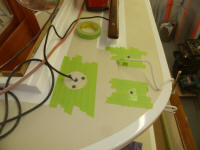
mark fastener holes. After masking as needed, I
overbored all the fastener locations with a 1/2" carbide
Forstner bit, leaving the inside deck skin in place, and
filled the voids with a thickened epoxy mixture, leaving
that to cure overnight. |
 |
| |
Total Time Today: 3.75 hours
|
<
Previous |
Next > |
|
|