Project Log: Saturday, March 1, 2014
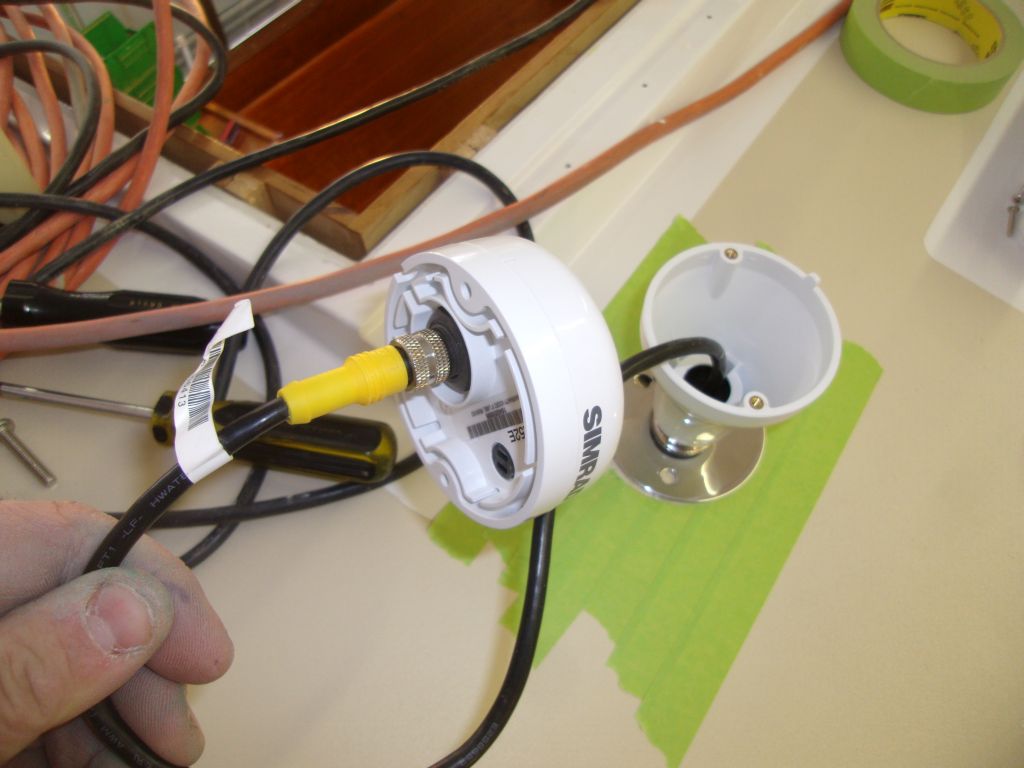
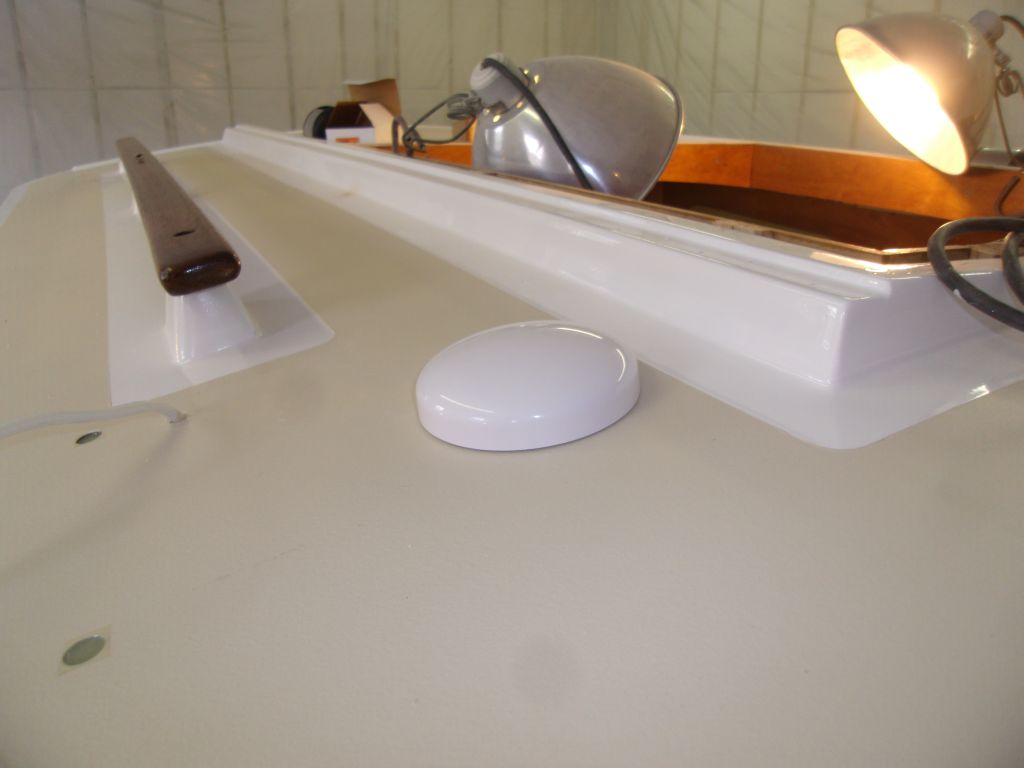
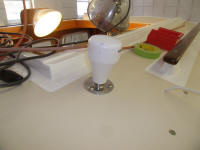
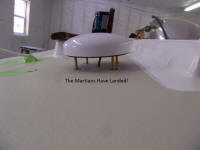
The main GPS antenna required some minor assembly before
installation, namely installing the cable (which I'd
previously led abovedecks during an earlier stage of the
project), and installing a short pole mount and the
required plastic base with which to secure the antenna
on the mount.
|
 |
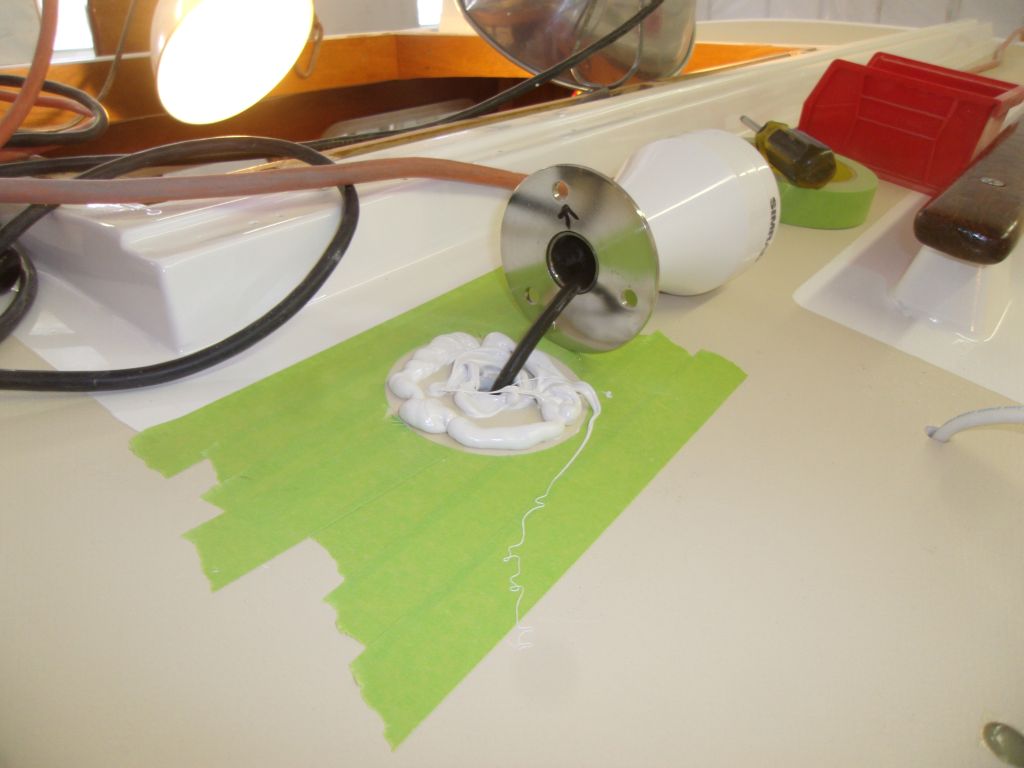
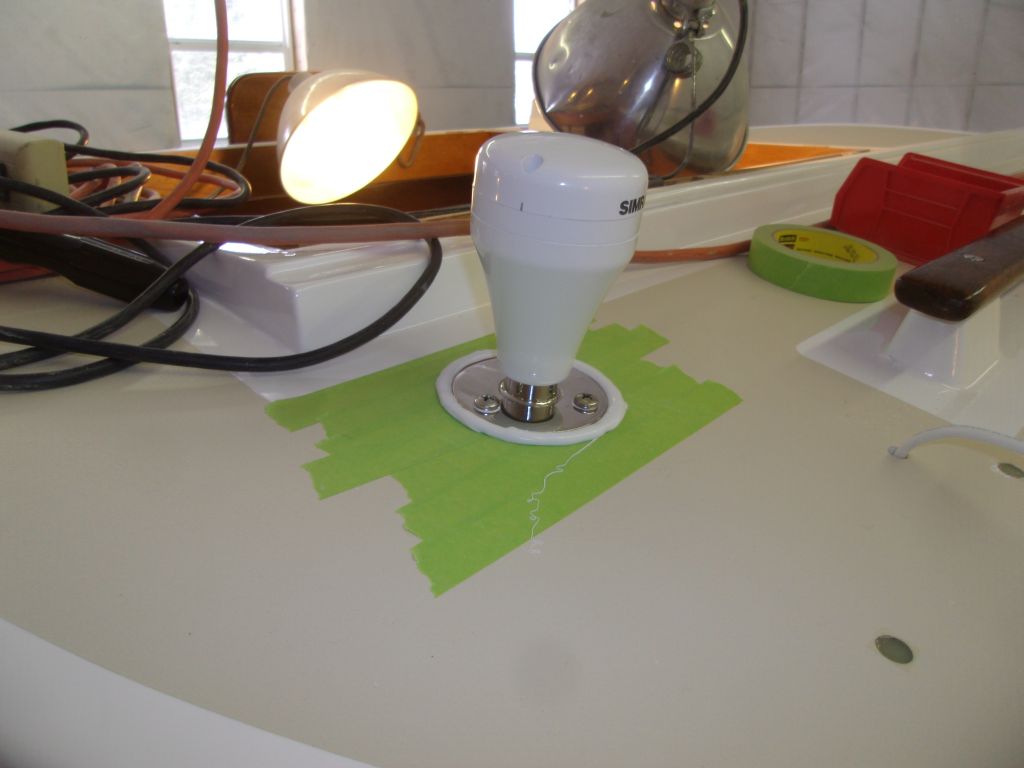
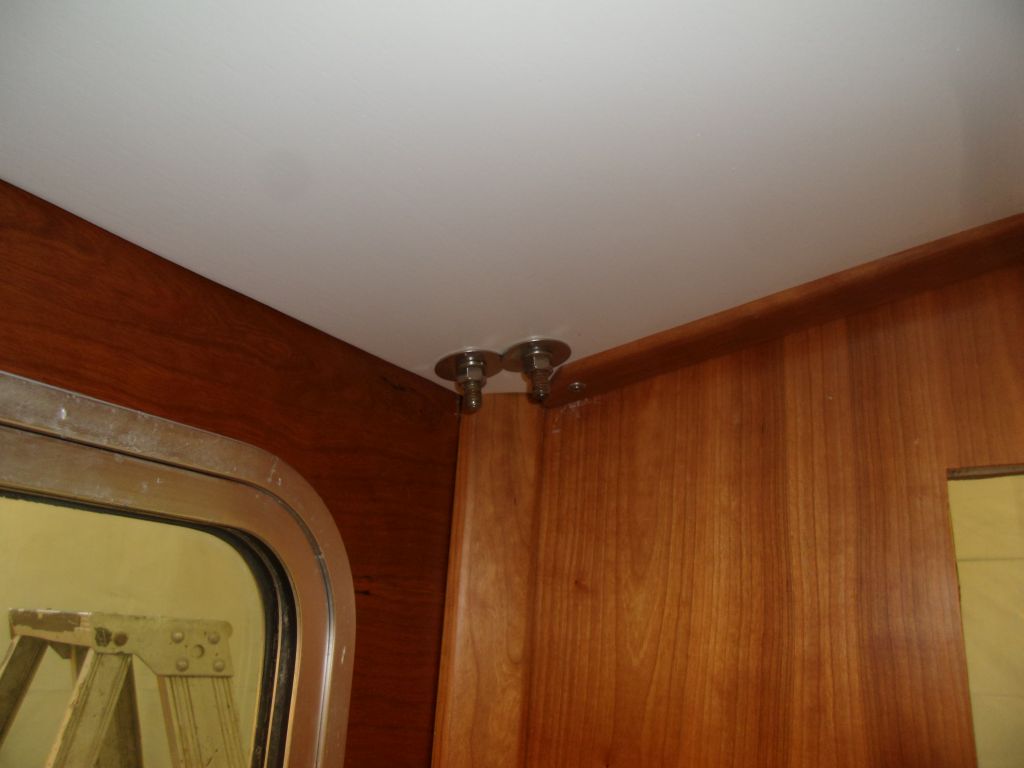
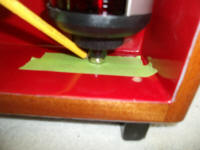
I drilled and tapped the deck (in the newly epoxy-filled
holes) for fasteners, then installed the antenna
(already assembled to its base) in a bed of sealant.
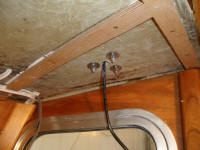
Belowdecks, I installed fender washers and nuts, and,
later, tied up the excess cable in the slim space
between the overhead cleats. |
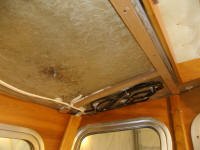 |
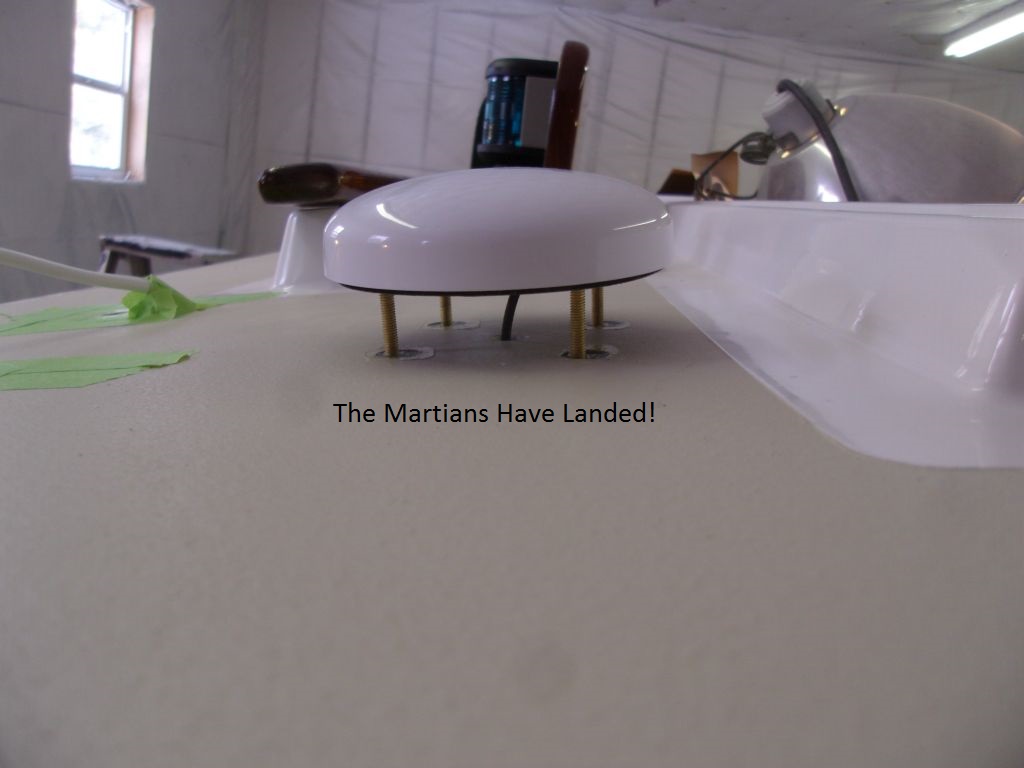
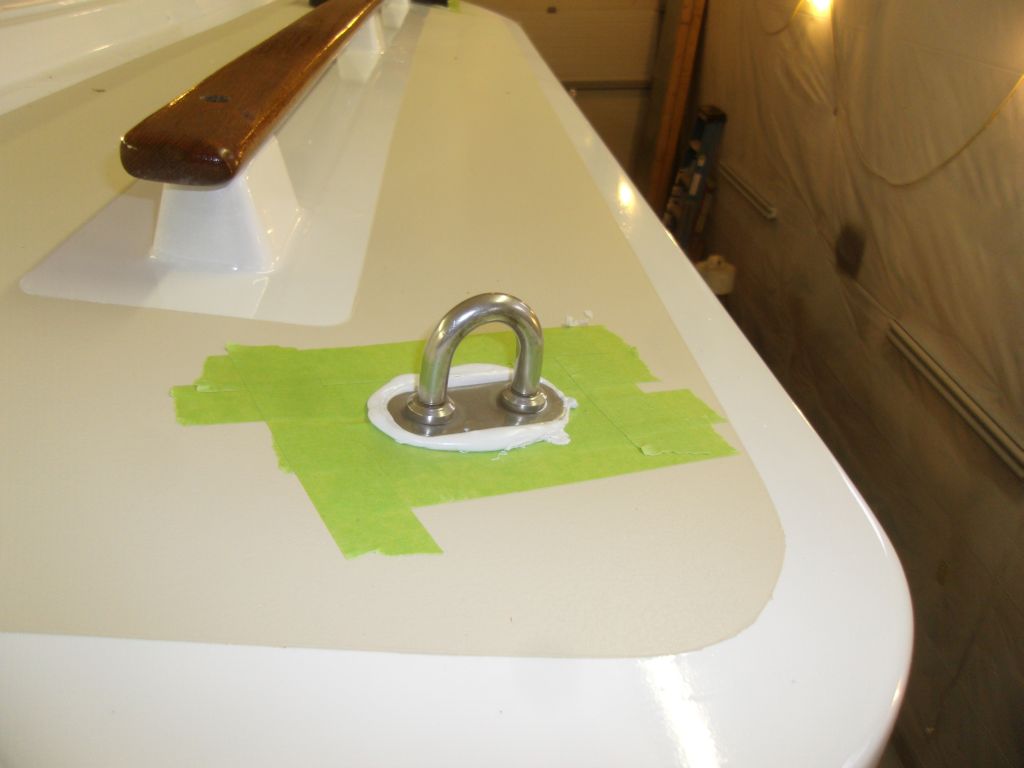
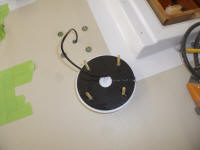
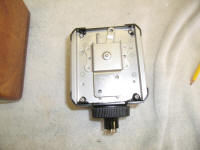
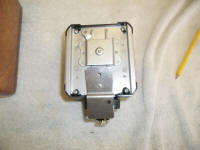
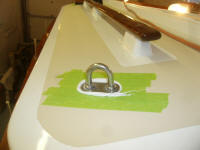
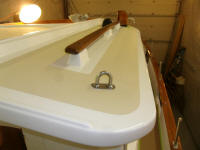
On the other side, I installed the AIS antenna. As
with the GPS antenna, I'd pre-wired this one much
earlier in the process, but the AIS antenna was
hard-wired to its cable. Though not long ago I'd
planned on mounting this antenna on a pole riser as
well, like the GPS antenna, it was not to be: with
the hard-wired aspect, there was no way to install the
pole mount, and there was no way I was about to unstring
the cable from below in order to lead it through.
So this one would be mounted flush to the deck, using
its own gasket and four brass studs, nuts, and washers
supplied for the purpose. A little later, I tied
up the excess cable beneath. |

 |
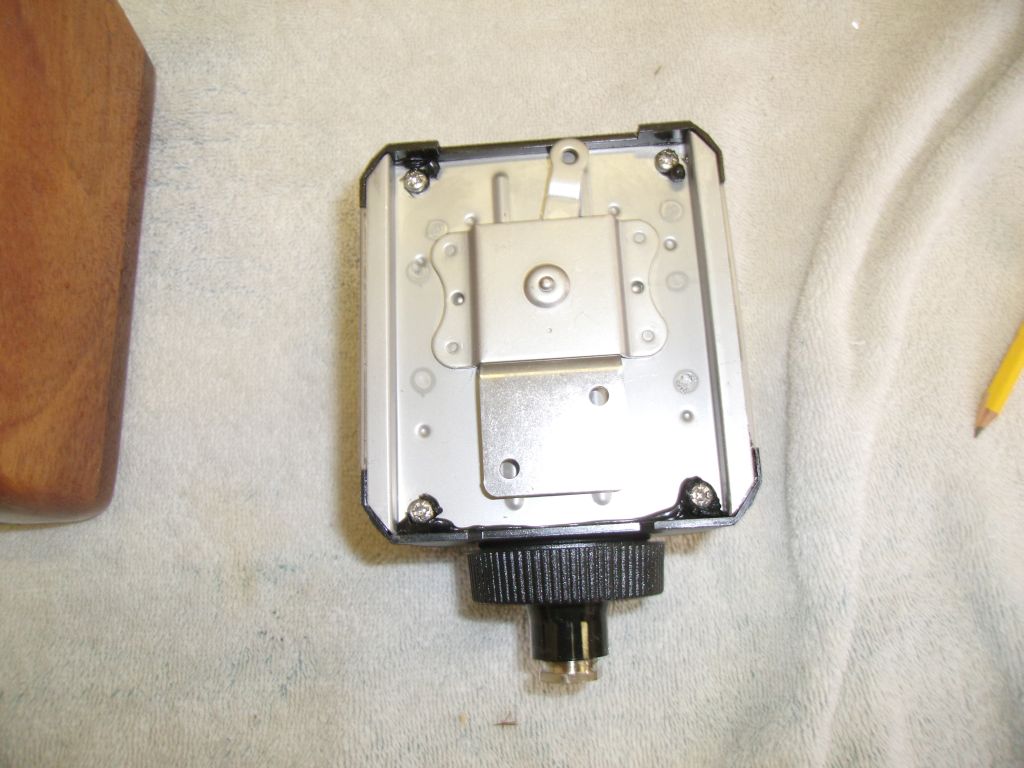
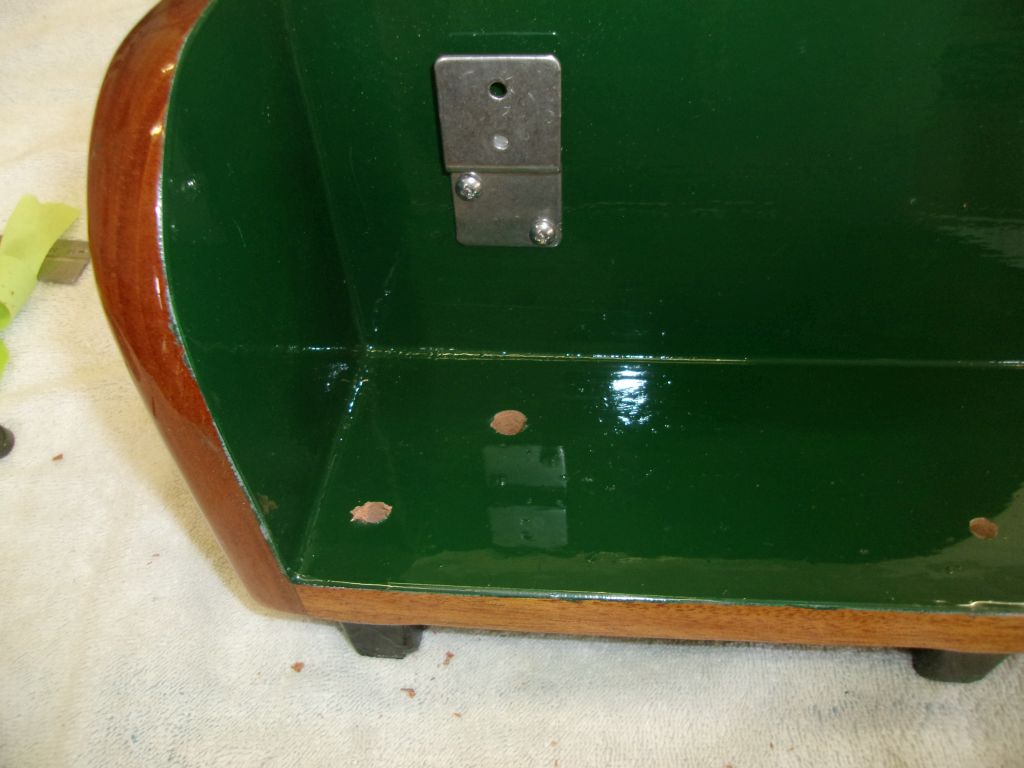
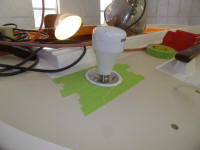
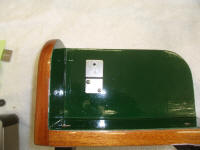
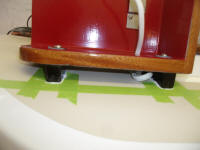
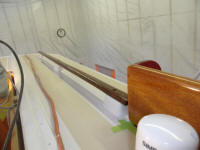
Before mounting the running light boards, I wanted to
pre-install the light mounting brackets, and drill an
access hole for wiring. These lights featured a
pretty neat blind bracket system, with a removable
bracket (secured to the mounting surface) that the light
slipped over, to be secured with a locking lever. |
 |
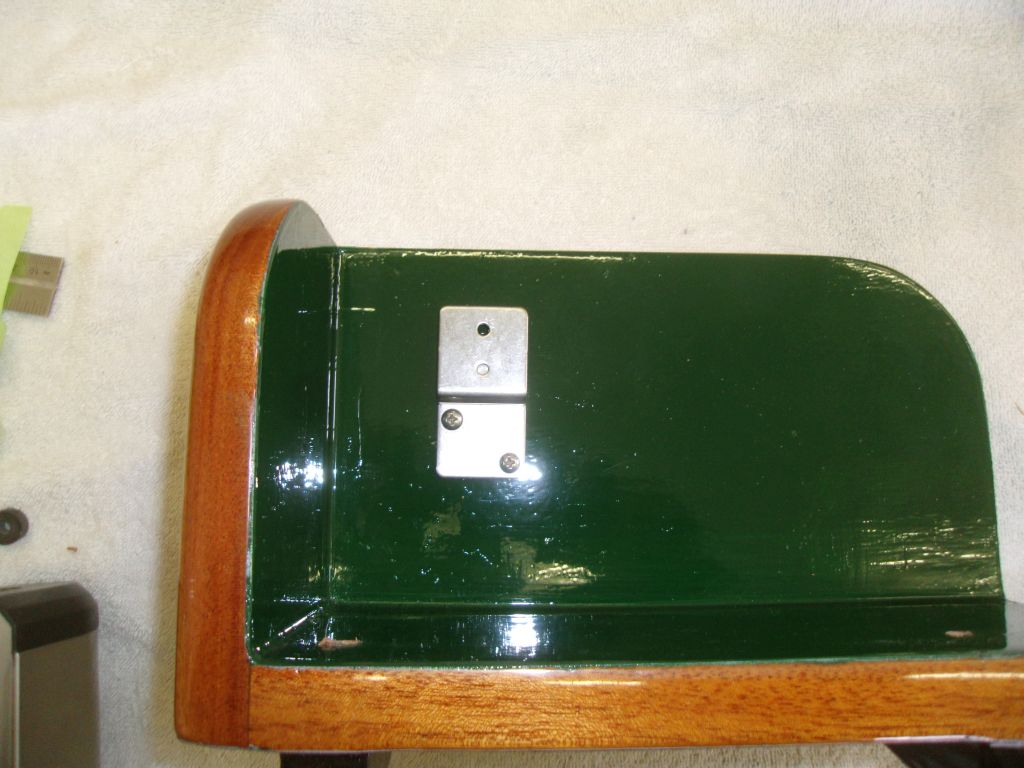
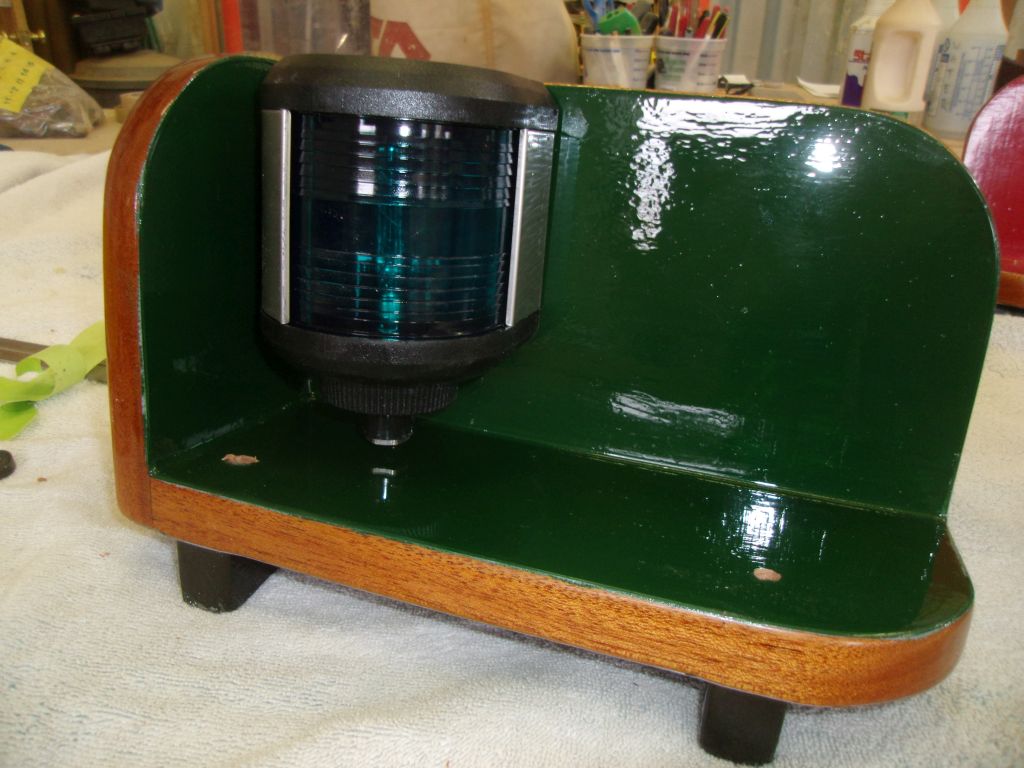
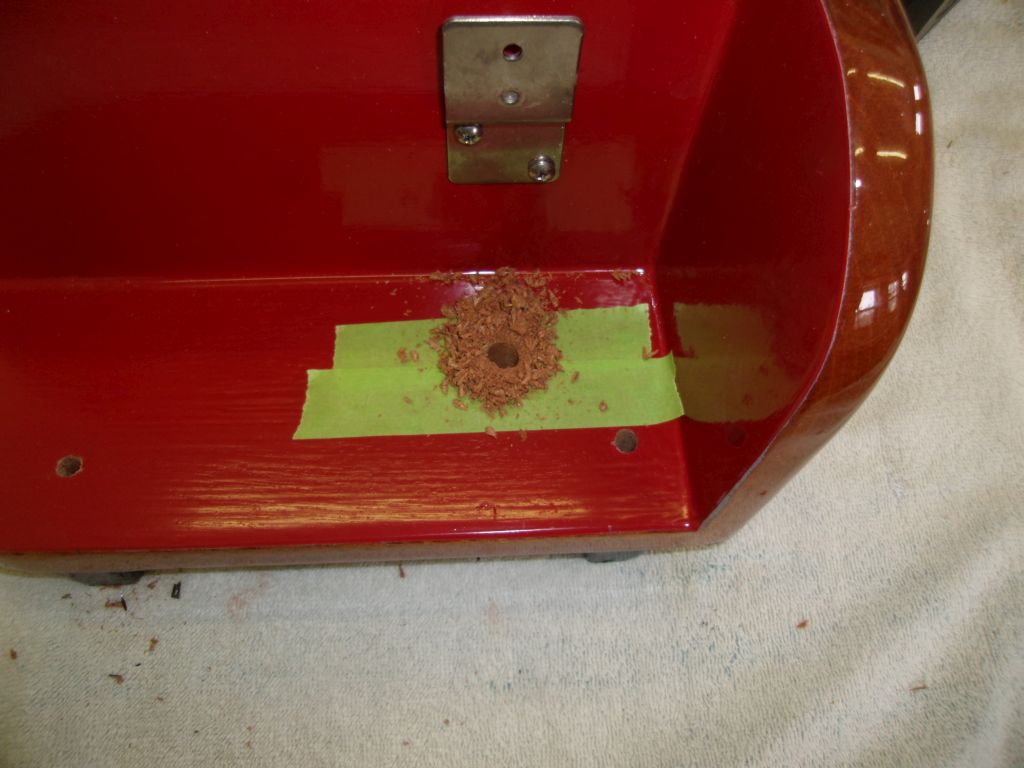
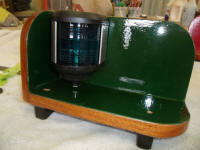
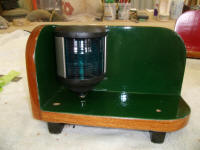
After some basic layout, I installed the brackets to the
running light boards. With the light in place, I
marked the bottom of the light, where the wires would
enter, and drilled a hole through the base for the cable
directly beneath. I did this for both sides. |
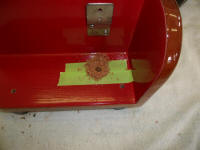 |
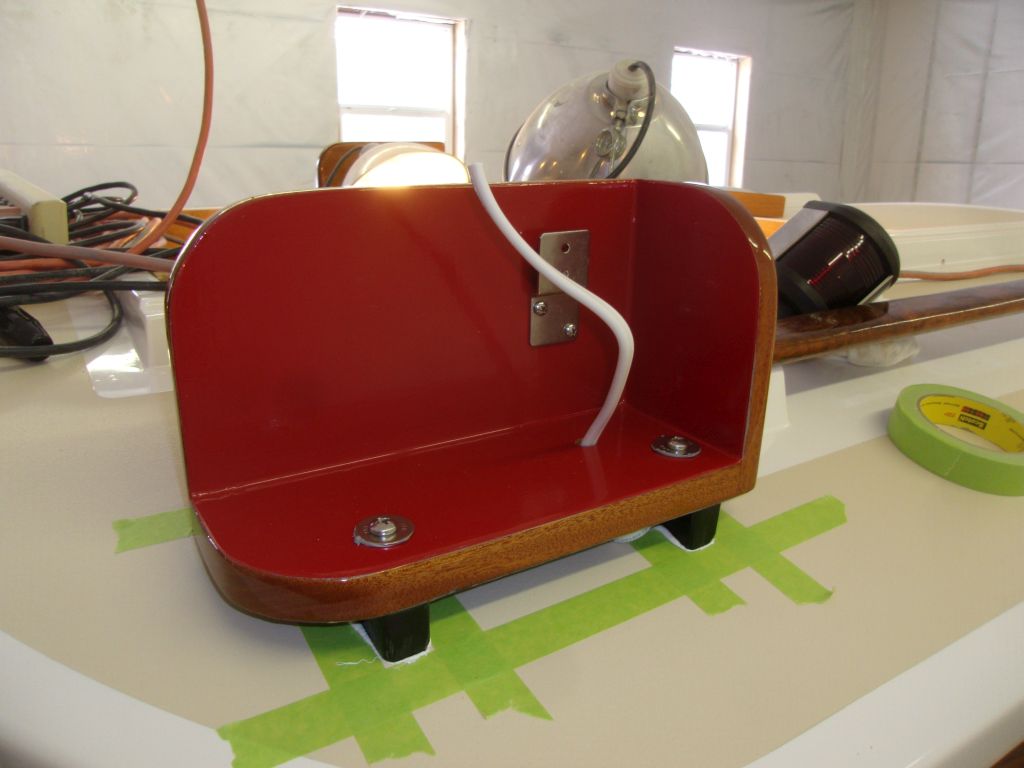
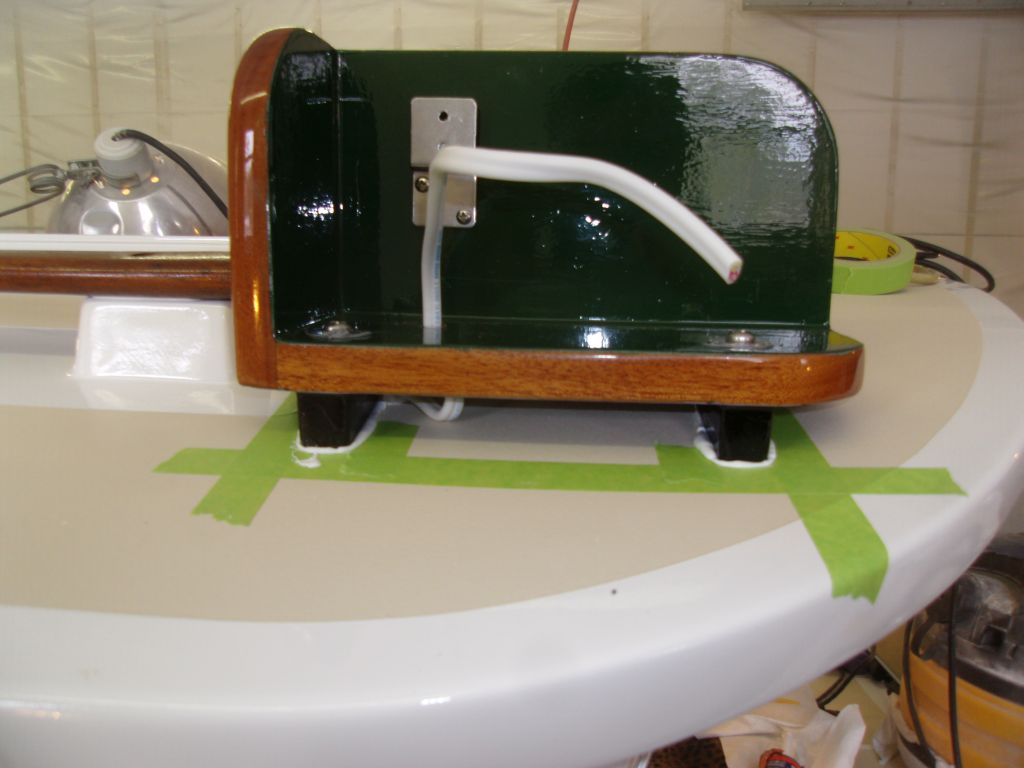
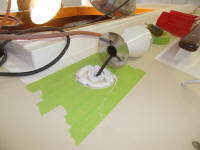
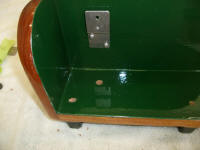
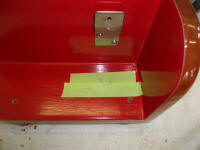
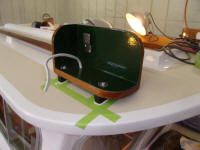
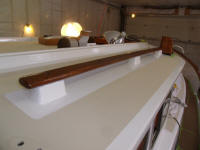
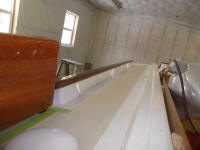
On deck, I marked, drilled, and tapped the fastener
holes to secure the running boards, and led the light
wiring through the bases, leaving a loop, or fold, of
the wire beneath the platform to grab later, and to act
as strain relief so the sealant around the cable opening
would remain intact. In areas I'd be able to reach
later, I installed masking tape around the bases, then
installed them permanently in a bed of sealant. To
help bed the top of the fasteners where they entered the
wooden platform, I added a thin layer of butyl tape
beneath the washers. |

 |
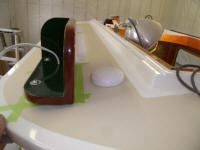
I decided it'd be easier to clean up the excess sealant
once it had cured, so I left it as is for now. I
also left the final wiring and light installation for
later, so that my moving around the wire wouldn't
compromise the sealant where it passed through the decks
beneath.
In order to install, and then to later service, the
running lights, I'd need to leave some excess cable,
enough to allow me to lift the lights off their
brackets, or about 2". This would be relatively
hidden beneath the platform as is, but to avoid seeing
beneath, I thought I'd add a slim cover plate on the
outside, between the bases, to hide the area. More
on this later.
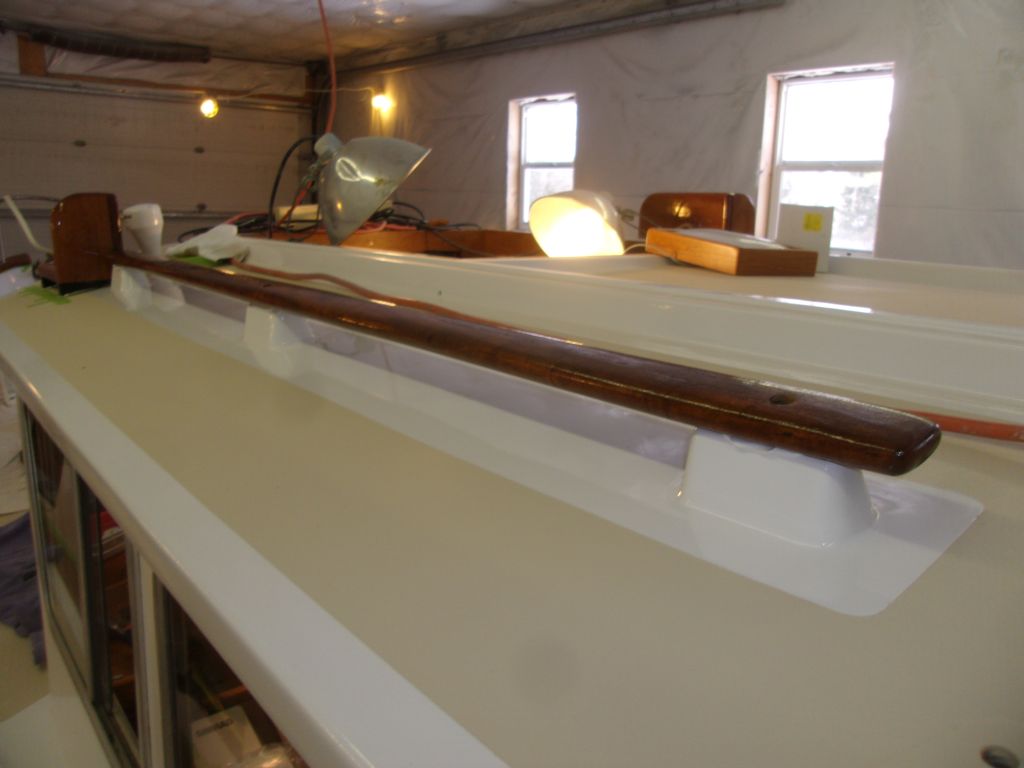
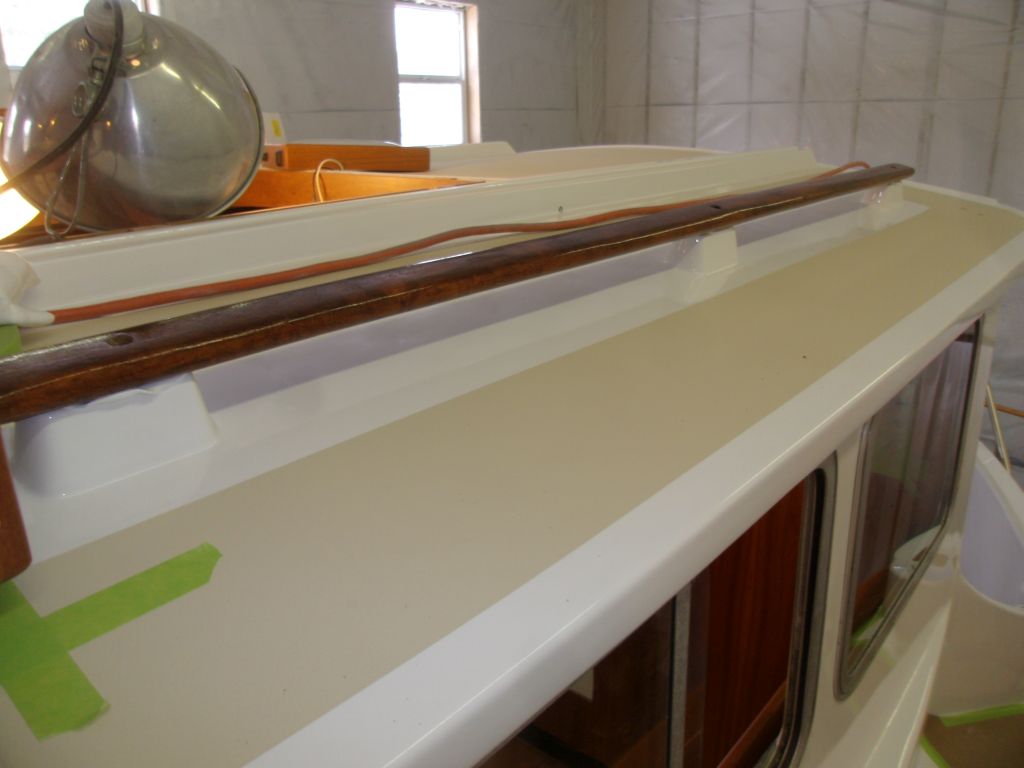
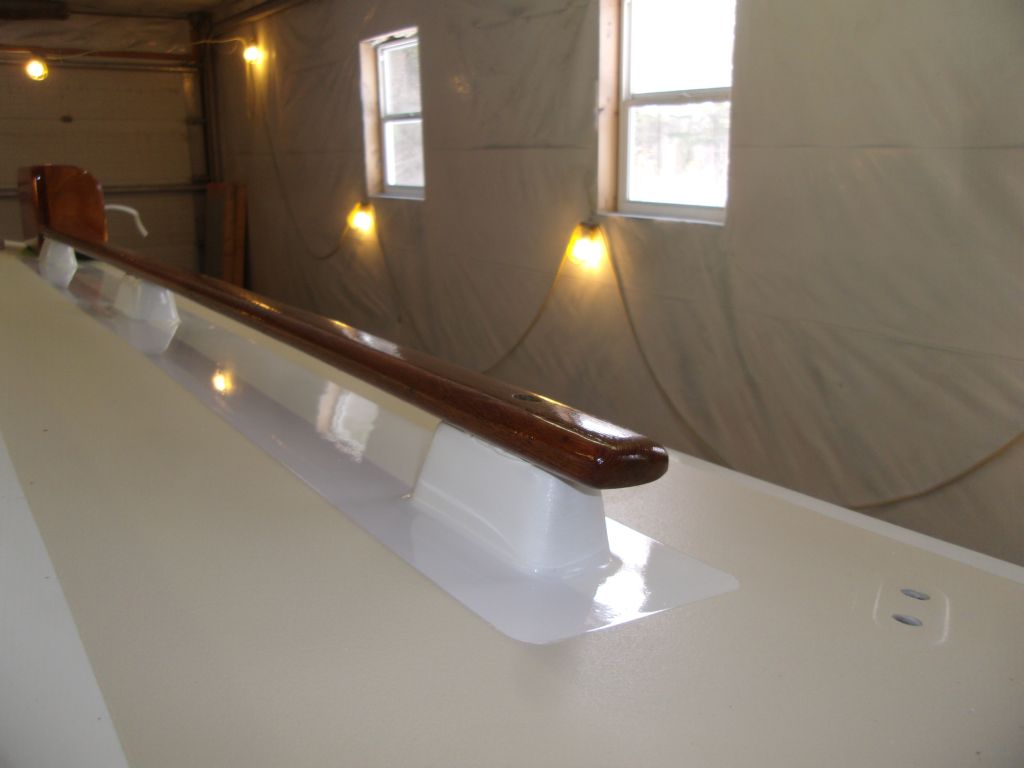
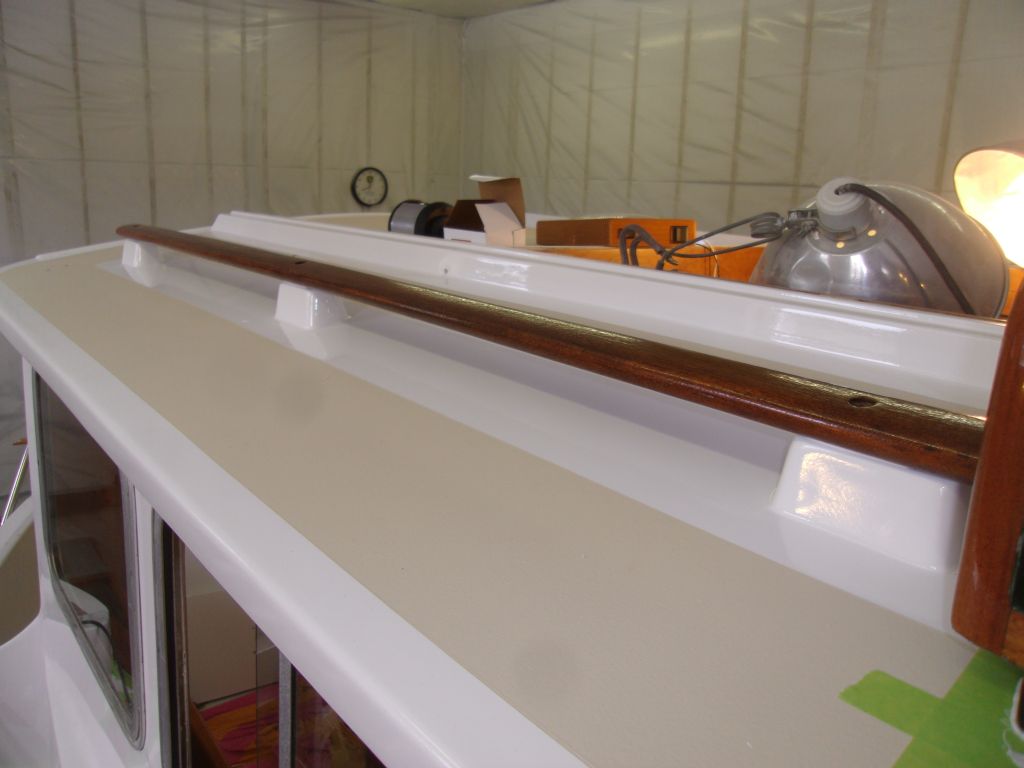
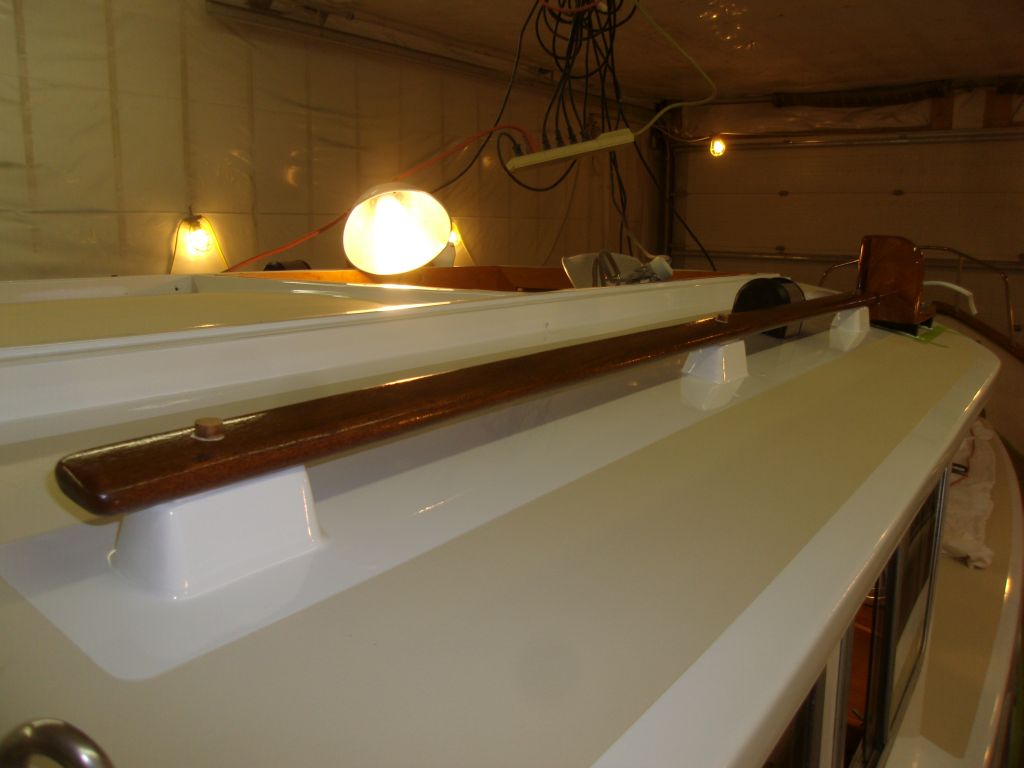
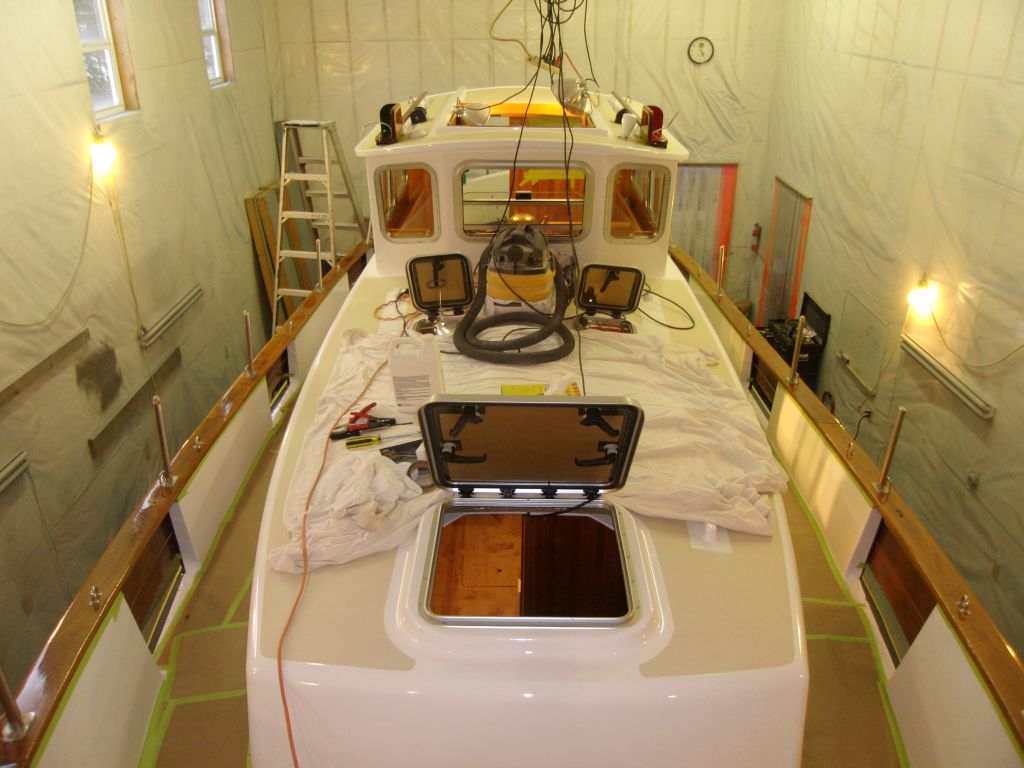
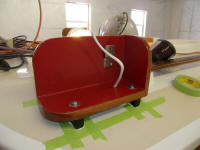
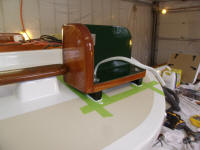
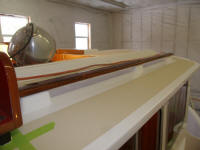
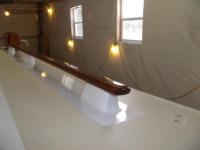
Moving on, I installed the handrails, applying sealant
to the three bases (per side) and using new 3-1/2"
bolts, which I secured with fender washers and nuts
within. |


 |
Later, I bunged the screw holes from the top. |
 |
Several of the fasteners I'd used during these
installations projected a bit past the overhead support
cleats, so I had to cut off the excess. Access to
several of the fasteners was tight, with wiring nearby,
and this limited my options in terms of cutting off the
stainless fastener ends. After various frustrating
attempts to use some of the smaller, more "controllable"
tools in my collection (I'll spare you the details and
the annoyances), I eventually finished up the job with a
real tool, my angle grinder and a cutoff wheel, using
utmost care to avoid any damage. Not a fun little
job, but at least this part of it was quick after
wasting who knows how much time on the other tools.
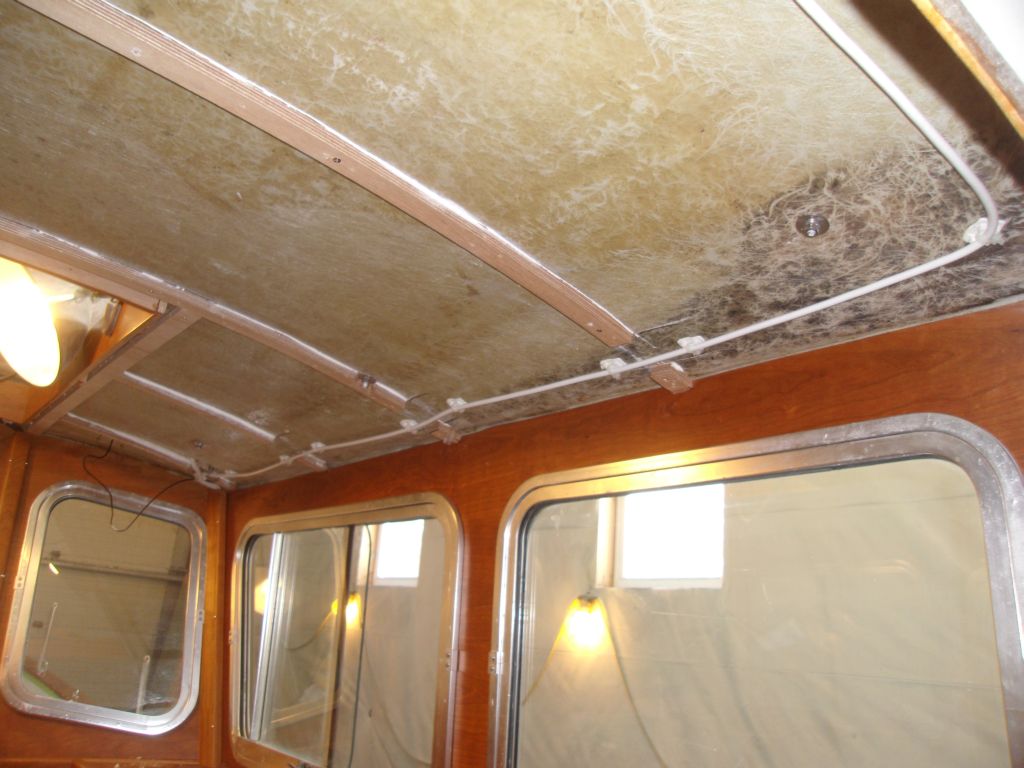
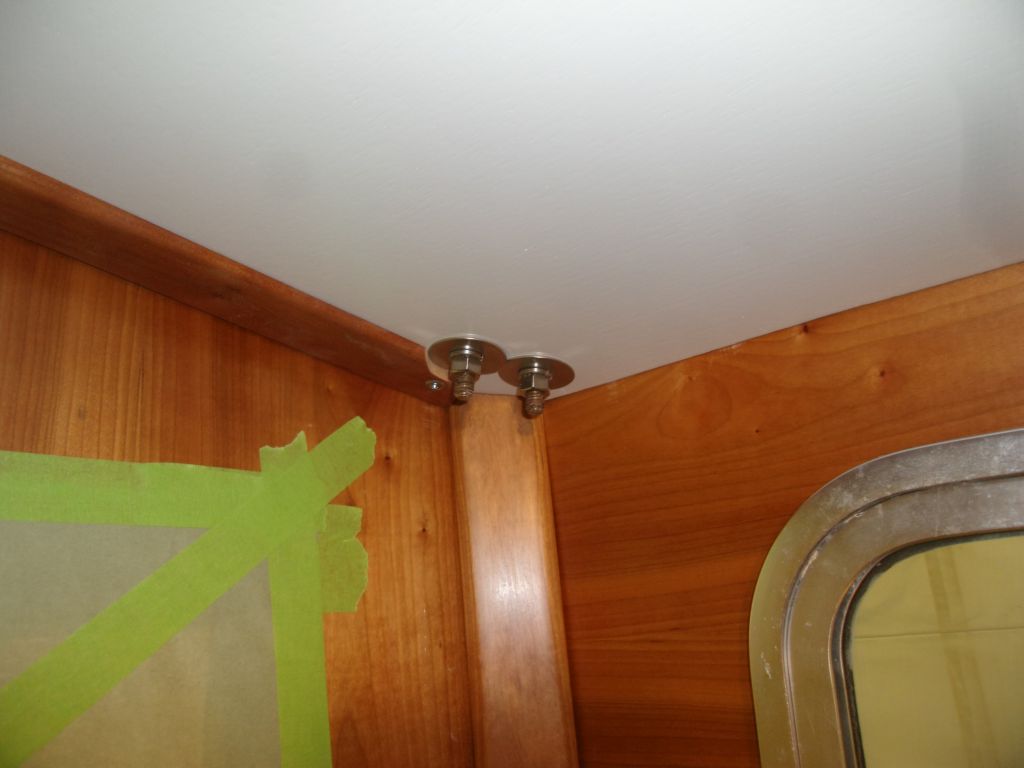
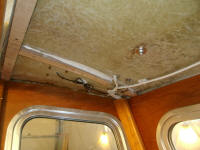
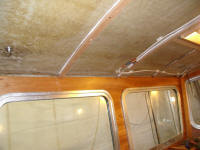
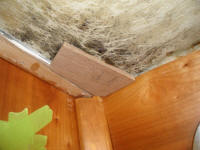
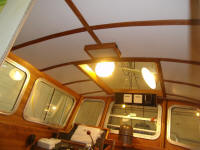
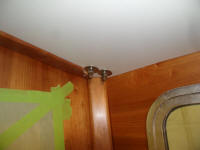
One detail remained before I could close up the overhead
again. In the after corners was required a pair of
U-bolts for some rigging wires (I guess, having never
seen the boat rigged, of course). There would not
be room to hide the undersides of these fittings beneath
the overhead, so I planned to run them straight through.
But first, I cut two plywood spacers, the same thickness
as the overhead cleats (12mm), and installed them in the
after corners with epoxy and some hot glue to clamp
them. These would fill the void between the
plywood headliner and the underside of the deck. |

 |
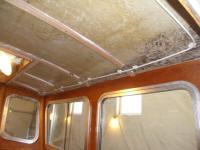
Then I reinstalled the overhead and trim. |
 |
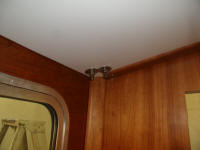
The locations of these U-bolts, and their original
holes, were still in place above, so I carefully drilled
down through, first with a smaller bit from above, then
from below with a 3/8" bit (this minimized tear-out on
the plywood overhead). I installed the U-bolts
(re-using the originals here, which were in good
condition) in sealant from above, and installed 1-1/2"
fender washers and nuts beneath. The original
installation had used some cap nuts to cover the exposed
studs, but the originals were in too-ugly condition to
reuse, so I planned to order a new set to finish off the
studs. |


 |
Obviously this installation would preclude easy removal
of the headliner, but I didn't see any ongoing need to
do so, particularly at the aft end. But if so, I'd
deal with it then. With the benefits of 20/20
hindsight, it would have been nice if I'd planned the
overhead to avoid this area, and allow removal without
these bolts in the way, but I didn't. It was not
an oversight that was going to keep me up at night.
It seemed somehow incredible that these ostensibly
simple installations required a full day, but there you
are. Good stuff to have over and done with. |

 |
| |
Total Time Today: 7.75 hours
|
<
Previous |
Next > |
|
|