Project Log: Monday, March 3, 2014
Thinking ahead to (yes, this again) the new work in the
cockpit area, which I'd successfully managed to put off
for about three years longer than I should have, got me
thinking about the pilothouse door. At some level,
I'd been expecting to install this door later, when the
new construction and paint work in the cockpit was
complete. But with a constantly-evolving timeline
and project priority list, my thoughts changed, and with
a free morning on my hands, somehow installing the
pilothouse door seemed like the perfect job.
The basis of my thinking was this: having the door
in place sooner than later would make it easier for me
to totally isolate the boat's interior from the messy
cockpit structural work, and would also be one less
thing standing in the way of a shakedown season.
There was no reason I couldn't, or shouldn't, work
around the door, and anyway, I was tired of it
cluttering up the shop floor. Plus I wanted to
make sure it fit.
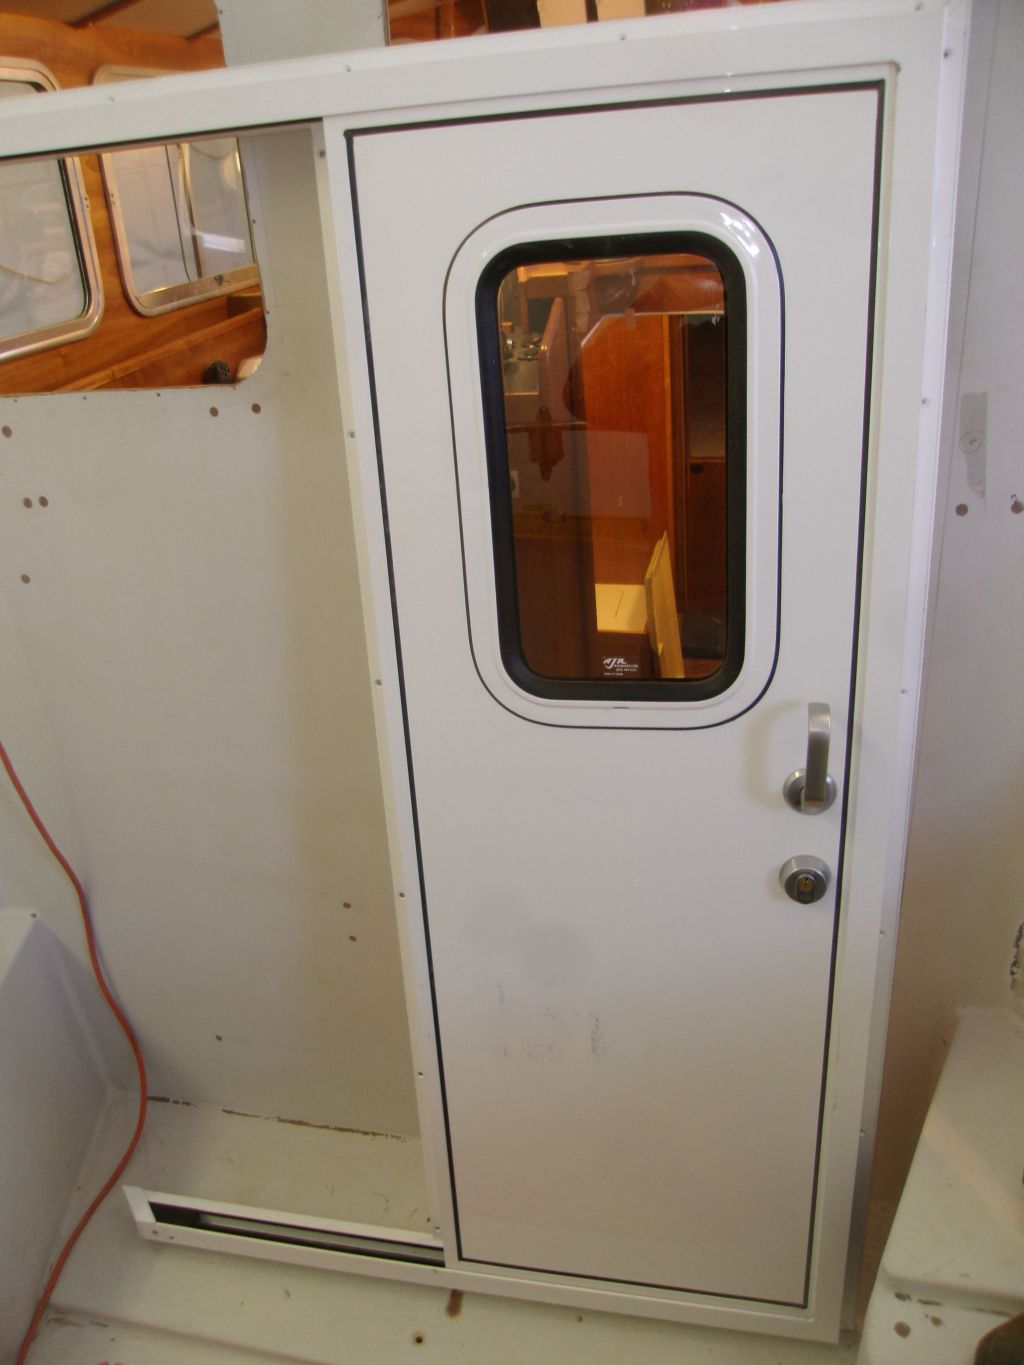
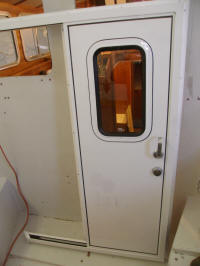
I uncrated the door and carried it to the cockpit on my
shoulder. Then I couldn't remember exactly where
I'd stashed the keys, so before I proceeded I put my
hands on those, lest I lock myself out.
|
 |
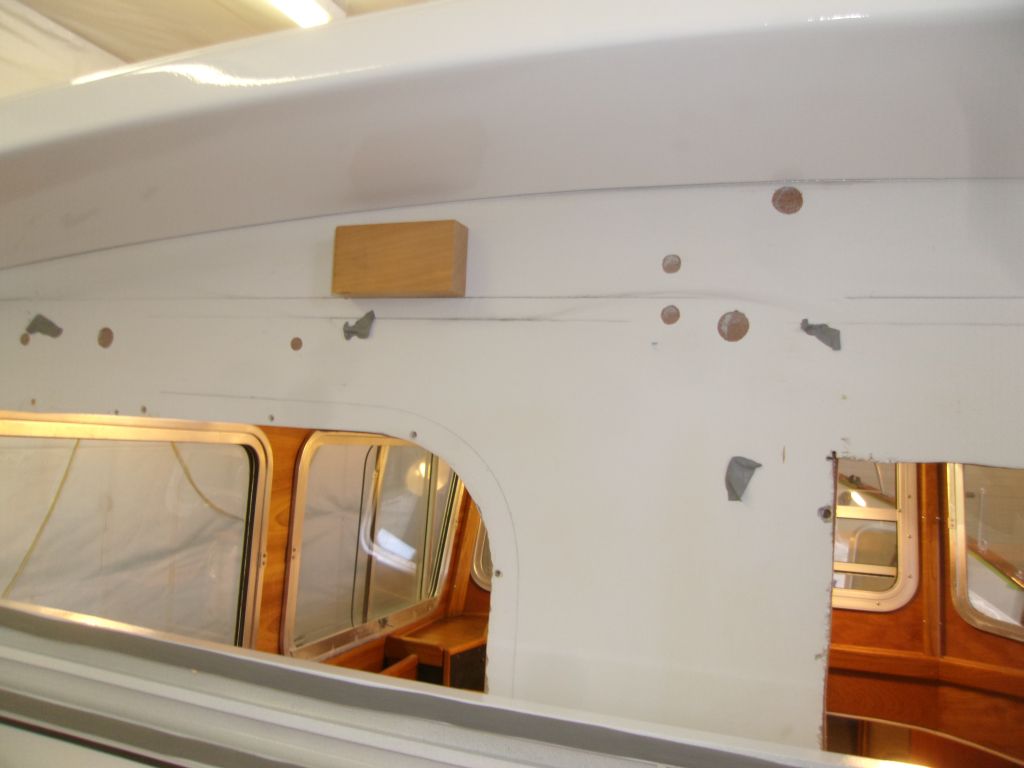
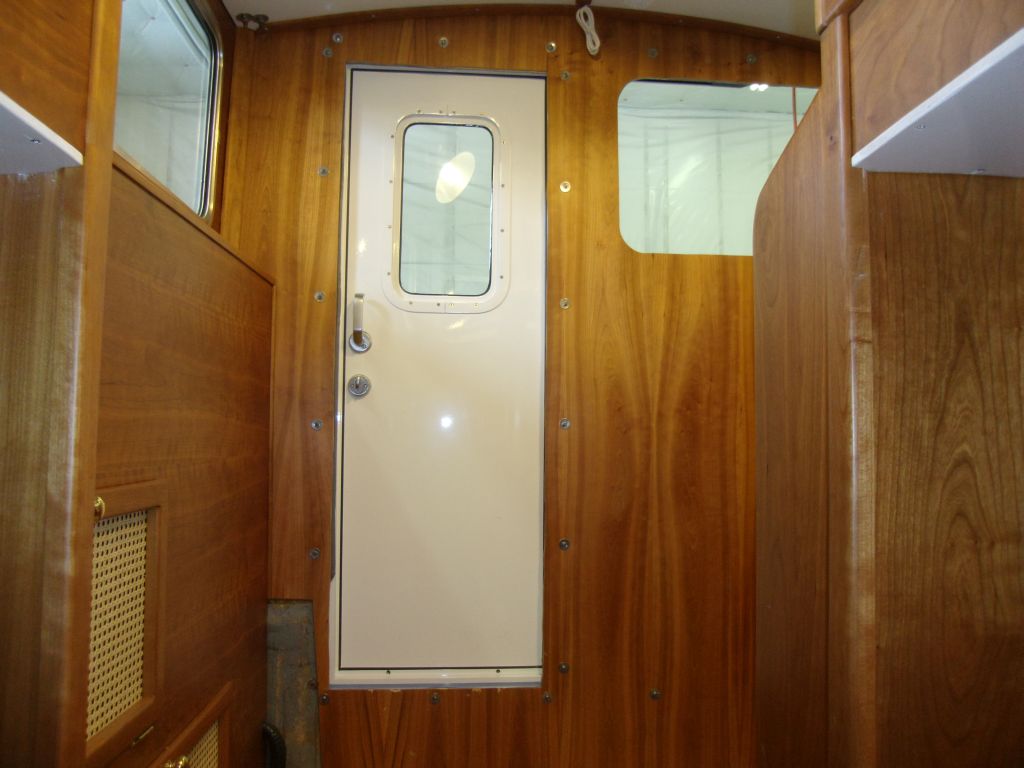
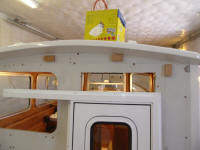
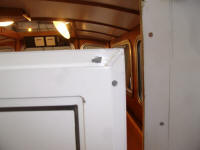
During the specification and ordering process long ago,
I'd made some general reference marks on the back wall
of the pilothouse based on what the door manufacturer
told me the clearances were--this to ensure that the
door would fit around the after pilothouse window, and
beneath the overhang above. So I had these marks
already in place to help me with a trial fit of the
door. I removed the masking paper from the aft
window so I could clamp through the opening onto the
door frame as needed.
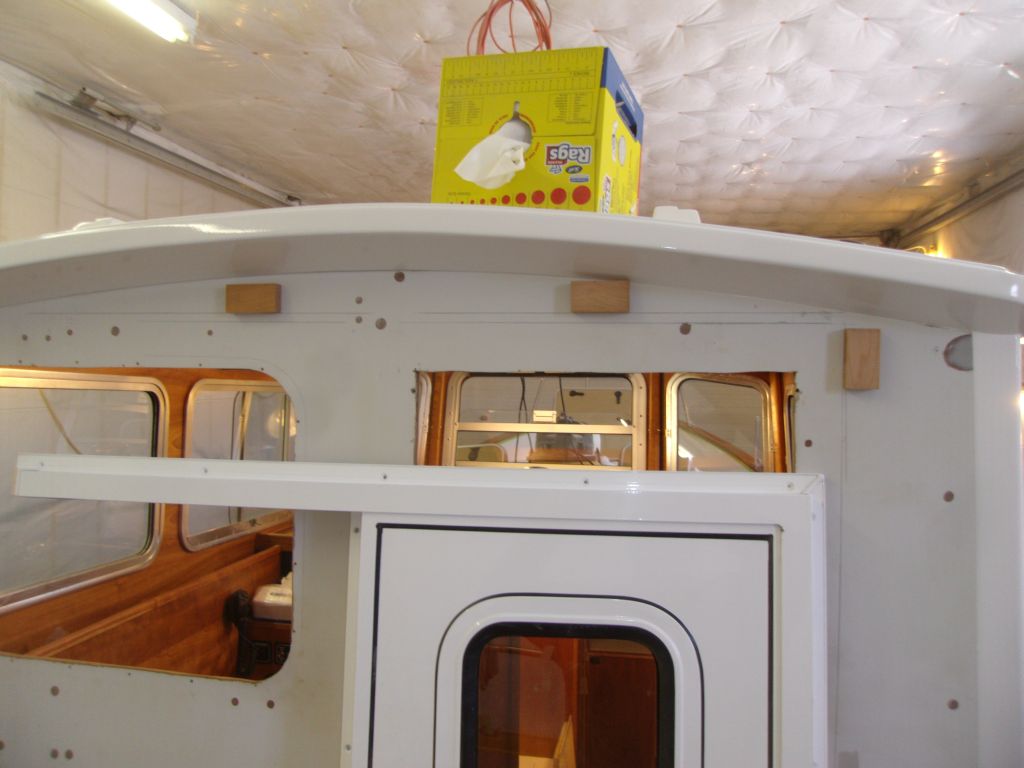
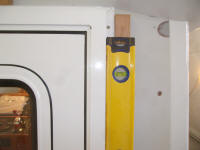
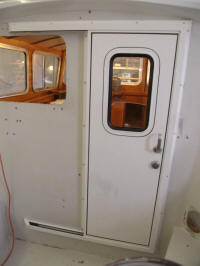
Starting by just holding the door in place more or less
on my lines, I determined that I'd have to go a bit
higher in order to clear the window frame (which I'd
traced on the bulkhead during that earlier specification
stage too). Measuring the thickness of the top
rail of the door, I made a new, level mark in the proper
position. Holding the door was hard, not because
it was that heavy, but because all the weight was on one
side; to ensure proper positioning the door needed to
remain closed and locked till it was bolted in place.
So to help me, I hot-glued three small blocks in place,
which would allow me to align the heavy corner. |
 |
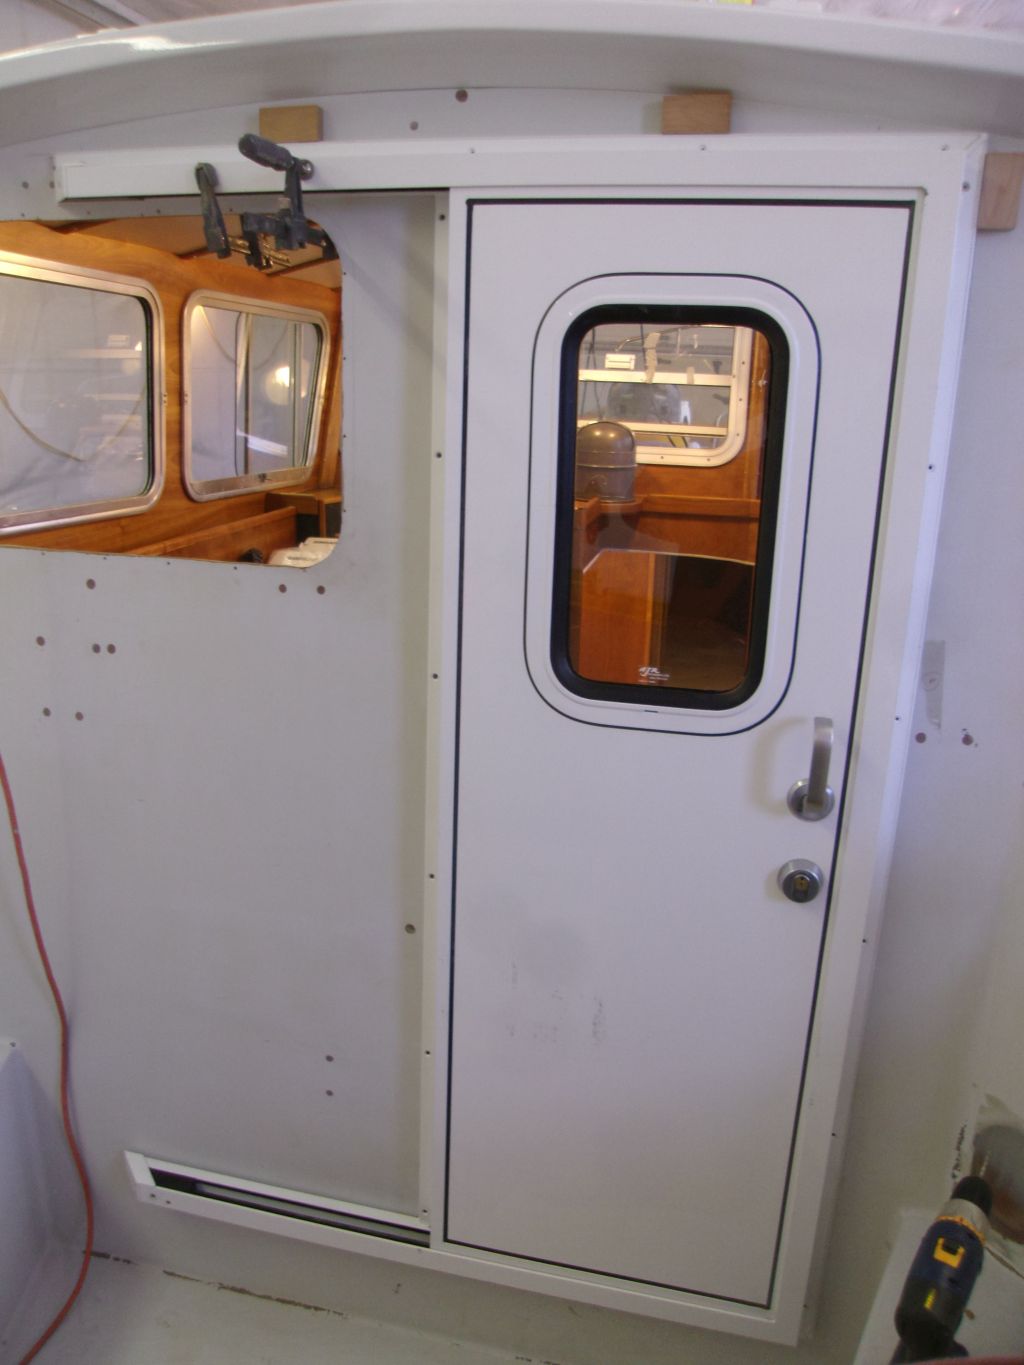
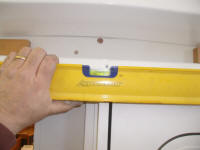
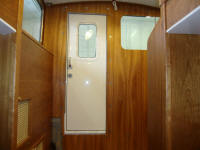
With the alignment blocks in place, and with some
effort--but now at least possible--I held the door in
its proper position and managed to drill a pilot hole
for one screw in the top right corner. I lowered
the door and tapped the hole for the 10-24 machine screw
I planned to use to secure it. Once I got this
screw in place, I could clamp the left side of the rail
through the window opening, holding the unit in the
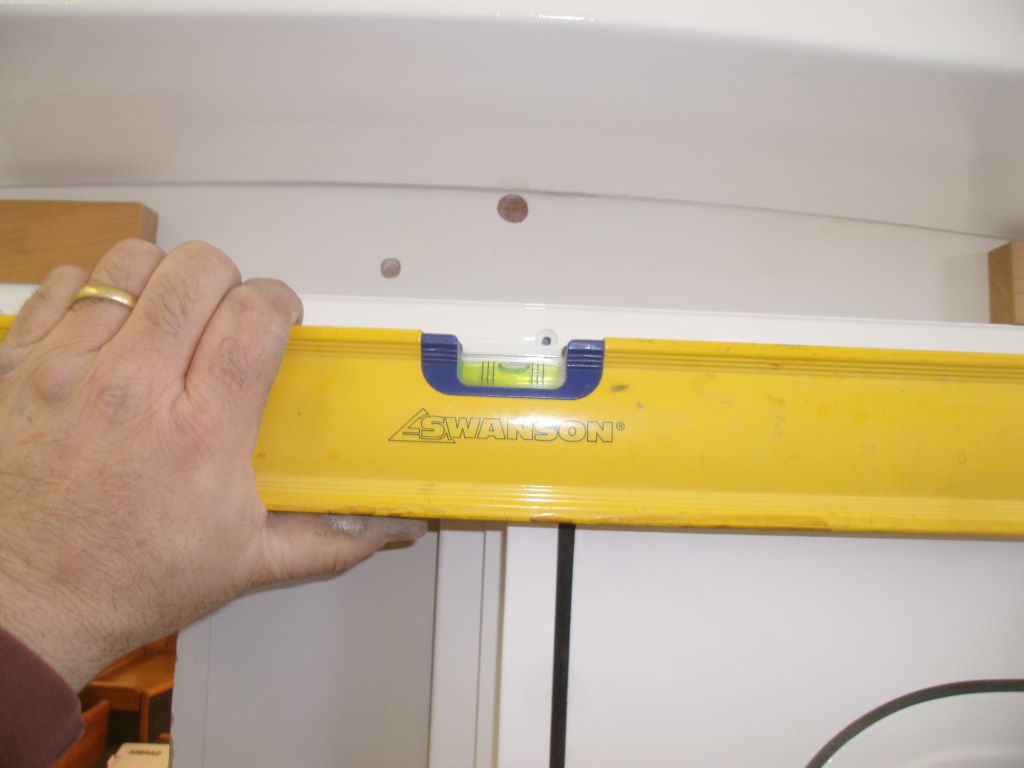
correct position. Then I checked the frame for
level and plumb. |

 |
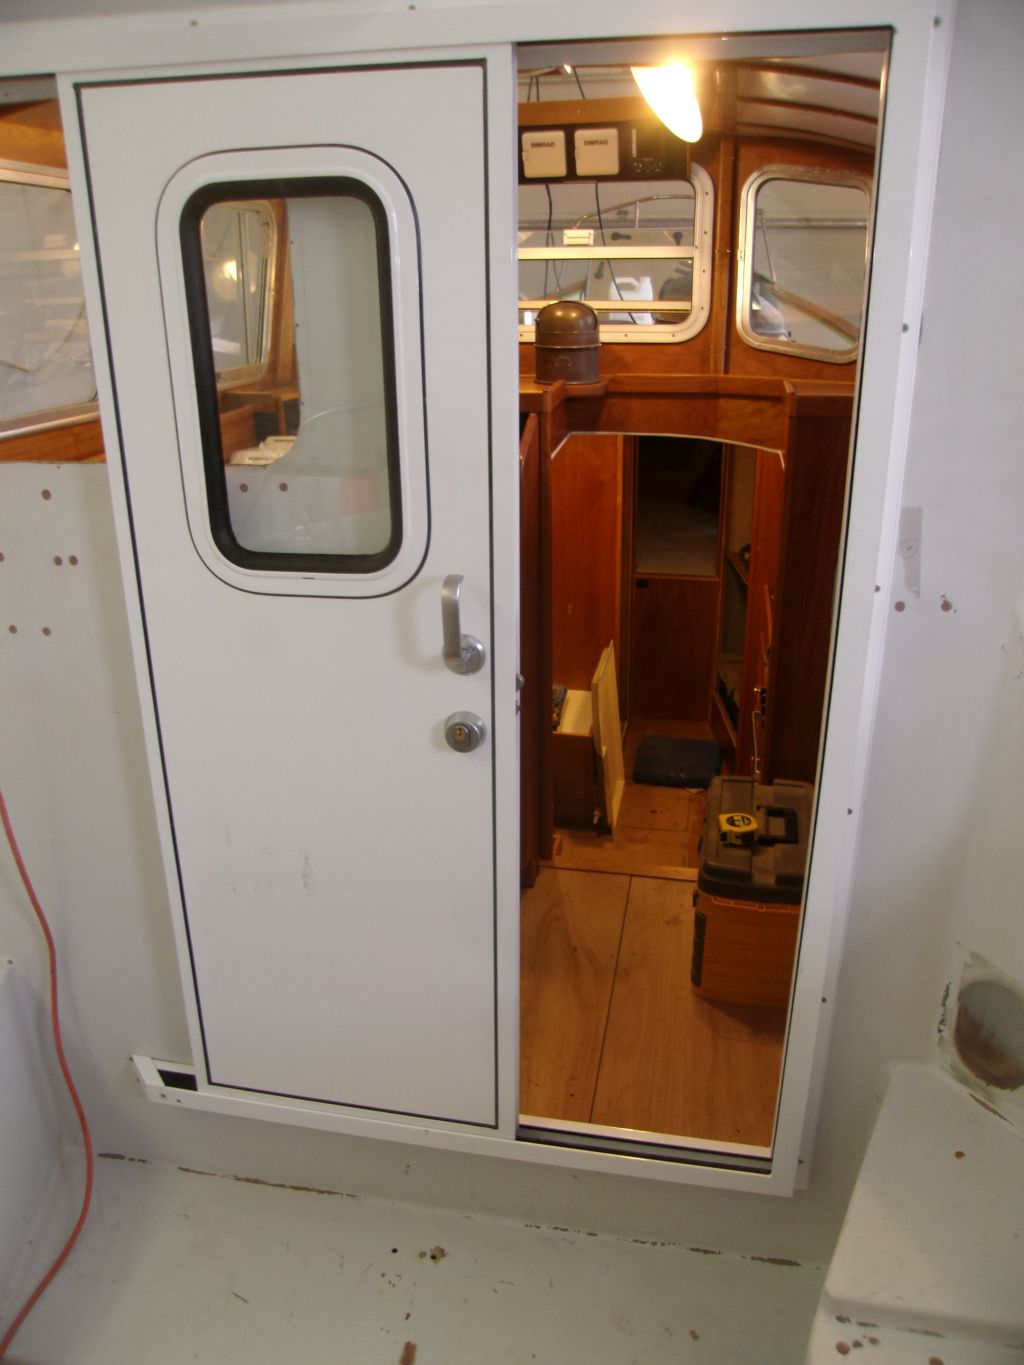
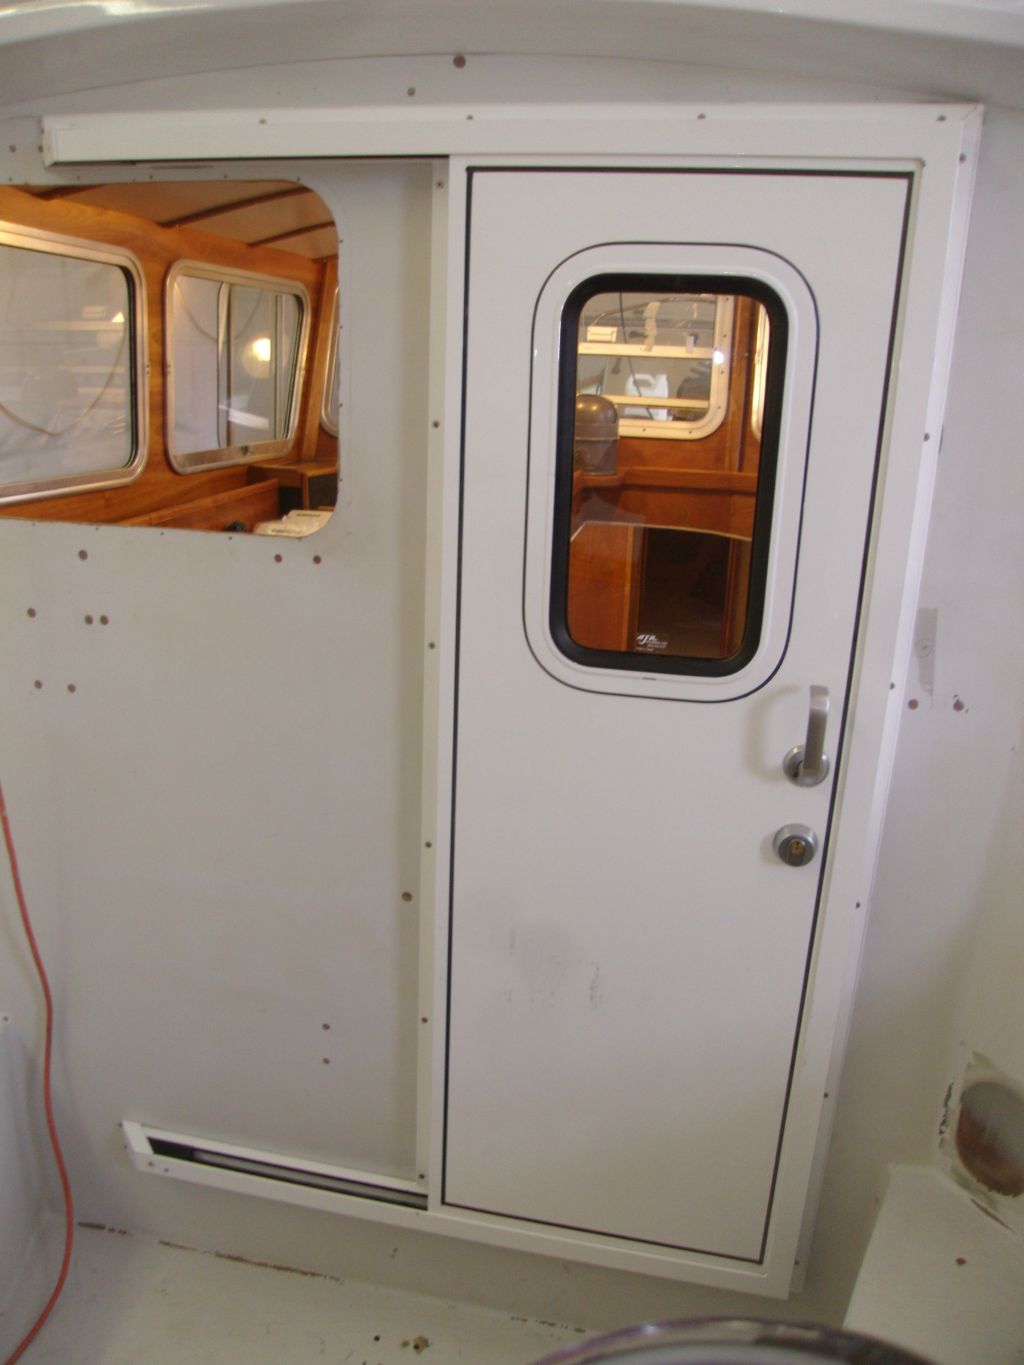
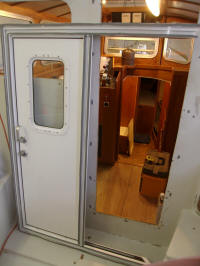
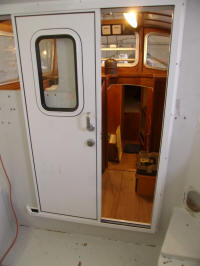
Satisfied with the position, I drilled all the remaining
fastener holes, and, with the door removed, tapped them
for the machine screw threads and milled the usual small
countersinks at each location to provide additional room
for sealant right at the fastener penetration.
The door would be installed using butyl tape, which I
wrapped around all the mating flanges, and I added
additional butyl on the bulkhead itself, at each
fastener hole, plus in the countersunk holes in the door
frame itself, to seal the screw heads. |

 |
Once I got a pair of fasteners in, while juggling the
door and trying not to mess up the butyl tape, the
remainder of the installation was straightforward.
I installed all the fasteners into their tapped holes,
then, from inside, added fender washers and nuts to
fully secure the door.
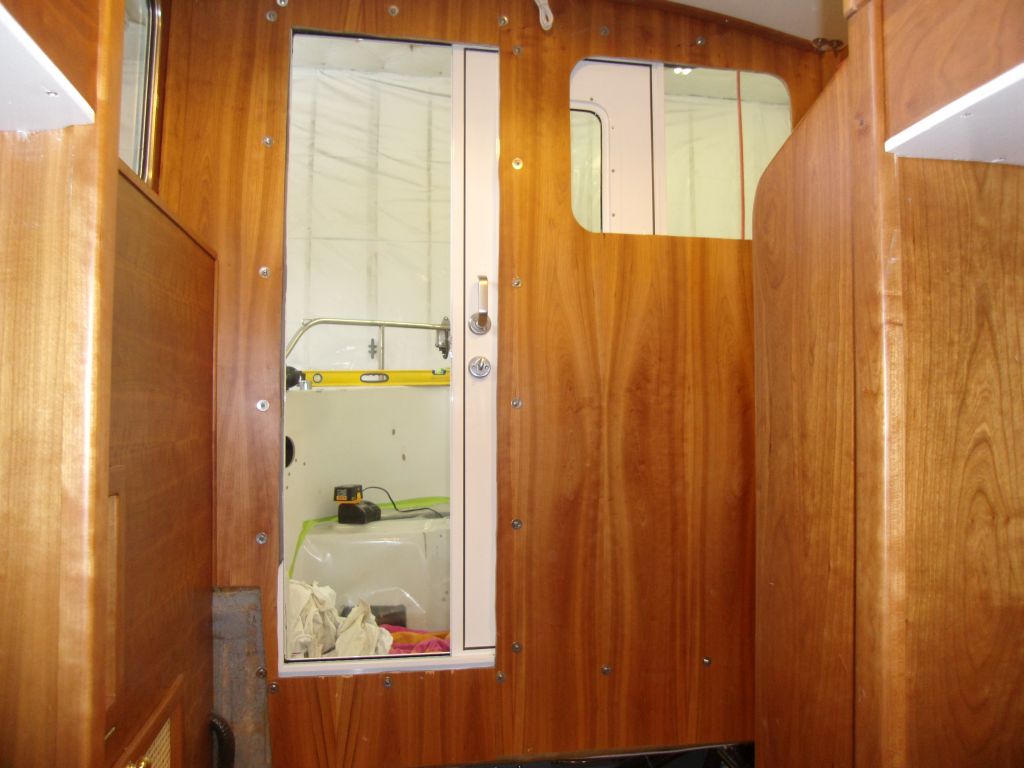
The raw door opening was far from square or
straight--thanks to the original builder for that--but
despite that, the door covered what it needed to.
At some later stage, I'd add trim around the inside of
the opening to finish it off. |

 |
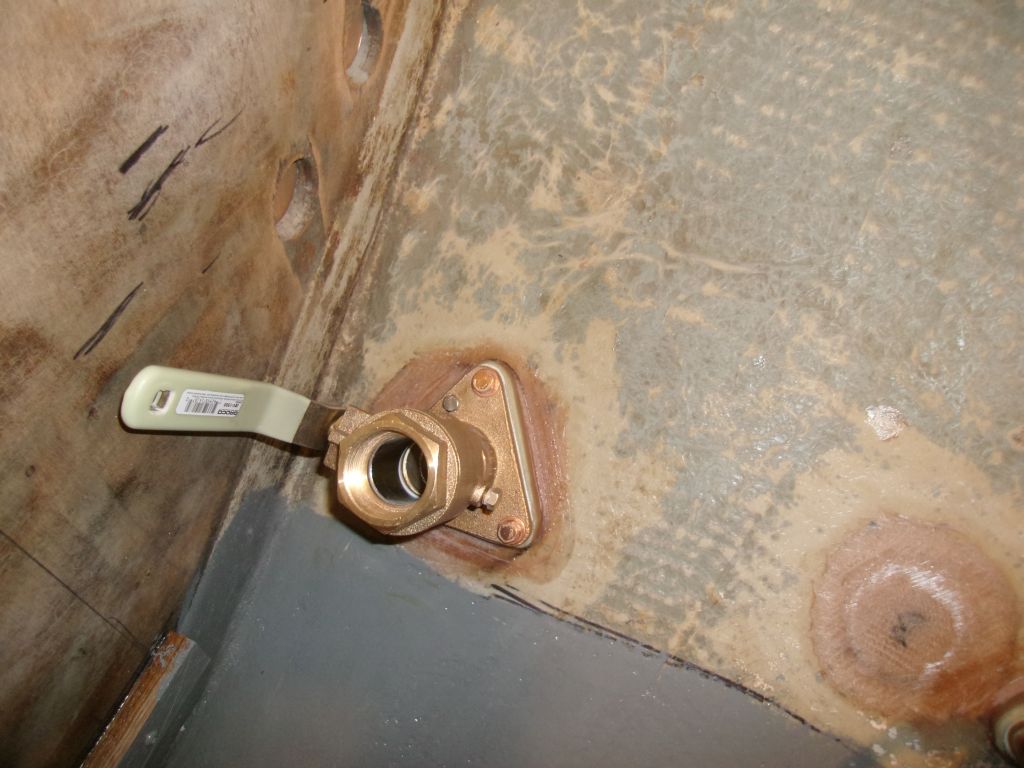
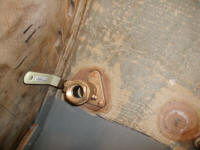
I cut off any excess fastener length inside, flush with
the nuts, since most or all of these fasteners would
remain exposed. While I was at it, I trimmed off
the excess fastener length from the bow mooring bitt,
and on the head discharge seacock. |
 |
| |
Total Time Today: 3 hours
|
<
Previous | Next > |
|
|