Project Log: Wednesday, March 5, 2014
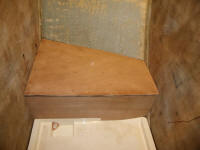
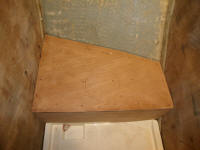
I unclamped the laminated head platform, and after a
quick brush with a sander, returned it to the boat for a
final test fit.
|
 |
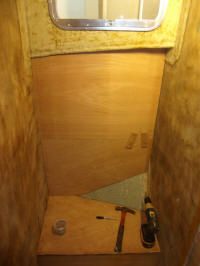
Outboard of and above the platform, I needed a vertical
bulkhead, mainly to support and hide the head pump and
related plumbing. To locate this bulkhead, I
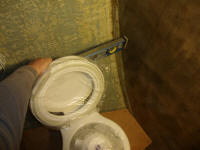
started with the head back on the platform, adjusted to
where I thought it should go. I wanted the
bulkhead far enough back so that the lid of the head
could lean back enough to remain stable on its own when
lifted, and also far enough away to ensure good access
and clearance for the toilet's hose connections on the
back side. I also wanted the bulkhead to land
outside of the cabin trunk, beneath the sidedeck.
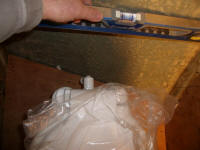
I used the level as a straightedge to transfer this
rough position to one of the transverse bulkheads, and
traced around the toilet base for future reference. |
 |
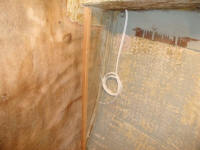
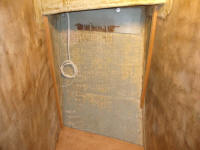
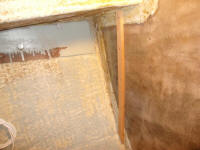
The mark was roughly 35" from the inboard bulkhead
separating the head from the passageway, so I adjusted
for the new bulkhead panel thickness (9mm or 3/8") and
made a corresponding mark on the other side, so the new
bulkhead would be parallel to the boat's centerline.
Then, I cut and installed hardwood support cleats for
each side. |
 |
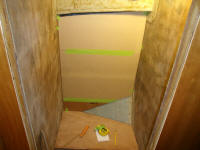
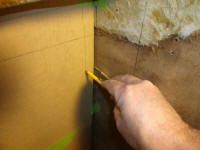
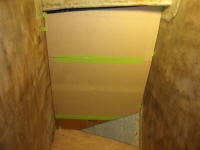
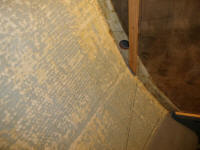
Armed with rough measurements, I prepared a basic
cardboard template of the space, which I used to
accurately scribe the contours of the space. |
 |
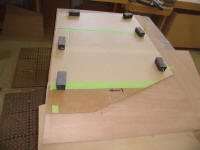
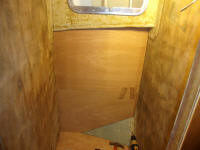
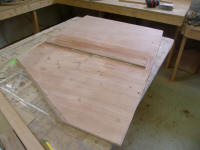
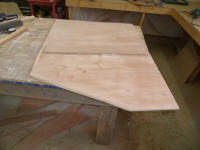
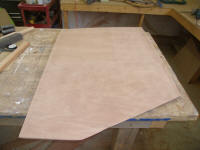
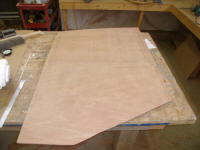
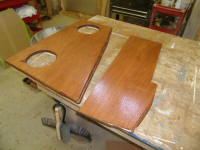
I transferred the templated shape to a pair of plywood
offcuts. I didn't have a single piece large enough
for the job, and did not want to purchase a new piece
for this bulkhead, so I'd splice the smaller pieces
together as needed. After a couple minor tweaks,
the blank fit in place nicely, and I cut a splice cleat
for the back side of the seam, and glued and screwed it
in place to make a single panel. I planned to
cover this bulkhead (and other areas of the head) with
high-pressure laminate panels, so the seam would be
invisible. |
 |
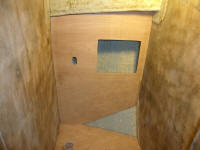
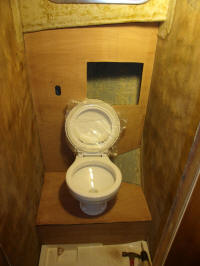
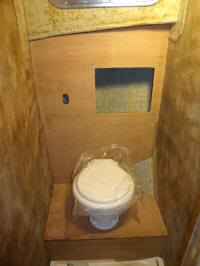
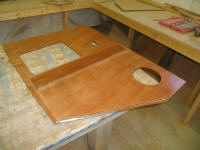
The Lavac required a large manual diaphragm pump, which
in this case was a flush-mount (or behind-bulkhead
mount), support of which was one of the main purposes of
the new bulkhead. I also wanted an access hatch,
both for inspection and pump maintenance purposes and
also for possible storage access. How large a
hatch I could use would depend on the pump placement, so
I made that my first priority.
With a template, I eventually determined the location
for the pump, at the upper left (aft) side of the
bulkhead, and cut out a slot for the pump handle and
drilled mounting holes for the pump itself. Then,
working from known dimensions of off-the-shelf plastic
inspection hatches, my choice for the bulkhead access in
this utilitarian, water-resistant space, I selected a
hatch that would work in the remaining space, and laid
out its cutout. Towards the bottom corner of the
bulkhead, I laid out for a round inspection port so
there'd be no inaccessible spaces behind.
Then, I cut according to my layout lines, checking the
bulkhead fit in place before committing to the planned
location of the lower round hatch and double-checking
the position and function (well, simulated function) of
the toilet itself. |
 |
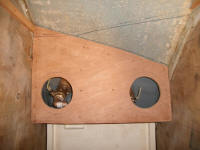
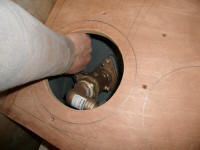
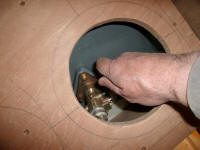
Afterwards, I made the cut for the round hatch, then
laid out and cut similar openings in the head platform,
one on each side of the toilet, to provide ready and
regular access to the seacocks beneath. I'd once
thought of putting these in the vertical bulkhead, but
this would have made access awkward and inconvenient,
and I thought the top access would be much more
favorable. 6" inspection ports would fit in these
openings. |
 |
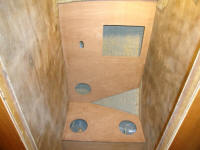
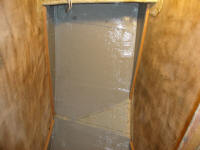
I finished up work for the day by coating all the back
sides and edges of the new plywood pieces with epoxy,
and painting out the newly-defined locker area behind
the head, after first preparing another hose access hole
from the space into the utility area beneath the
v-berth. |
 |
| |
Total Time Today: 8 hours
|
<
Previous | Next > |
|
|


