Project Log: Thursday, March 6, 2014
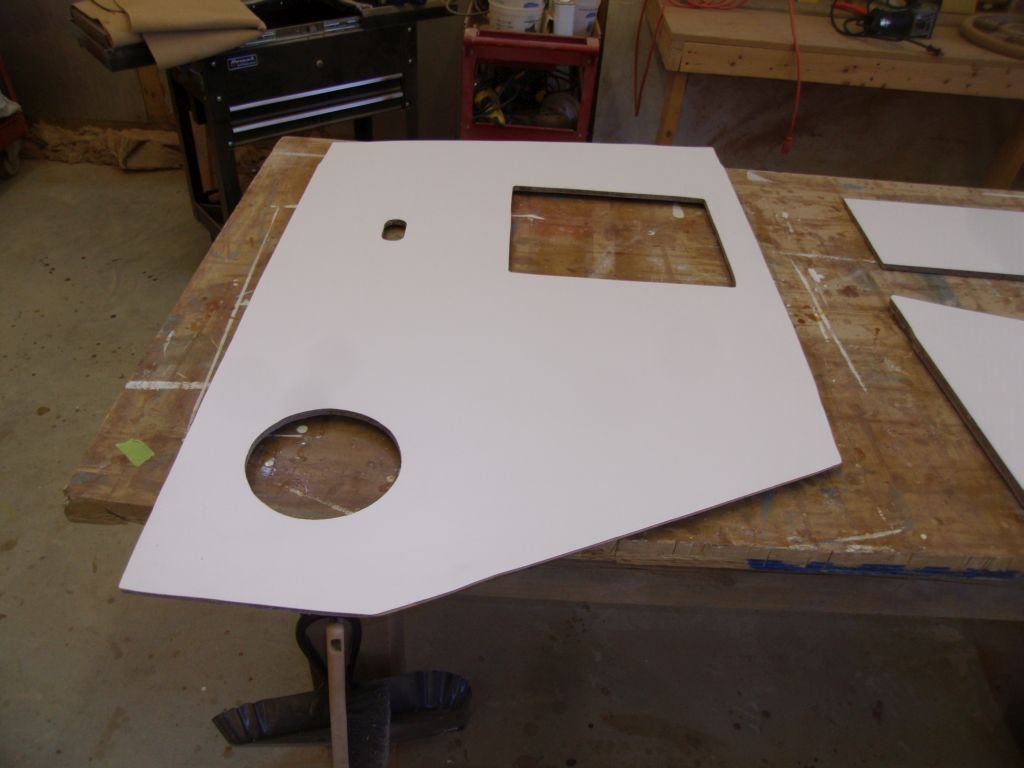
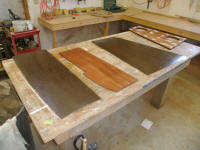
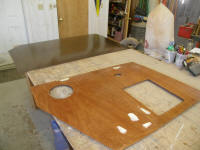
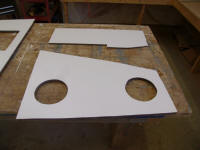
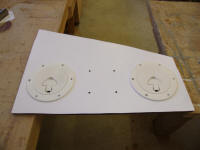
After running an errand to pick up sheets of white
Formica to continue the head construction, I got to work
on the three new panels, preparing them for contact
cement and, eventually, the Formica itself.
|
 |
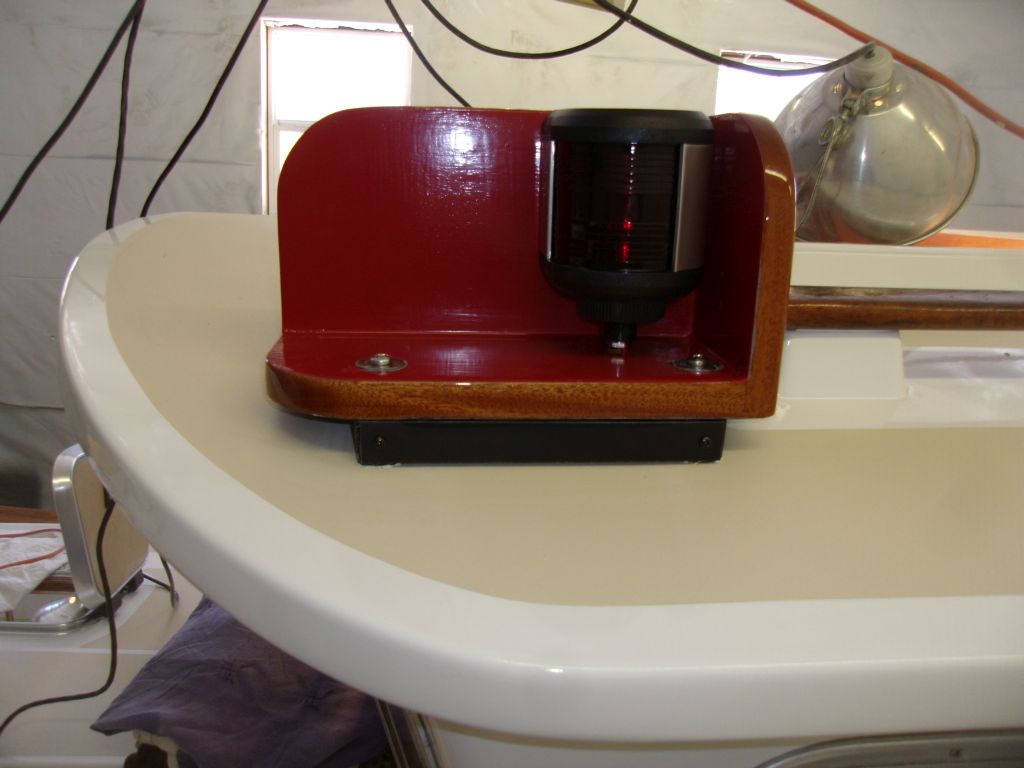
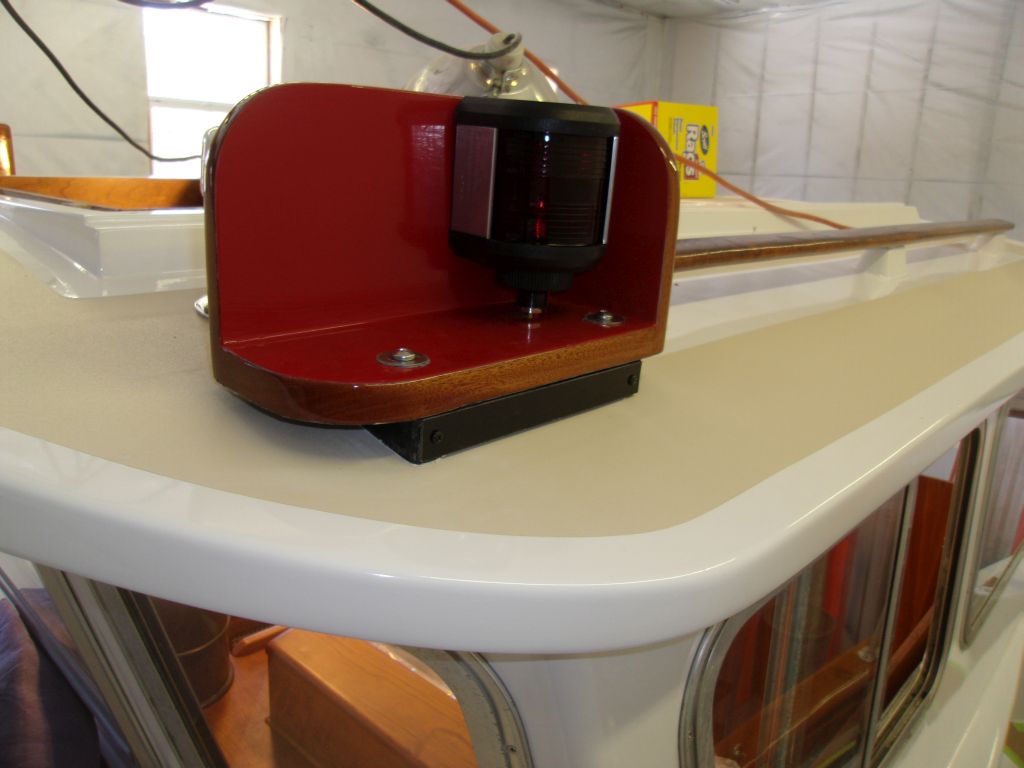
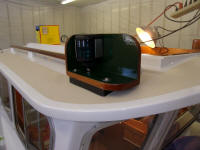
While waiting for the contact cement to tack before
assembly, I took care of a couple little things,
including cutting and installing black plastic covers to
hide the wiring beneath the running light boards. |
 |
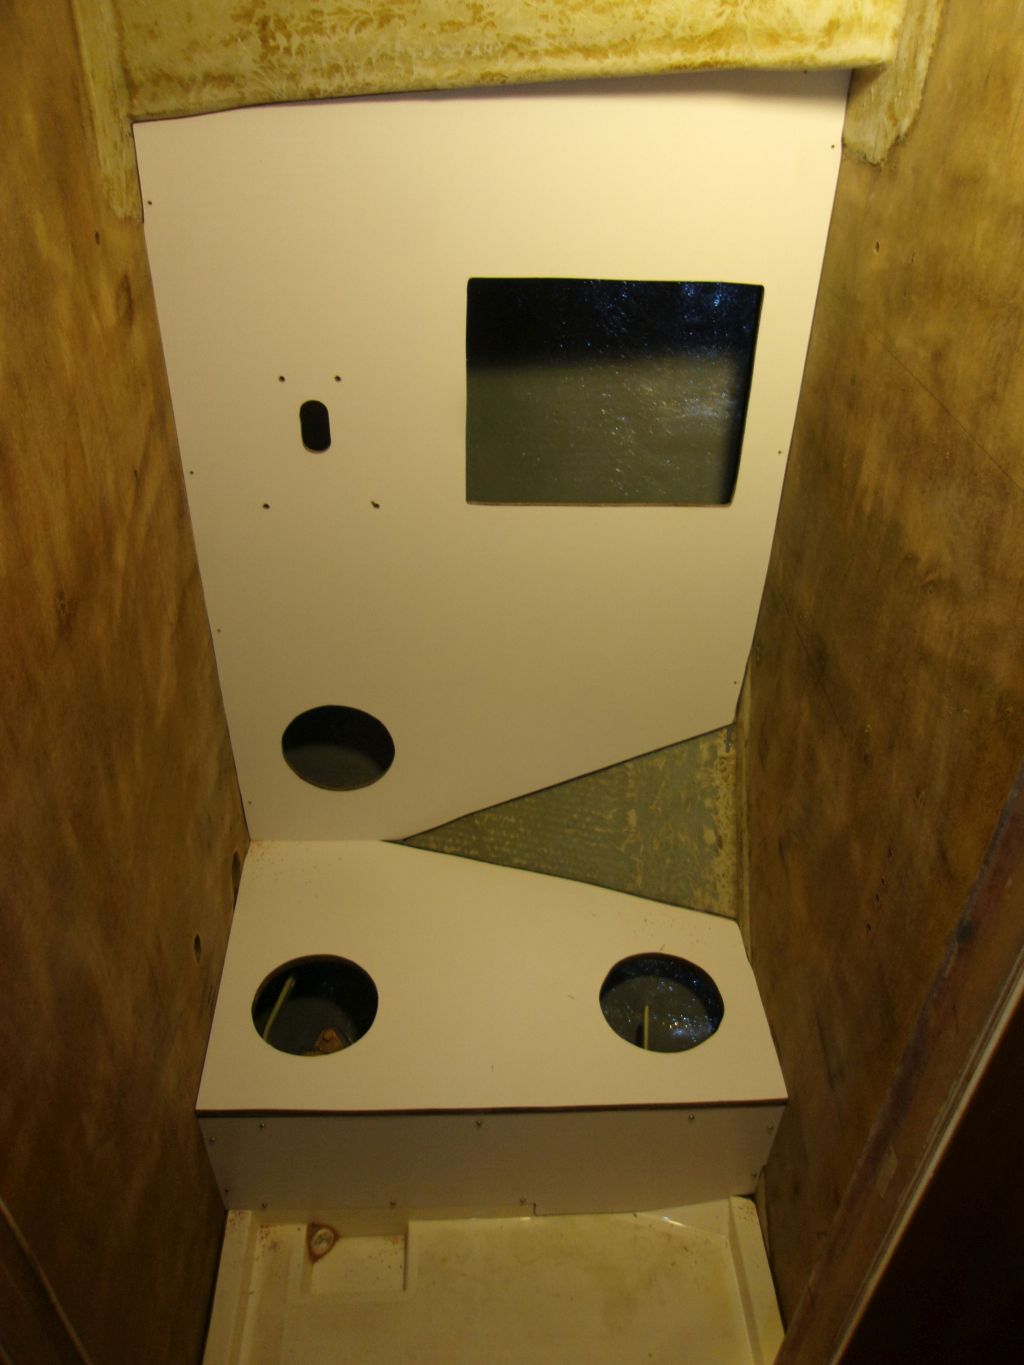
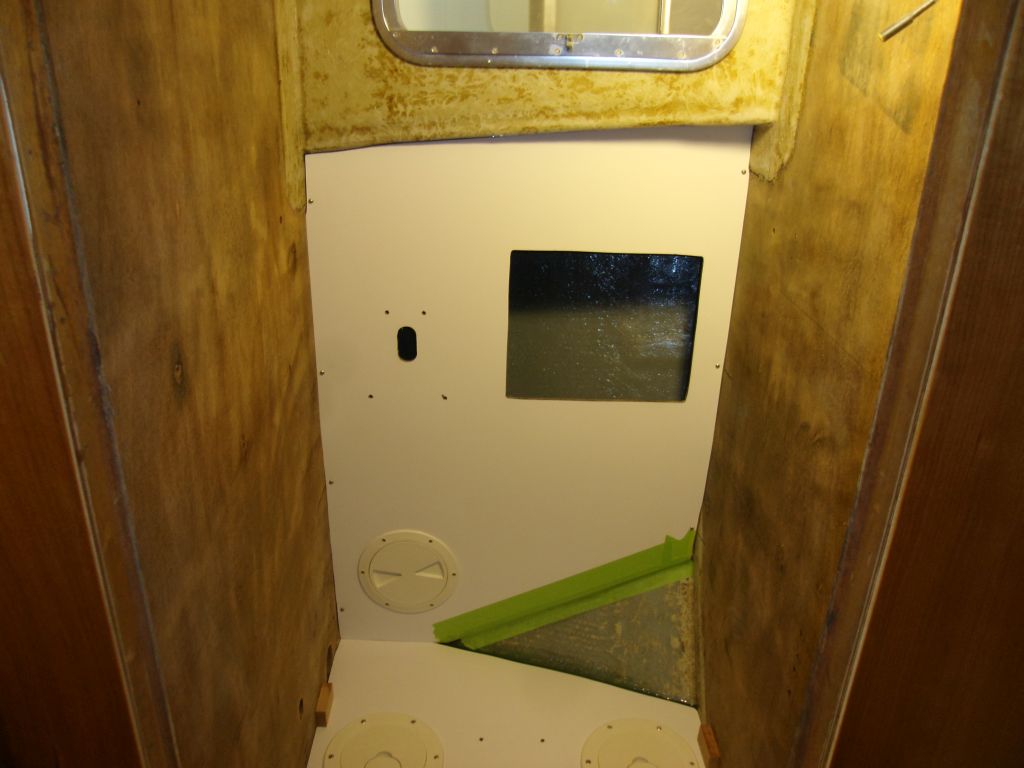
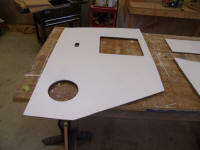
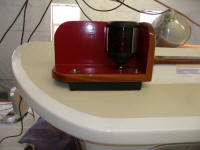
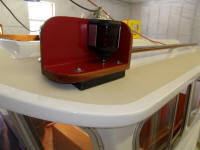
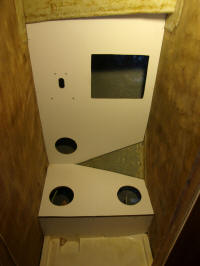
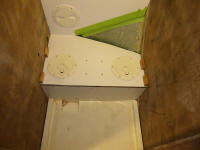
After assembling and trimming the head panels, I test
fit them in the boat before continuing. |
 |
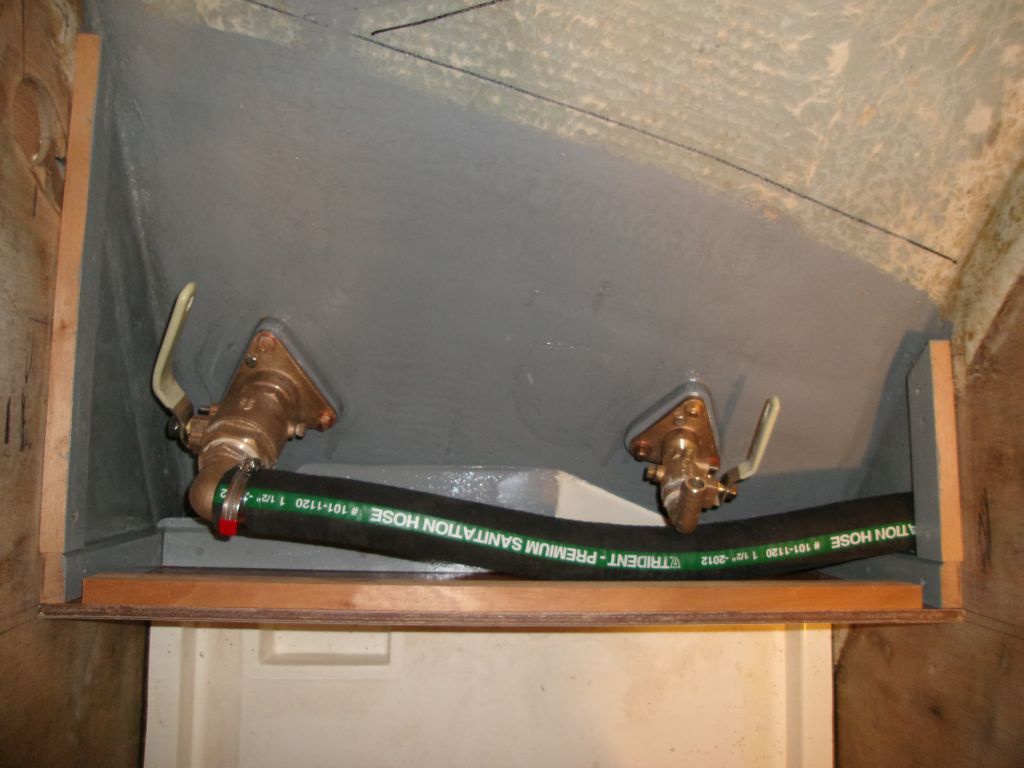
Before final installation of the panels, I installed
1-1/2" hose to the head discharge seacock, running it
forward into the utility space where the treatment
system was located (I'd connect the other end later).
No more of that miserable white hose for me: this
heavy wall, wire-reinforced sanitation hose was much
better to work with, and more flexible despite its
larger outside diameter, and I planned to use it for the
entire installation. |
 |
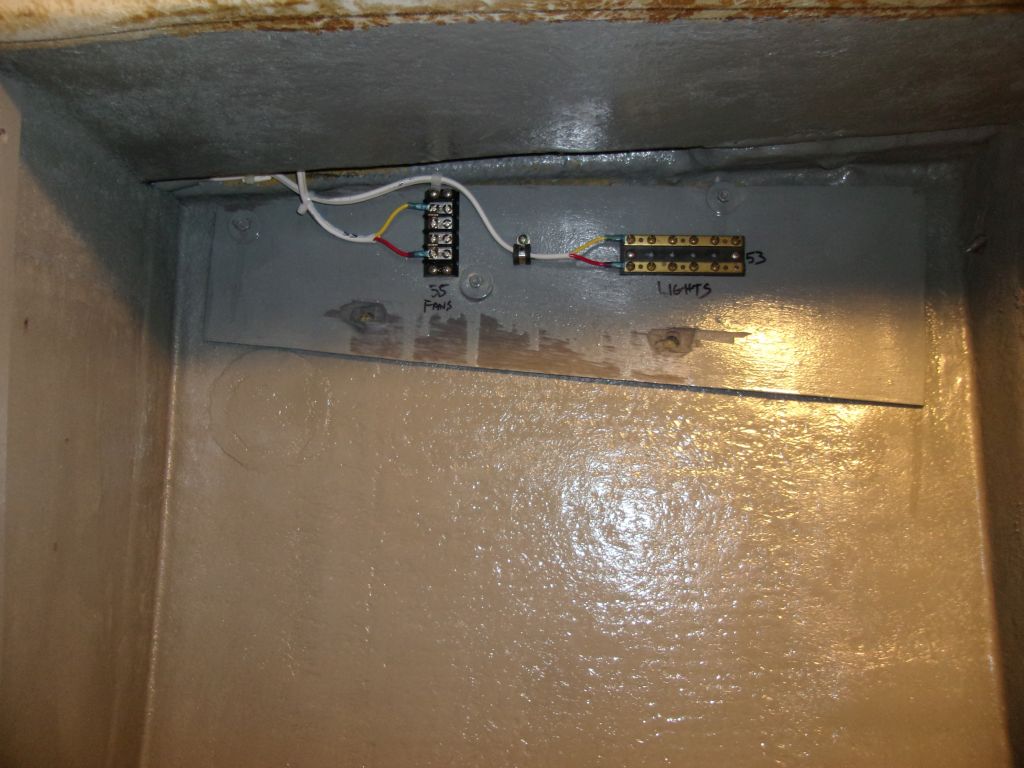
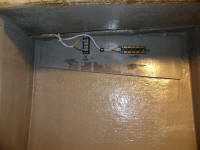
Much earlier, during another phase of the project, I'd
led two wire runs into the head, dead-ending them for
future use for lighting and fans. To make future
connections easier, and taking advantage of the easy
access for the moment, I terminated these two circuits
on a pair of terminal strips that I had on hand.
Later I could wire the appliances to these strips
easily. |
 |
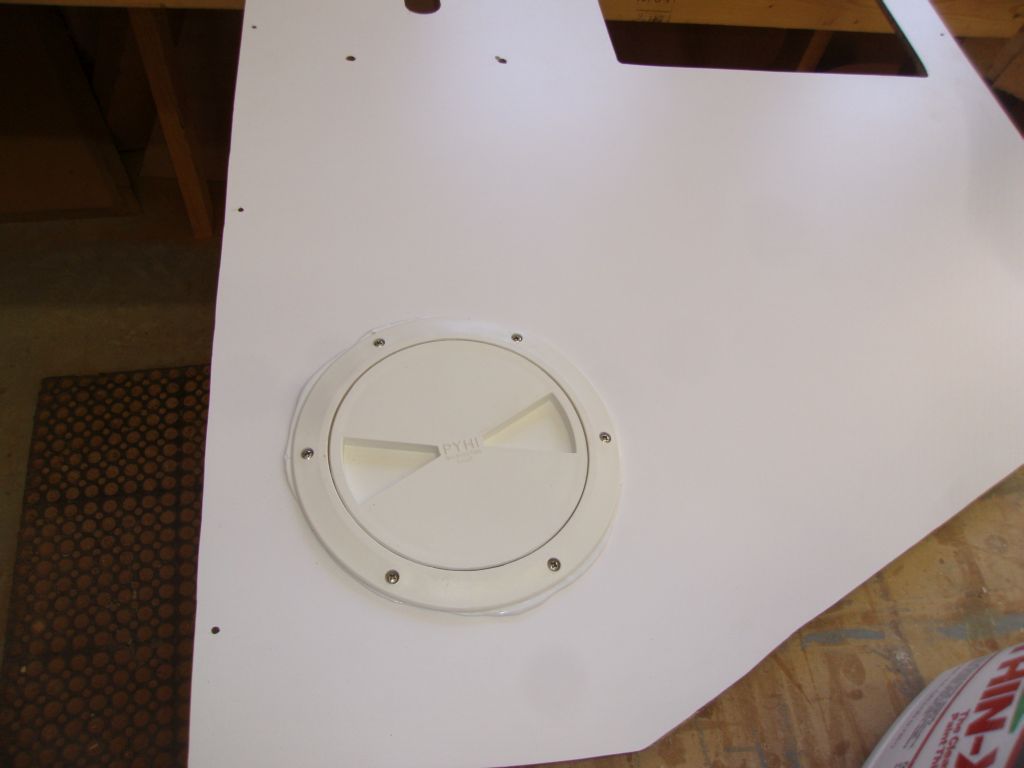
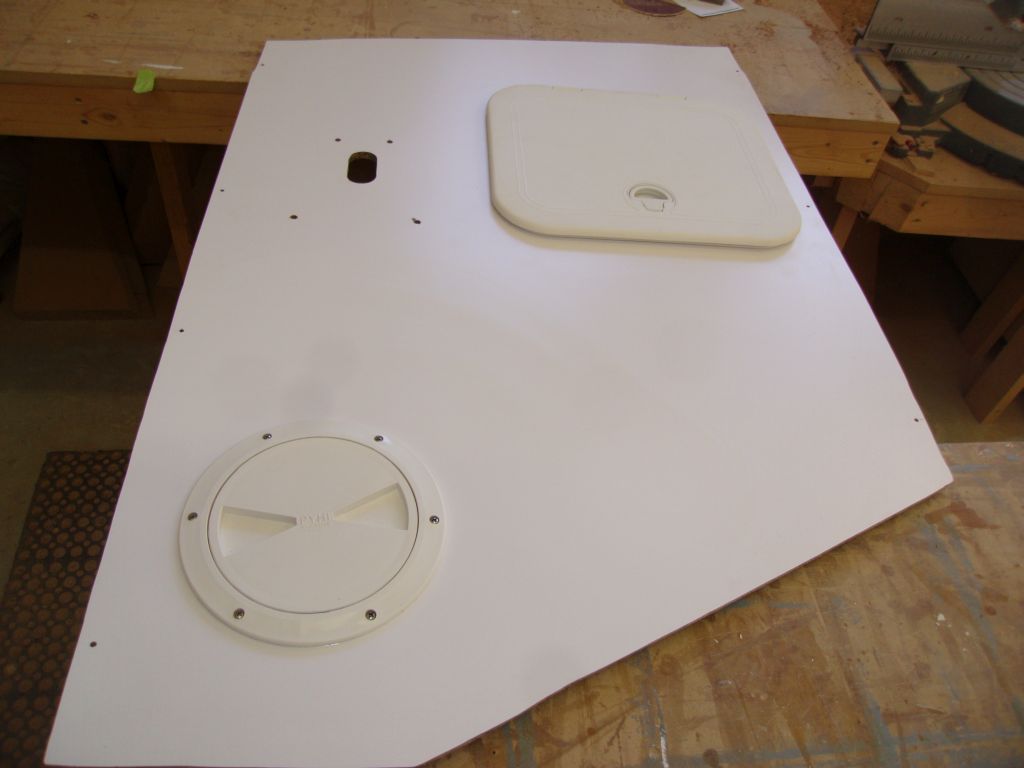
I installed the round access hatches in their respective
holes, using sealant and screws. For the vertical
panel, I chose a simple screw-in hatch. I test-fit
the upper locker access door, but for better access
within I left it off for now. |
 |
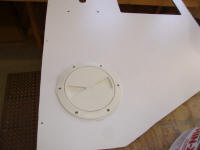
For the two seacock access ports in the head platform, I
selected turn-lock covers for easy and regular access. |

 |
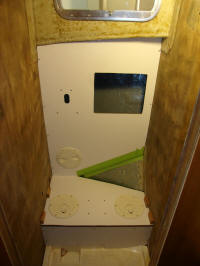
For final installation, I started with the short
vertical panel beneath the head platform, securing it
with screws only to make it (and the shower pan beneath)
removable. Note that I expected and planned no
need nor desire ever to remove these features, but it
seemed prudent to allow for the possibility in the
future in any event.
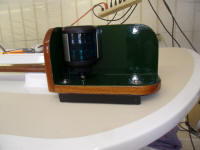
Afterwards, I secured the head platform in epoxy
adhesive, using hot-glued blocking on the sides to clamp
the panel securely, and attached the upper panel with
epoxy and screws. I wanted these panels to be
stiff and well-adhered to better support the head, and
the pump action in the vertical panel. Eventually,
I'd seal off all the seams between various panels and
the adjacent bulkheads (when complete) with waterproof
caulk. |
 |
| |
Total Time Today: 7.5 hours
|
<
Previous | Next > |
|
|