Project Log: Saturday, March 29, 2014
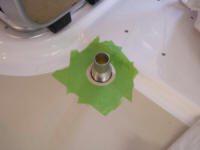
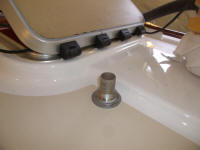
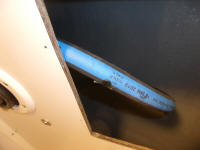
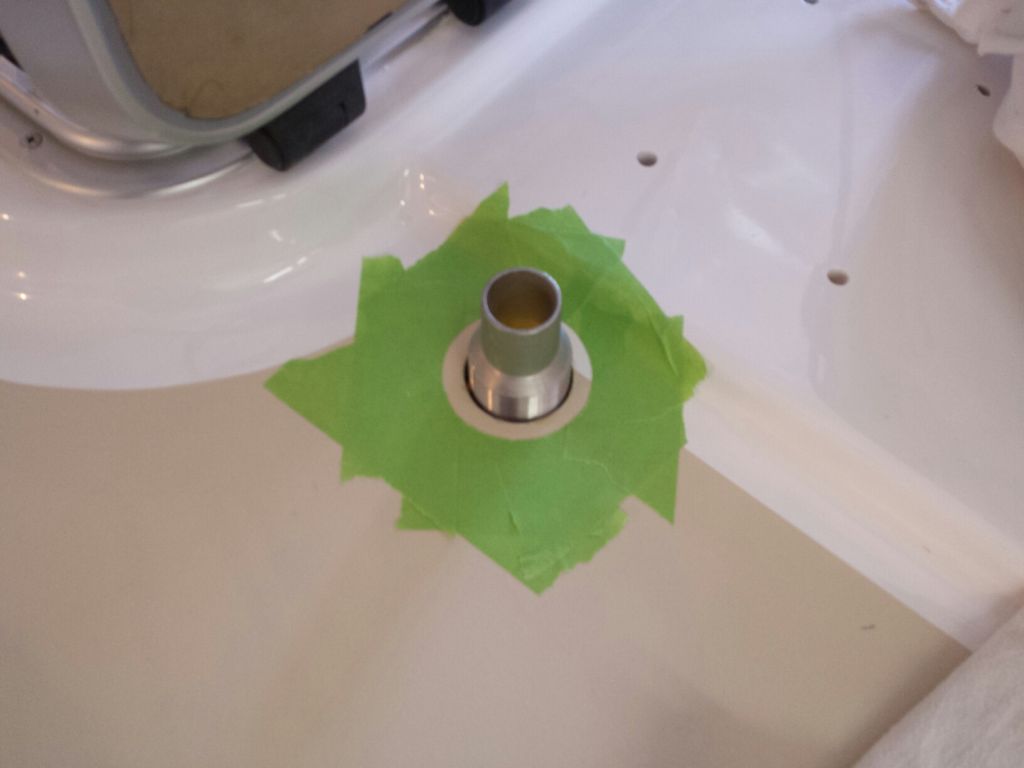
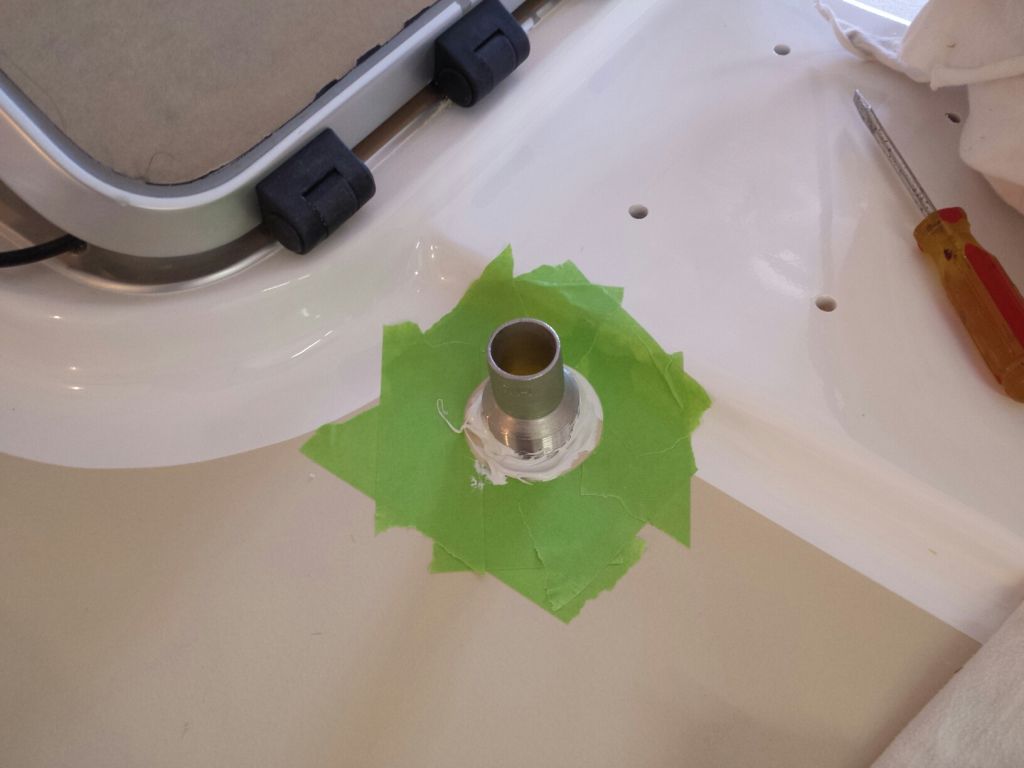
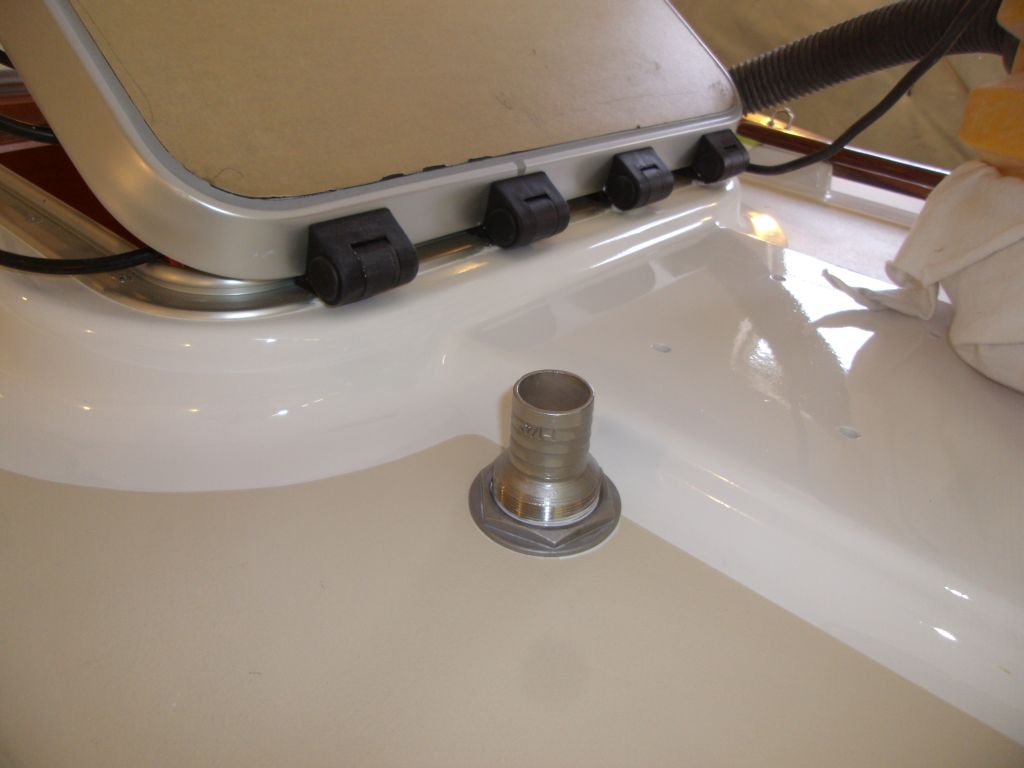
The epoxy filling in the new deck hole had cured
overnight, so I made my first task the installation of
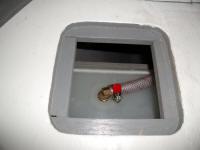
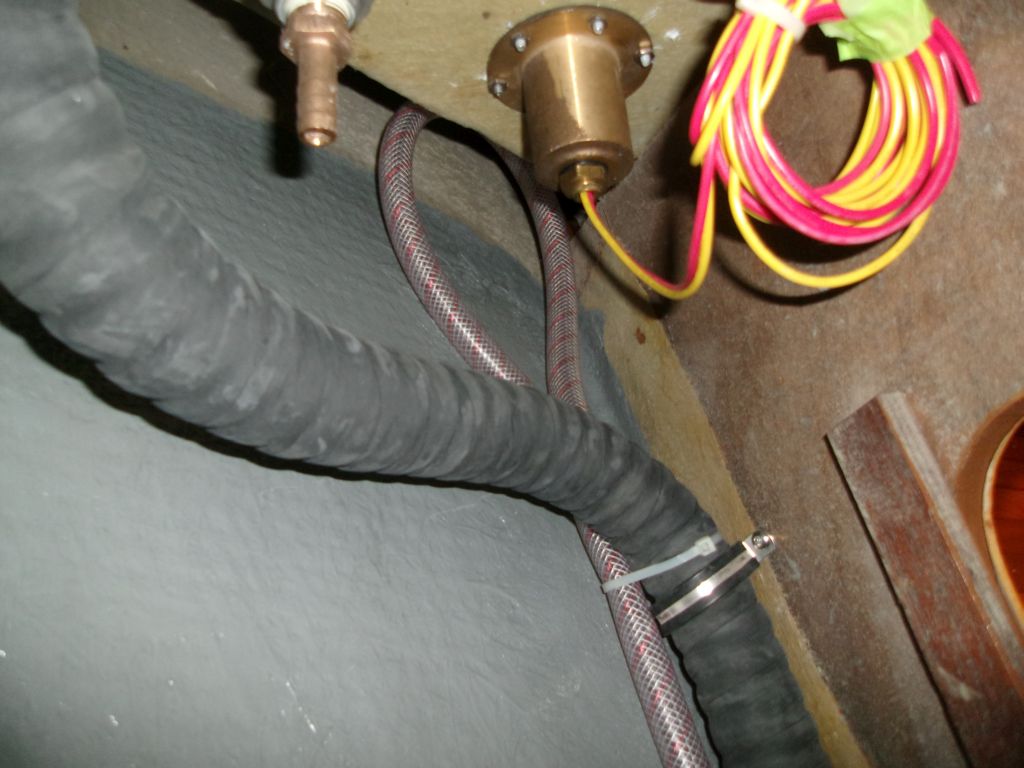
the mast wire chase through hull fitting. With the
fitting dry-installed from beneath, up on deck I scribed
around the perimeter of the nut, then removed the
masking tape from that area. Then, I gooped up the
fitting from inside and out and installed it in the
usual way.
|


 |
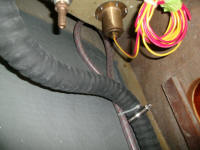
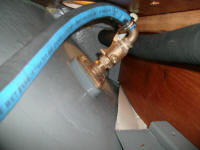
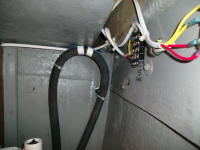
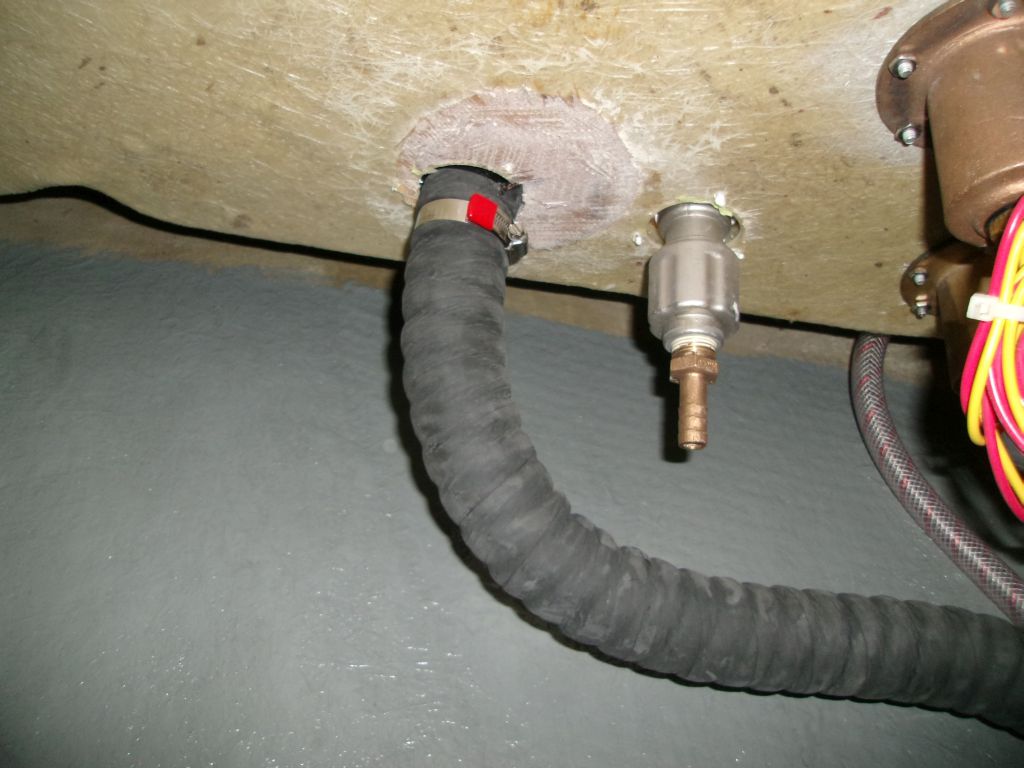
A while back I started using a black livewell hose--very
much a black version of that white sanitation hose--for
bilge pumps and water tank fill lines. Tough stuff
with a nice smooth inside wall, but miserable to work
with. This is the hose I'd led from the chain
locker into the water tank area beneath the v-berth.
However, another attempt to force this unyielding stuff
onto the bronze pipe fitting at the tank, working
through small openings in a confined space, convinced me
to use something else--something more flexible.
Going through supplies of hose on hand, I found a
section of nice corrugated heavy-wall hose that I chose
to use instead, and in short order I had this sweetly
flexible hose in place, secured, and clamped down.
While this hose might not have been necessarily
"suitable" for potable water, I thought it would be fine
in this application, where no water would be resting in
the line. |

 |
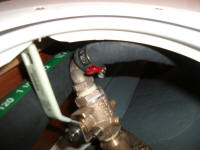
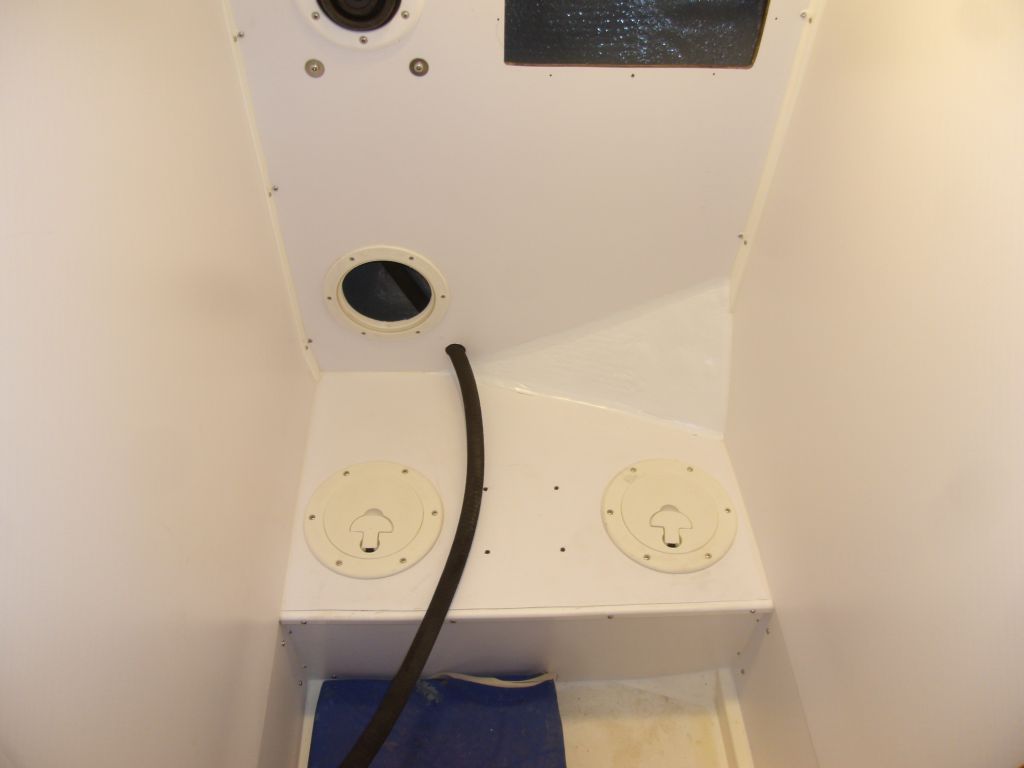
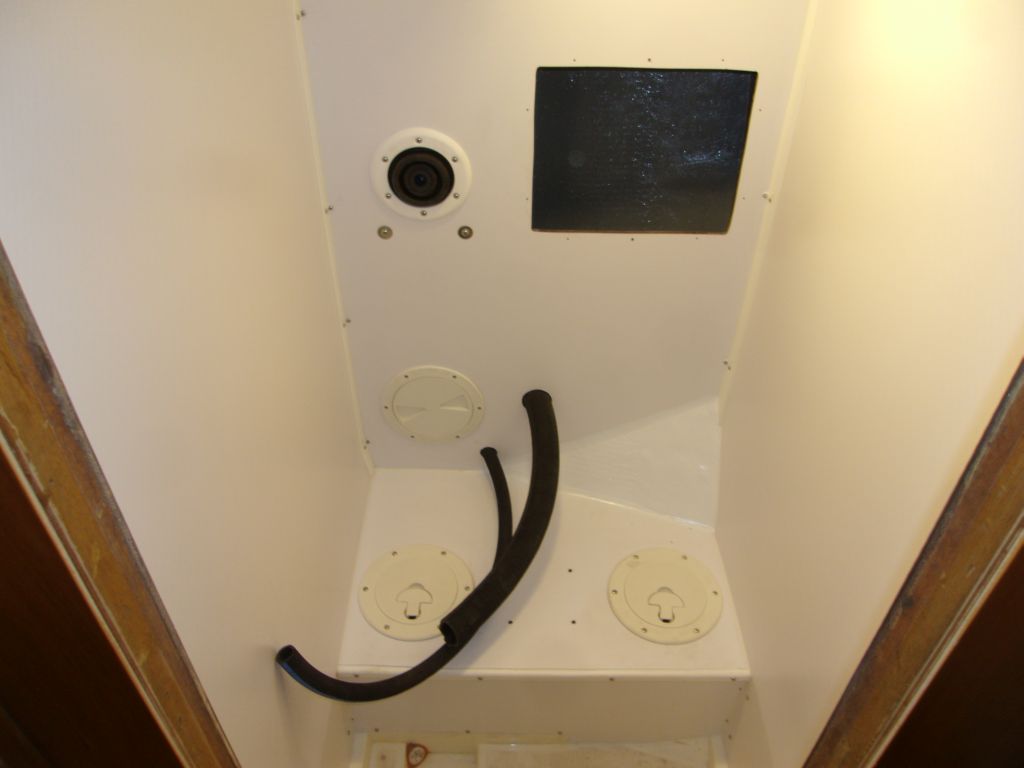
Next, I installed a vent line, running a loop of 5/8"
water hose from the tank vent fitting up into the chain
locker, where I secured it. |
 |
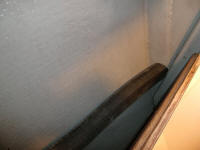
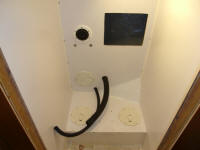
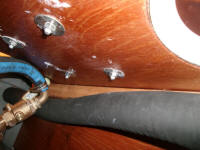
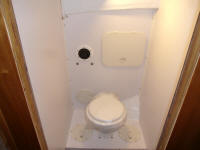
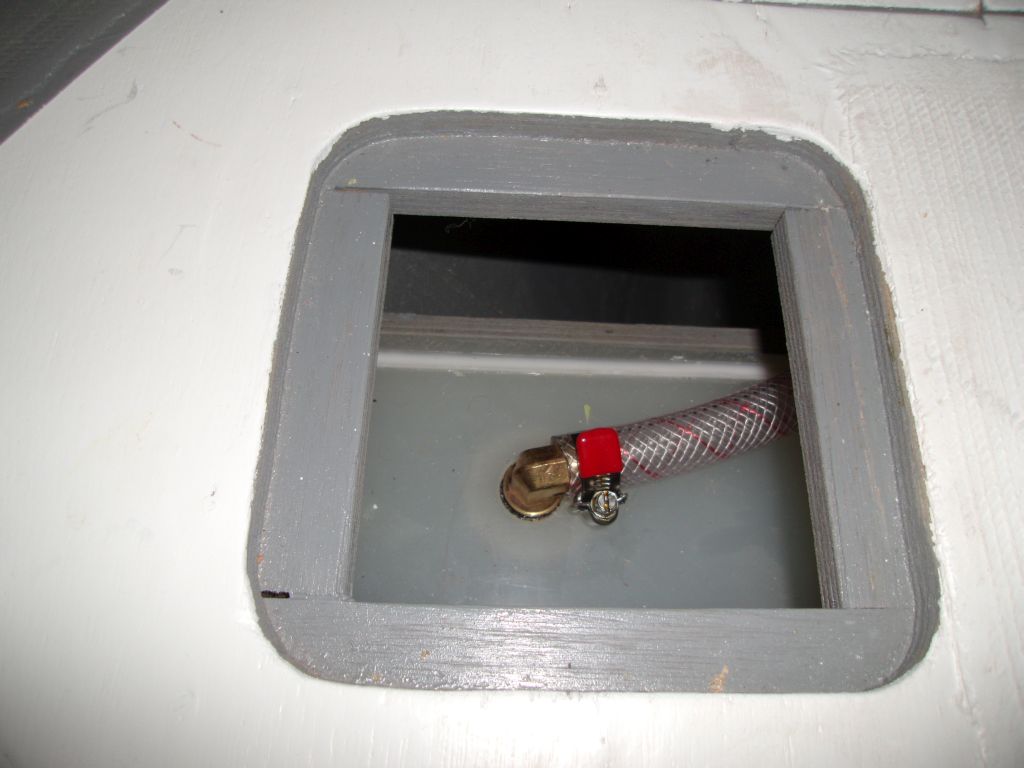
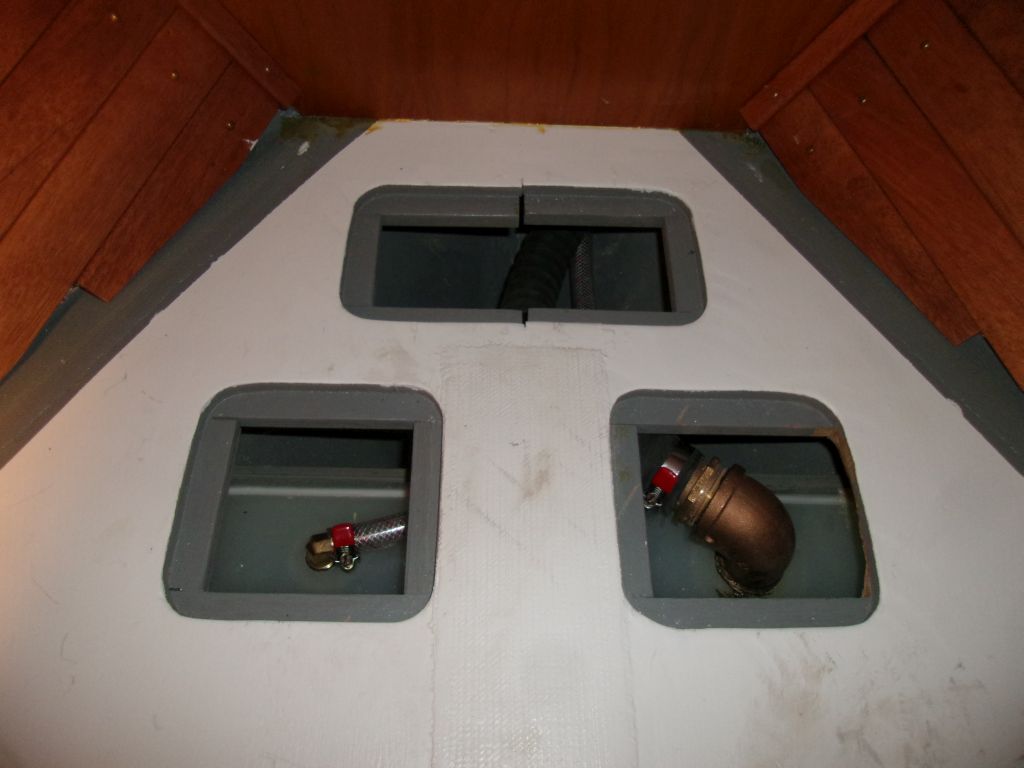
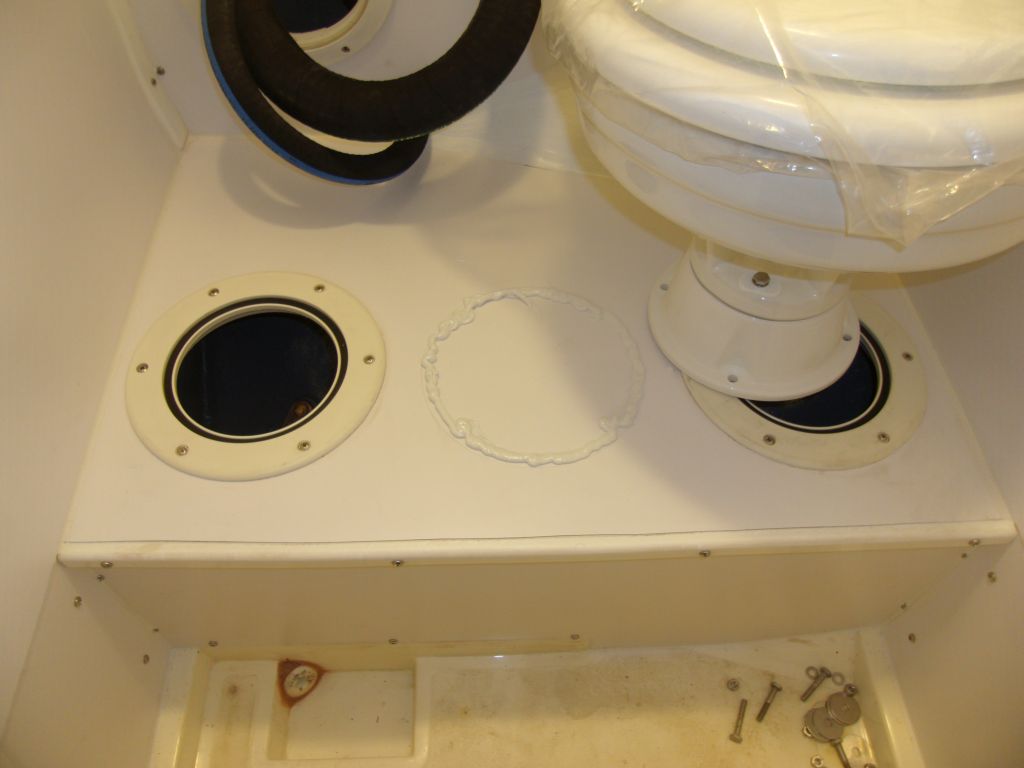
Next, I turned back to the head, and the toilet supply
line. I used 3/4" heavy-wall hose and led a length
from the intake seacock, through a hole I drilled inside
the cabinet (in a small corner of the head platform that
extended into the space), and up into the locker
outboard of the toilet, where I formed a loop beneath
the deck before leading it back out into the head
compartment through another strategically-located hole.
At the top of the loop, I installed a plastic vent plug
that was required for the Lavac system to work. I
chose the black plug (black and white were provided)
since my toilet was just at the waterline; the other
plug was for installations above the waterline. I
could always switch it later if needed. I marked
the plug location for future reference and secured the
loop to the bulkhead, keeping the little vent plug free
and clear for proper operation. |

 |
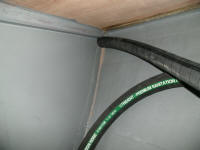
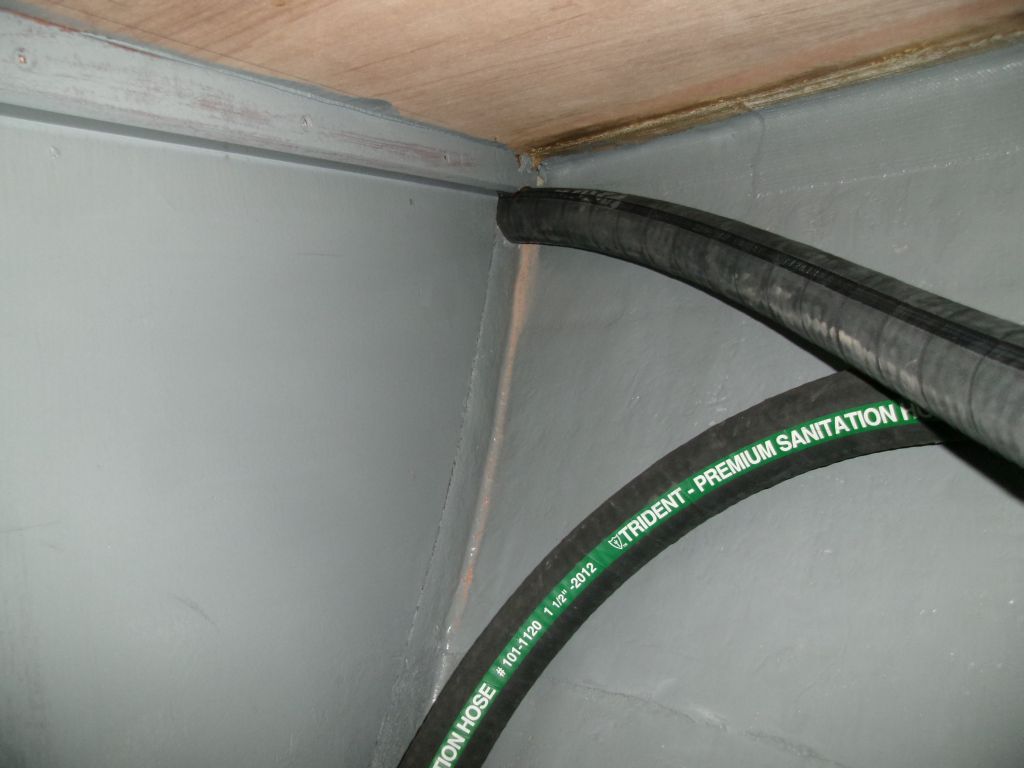
The shipment of heavy-wall black sanitation hose that
I'd ordered, but which had been involved in a shipping
warehouse error earlier in the week, had arrived in time
after all, so that meant I could wrap up the head
installation. I led lengths of the hose to and
from the waste pump, leading from where the toilet would
be installed and then through a hole leading into the
compartment beneath the v-berth where the waste system
was located. I'd make up all the connections there
a little later. |

 |
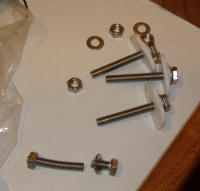
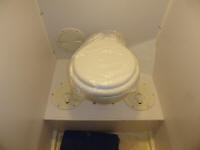
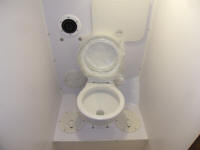
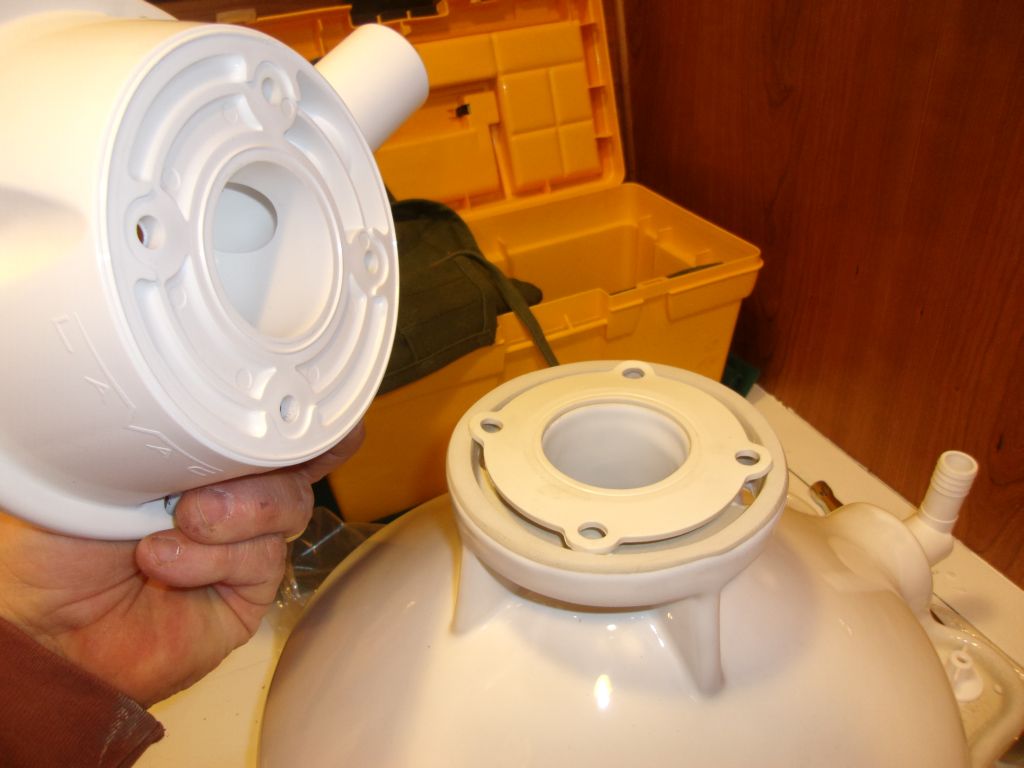
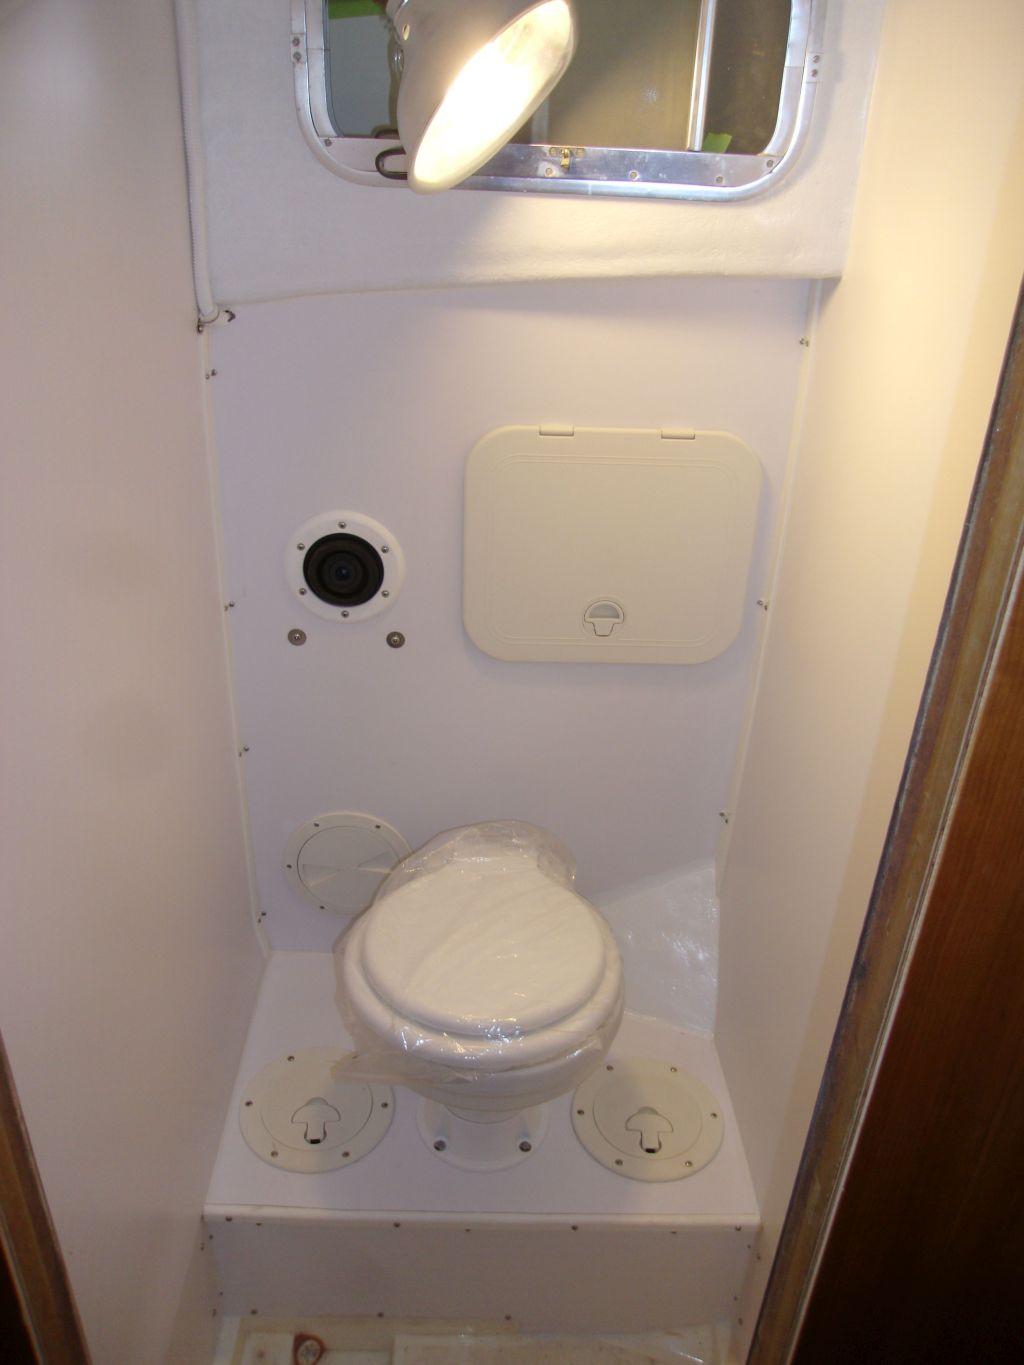
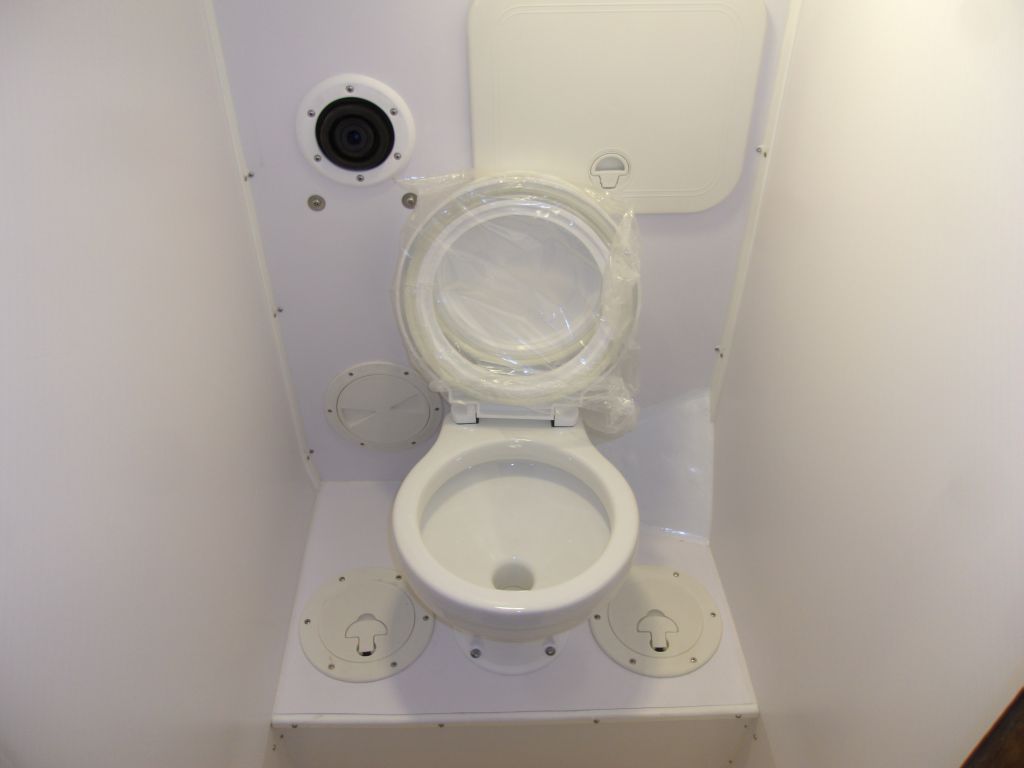
Now I could actually install the toilet. Before
proceeding with the installation, however, I wanted to
check the seal between the bowl and the base. When
I installed the Lavac in my previous boat in 2001, the
seal had not been tight here, and the toilet leaked
after installation, forcing me to remove it so I could
tighten the bolts. Fool me once...
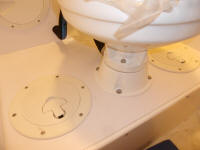
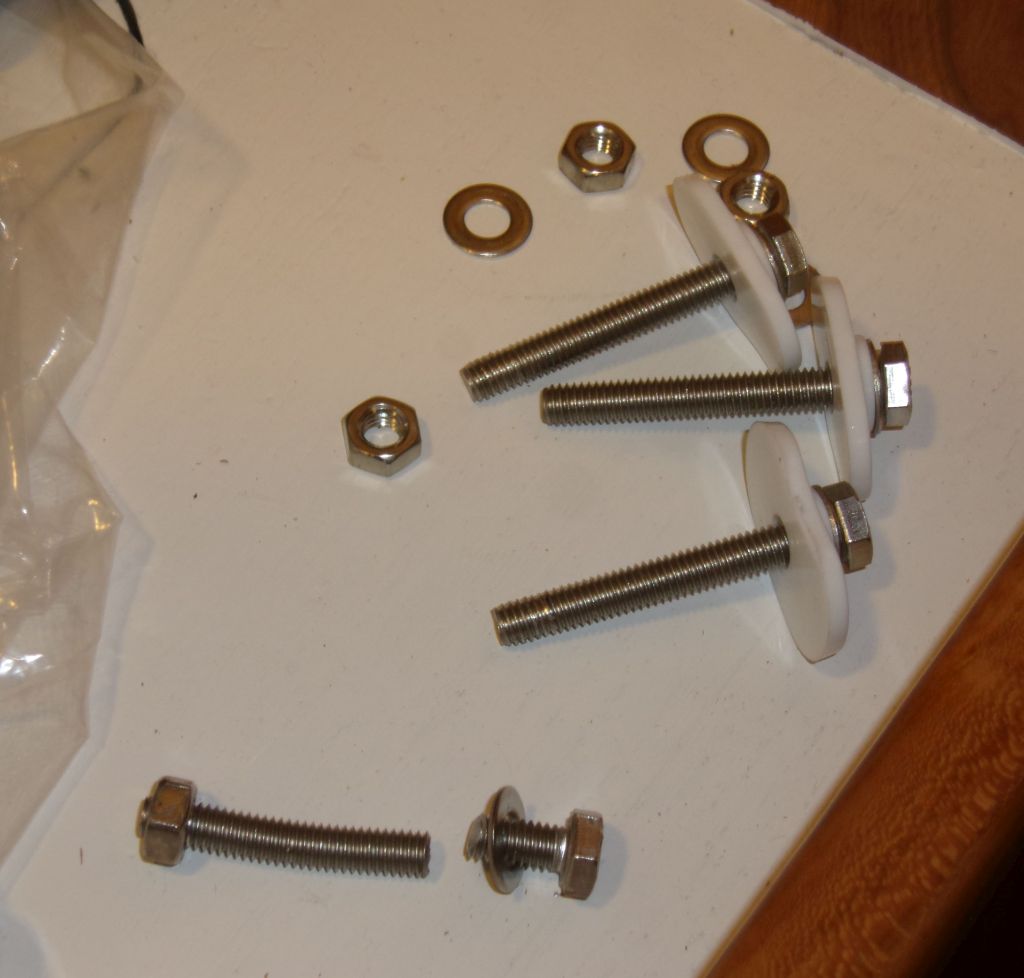
The nuts beneath the base were tight to the point of
seeming cross-threaded on the bolts, and indeed one of
the four was so badly distorted that it wouldn't come
off, and I had to resort to a big ratchet with
extra leverage to eventually snap the bolt, since the
nut was so badly jammed on. Inspection of all
the bolt threads showed clear evidence of damage from
the nuts--whether intentionally from distorted-thread
locknuts (I doubted this) or because the wrong nuts were
used I would never know, but needless to say I found
four new bolts in my stock and used those instead. |
 |
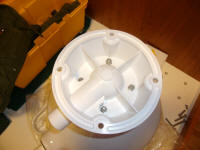
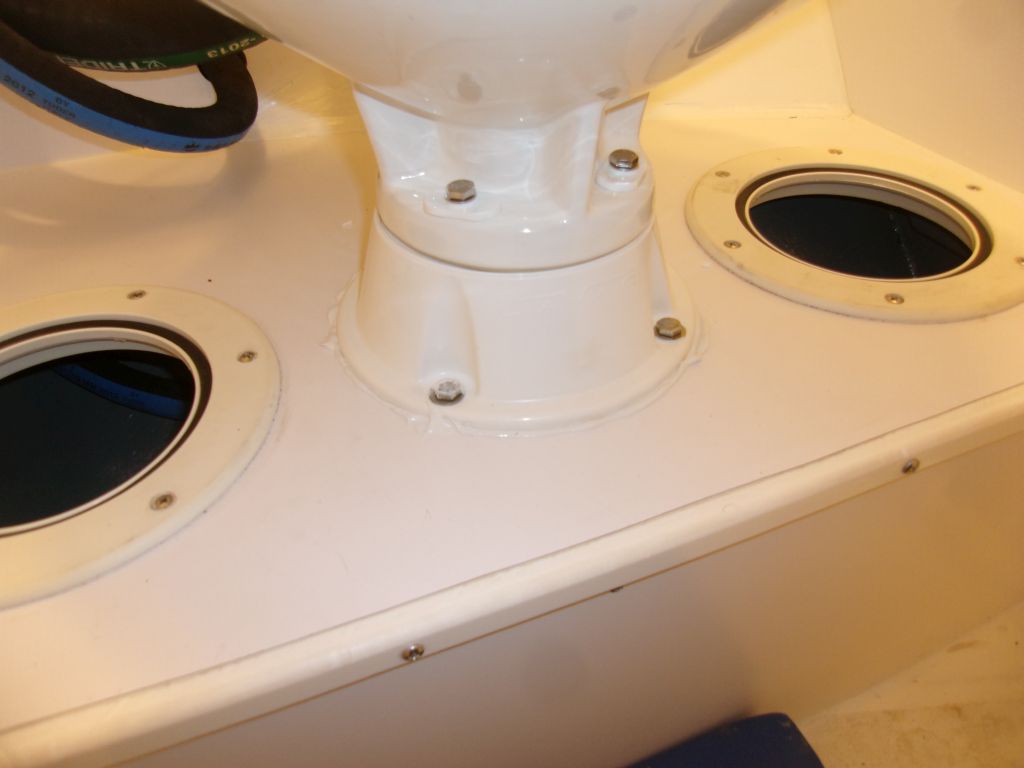
After inspecting the seal, I reinstalled the base with
the new fasteners. Then, I secured the head to the
platform with sealant and four bolts; I could reach the
nuts through the access ports. |


 |
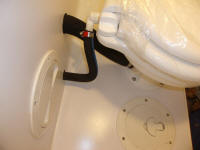
After tightening the fixing nuts and cleaning up the
sealant, I made the final hose connections, cutting the
two hoses as needed to fit properly. Sometime
later, I'd seal around the hoses where they passed
through the bulkhead. |
 |
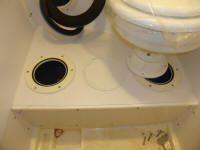
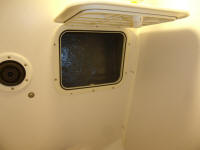
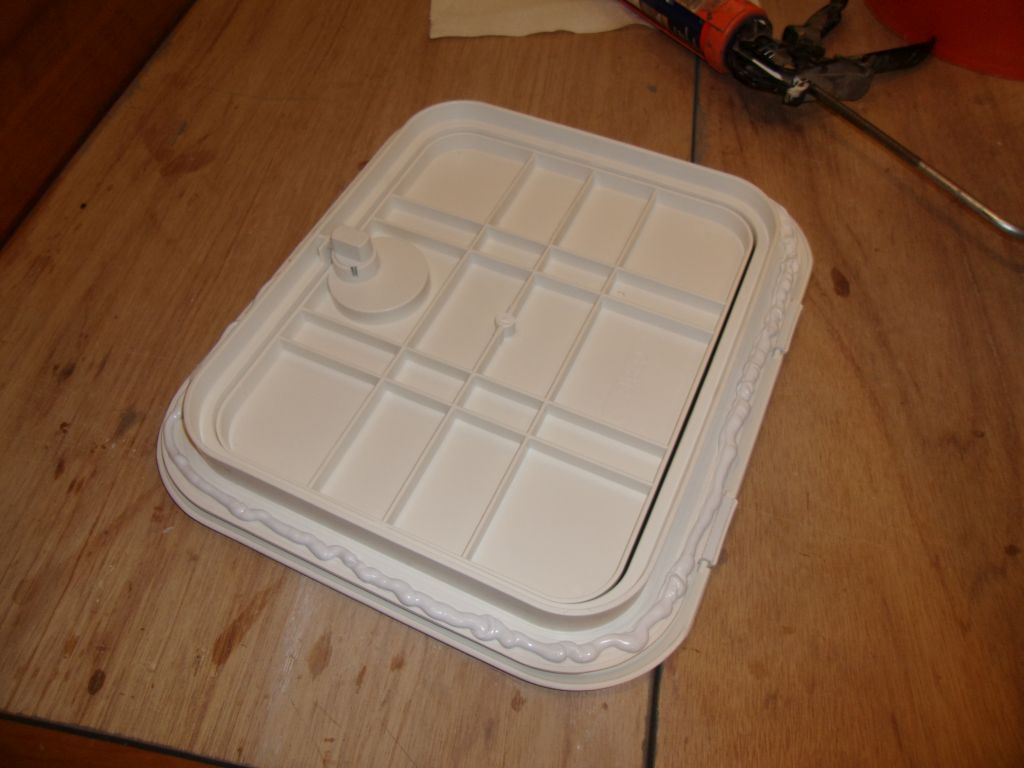
To wrap up work in the head compartment, I installed the
rectangular access hatch, this time with sealant and all
ten screws. |


 |
| |
Total Time Today: 5.25 hours
|
<
Previous | Next > |
|
|


