Project Log: Saturday, May 17, 2014
My growing irritation at the normal frustrations of the
minutiae of the final stages of the project made me want
to step away for a little while, which I did.
Coupled with this was the onrush of a Maine springtime,
which tends to arrive all at once just when one thinks
all hope of good weather is lost forever, and, with it,
the usual list of seasonal and deferred outdoor projects
and other pursuits competing for my limited time.
I wasn't completely idle as far as the boat was
concerned. After a few mis-starts, I finally
hooked up with a well-recommended metal fabricator to
talk about the tabernacle and boarding ladder, and
committed to the construction.
But mostly I enjoyed doing other things for a change.
When you love what you do and do what you love for both
income production and leisure time, there can be a knife
edge between enjoyment and burn-out. I sought a
better balance lest I tumble off the wrong side.
I'd said from the beginning that my goal with this
project was to keep the process fun throughout, and that
mantra was just as important now as it was at the early
stages--perhaps more so, to keep proper perspective
despite closing in on the "end".
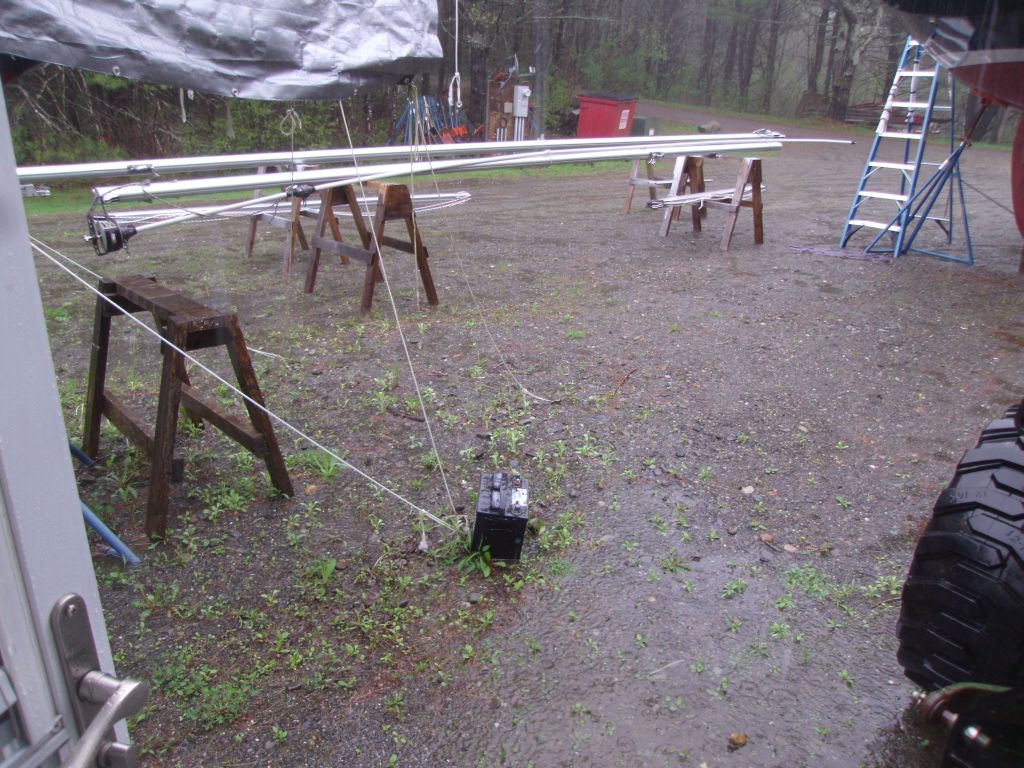
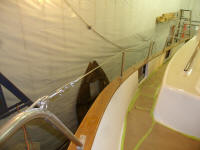
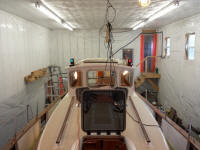
In the event, back at it. I'd hoped to continue
work on the masts, but the weather was too wet, so I
turned to various other projects on board.
|
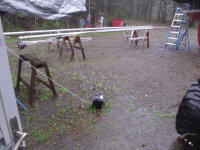 |
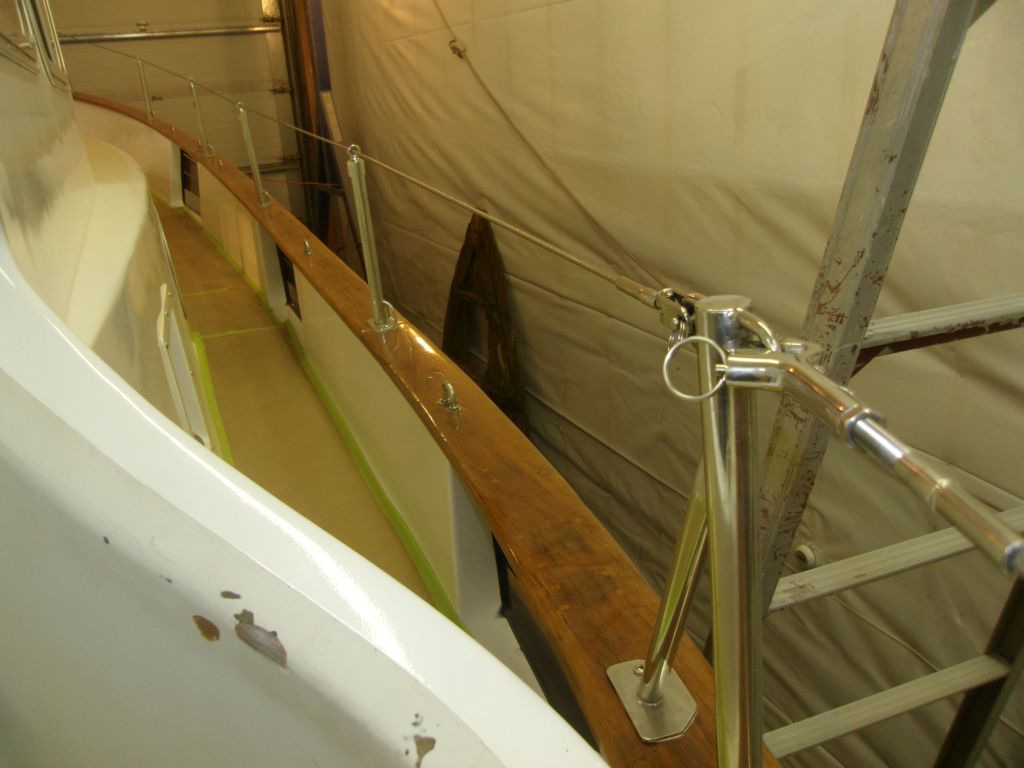
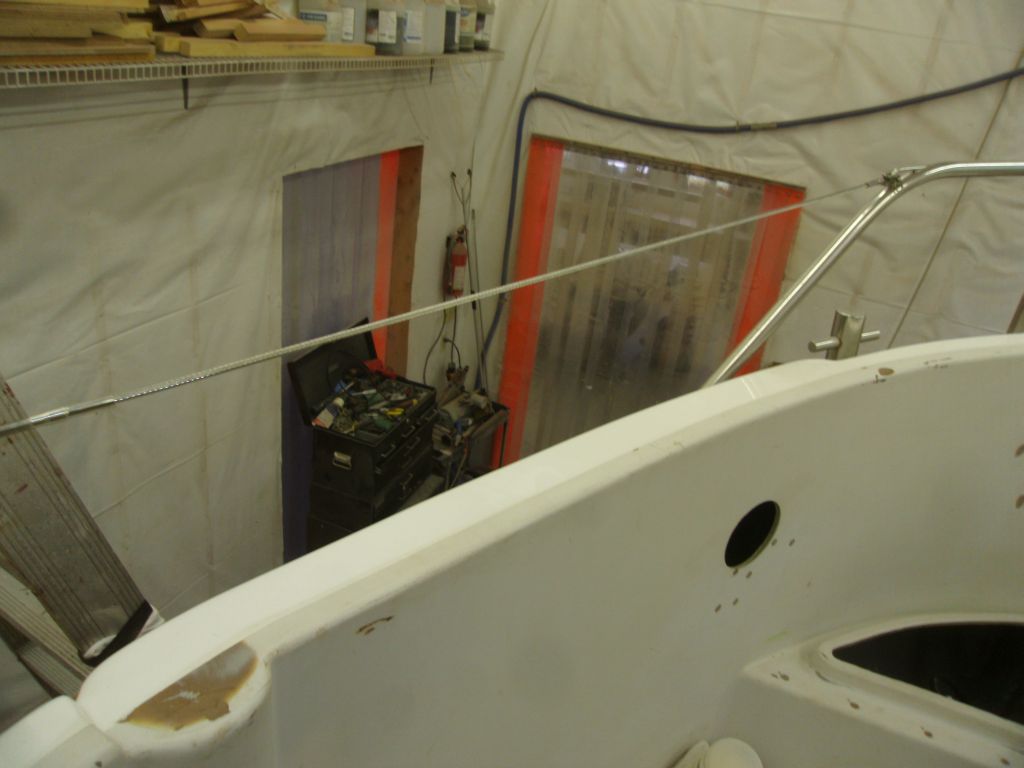
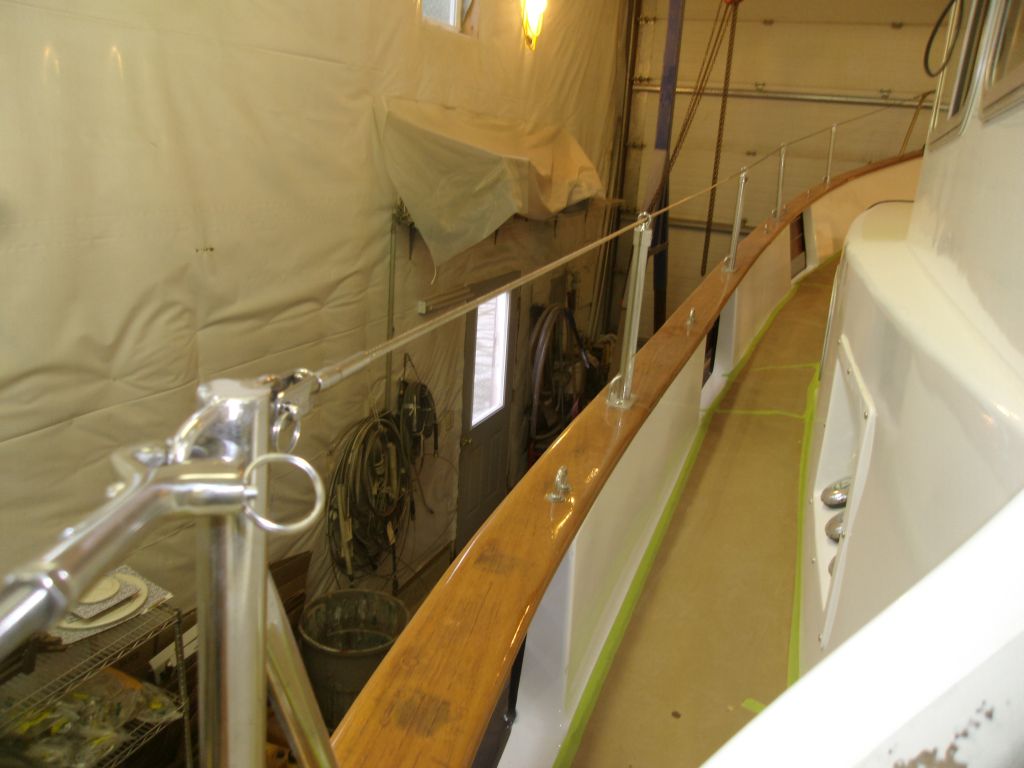
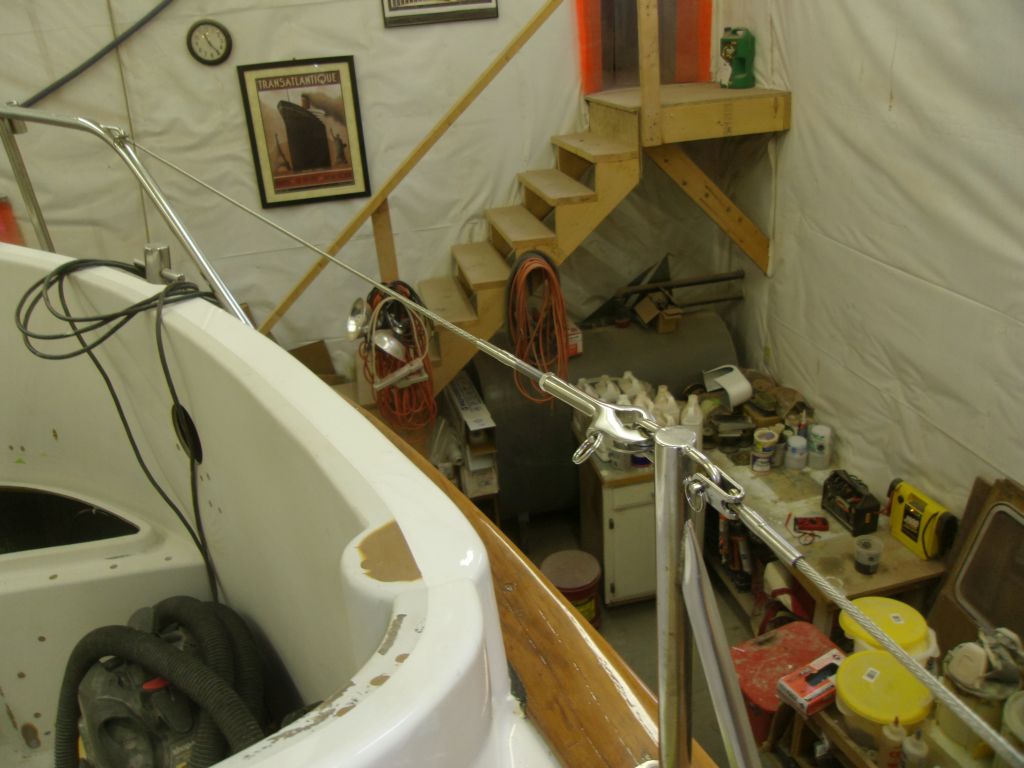
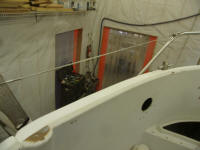
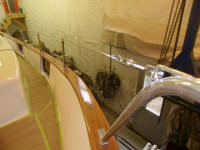
I started with new lifelines, which I'd had measured
some time ago, but finally connected with the rigger to
actually receive the new wires. |

 |
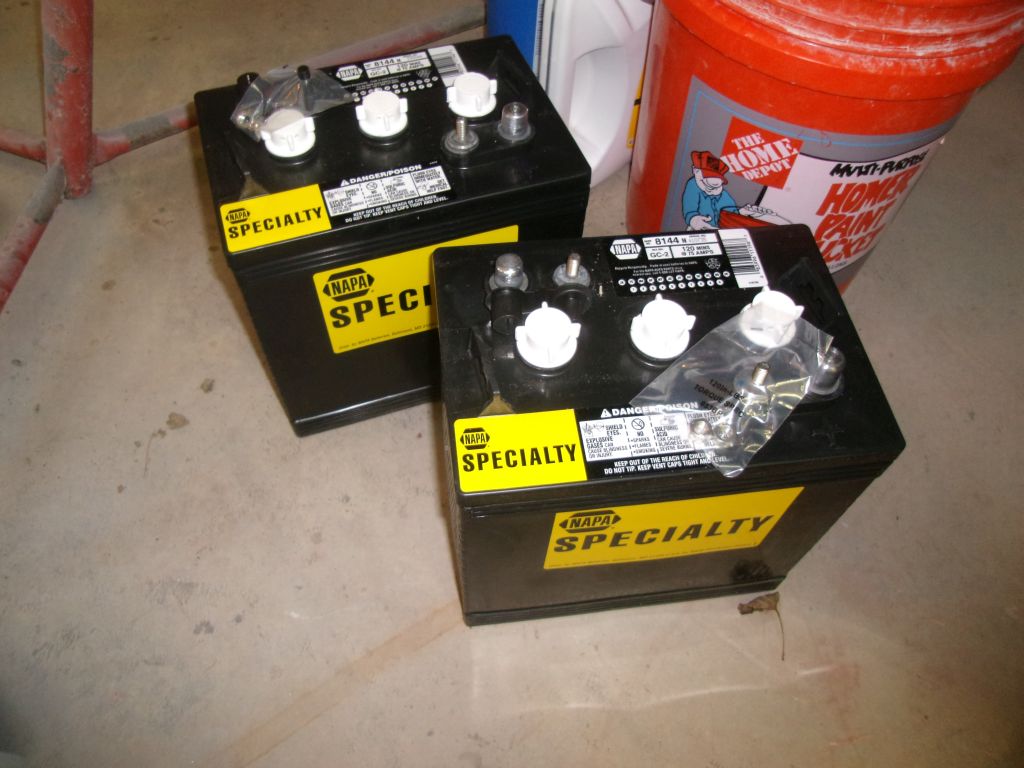
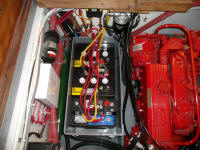
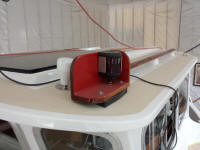
After much delay, I finally purchased batteries, anxious
to begin testing various systems and just ready to put
the final touches on the electrical system. I
chose two NAPA 8144 6-volt golf cart batteries for the
house bank, and a single NAPA 8303 starting battery.
Eventually, I planned to double the house bank with
another pair of 6-volts. |

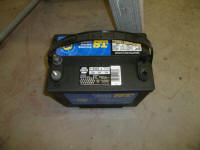 |
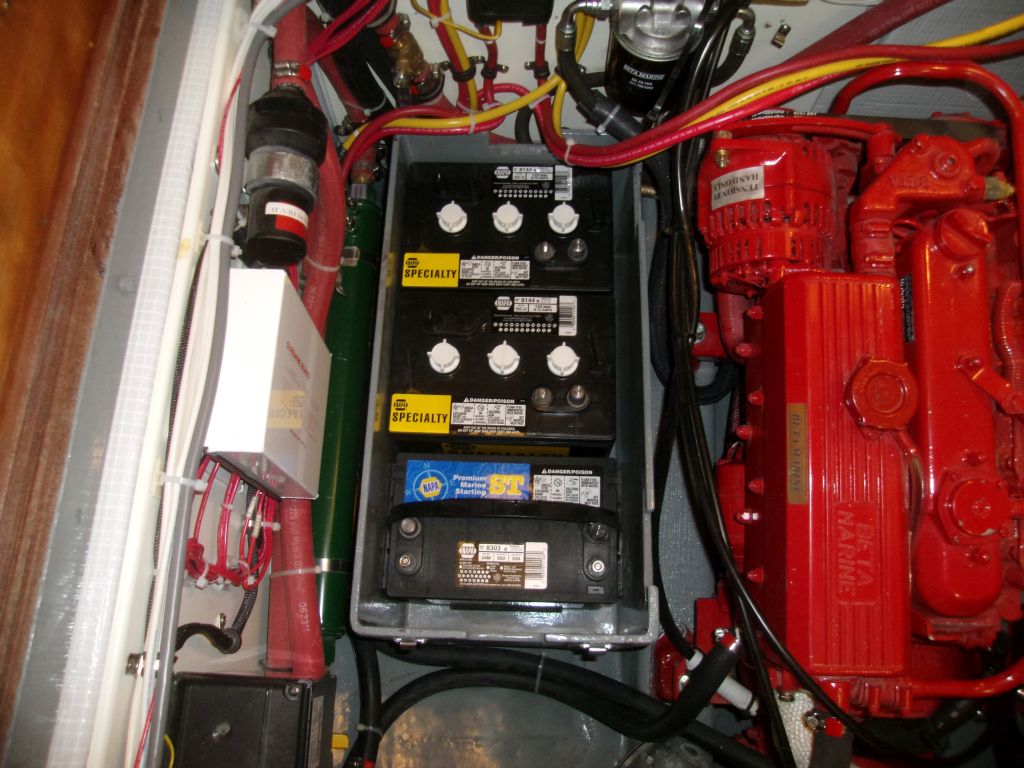
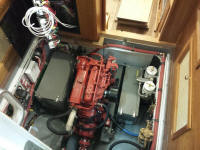
The batteries fit well in the box, with a bit of excess
space. I still needed to install battery
restraints within the box, but for the moment just a
loose fit would suffice. Lugging the batteries up
the ladder, I noted--not with surprise, but it was still
highly evident--that the 6-volts were nearly twice as
heavy as the basic starting battery. A basic
battery truism is that heavier means more durable, as
the weight is directly related to the thickness of the
plates within. |
 |
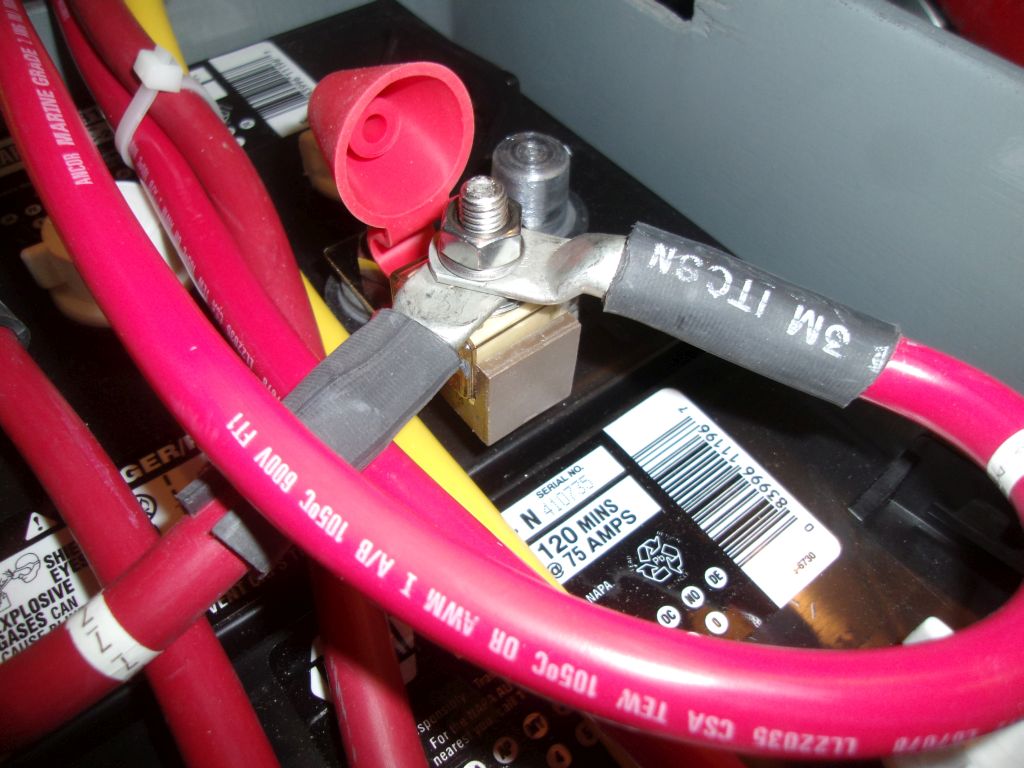
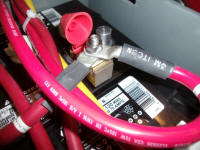
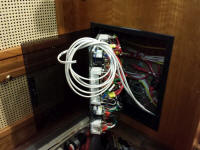
I made up the battery cable connections, installing a
terminal fuse block on each bank. This was the
first time I'd used these compact fuses, and I thought
they were a terrific way to provide the necessary
overcurrent protection in a simple and efficient way.
I chose 150 amp fuses. |

 |
I'd straighten out the cables further, perhaps, and
wanted some nonconductive boots over the exposed
positive terminals, but with the batteries all hooked up
I powered up the system for the first time--always a
satisfying moment. |
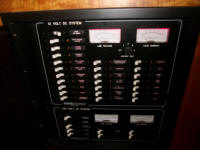 |
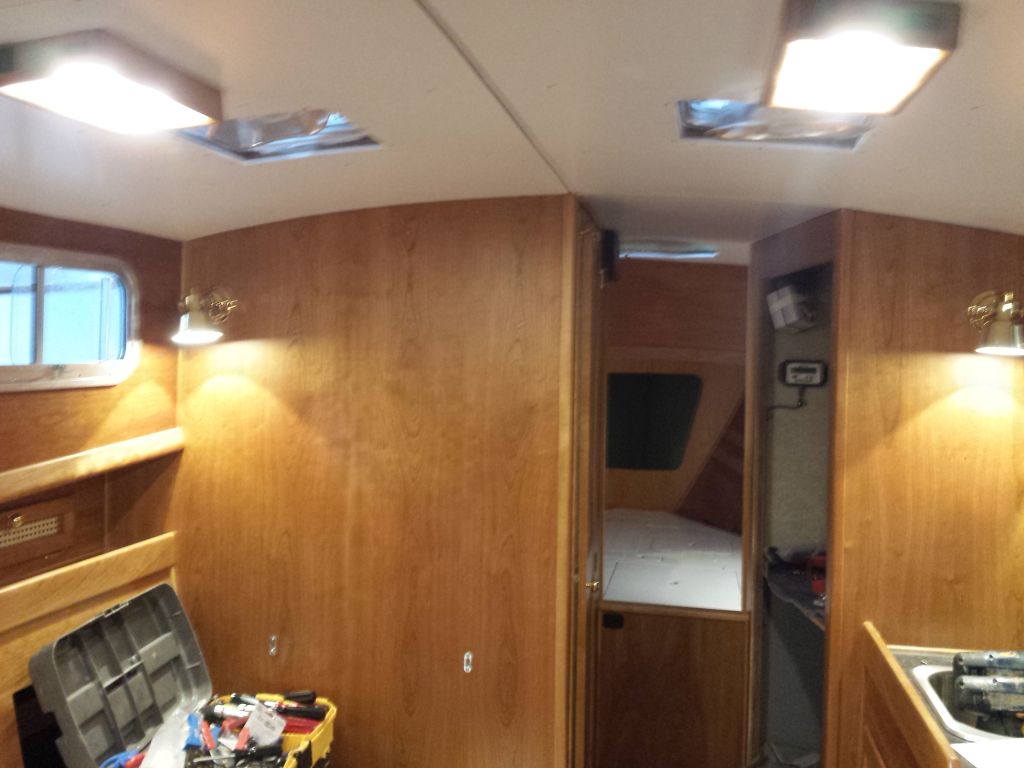
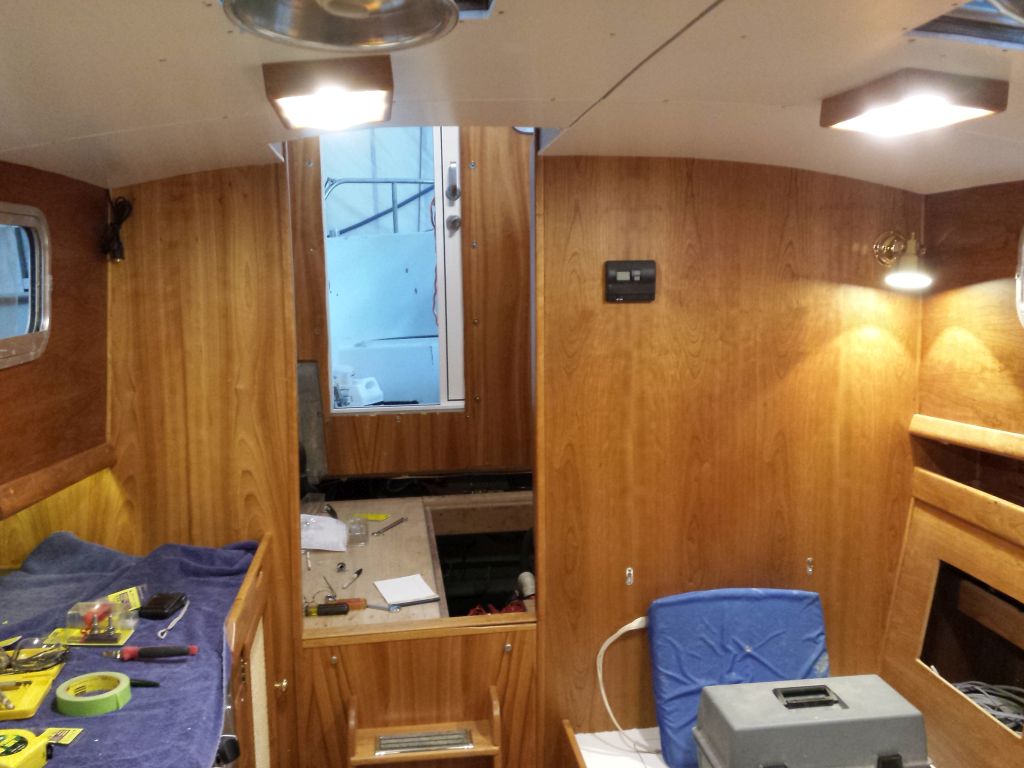
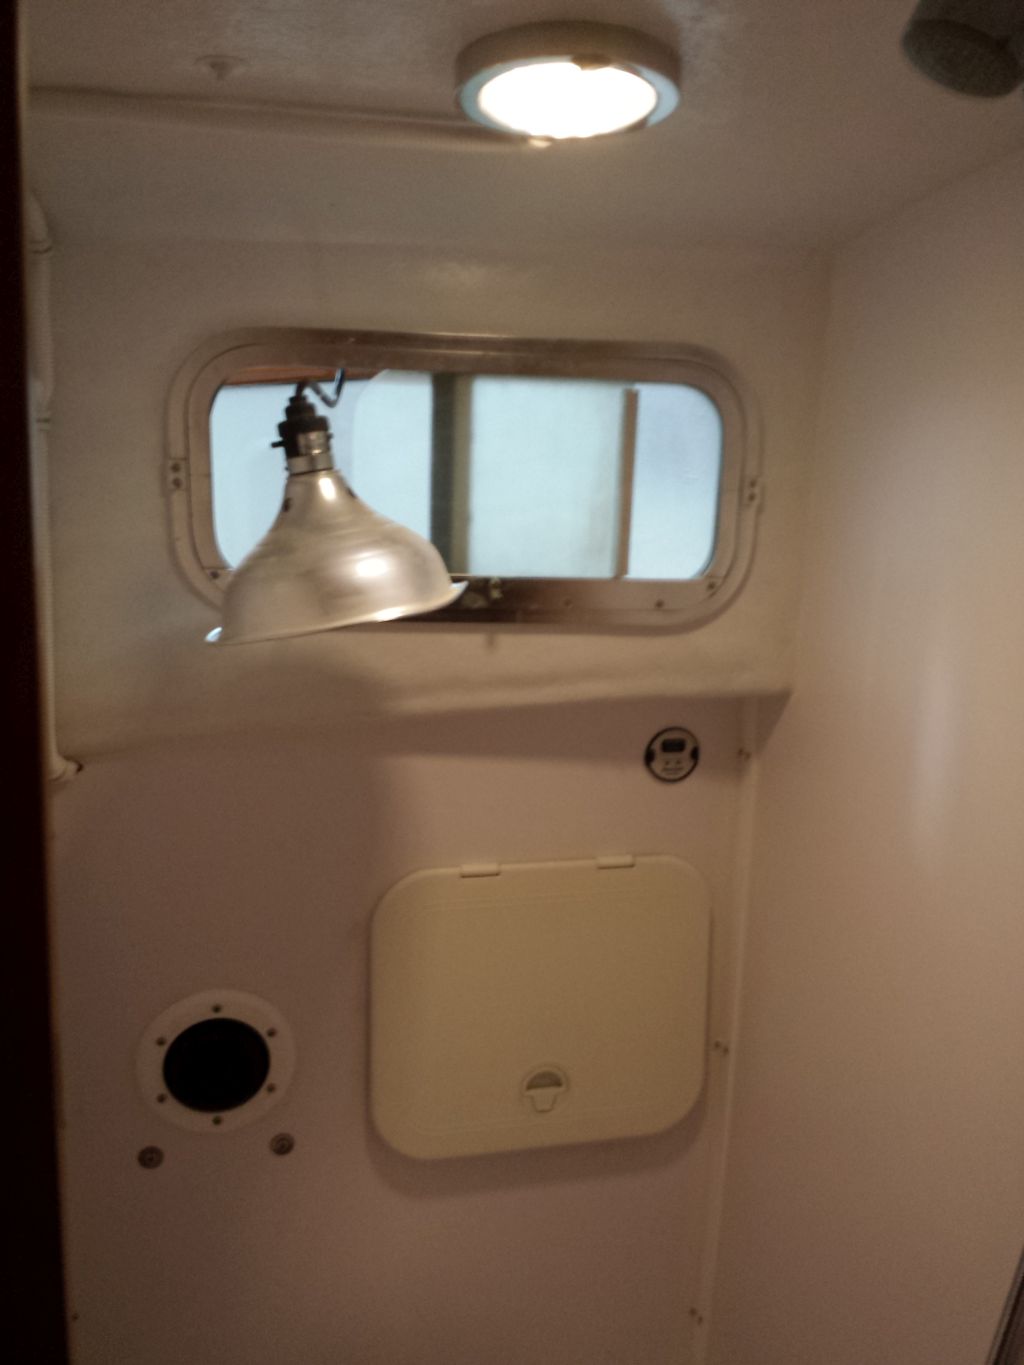
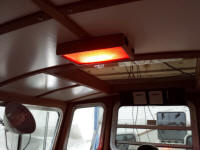
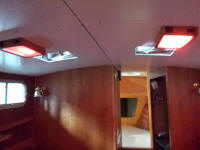
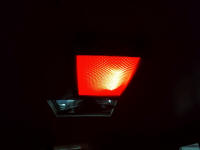
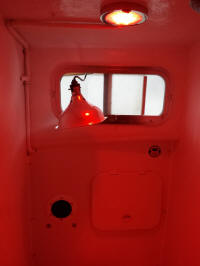
First order of business: check all the lights.
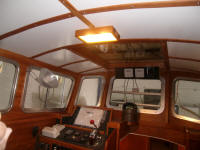
The overhead lights in the pilothouse and main cabin
featured both red and white lights, as well as two
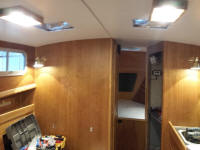
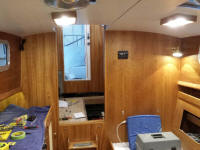
levels of brightness. I was pleased with the
overall lighting effect in the main cabin, with the
combination of overhead and task/reading lamps providing
good illumination and coziness factor, but the single
overhead lamp in the pilothouse, while adequate for
basic needs, would not stand long-term, and I'd
want/need to add some task/reading lamps here as well,
something I'd expected all along but wanted to wait and
see. |

 |
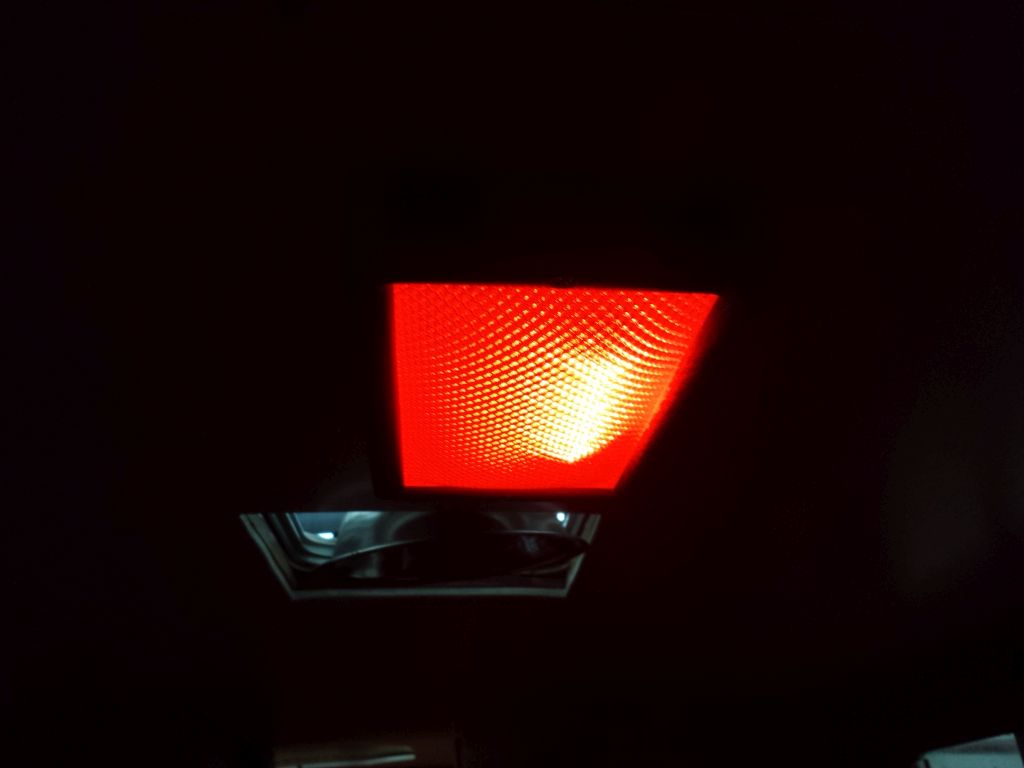
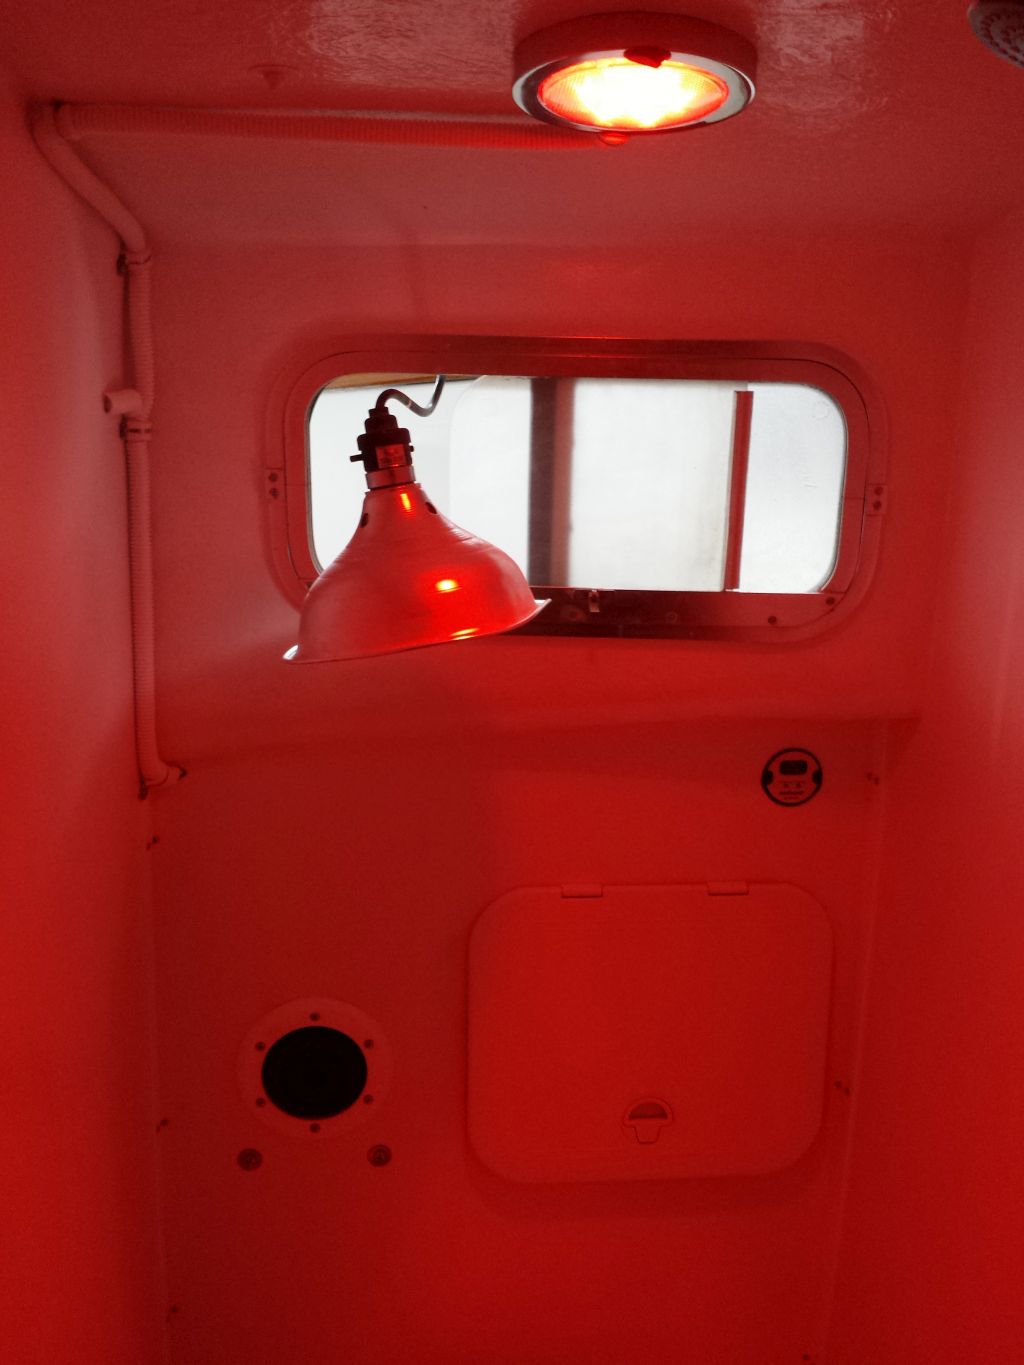
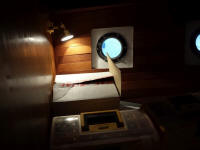
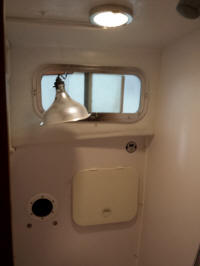
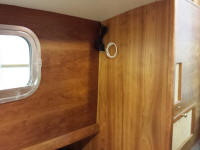
The overhead light in the head worked in both white and
red. |
 |
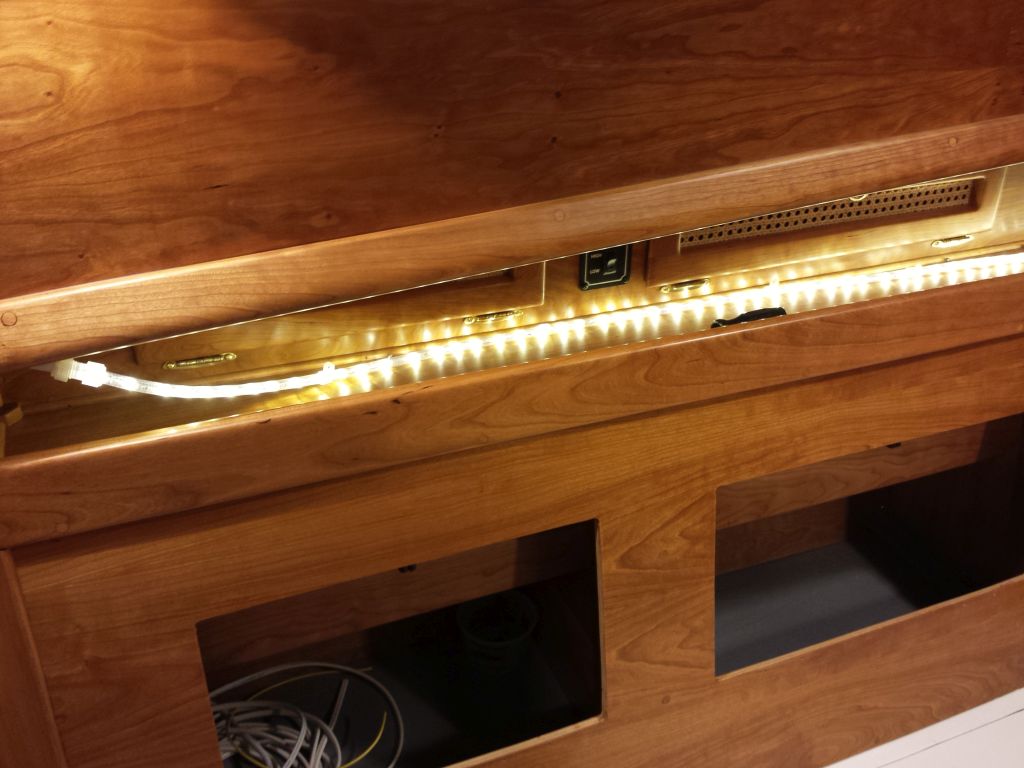
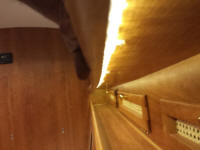
The port indirect lights (rope lights beneath the cabin
trunk) hadn't lit for some reason. A quick
investigation revealed that the terminal had pulled out
from the rope light for some reason, perhaps from
jostling the wire bundle on the other side of the
bulkhead during other wiring chores. |
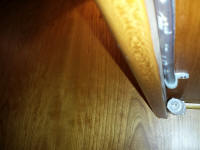 |
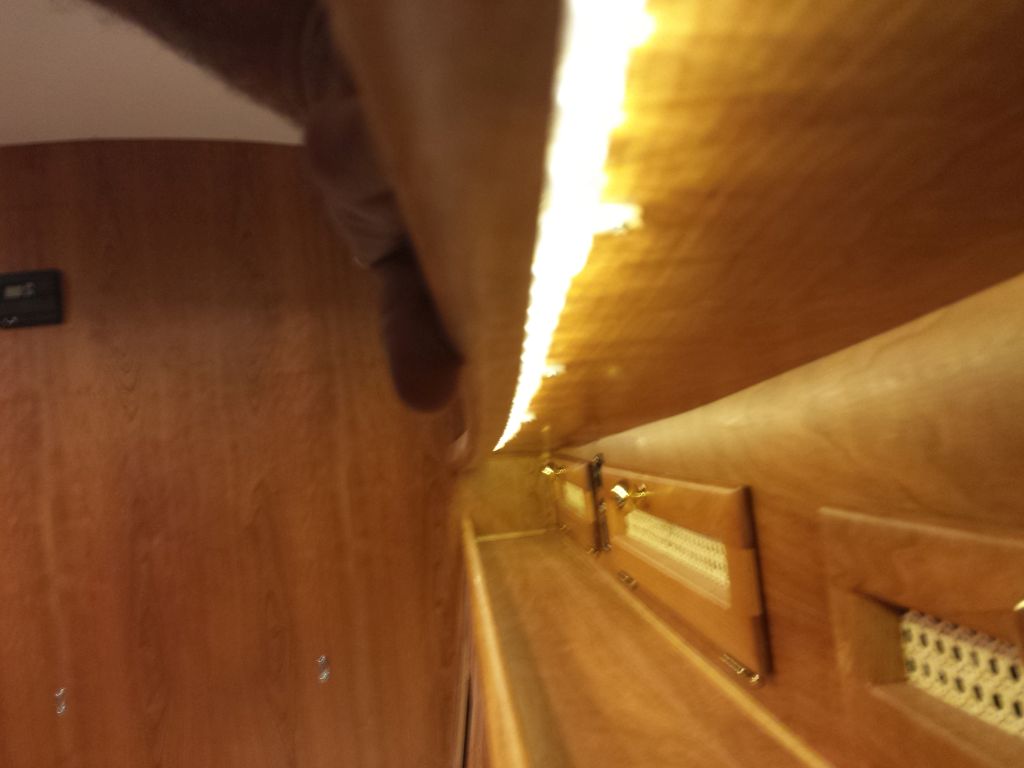
This was an easy fix, but because of access issues I was
forced to remove the rope light from its clamps, which
gave me the access required to reinsert the terminal and
tighten the connector. Afterwards, the light lit
properly, and I reinstalled it. |

 |
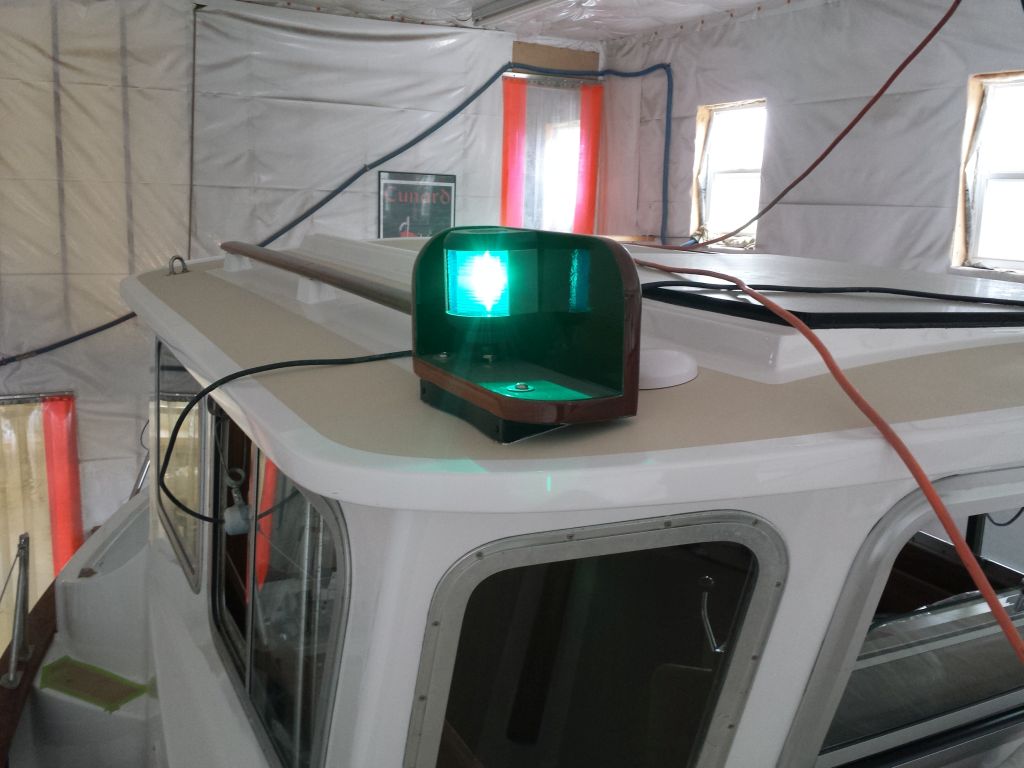
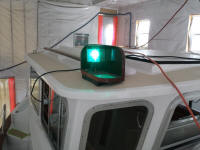
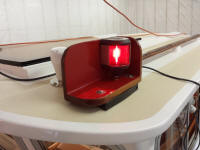
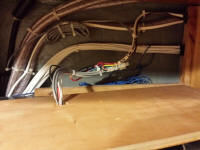
On deck, I checked the running lights. Starboard
and stern lights were good, but the port sidelight
didn't light. |
 |
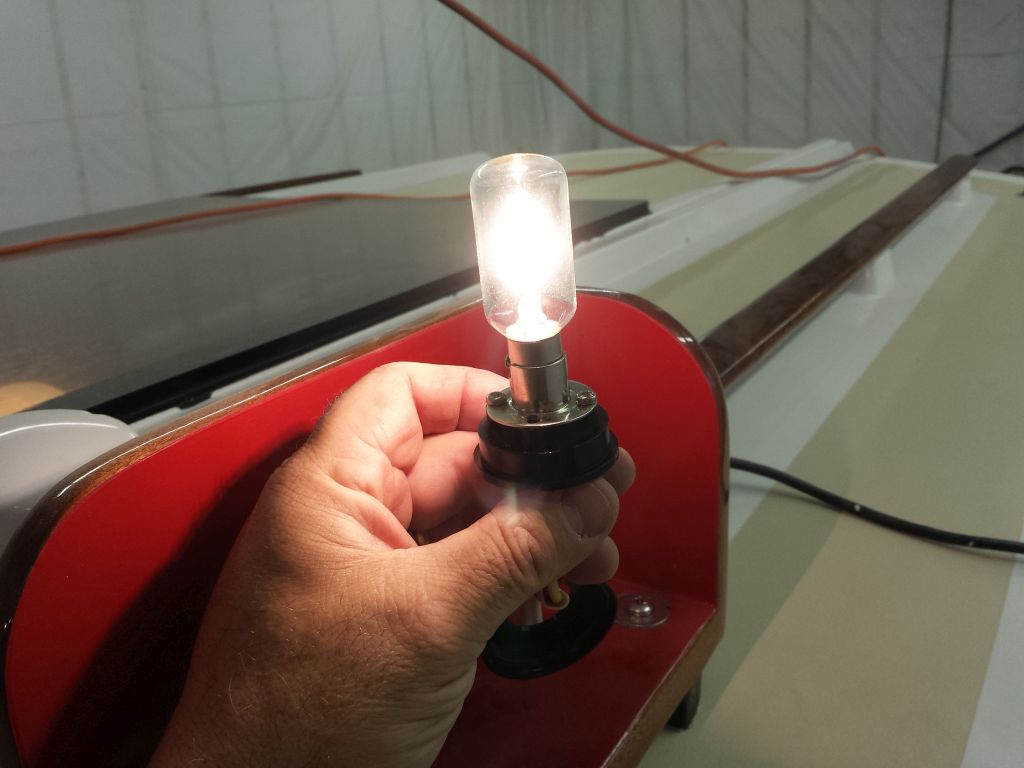
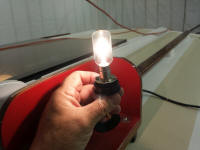
I'd not expected to call into action so soon my "easy
service" installation plan with these lights, but with
the extra wire beneath the platform and the
well-designed brackets securing the fixture, it was
straightforward to remove the lamp and begin to
troubleshoot. Immediately, I found that the issue
was a simple matter of improper contact between the bulb
and the base; the little grooves in the side of the base
were slightly bent, so the tabs on the bulb itself
weren't engaging to hold the bulb securely against the
contacts beneath. I quickly fixed the issue and
reassembled the light. |
 |
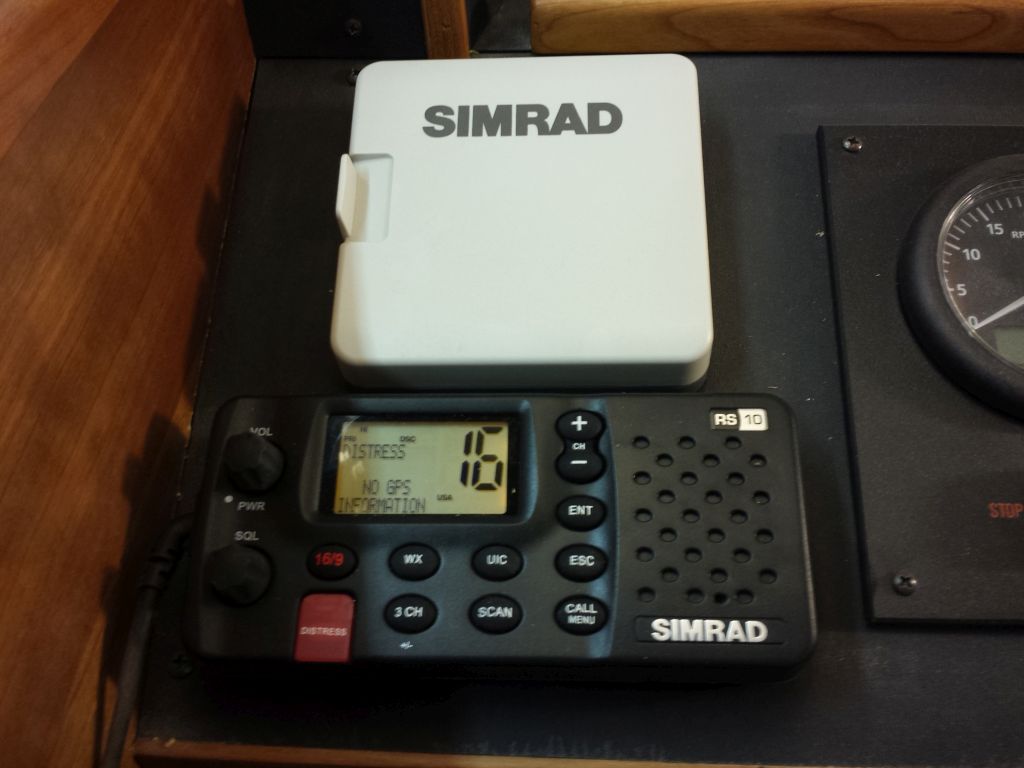
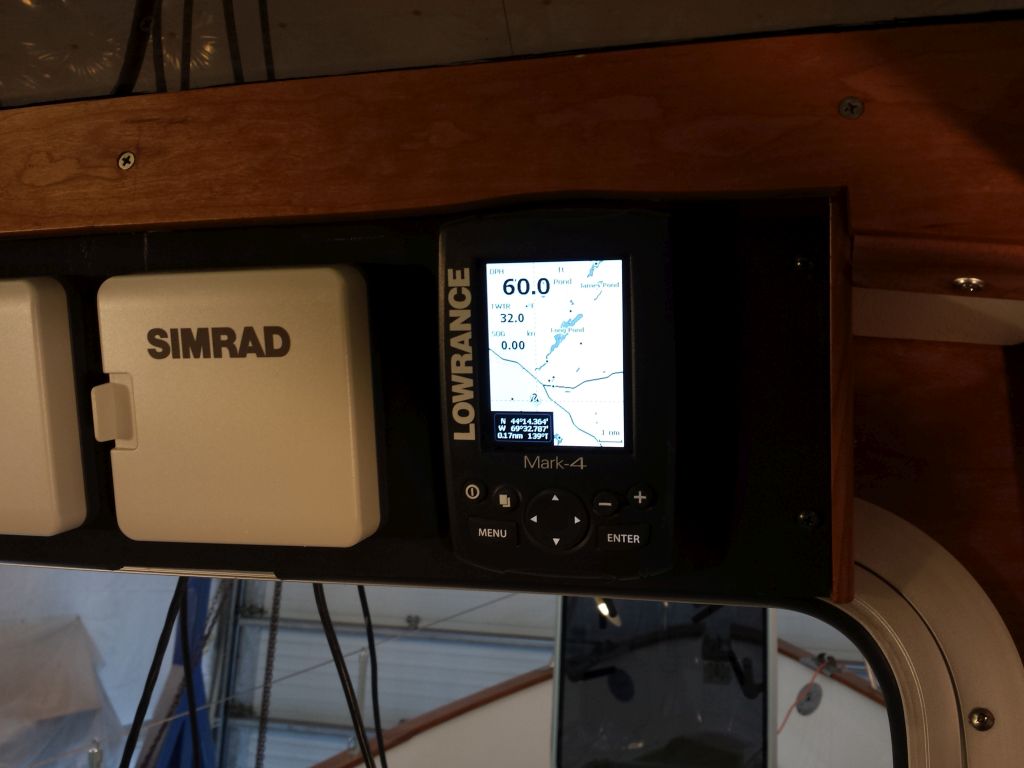
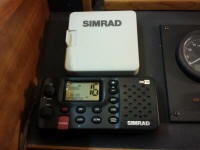
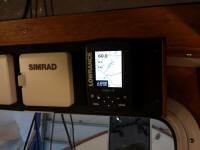
Moving on, I powered up a few other select items,
including the VHF and backup GPS. Recalling some
admonition in the instructions for the main navigation
system about not powering up till all connections were
made (and without the radar installed yet this
connection remained undone), I did not power this up for
testing. |
 |
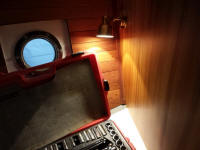
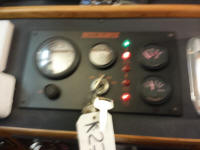
I checked the engine instrument panel for power:
OK. Sorry for the blur. |
 |
One of the silly frustrations that had sent me teetering
towards the scary side of the knife edge before was
discovering that I'd failed to plan properly,
wiring-wise, for the propane system control. With
improved disposition, I tackled this chore now. I
started with a pair of wires that would eventually
connect to the electric solenoid switch in the (rumored)
propane locker. These wires had only to run
between the galley, where the control was located, and
the cockpit, a few feet aft, all within the
relatively-easily-accessible utility space on the
starboard side outboard of the engine. I left
plenty of extra wire at the aft end for later connection
when I had a propane locker in which to connect them.
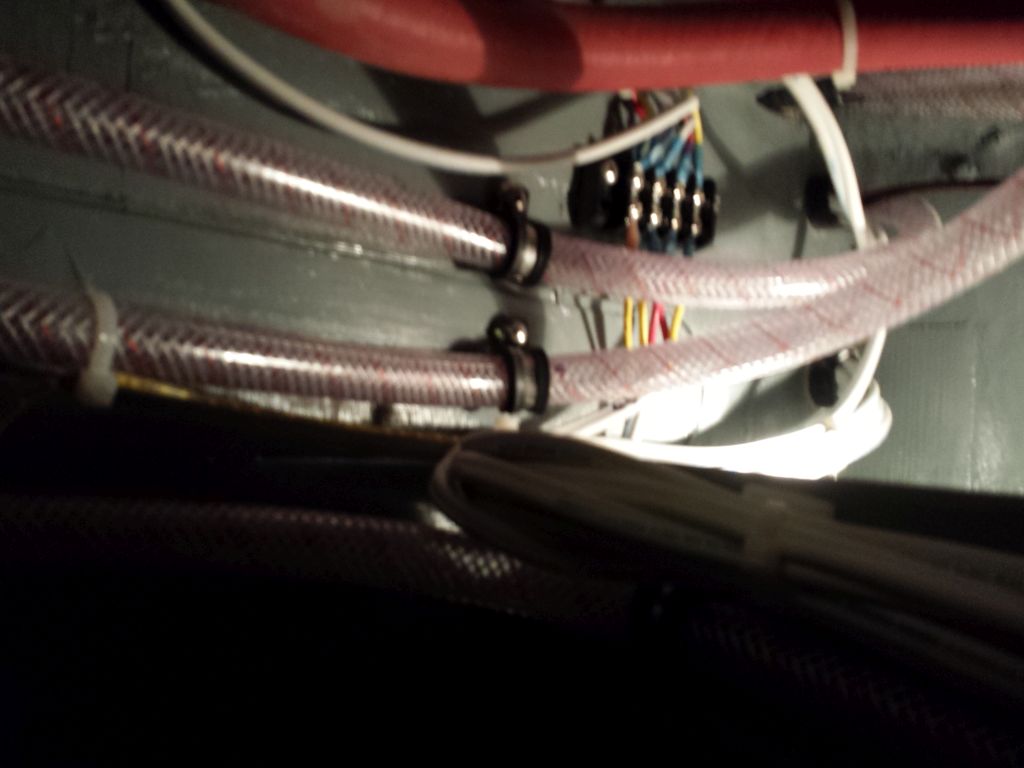
Meanwhile, I led in a two-conductor cable for the
positive and negative feeds to the control, leading the
red wire through a 1 amp fuse as directed. |
 |
The other end of this wire needed to make its way all
the way to the electrical panel in the console--a
straight-line distance of only a few feet, but the real
length was closer to 15 or 20 feet by the time the
various convolutions of the required wiring run factored
in: through the bulkhead into the starboard
utility space, then snaking along an existing wiring
bundle, through an access in the after part of the
space, into the engine room, along the starboard and
forward sides of the engine room (following an existing
wire bundle), and, finally, up into the console at the
electrical panel, where I'd eventually connect it to a
circuit breaker. |
 |
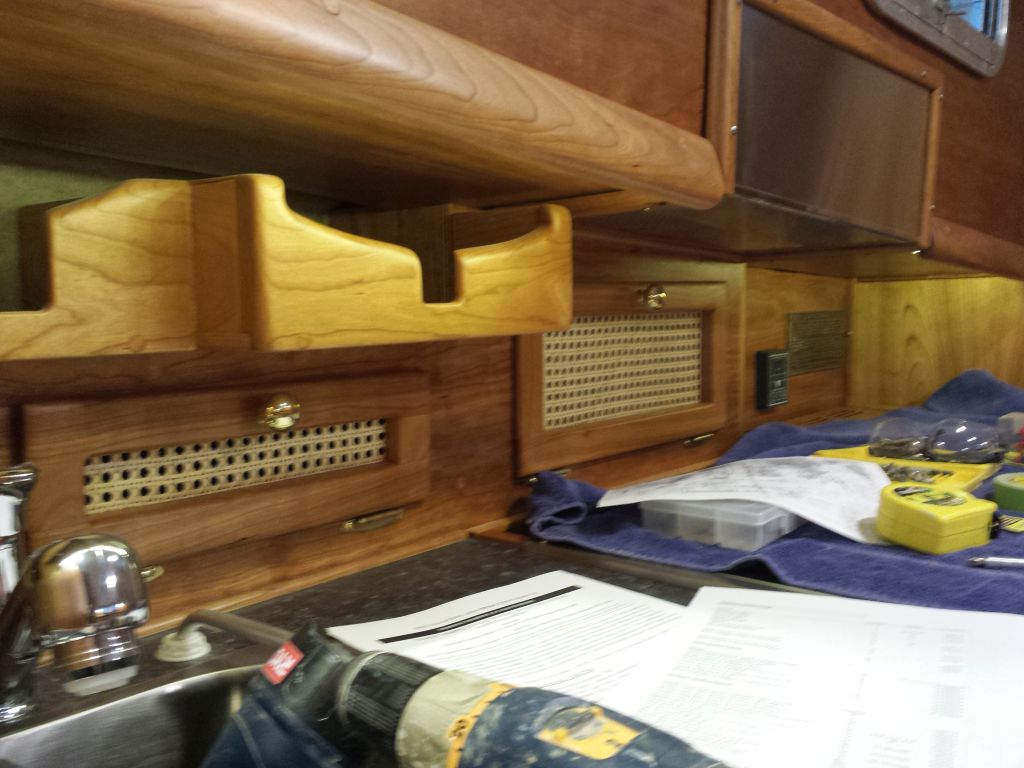
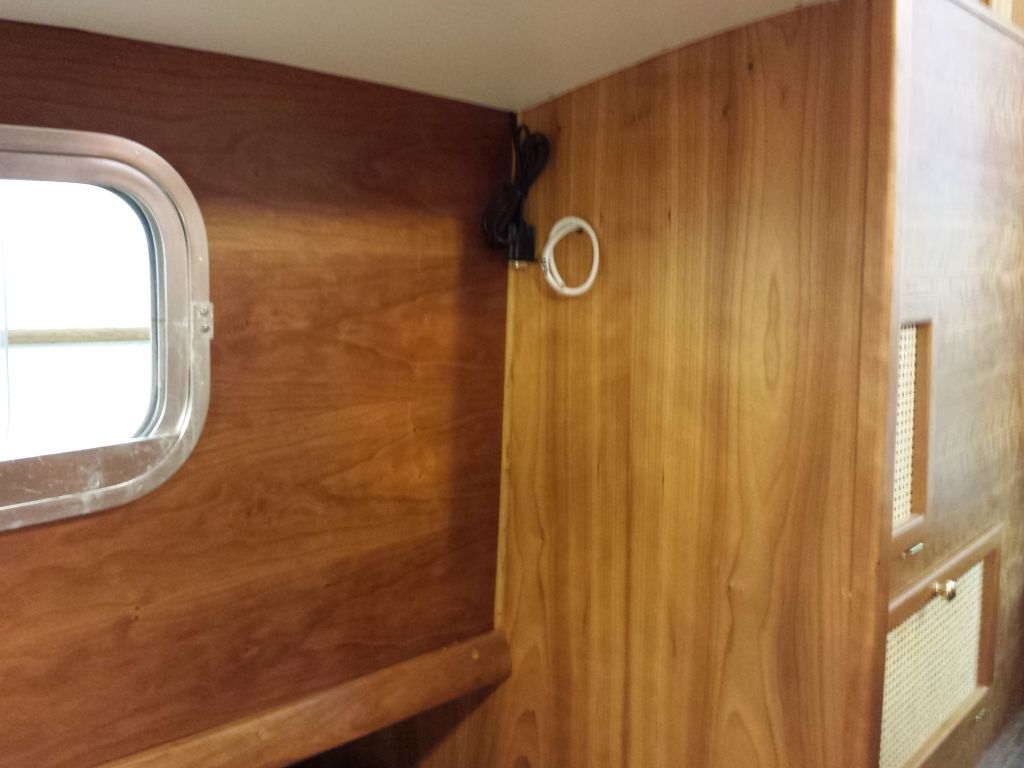
Taking advantage of the situation, I also led in a
second wire pair to power a forgotten light fixture at
the aft end of the galley, which I led first to an open
pair of terminals on an existing terminal block in the
space, and from there a separate wire pair to the light
location high on the galley bulkhead. I chose to
use the terminal block since I was planning ahead a bit
for the eventual addition of reading lamps in the
pilothouse. While wiring one on the starboard side
wouldn't be too challenging later, the port side, with
the lengthy wire run required, would be much easier to
do if I could just tie in another fixture to the
terminal block already in the space. I didn't know
when I'd add these extra lamps, but at least I was ready
for them. |

 |
I got the wiring runs within the cabinet and engine room
cleaned up, tightened, and secured, but left the final
connections in the electrical locker for next time.
As anticipated, these essentially simple wire runs had
required several hours to install. |
| |
Total Time Today: 5.5 hours
|
<
Previous |
Next > |
|
|