Project Log: Sunday, May 18, 2014
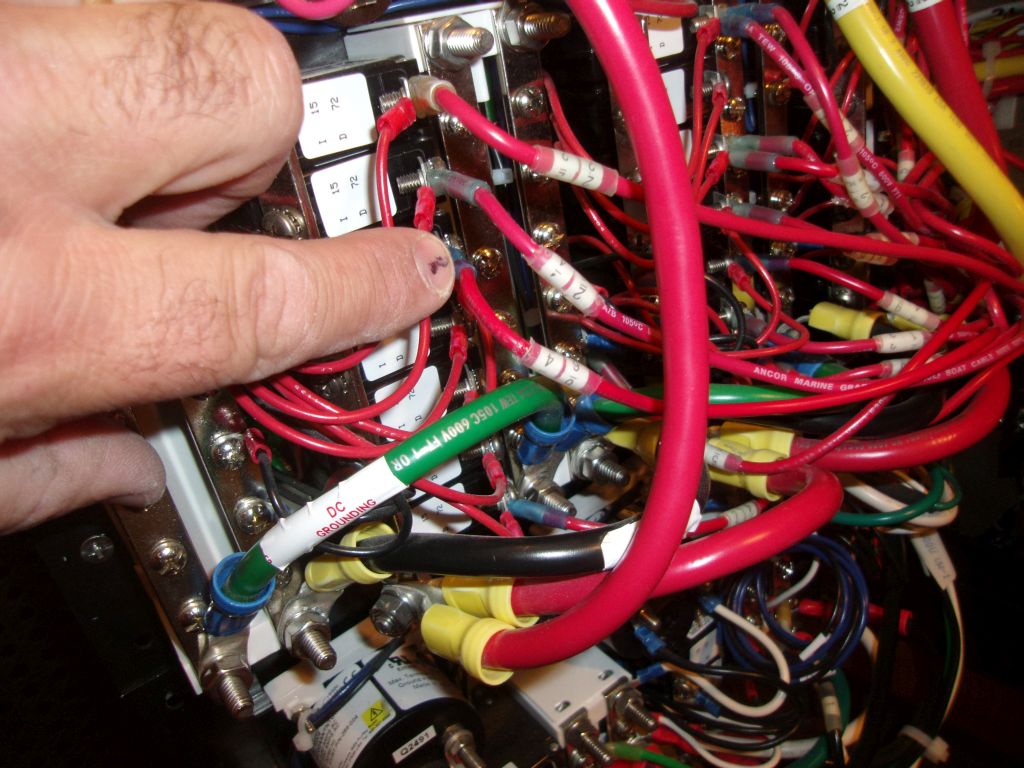
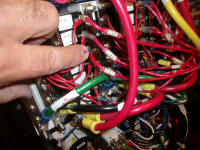
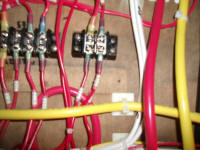
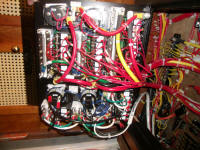
Beginning the day up on the boat, I terminated the two
new wiring circuits inside the electrical locker,
leading the lighting circuit to an existing terminal
block where I'd landed all the other wiring circuits
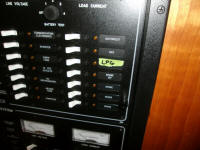
(with a common, single feed leading to a circuit breaker
on the main panel), and the LPG control wire to another
breaker on the panel, which I marked with a temporary
label till I could get the correct label.
|
 |
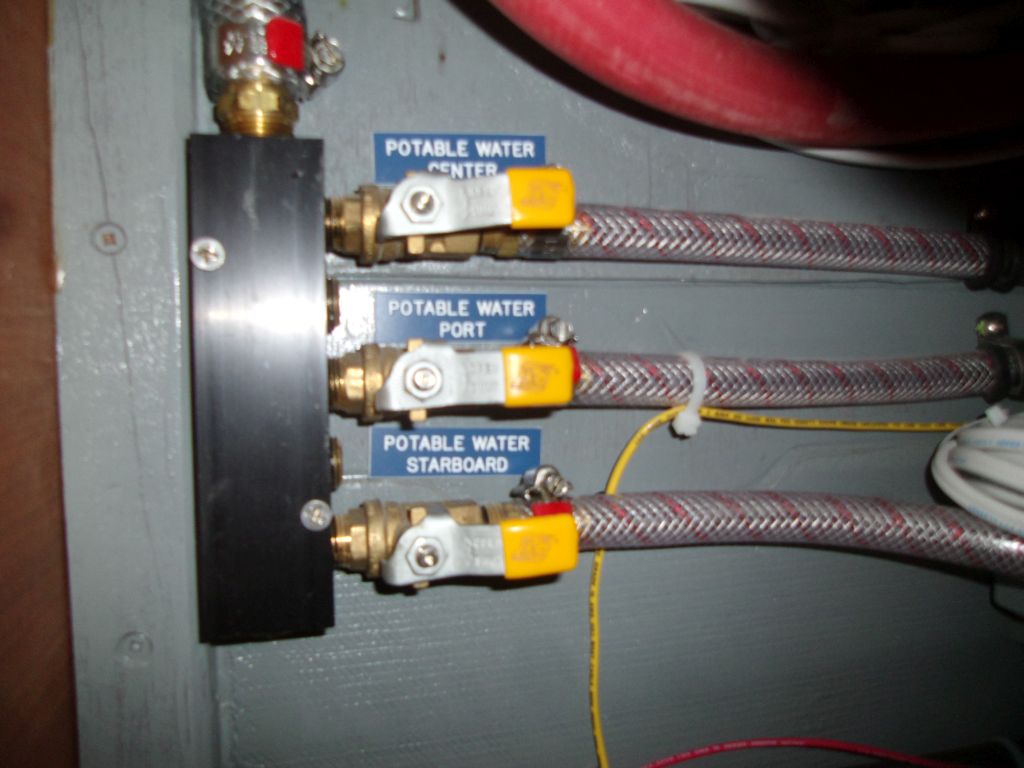
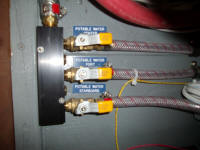
Before closing up the engine room again for now, I
installed some labels I'd had made much earlier for the
fuel system valves, and water system manifold. |
 |
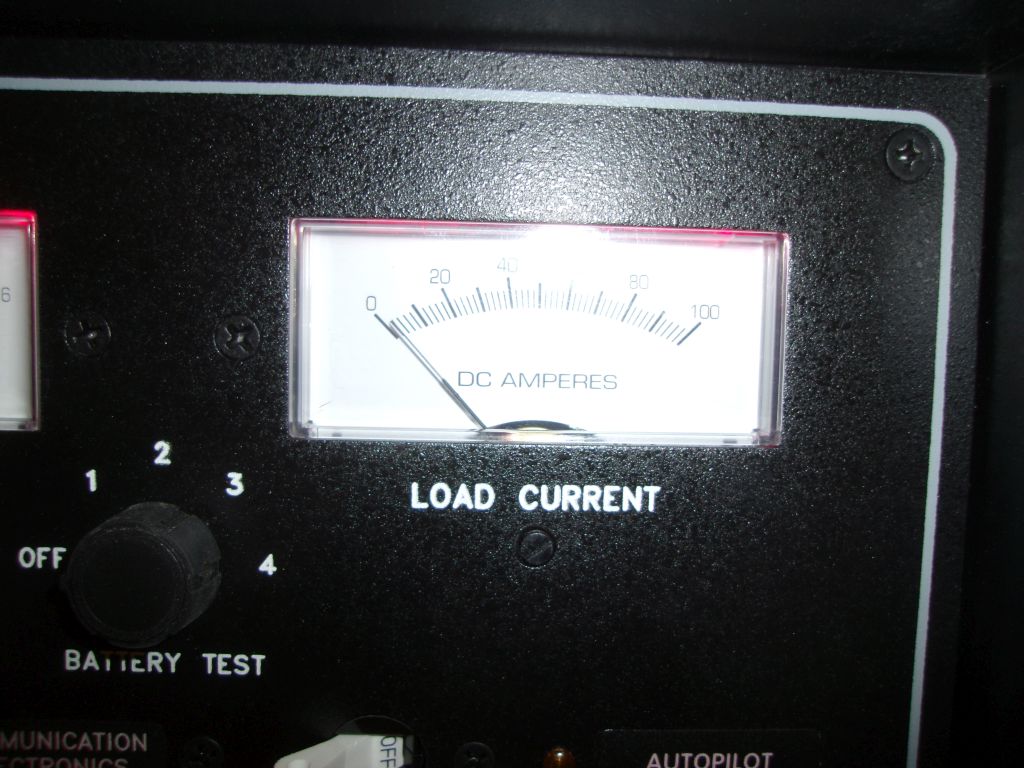
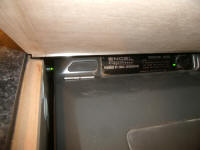
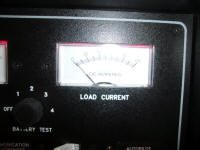
I'd forgotten to check the operation of the refrigerator
and vent fan circuit, so I checked that now. The
little vent fan was so quiet when it was on that at
first I didn't think it was working, but I could easily
feel the airflow out the vent in the face of the
cabinet. The fridge drew about 2 amps. |
 |
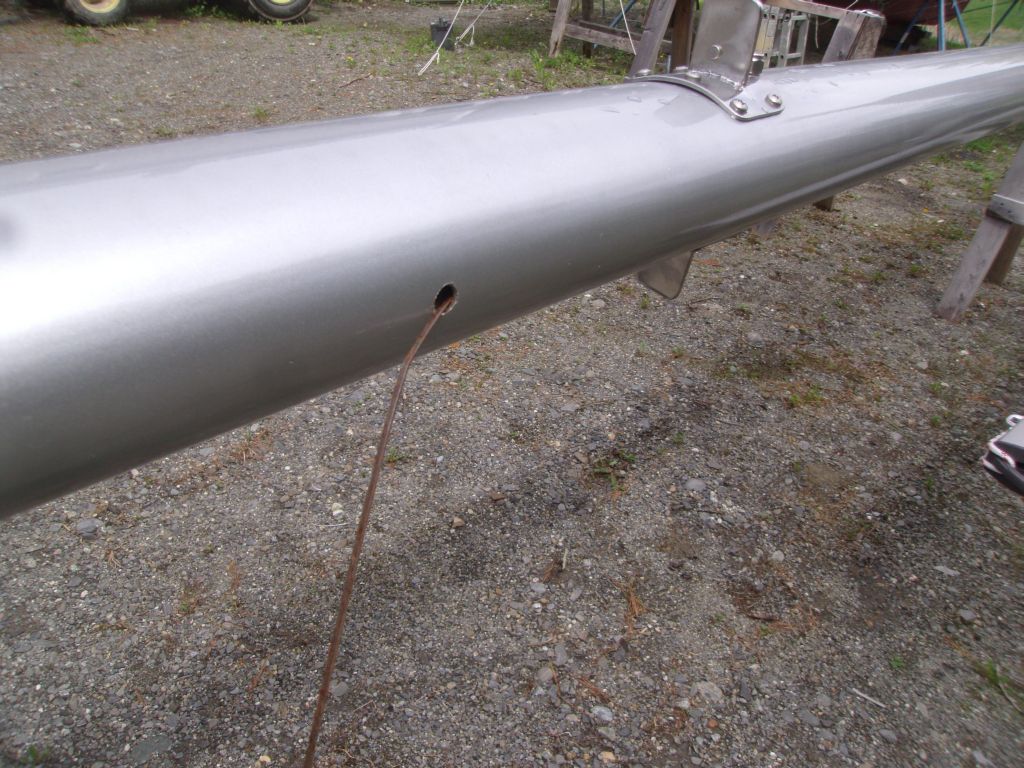
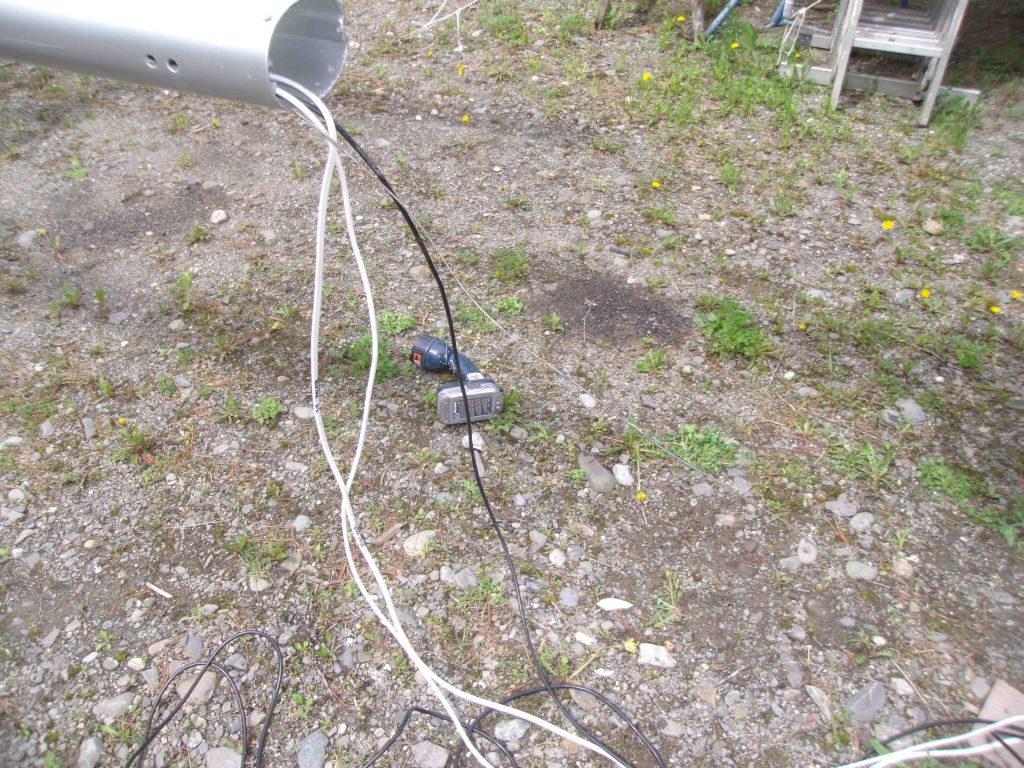
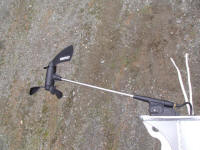
Moving outside, I turned again to the mast, where I got
back to work on the final wire required for the steaming
light. Without too much undue difficulty, I got
the snake through the wire conduit and pulled in the new
cable. The final turn from the conduit and out the
mast hole was tight, but I managed to pull the end of
the cable through before the snake slipped out of the
tape. |


 |
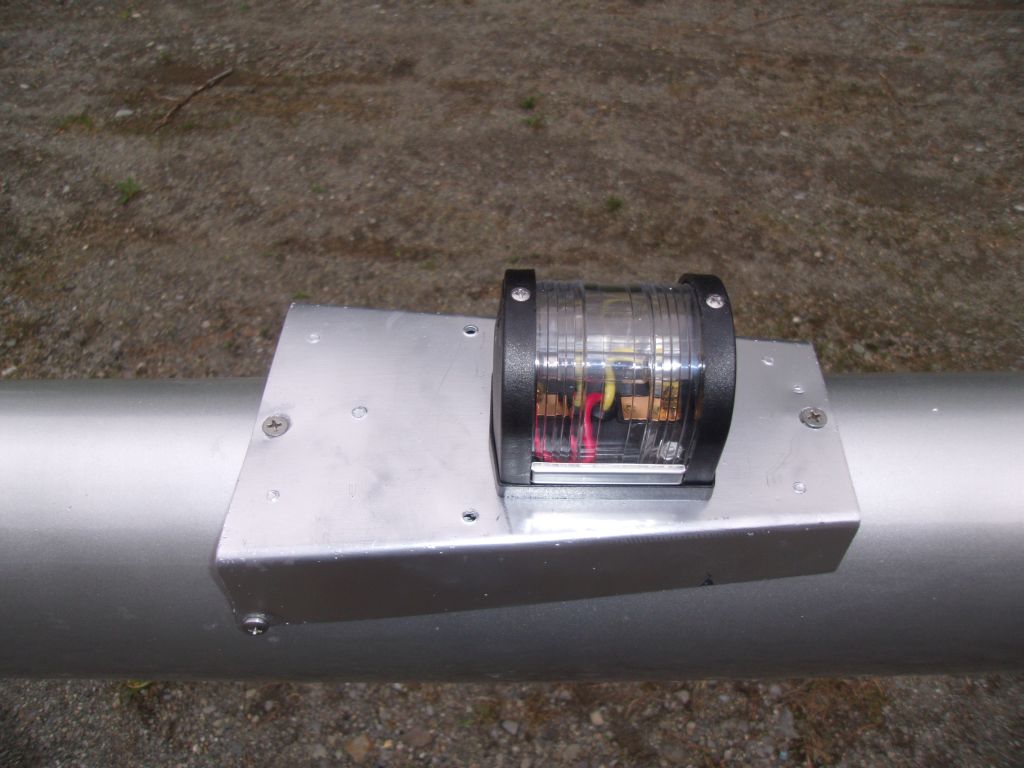
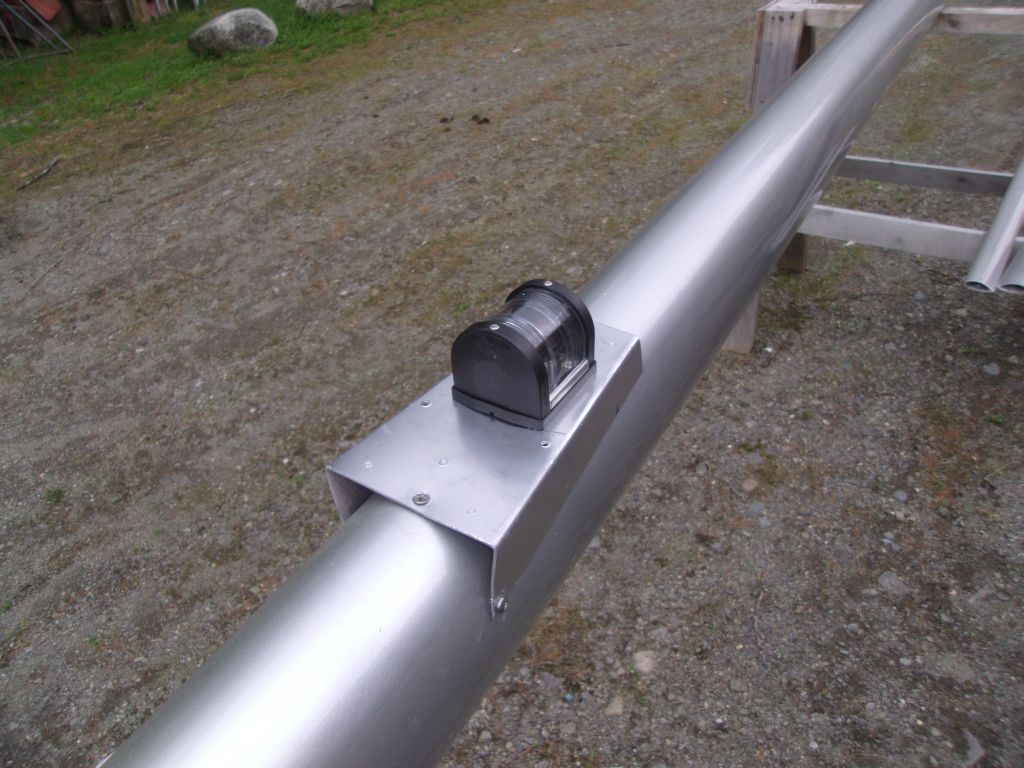
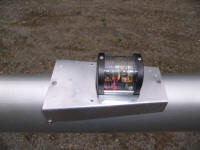
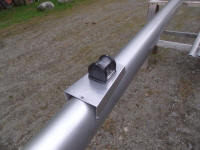
The old light had been mounted on a flat bracket, which
after some consideration I decided to use again though
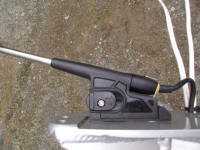
it wasn't strictly necessary. I bolted the new
steaming light to the bracket first, then secured the
bracket to the mast with four screws in tapped holes.
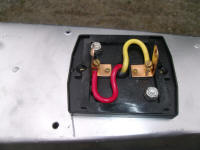
Finally, I made up the wiring connections for the light
and completed the installation. |
 |
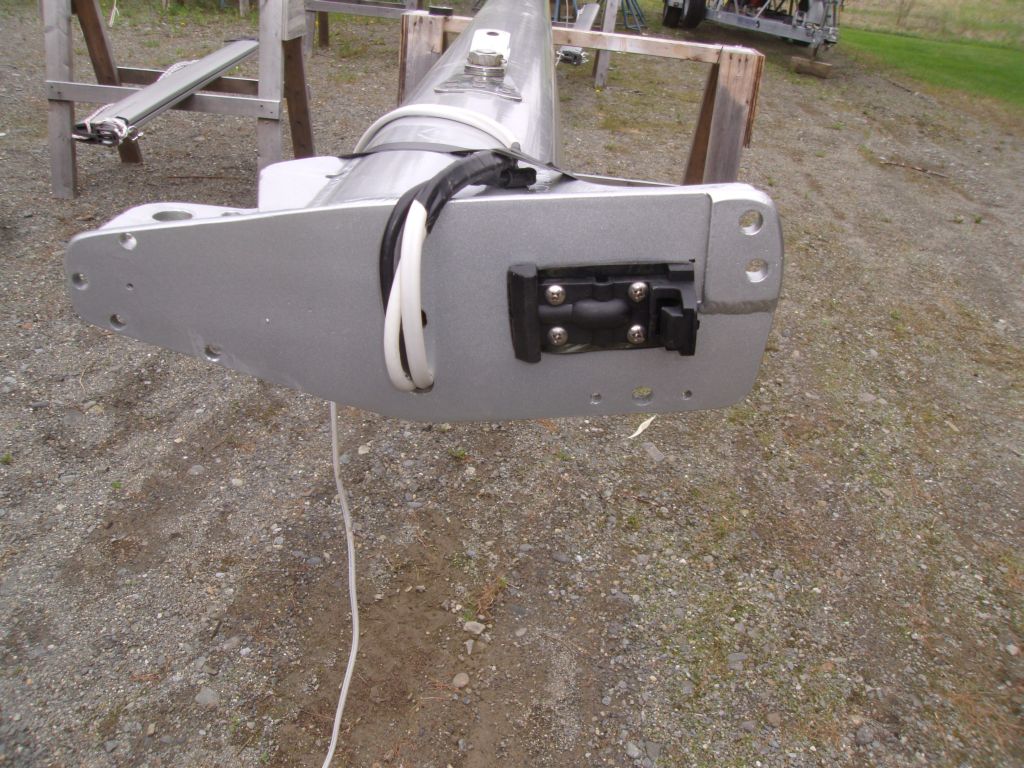
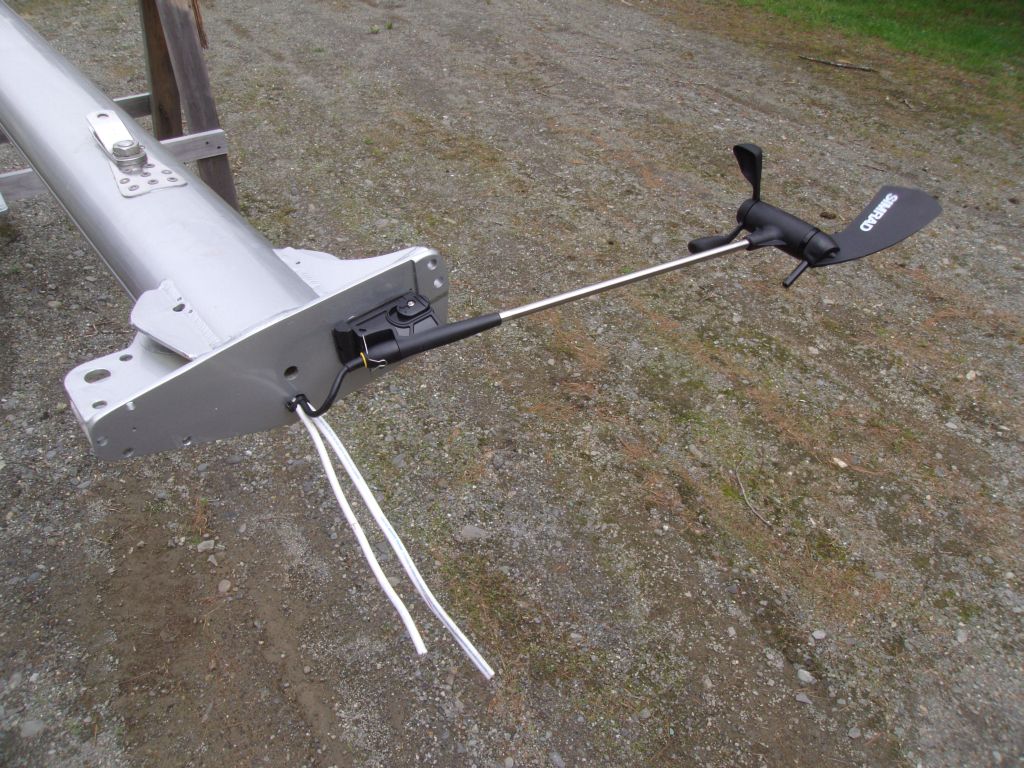
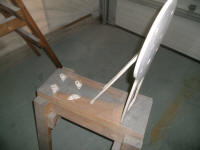
At the masthead, I installed the bracket for the
anemometer unit. This bracket featured a pretty
cool design that easily allowed removal with a sliding
latch. With the anemometer installed, I could
determine how much of the network cable (SimNet) I
needed exposed, and I pulled the remaining excess down
to the base of the mast. This cable was much too
long, so I'd have to end up bundling the excess inside
the mast since I wasn't about to attempt to cut and
remake one of these specialized terminal ends. |


 |
I didn't yet have my VHF antenna or anchor light on
hand, so couldn't yet make up the final terminations for
the last two wires.
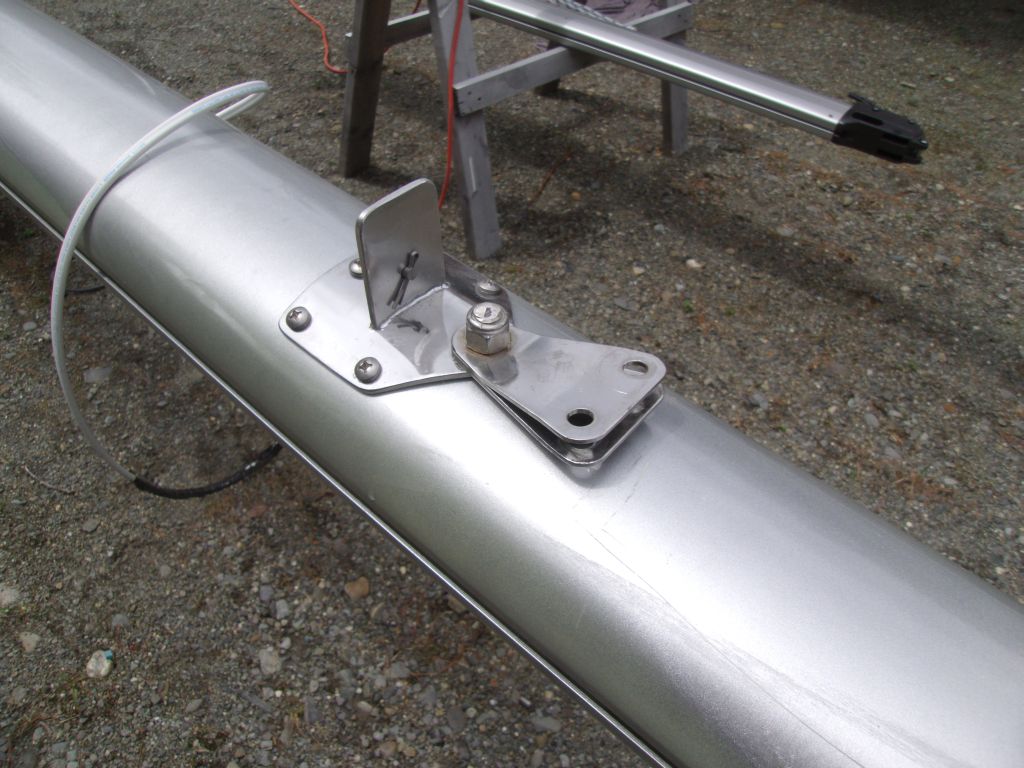
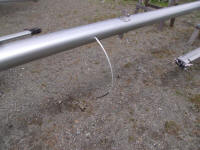
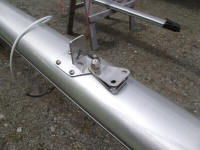
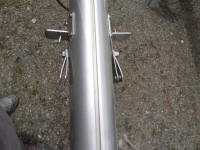
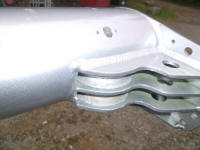
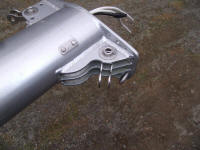
Back at the spreader bases, I removed the temporary and
too-short through bolt and replaced it with a longer
one, this time installing the lower shroud tangs as
required. I cut off the excess bolt length once
I'd secured it properly. |
 |
Meanwhile, I continued picking my way through the old
hardware I'd removed and reinstalling what I could.
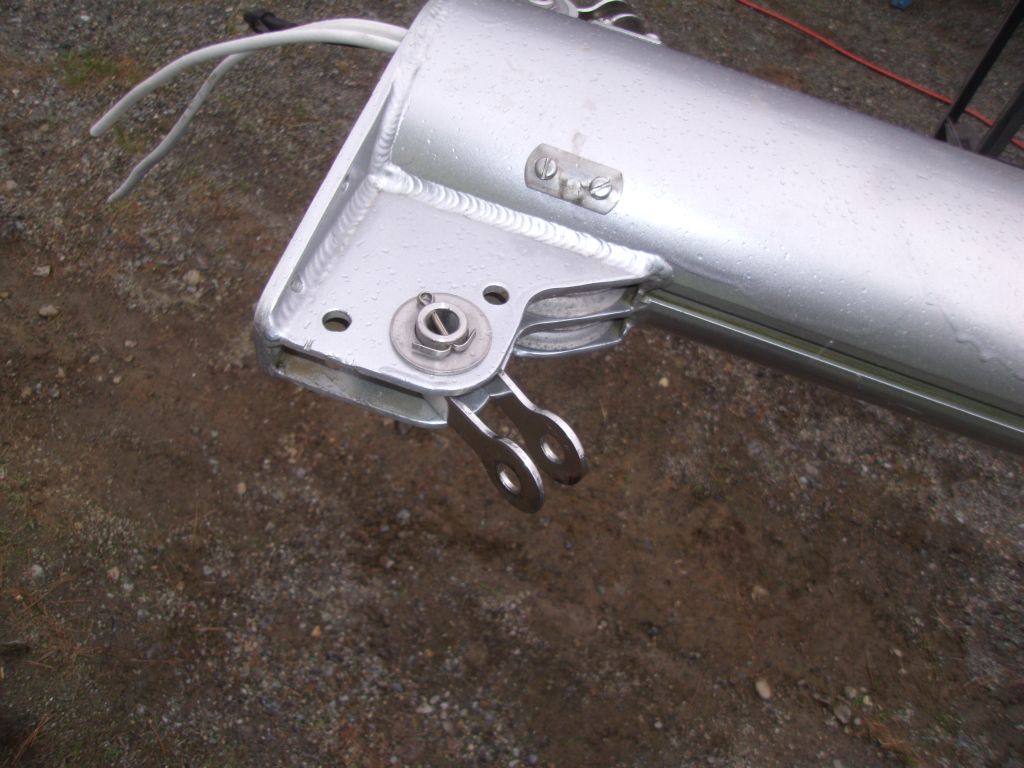
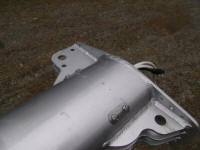
At the masthead, I reinstalled the four sheaves, a
simple process with a pin that went through the
sheaves and bushings from one side of the mast to the
other; the ends of the pins were secured with small
metal plates over the holes in the mast. |
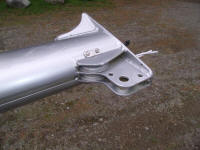 |
Next, I reinstalled the headstay and backstay tangs. |
 |
Rain called an early end to the day's mast work; the
main work was done on the mainmast, other than halyard
cleats and winches (for which I'd await arrival of the
tabernacle for final location), plus standing and
running rigging. Then I'd have to repeat many of
these tasks on the mizzen.
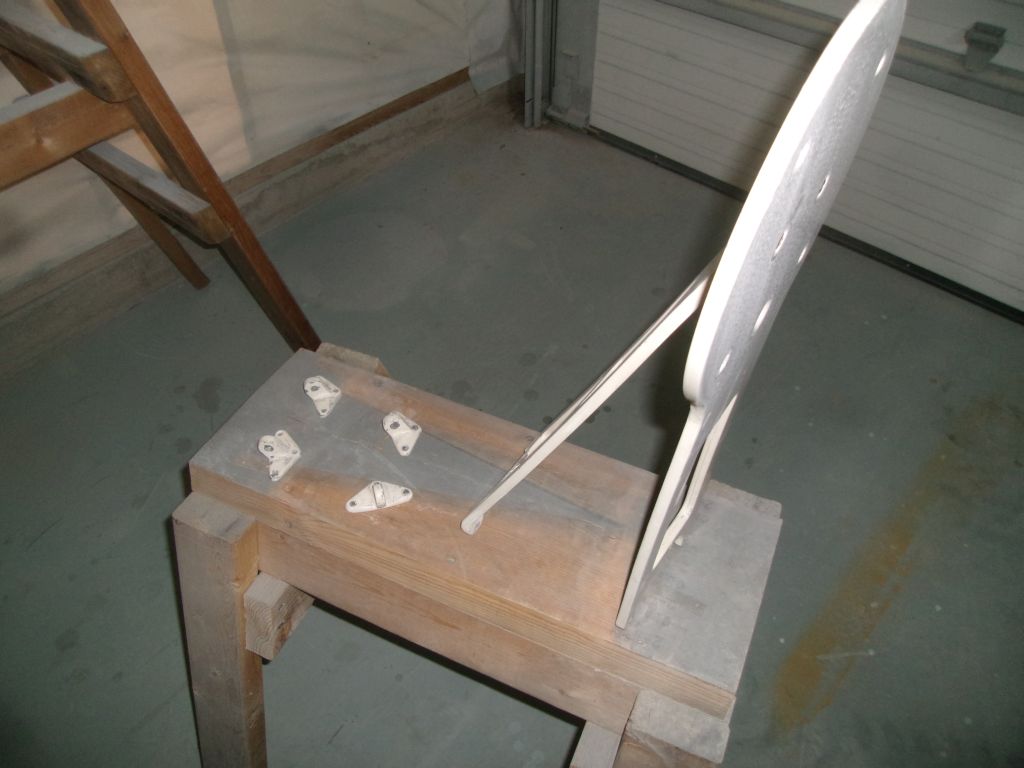
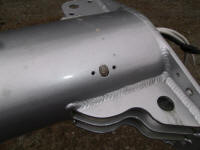
Since I planned to be applying primer to another boat
soon, I prepared the old radome mount for priming at the
same time; it needed just a light sanding to prepare the
sound, but discolored and faded, old powdercoat. |
 |
| |
Total Time Today: 4.75 hours
|
<
Previous |
Next > |