Project Log: Sunday, January 4, 2015
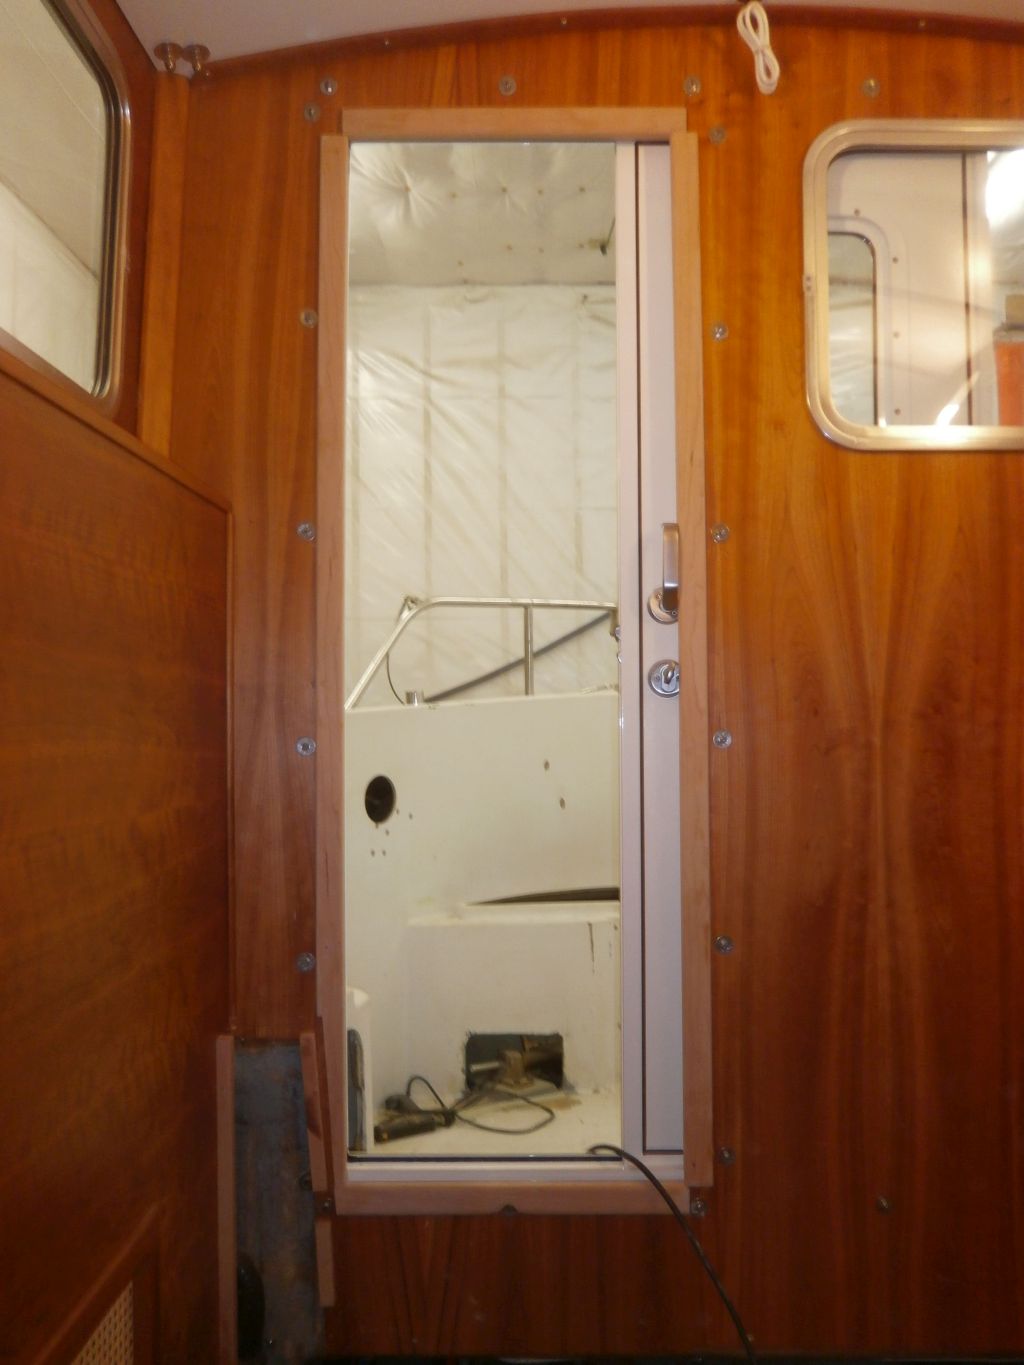
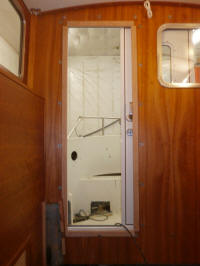
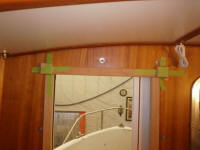
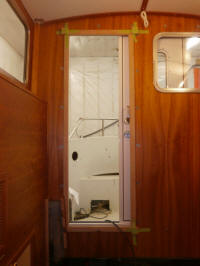
In a short work session, I began by unclamping the trim
around the pilothouse door, once more allowing me access
inside.
|
 |
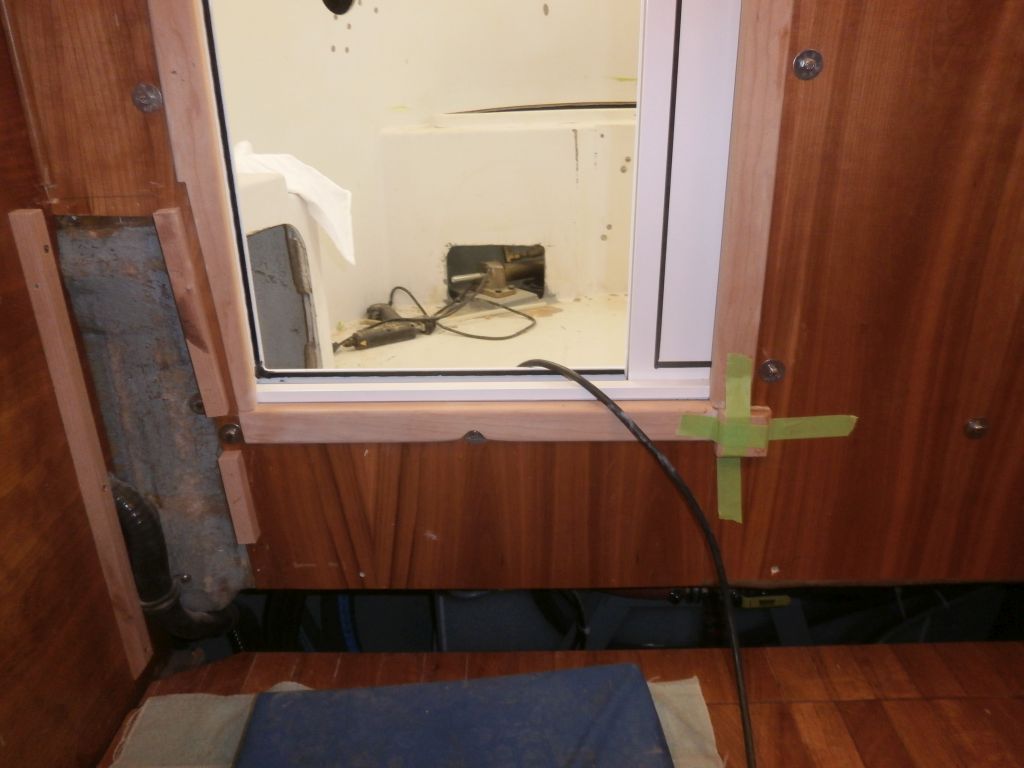
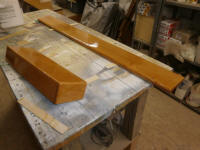
To finish off the corners, I prepared three 2" square
blocks, each with chamfered edges and a bit thicker than
the trim itself, and glued them in place, securing them
with tape for now. |
 |
I lightly sanded the other pieces of pilothouse trim and
applied a second coat of varnish. |
 |
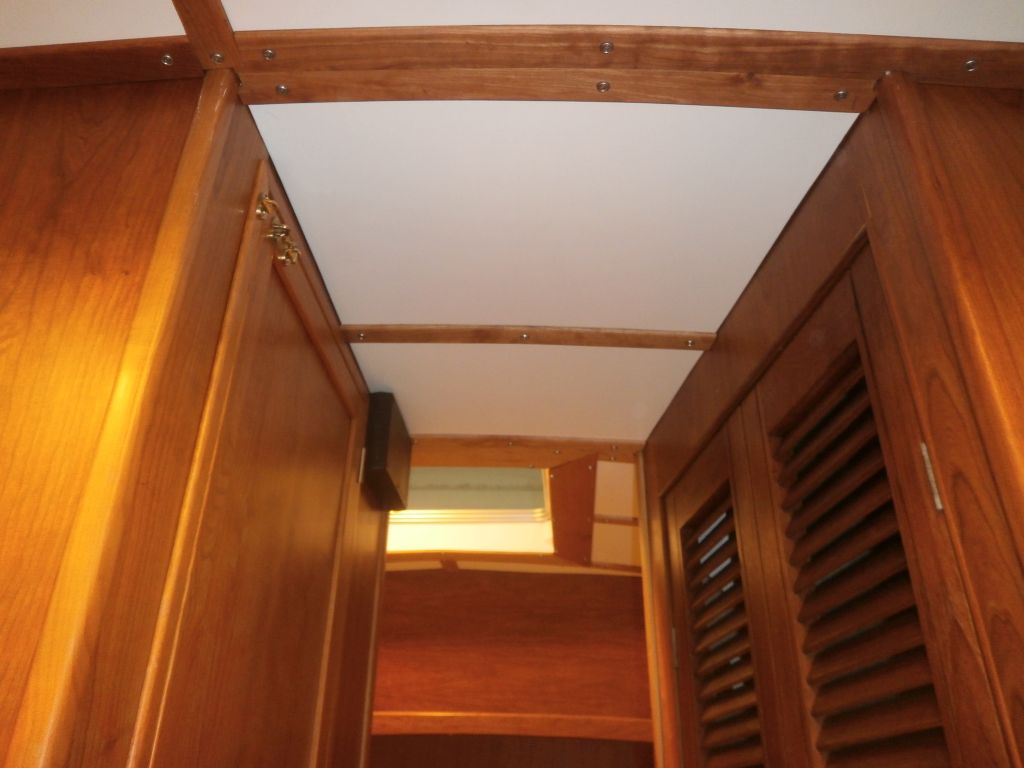
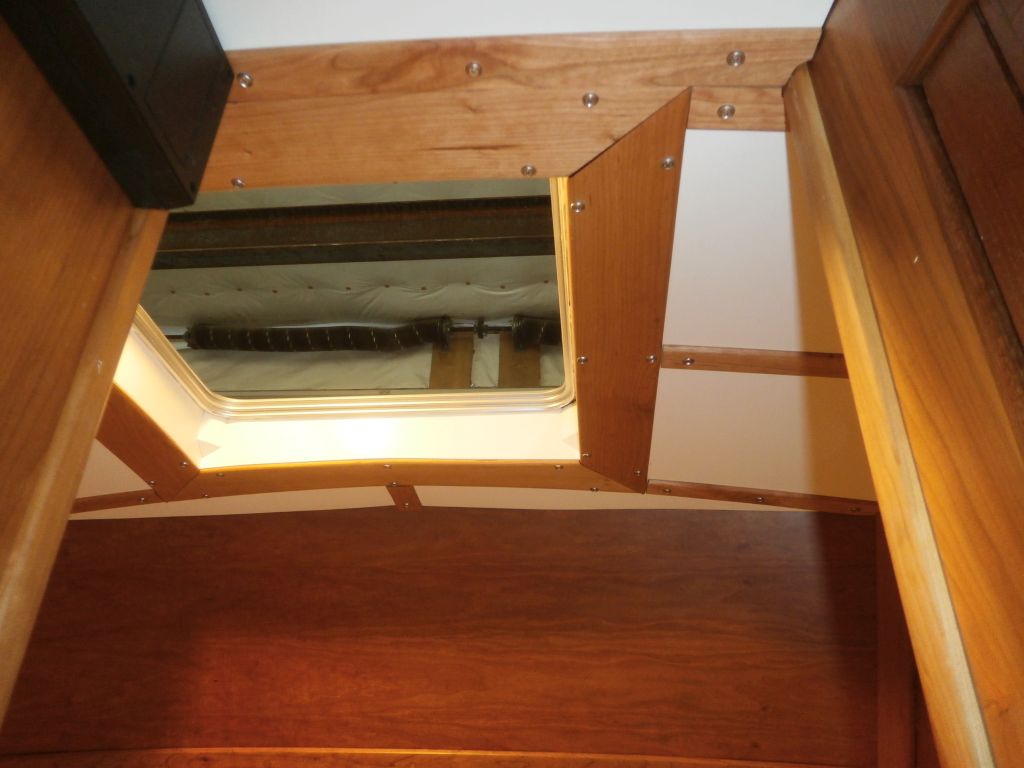
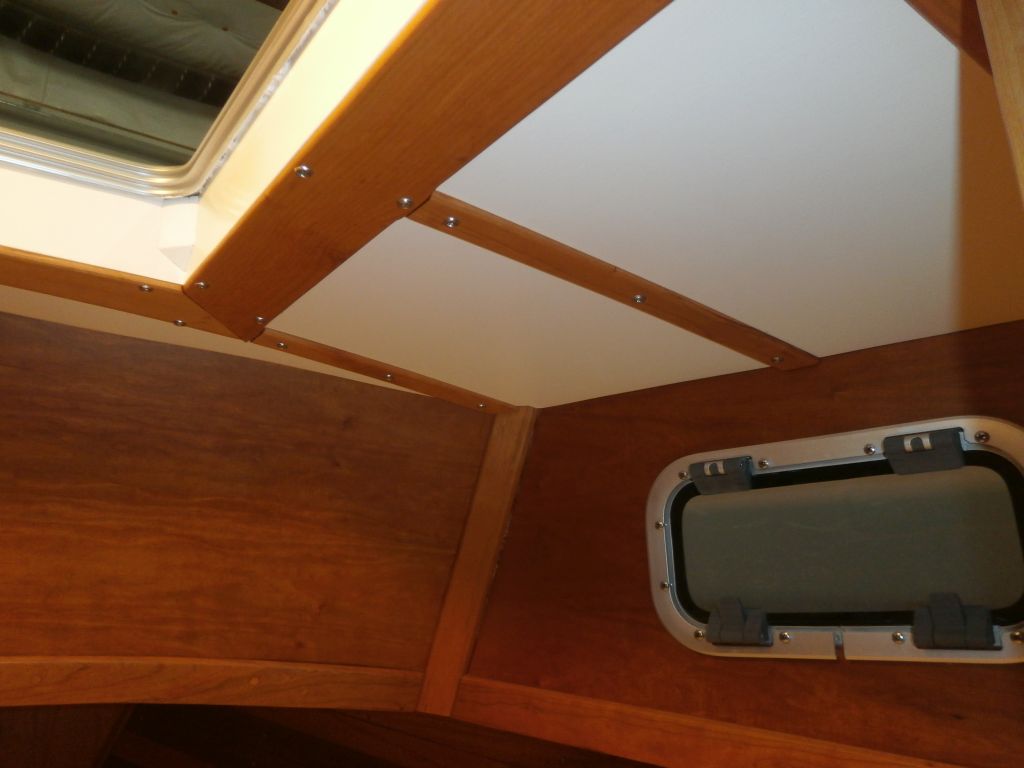
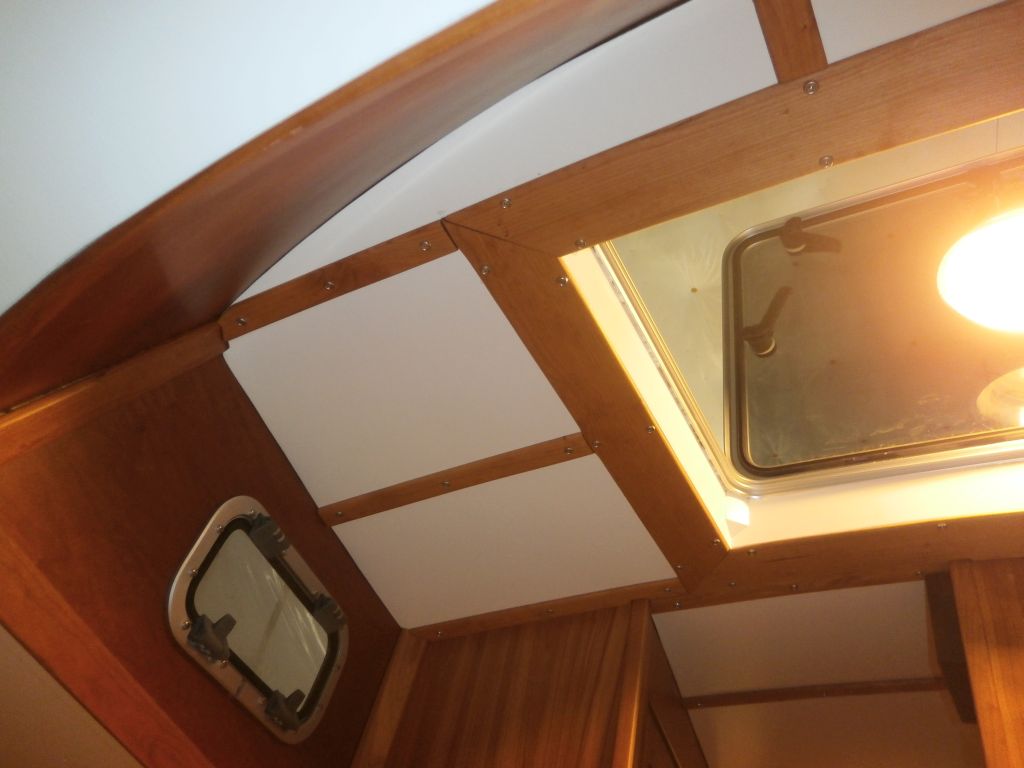
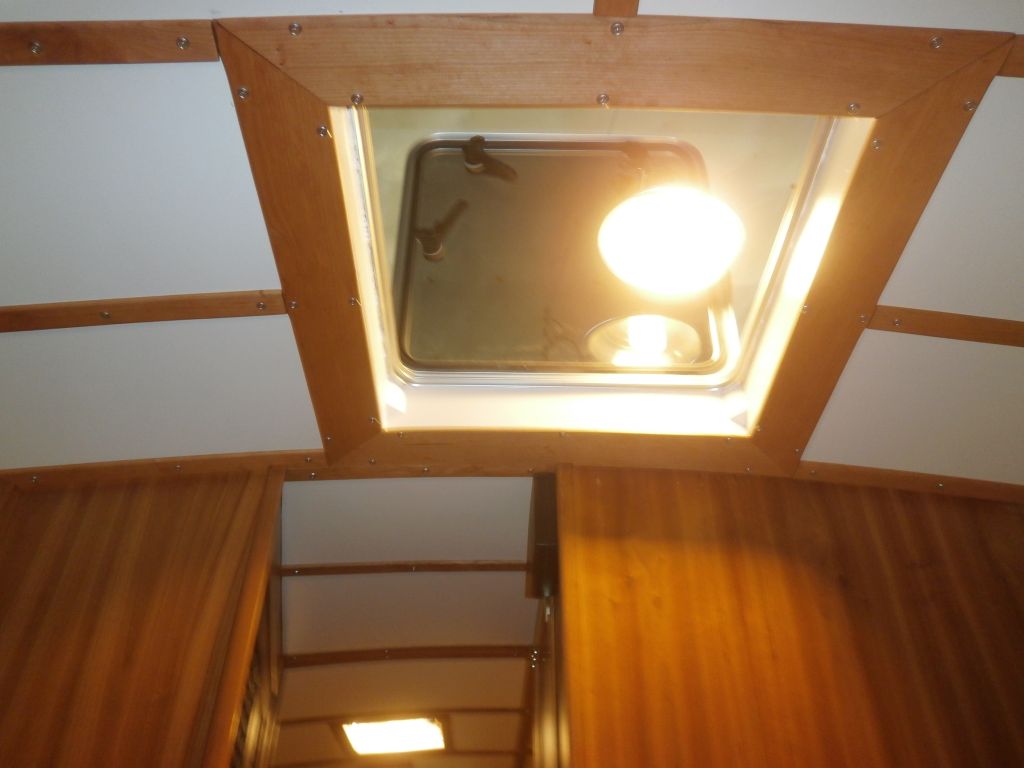
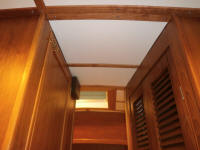
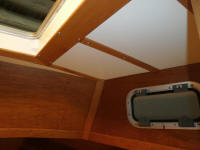
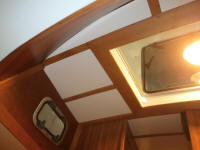
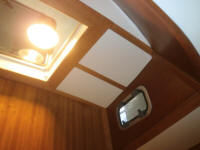
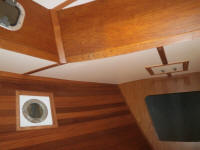
The overhead trim and hatch trim paint and finish work
for the passageway and forward cabin was complete, so I
installed all the trim pieces to wrap up the overhead in
the final section of the boat--a real relief to me,
since I'd grown quite tired of the exposed and raw
forward hatch opening over the past couple years. |


 |
| |
Total Time Today: 1.75 Hours |
<
Previous | Next > |
|
|