Project Log: Saturday, January 10, 2015
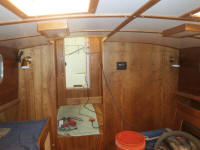
During the week, I applied varnish to the new pilothouse
trim pieces, eventually ending up with my habitual
rubbed-effect varnish for the final coat. With
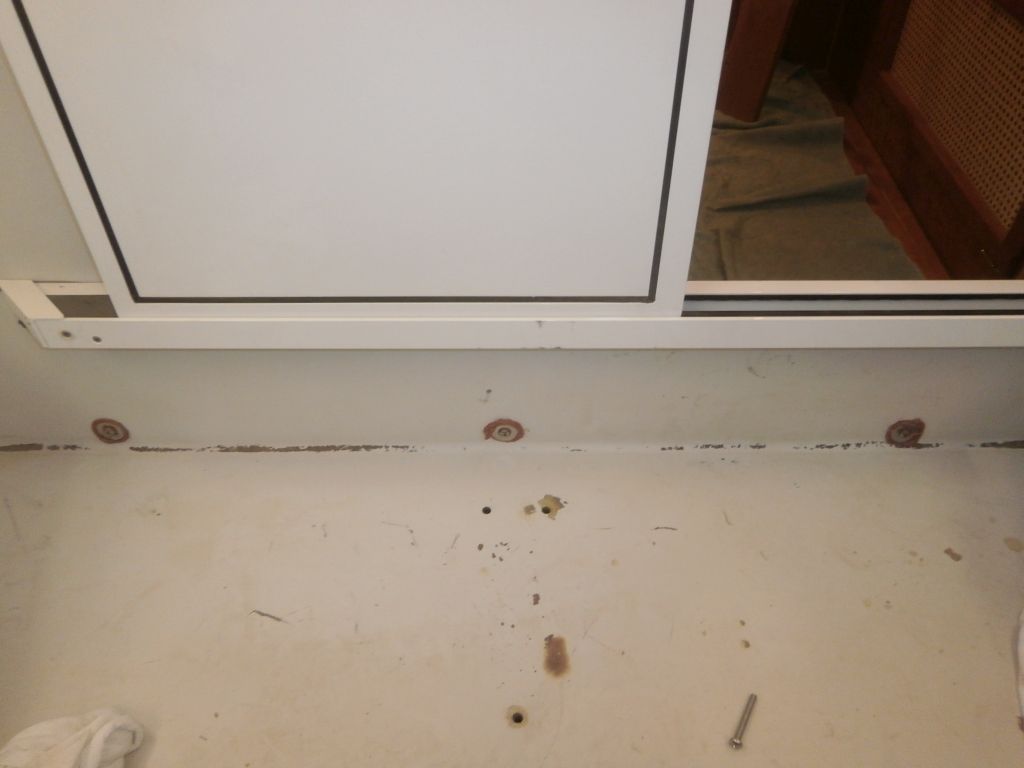
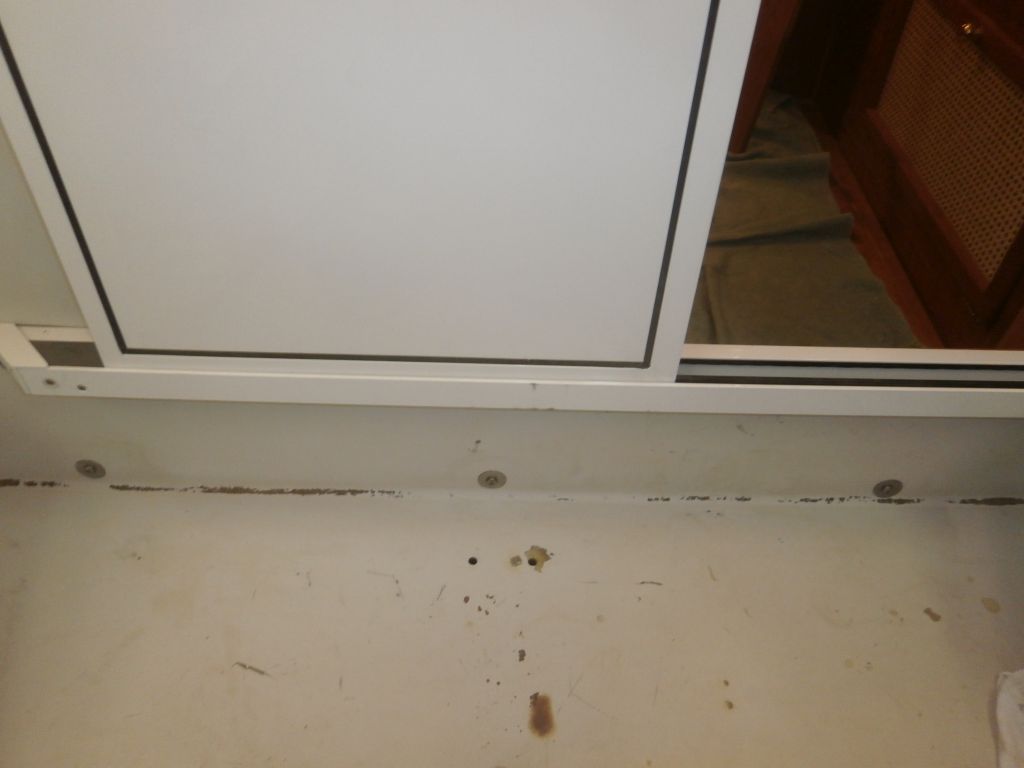
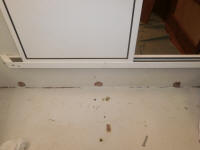
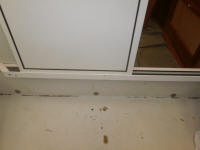
these pieces complete, I finished up the installation by
installing permanently three bolts (set in epoxy and
threaded holes through the bulkhead) to secure the
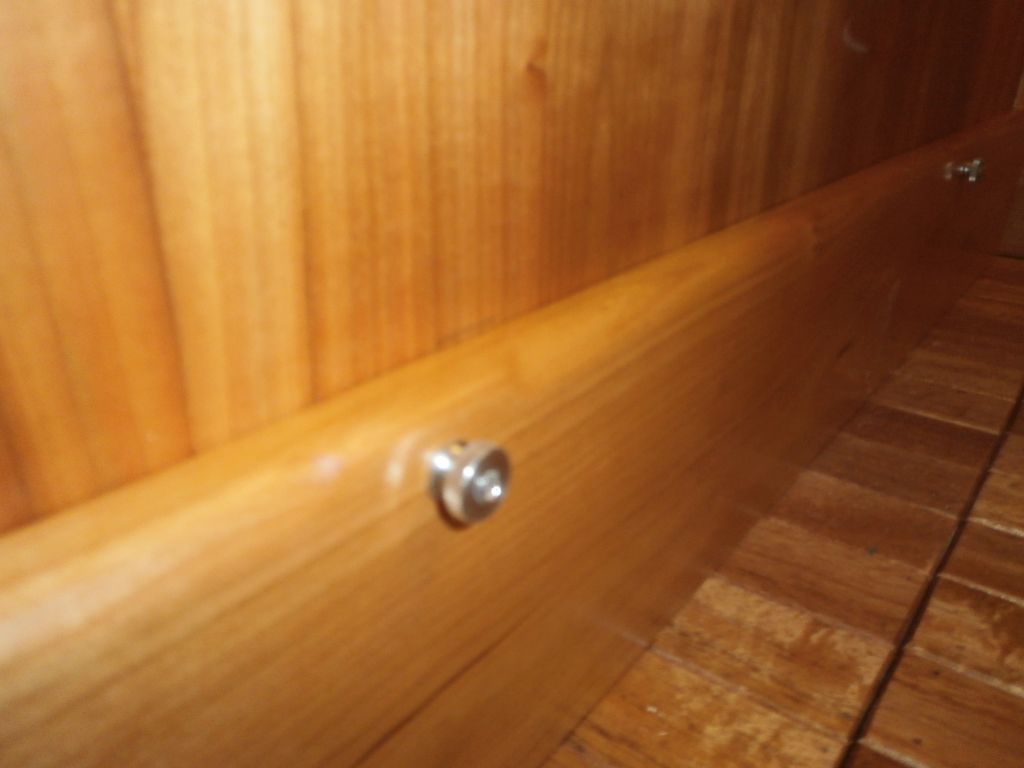
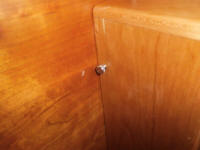
baseboard from within with knurled nuts, and a single
knurled-head fastener to secure the little corner box in
place.
|

 |
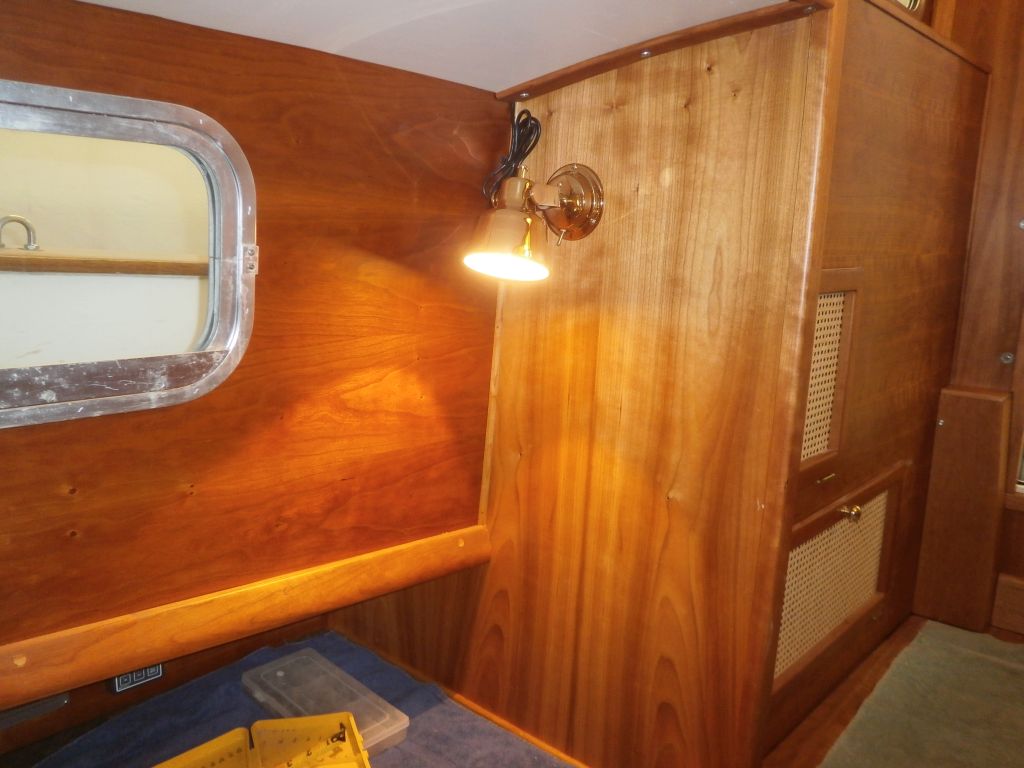
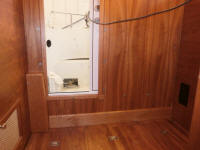
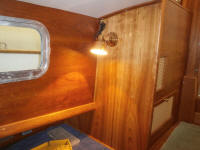
In the galley, on the after bulkhead, I installed one
additional LED lamp to match all the others in the
cabin. I'd already run the wire during a
much-earlier work session, back when I determined that
my thought of eliminating this lamp position was unwise
(I'd been looking to trim outfitting costs, but this
turned out not to be the place). This lamp
position matched with symmetry that of the lamp on the
opposite side of the cabin. |

 |
Working off my little punch list, looking for things to
forever expunge, I contemplated the hinged section of
countertop above the refrigerator, searching for some
clean and easy means of securing it for convenience in
its raised position. Eventually I thought that
some sort of slide bolt, installed on the underside of
the lid, might do the trick, so I ordered something that
I hoped would be applicable.
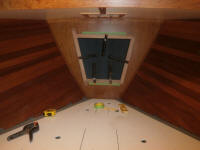
With the completion of the pilothouse trim, the interior
was virtually complete, but one item remained: the
chainlocker. During my initial door-building
frenzy at an earlier stage of the project, I'd cut four
rough blanks from which to build this door, but had
deemed it less critical, so these pieces languished in a
corner of the shop in the meantime. Now, this was
all that remained, and high time to get it done.
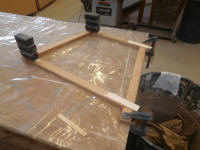
I planned a simple approach to this door, which would
need to remain easily removable for access within.
Standing alone, it could be a surface mount, secured
with braces at the bottom and simple catches at the top.
To this end, I laid out and temporarily clamped in place
the pre-cut pieces of oversized cherry stock, starting
with top and bottom positioned where I wanted them, and
level, and superimposed the two angled side pieces above
them, aligned by eye as needed, so I could cut the two
horizontals to the correct length and angles, after
which I could clamp the side pieces in place for final
marking. |
 |
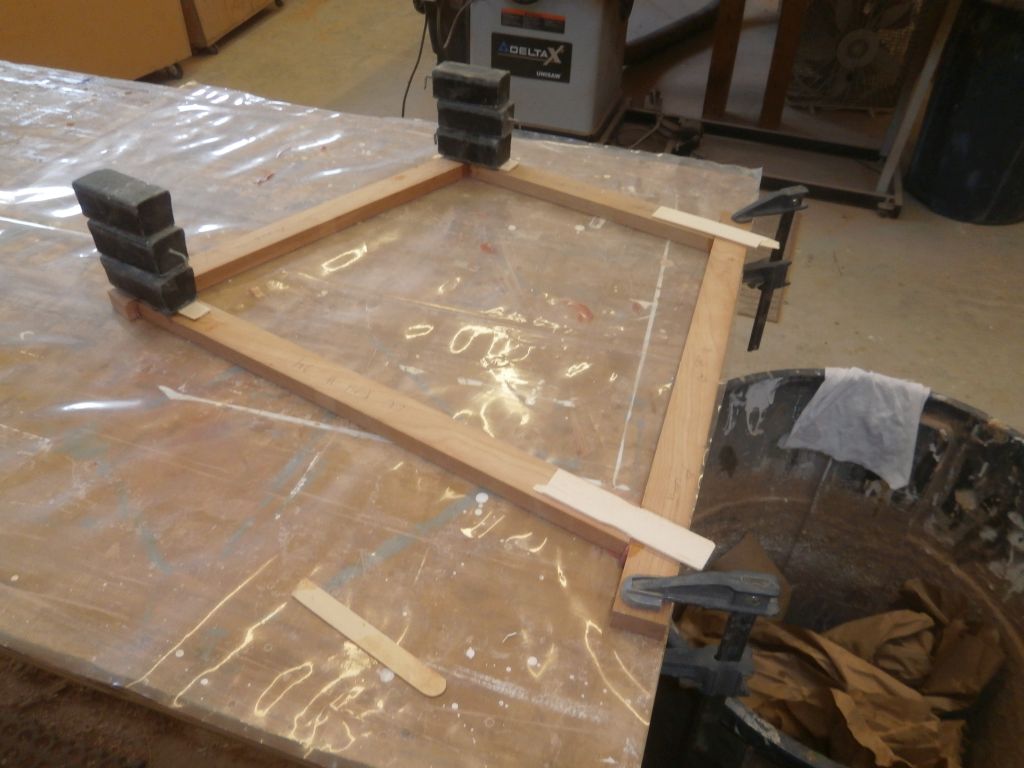
Thusly marked, I glued the frame together down on the
bench, using an unorthodox though effective means of
clamping the pieces together despite the angles--small
scraps of wood hot-glued across the joints. It'd
be easy enough to sand away unwanted epoxied-on remnants
of these clamps later and sure beat the typical
frustrations inherent in trying to clamp slippery angled
pieces together through traditional means.
The weights were there to counteract the frame's
tendency to twist. |
 |
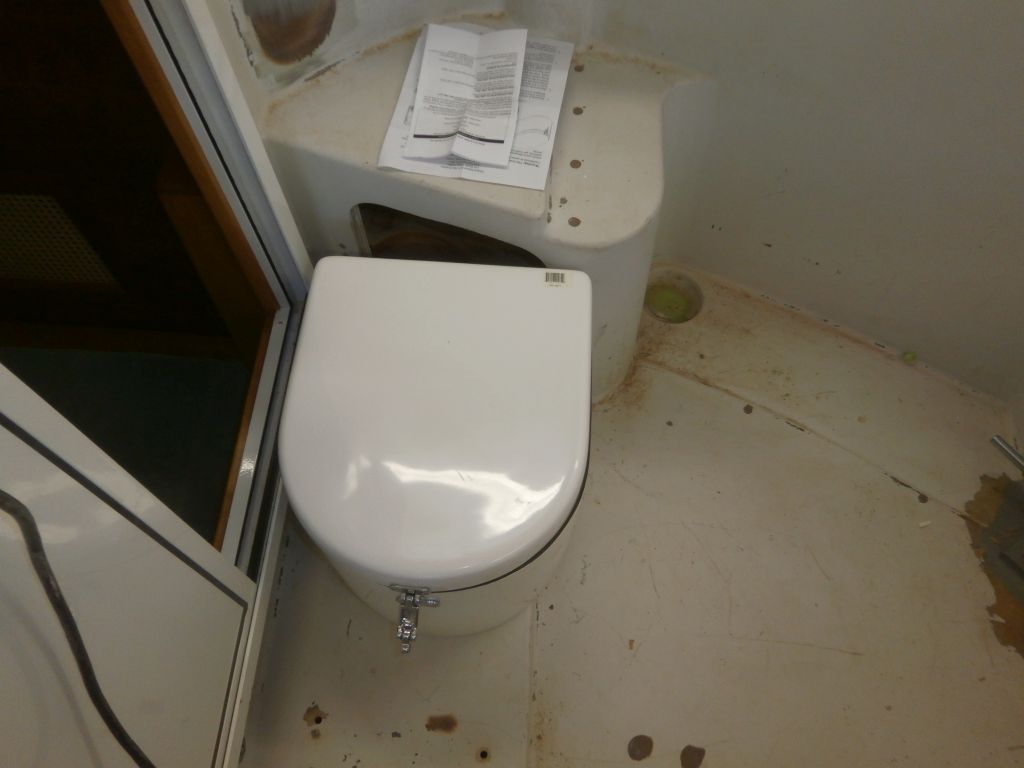
Several jobs awaited me in the cockpit, an area I'd
managed to successfully ignore for many moons. The
original hatch covering the lazarette (after steering
room) had been lost sometime during the boat's earlier
sinking or recovery, and I'd need to build a new one.
I made a few measurements in order to determine any
materials I'd require, so I could at last get this
project underway. |
 |
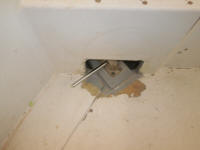
My hydraulic steering arm selection had, for reasons of
space, required that I cut an opening in the bulkhead
leading tot he after steering room. At that stage,
I'd been planning to build elaborate closed-in cockpit
lockers, which would have hidden and sealed off this
unwanted--but necessary--protrusion.
|
 |
That particular project--the new lockers (in part driven
by a desire for a better propane storage situation)--had
been doomed by the fact that I'd ignored this structural
work at the early-on stage when it would have made most
sense, choosing instead to work on more fun aspects of
the boat, and as time went on, and the structural
project lingered in favor of funner interior and systems
work and the like. The more finished the rest of
the boat came, and the shorter time, temper, and funds
became, the more I postponed starting the job, the
net-result of which--along with changing focus for the
boat--was to leave it on the cutting room floor.
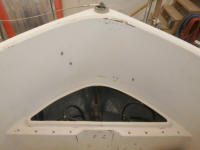
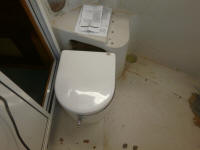
Instead, I'd simply reinstall the original teak-slatted
seats, requiring me to now build a simple
weatherproof--yet removable--box to cover the steering
components.
Making a few measurements now allowed me to order up
some prefabricated fiberglass from which to build the
box.
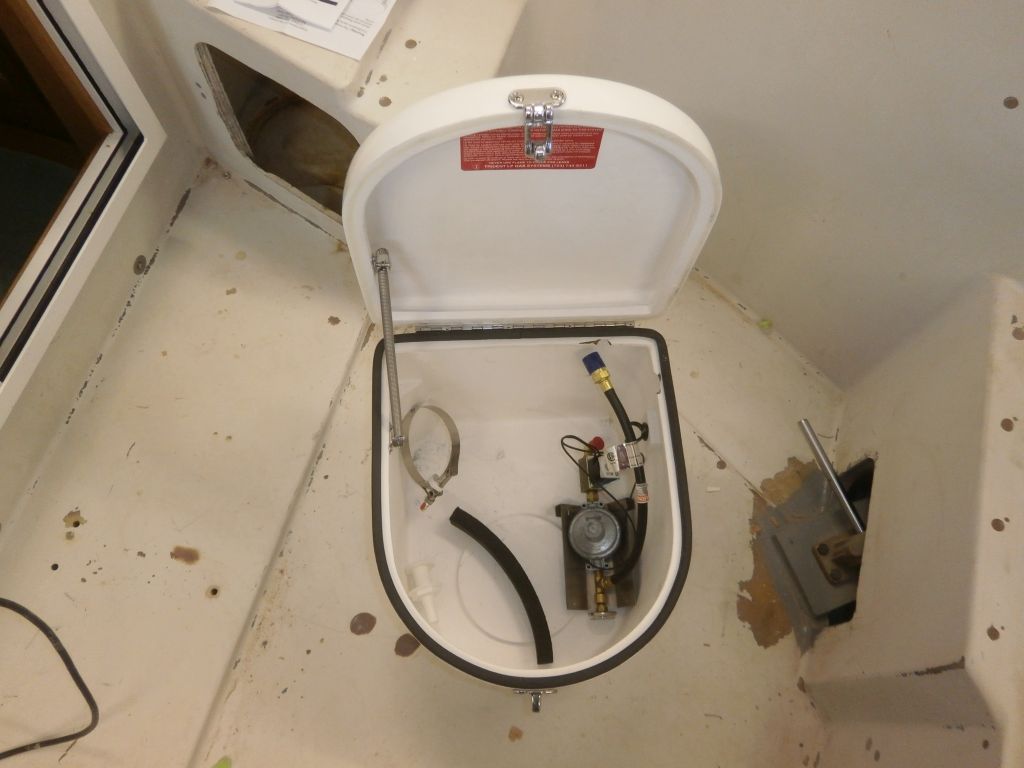
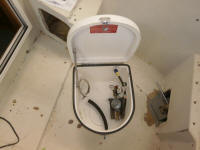
Similarly eliminated during the harsh yet realistic
project slashing of late was my grand plan for a decent
propane locker, which was to have been incorporated in
the new, rebuilt lockers. The death knell for this
job in particular came about when, while browsing
online, I happened across a slightly damaged--yet
new--prefab propane locker with all the bells and
whistles, and on impulse I bought it. |
 |
Now my plan was to incorporate this locker into the
housing where the original locker was. I played
around with a few ideas for now, and would get into the
meat of this job soon. |
| |
Total Time Today: 2.5 Hours |
<
Previous | Next > |
|
|