Project Log: Saturday, January 17, 2015
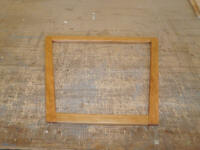
Over the past few days, I'd worked to apply a coat of
varnish each day to the new chainlocker door frame,
eventually reaching the base buildup I wanted (4 coats
of gloss varnish) and shifting to rubbed-effect varnish
for the final coat.
|
 |
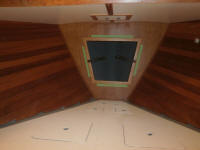
I clamped the frame in place in the opening so I could
work out its final attachment and support system.
I planned two inverted L-shaped wooden cleats at the
bottom edge, to wrap over and secure against the inside
of the opening itself, plus a pair of catches at the top
edge. Doing this now, while the center of the
frame was still open, made the job easier. After
mocking up the lower cleats, and making markings as
needed, I glued up the L-shaped pieces and left them to
cure. (Oops, no pictures of all this.)
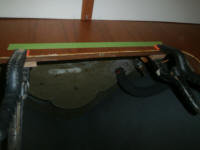
Meanwhile, I secured two hardwood blocks inside the
opening, flush with the top, to eventually accept the
roller catches at the top edge. |
 |
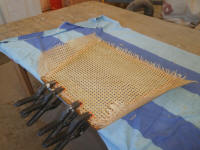
I soaked a piece of pre-woven cane material in a
sinkfull of warm water till it was supple, then
installed it in the frame, as I'd done with all the
other cabinet doors on board. Because the opening
was almost as tall as the caning itself, it made the
chore a little more challenging, as I'd not a lot of
extra material to work with. My slot for the reed
spline was a little wide, so at one edge--where I had
the most trouble with the barely wide-enough caning--I
used several clamps to help hold things till the glue
securing the spline and caning cured. Once the
material had dried and tightened, I'd trim the excess
and move on with the final tasks to hang the door. |
 |
To build my new lazarette hatch for the cockpit, I first
needed a flat panel for the top. I eventually
chose to make this in the shop. My first choice
would have been a piece of prefab 1/4" laminate, for the
efficiencies and ease thereof, but the shipping costs
for the size blank I'd need would have been
foolish: the hatch was an odd shape, but over 40"
wide in one dimension, requiring a 48" piece of stock
were I to purchase it, and the dimensions available in
this length (48" square) would have produced too much
waste, and too steep a shipping cost. I did
purchase 1/8" thick strips that I'd use later to form
the sides of my hatch.
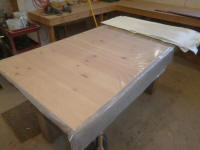
For the flat panel, I prepared a work station with a
piece of scrap, smooth plywood (leftover from my
kitchen) covered in plastic, producing a smooth, flat,
non-stick surface on which to laminate the basic panel.
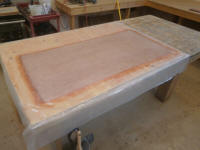
I cut four pieces of 1708 fiberglass for the job, each a
little longer and wider than the final dimensions
required, and which together would give me a panel
thickness of about 1/4". Then, I laminated them in
epoxy resin, leaving the assembly to cure overnight. |
 |
| |
Total Time Today: 2.25 Hours |
<
Previous | Next > |
|
|


