Project Log: Sunday, January 18, 2015
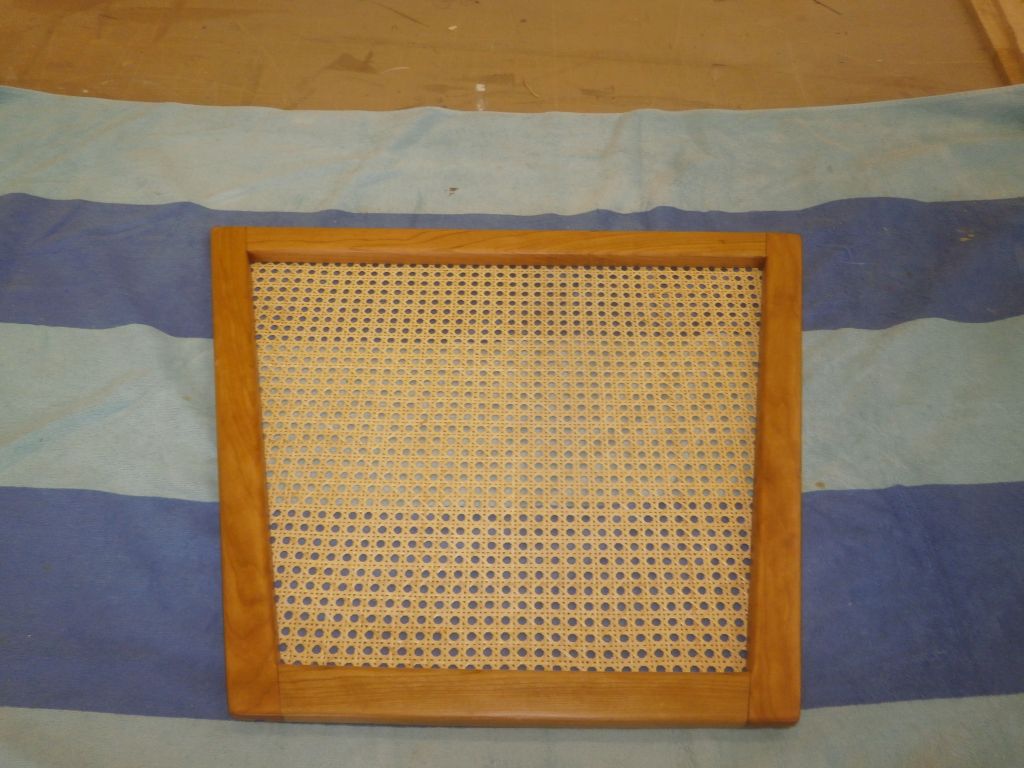
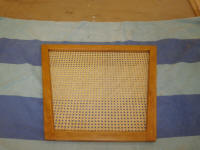
The caning dried overnight, nice and drum-tight, and I
trimmed the excess from around the edges of the spline.
I'd get back to the final details to hang this door in
the near future.
|
 |
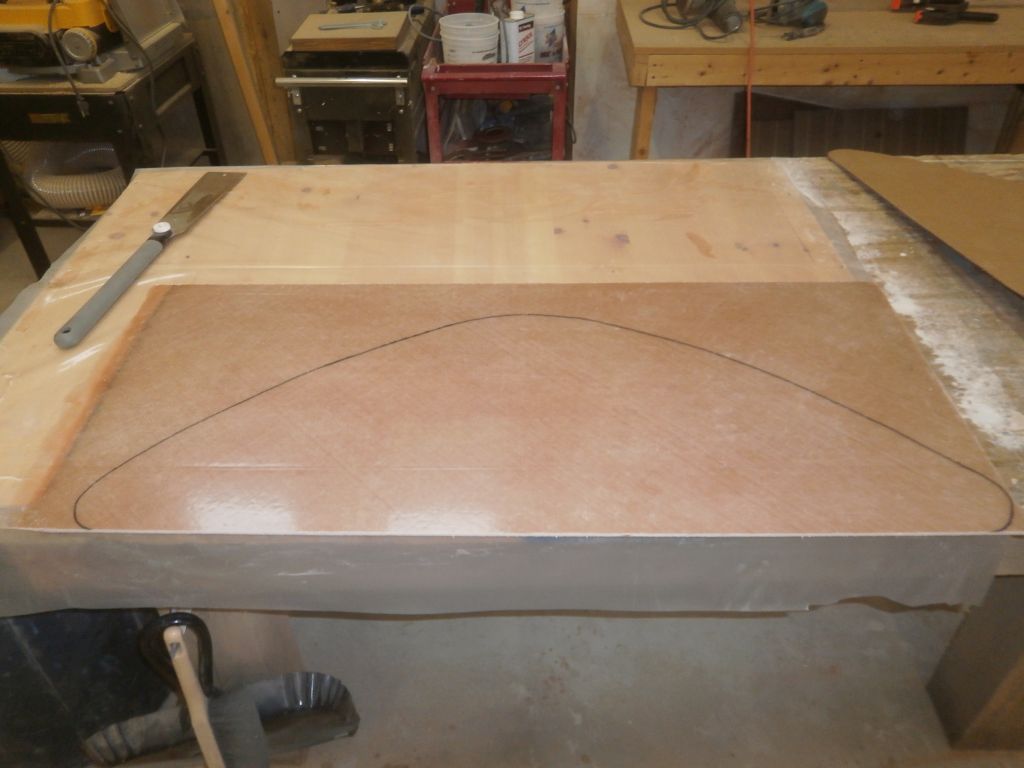
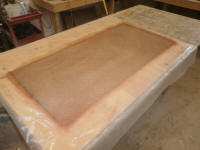
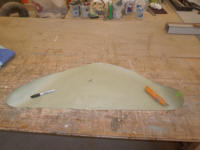
For now, I concentrated on the lazarette hatch
construction, anxious to continue with the next steps.
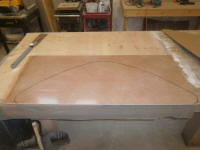
After removing the laminate panel from its "mold", I
lightly water-washed both sides, then trimmed the panel
to create square edges, removing the ragged ends of the
lamination (shown before cutting here). |
 |
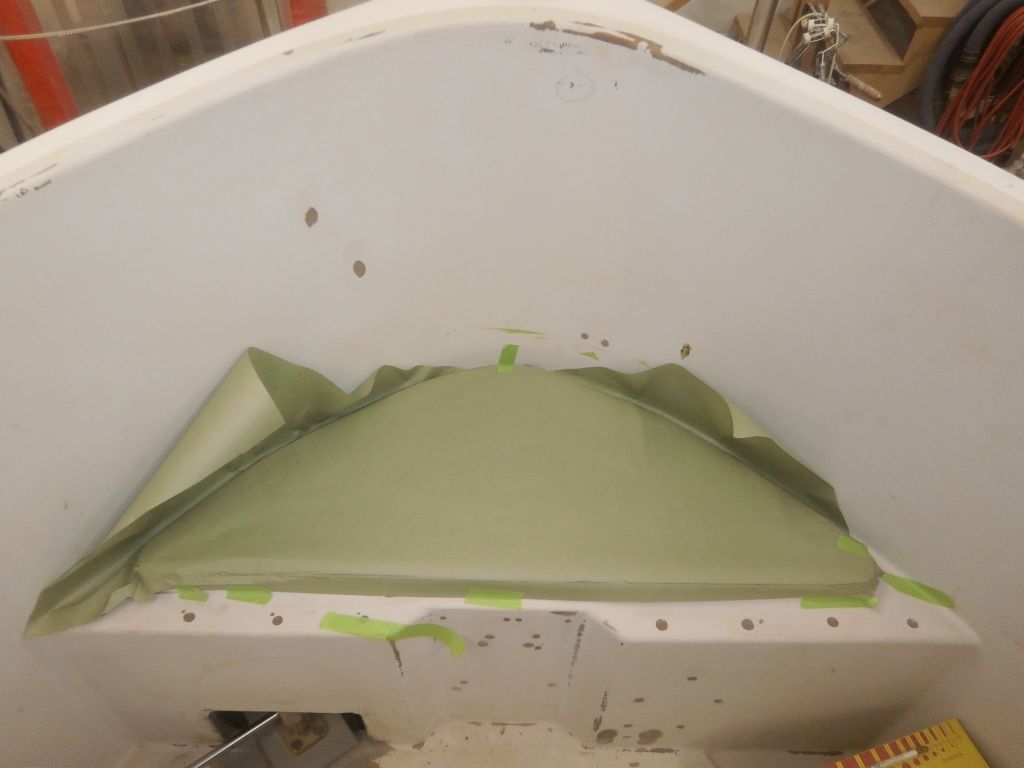
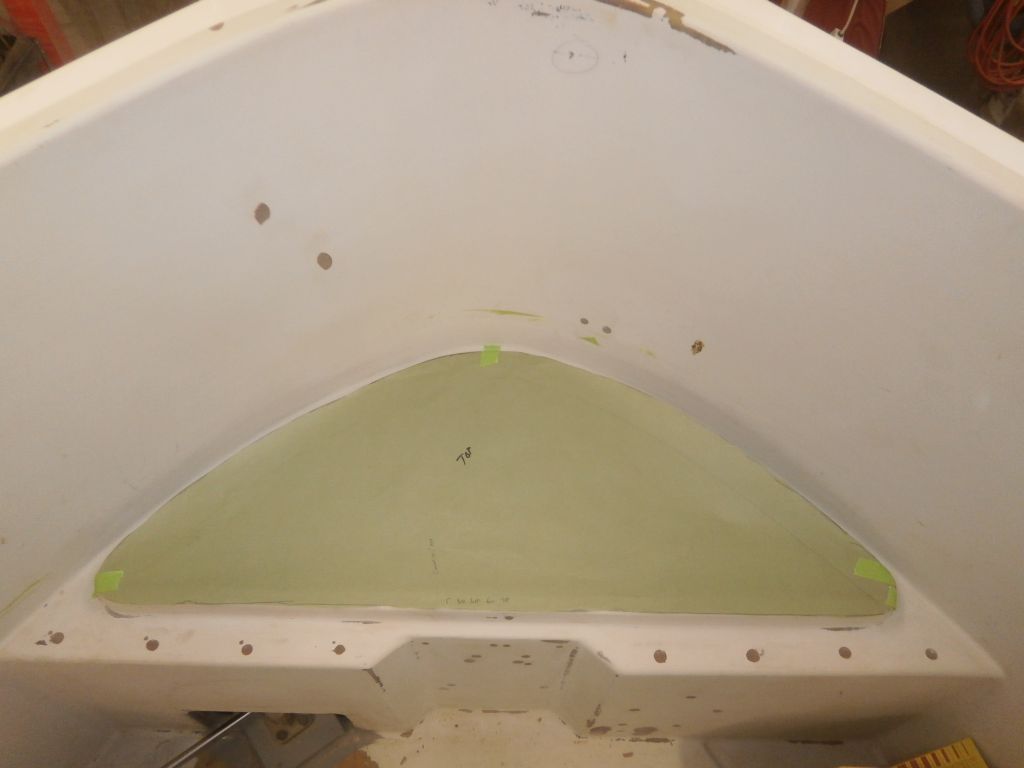
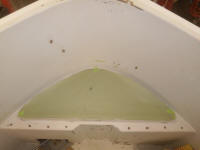
With some paper, I made a rough template of the molded
lip surrounding the hatch opening, which demarked the
basic size reference for the new hatch. The
hatch would eventually feature a lip that would extend
over this raised section, and I had to ensure that the
top of the hatch was large enough to overhang this lip
sufficiently, while still fitting within the space
overall. By stretching the paper across the
opening, I could make a rubbing of the edges of the
raised molding, which allowed me to cut the template to
an appropriate size. |

 |
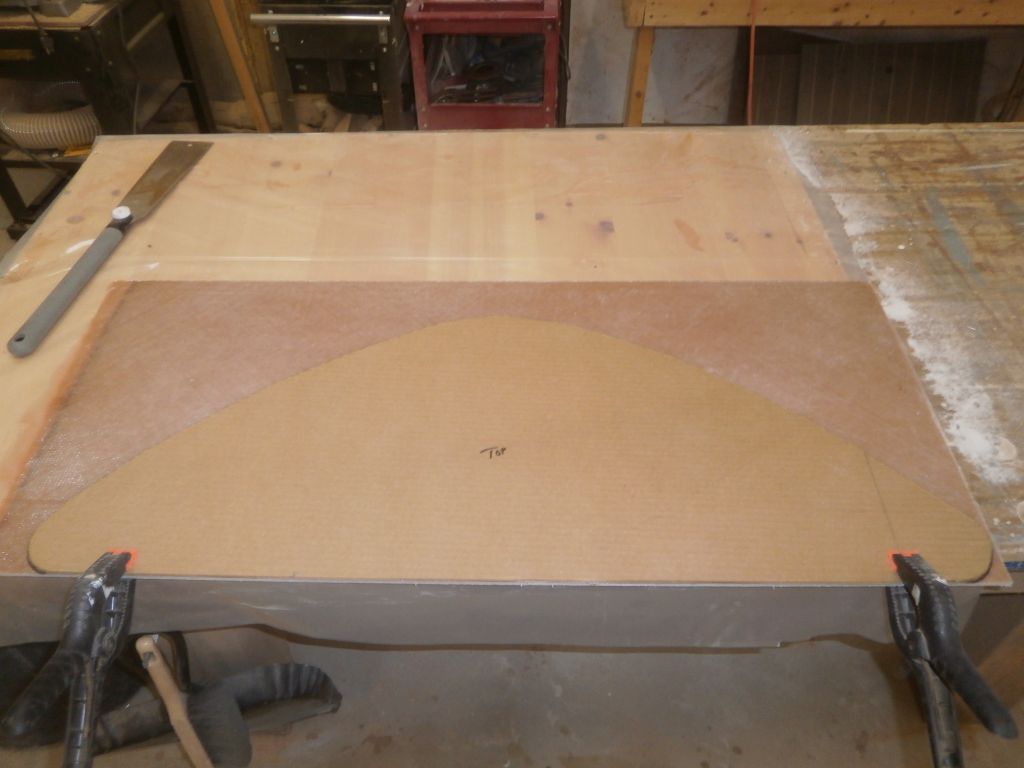
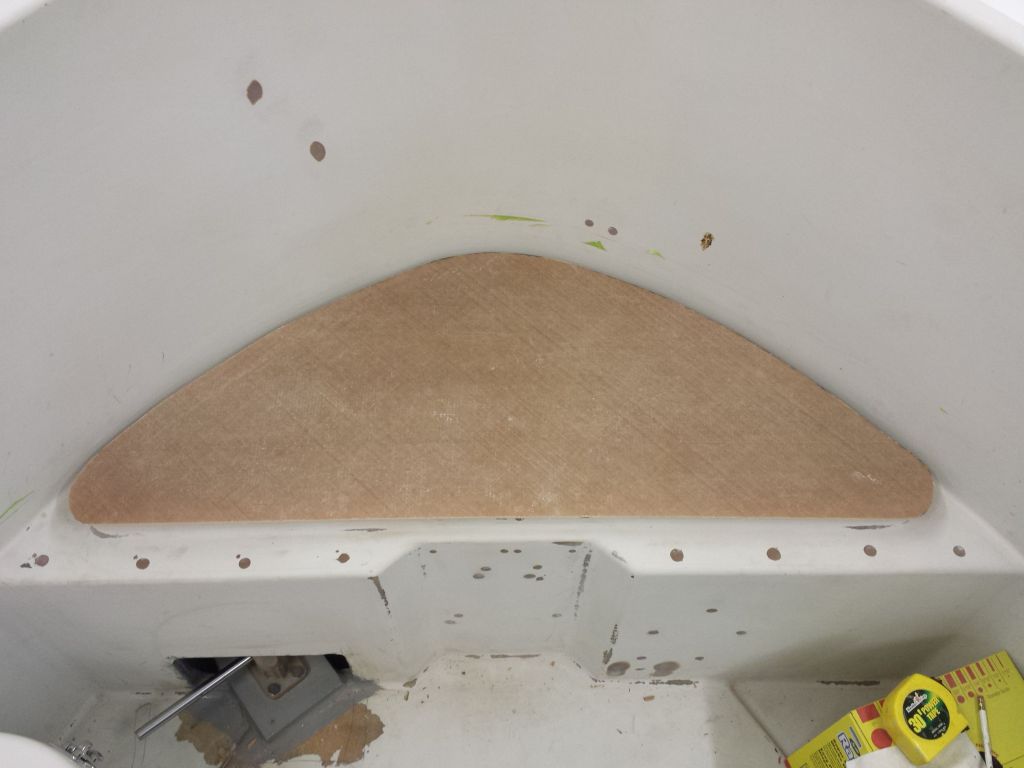
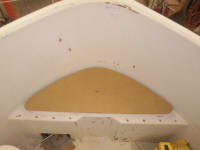
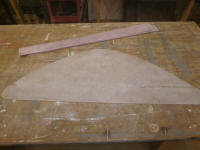
After confirming the template's fit, I transferred it to
a piece of cardboard, extending its dimensions by about
1/4" on all sides to allow the overhang necessary for
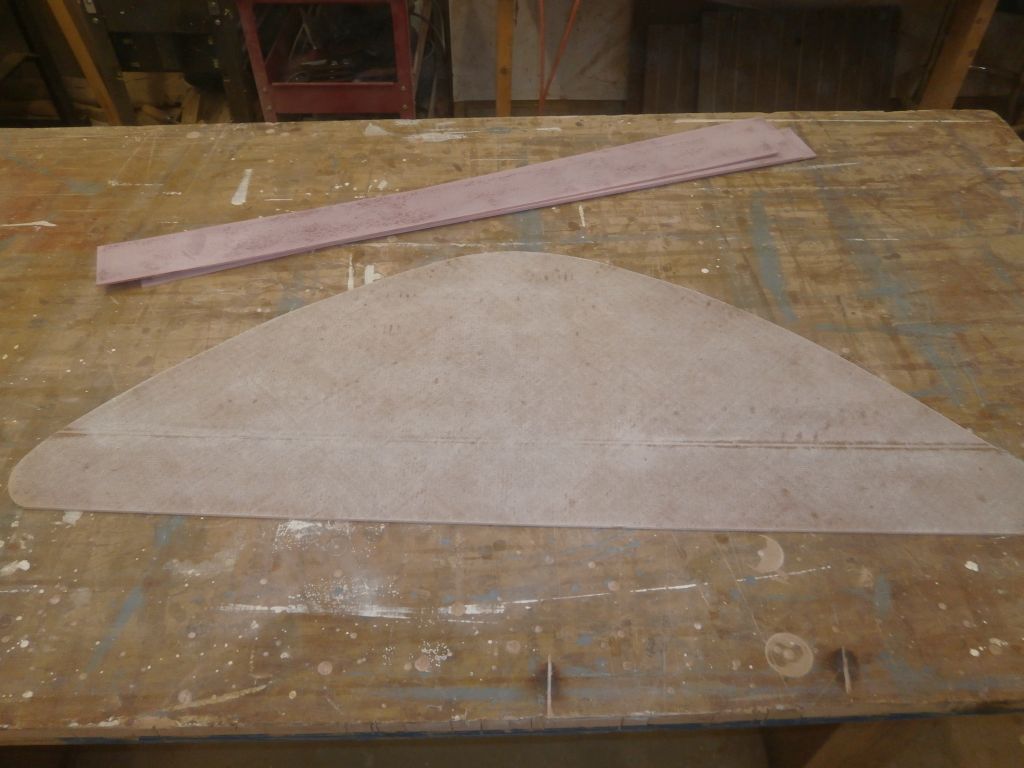
the new locker lid. After test-fitting the
cardboard template, ensuring that it fit as desired, I
transferred the shape to my new fiberglass panel, and
cut it out. Afterwards, I lightly sanded both
sides of the new lid top, to remove the gloss from the
mold and prepare both sides for the additional work
ahead. At the same time, I sanded several pieces
of prefabricated 1/8" thick fiberglass that I cut into
1" strips from which to form the overhanging edges of
the locker lid. |

 |
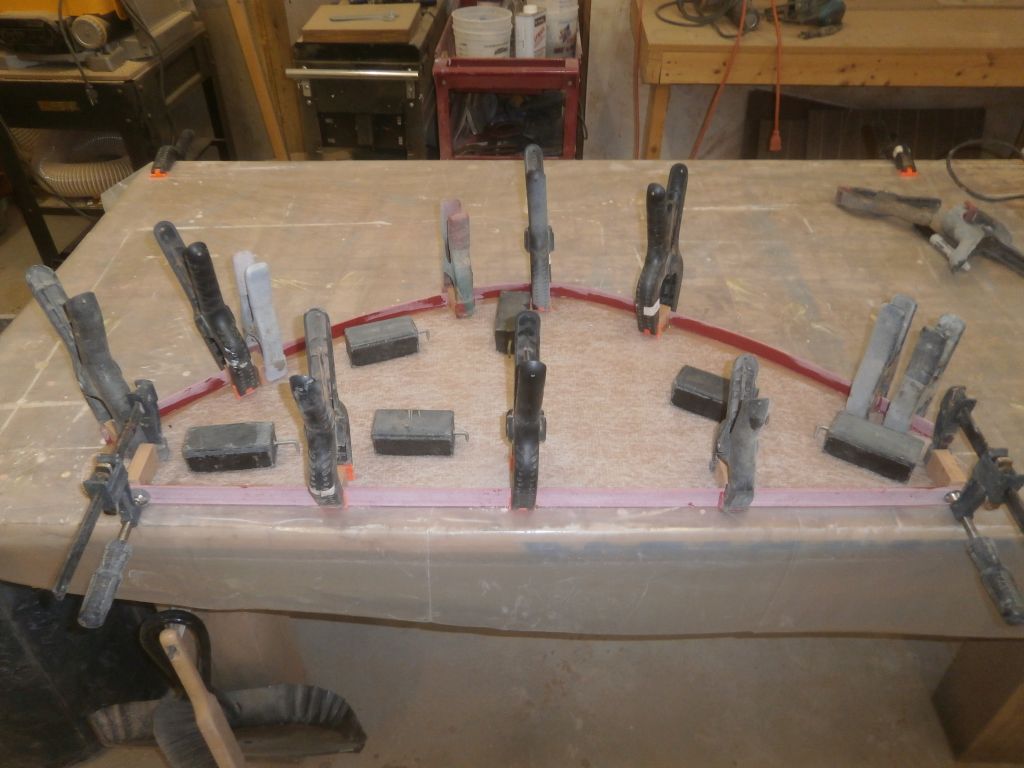
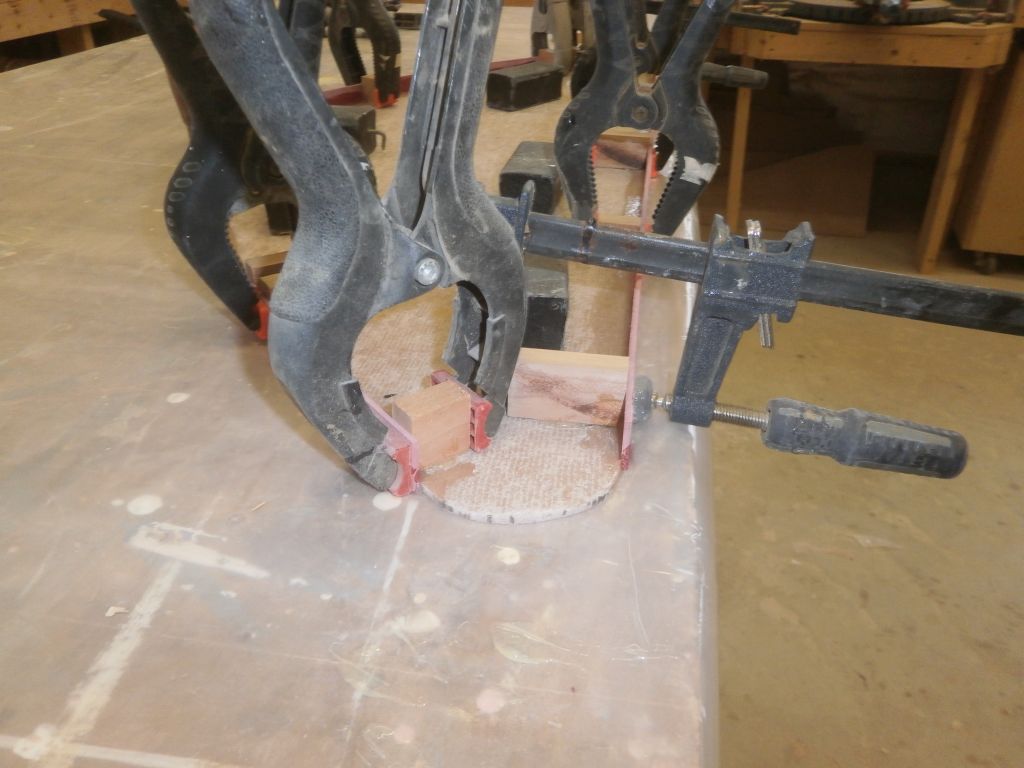
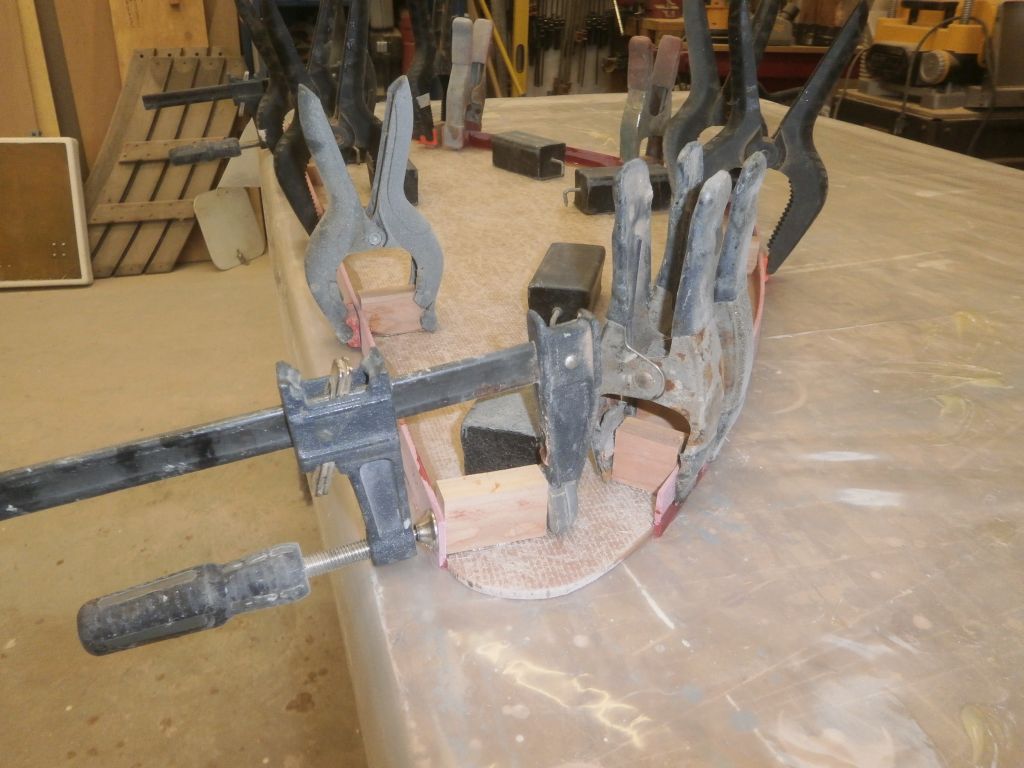
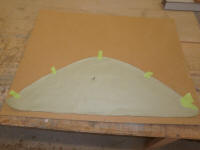
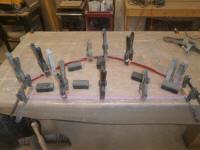
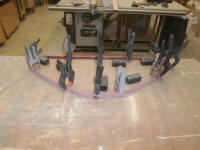
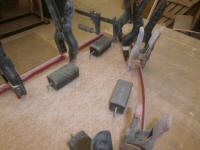
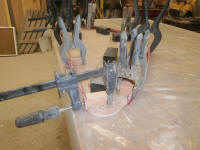
To begin the edge, I bent the thin strips of fiberglass
around the inverted locker lid, which I weighted down
flat on a piece of plastic on my bench. To secure
the bent strips at the edge, I hot-glued little
clamping/support blocks in place, dry-fitting everything
before securing the strips with epoxy adhesive where
they met the edge of the hatch lid along the curved back
edge and the straight forward edge. |
 |
The two forward rounded corners of the hatch featured a
radius that was too tight to bend the prefab material
around, so I'd deal with these areas separately later,
along with additional construction steps including
coring the hatch lid for stiffness. |

 |
| |
Total Time Today: 2.75 Hours |
<
Previous | Next > |
|
|