Project Log: Tuesday, June 9, 2015
Before getting into the nitty-gritty and mess of the
final installation, I chose to do a dry run of the chain
stripper and windlass, mainly to ensure that the bronze
fasteners were the right lengths and to determine that
everything worked together the way it should.
Immediately, this led to a problem--one I'd been a
little worried about as I worked on and about the
windlass over the past days. The thickness of the
deck in the windlass mounting area, as well as the need
for a sturdy backing plate, meant that I needed 4-1/2"
bolts for the windlass. Unfortunately--and this
was what I'd been concerned about--there was not enough
overhead clearance to insert these bolts cleanly into
the narrow base of the windlass.
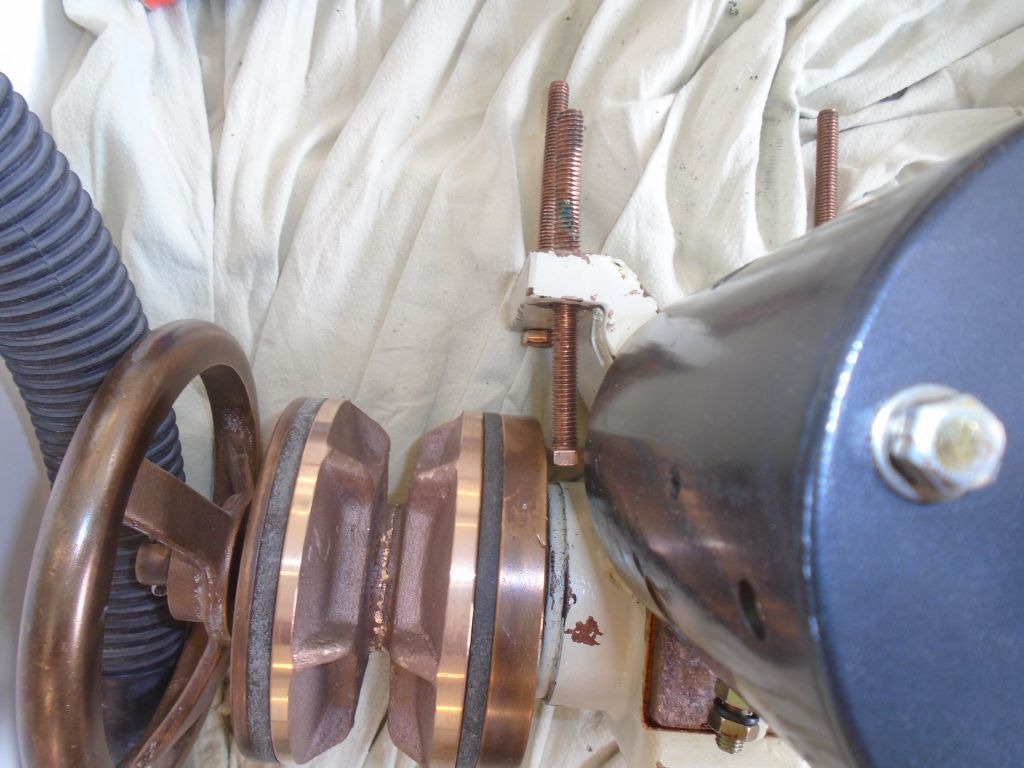
This forced the fasteners on the forward two holes in at
a slight angle, which was undesirable enough but
something easily dealt with, and they slipped through
with only moderate persuasion from a hammer and another
bolt as an extender (with minimal thread damage...but
then any is too much, isn't it).
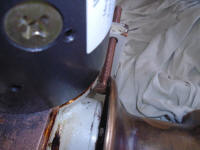
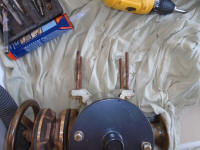
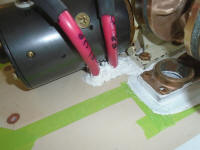
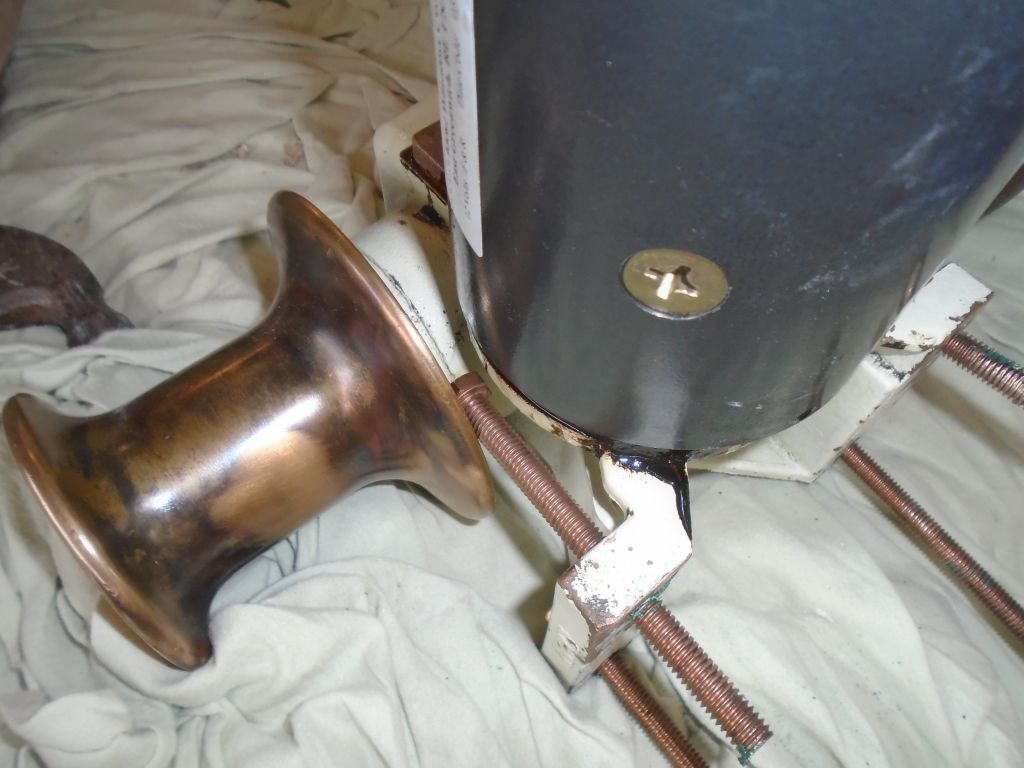
But the two after holes were well-hidden by the wildcat
and capstan, and there was vastly insufficient clearance
for the bolts to be inserted. The awkward angle
caused the bolts to hang up in the flange holes (which
also caused damage to the threads), and also hung the
bolt heads up tightly against the wildcat and capstan.
|


 |
While I'd been anticipating--if dreading--this finding,
since the long bolts had only just arrived this was the
first time I'd seen just how bad it was, and it was
intensely disappointing to see it manifested so
terribly; these are the sorts of things that cause me to
create lots of imaginative new swear words on the fly.
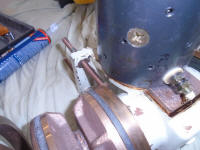
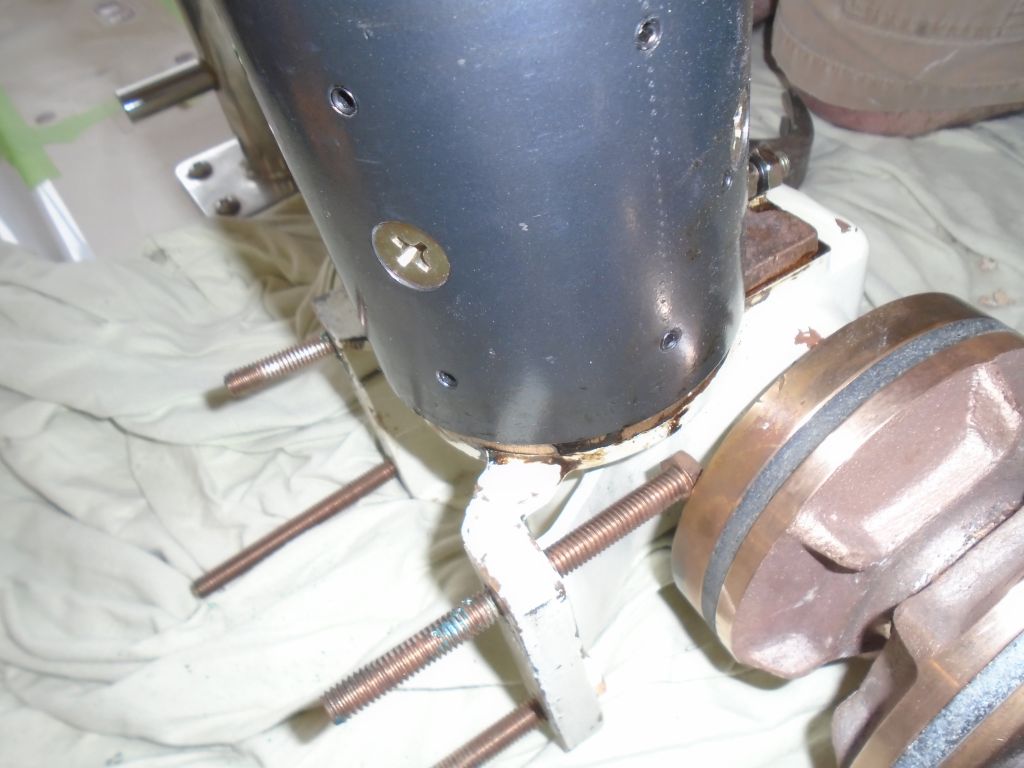
The net result of this issue was that I got the bolts
through the tight spot, of course, though I had to use
locking pliers, which I gripped to the bolt threads just
below the heads in that open spot, as a means against
which to hammer the things through. Not a
recommended installation technique, but something a
mounting base only a small fraction of an inch larger
would have solved very nicely, thank you.
This all caused damage to the threads of the bronze
bolts, so to be sure I didn't have an issue during final
installation, I took the time to repair the threads by
running a nut up from the bottom of each
bolt--time-consuming, as I had to use a wrench through
most of each length, but required and worthwhile. |
 |
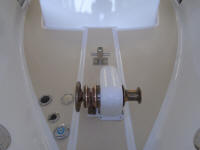
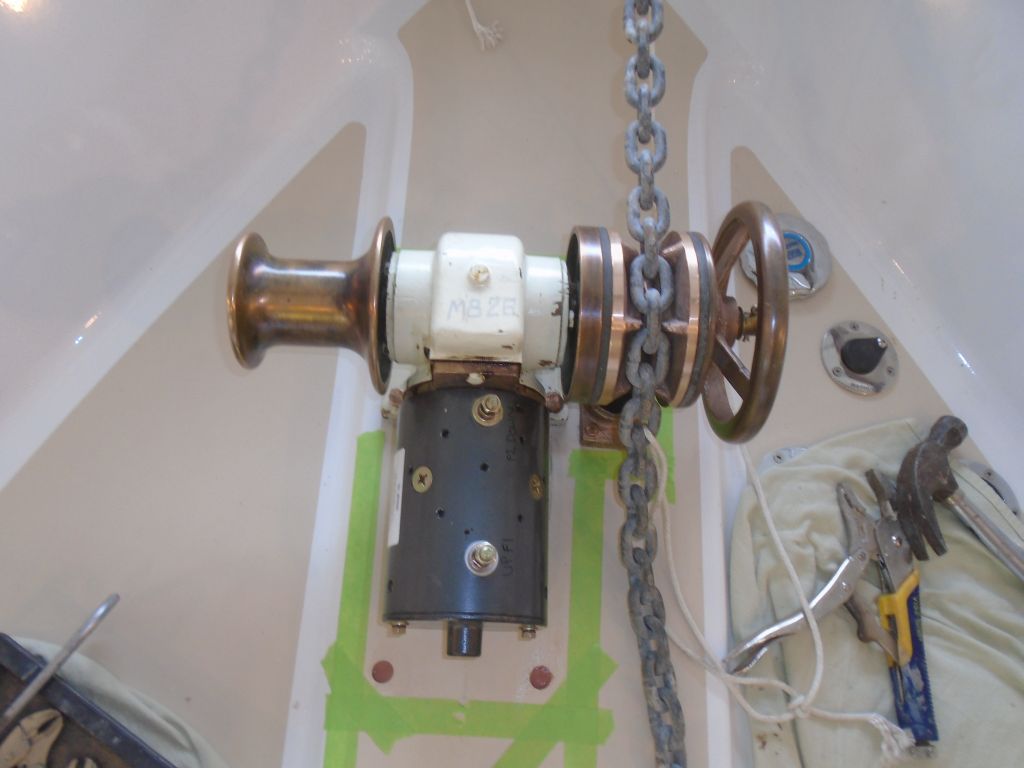
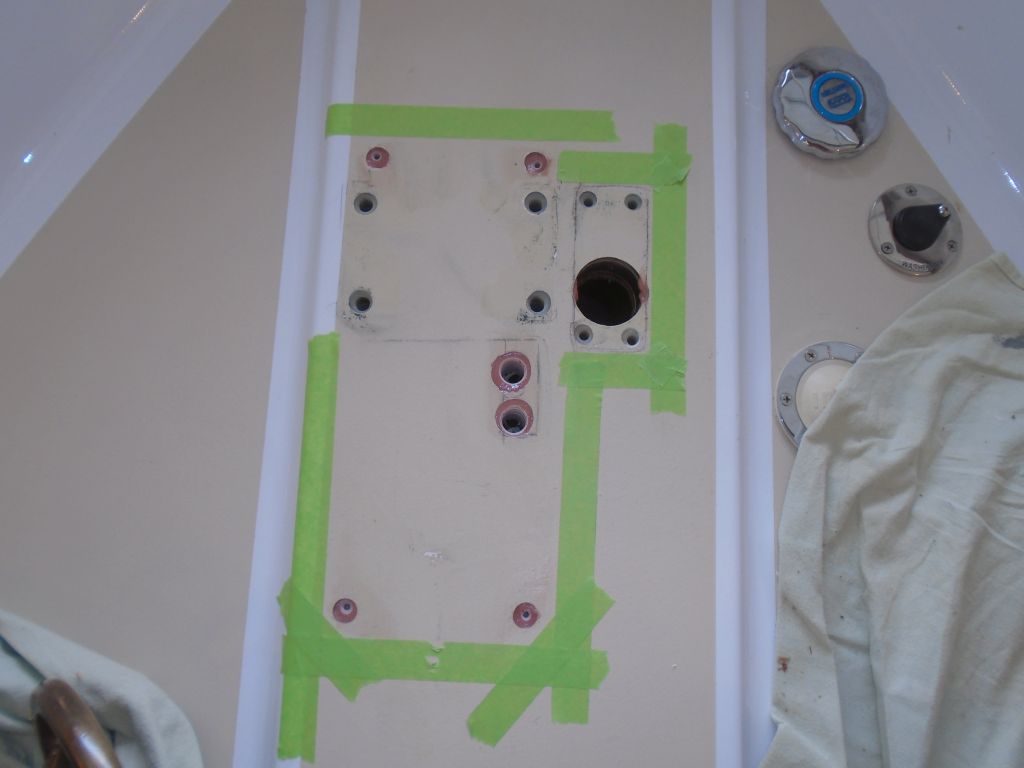
With that unnecessary foolishness out of the way, I
proceeded as planned with my dry-fit to check the bolts'
lengths (I'd intentionally stayed on the "too long" side
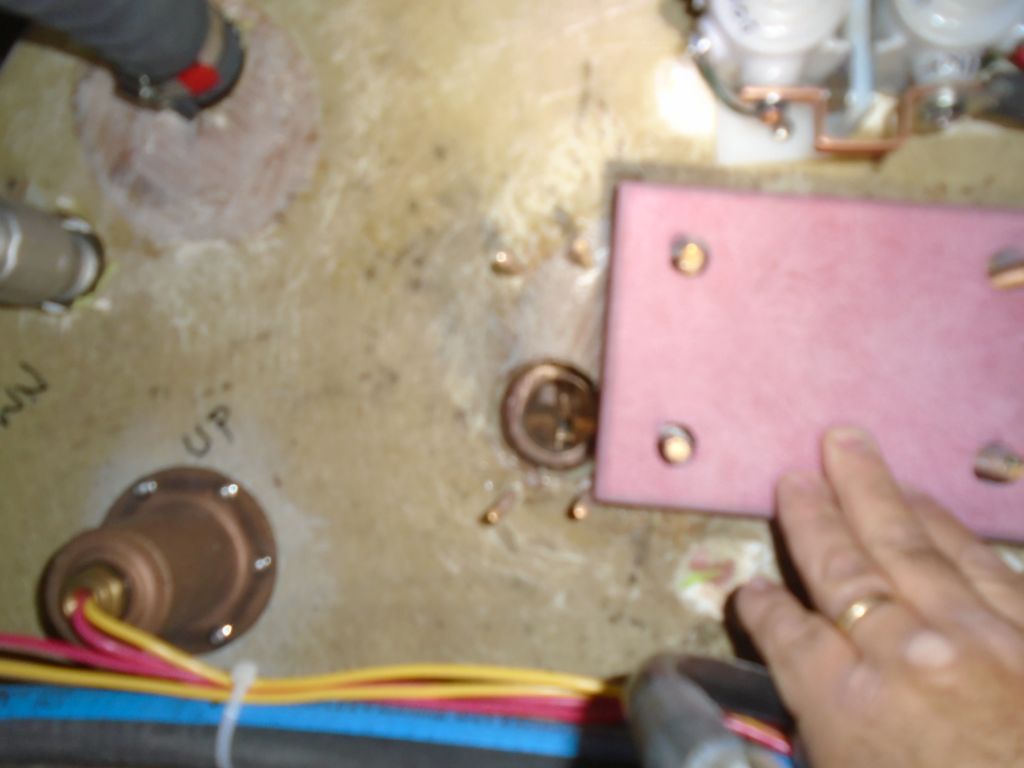
of caution) and determine any clearance issues, the only
one of which I could find was that one corner of the
backing plate for the windlass interfered slightly with
access to the aft mounting bolt of the chain stripper,
so I marked the backing plate so I could clip the
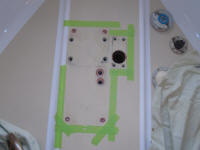
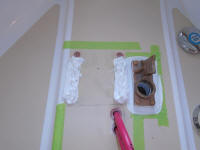
offending corner. I also slipped on the windlass
cover and marked its screw holes on the newly-filled
spots in the deck. |


 |
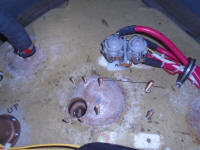
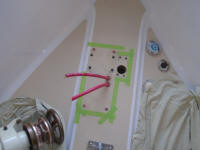
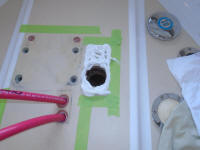
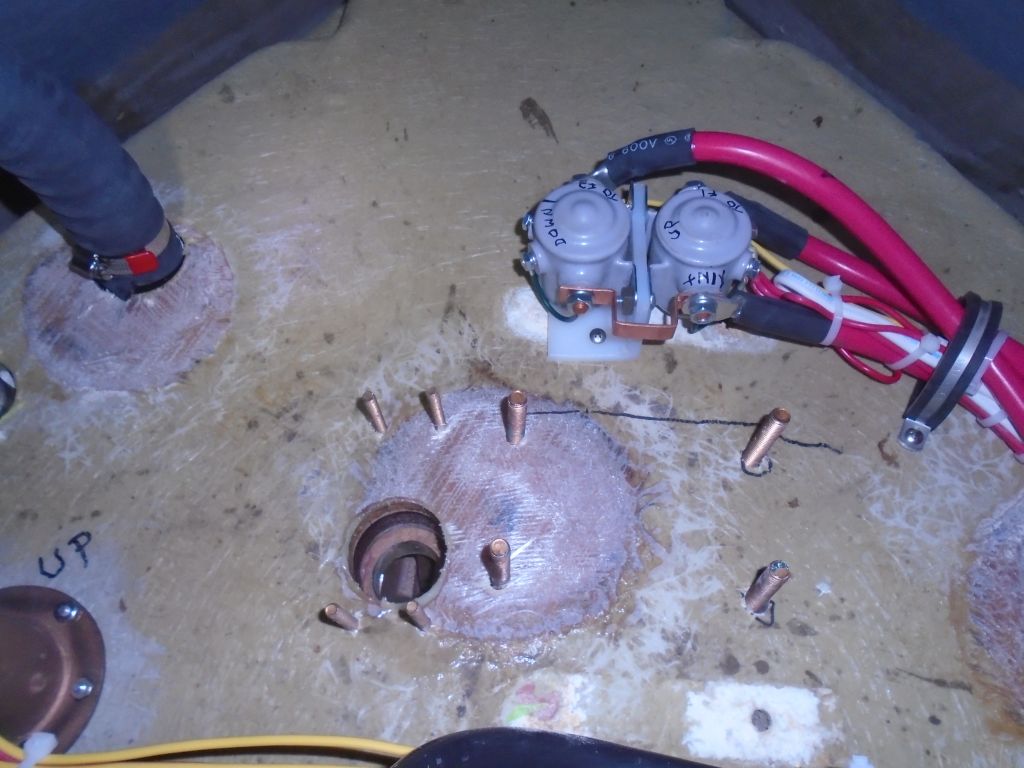
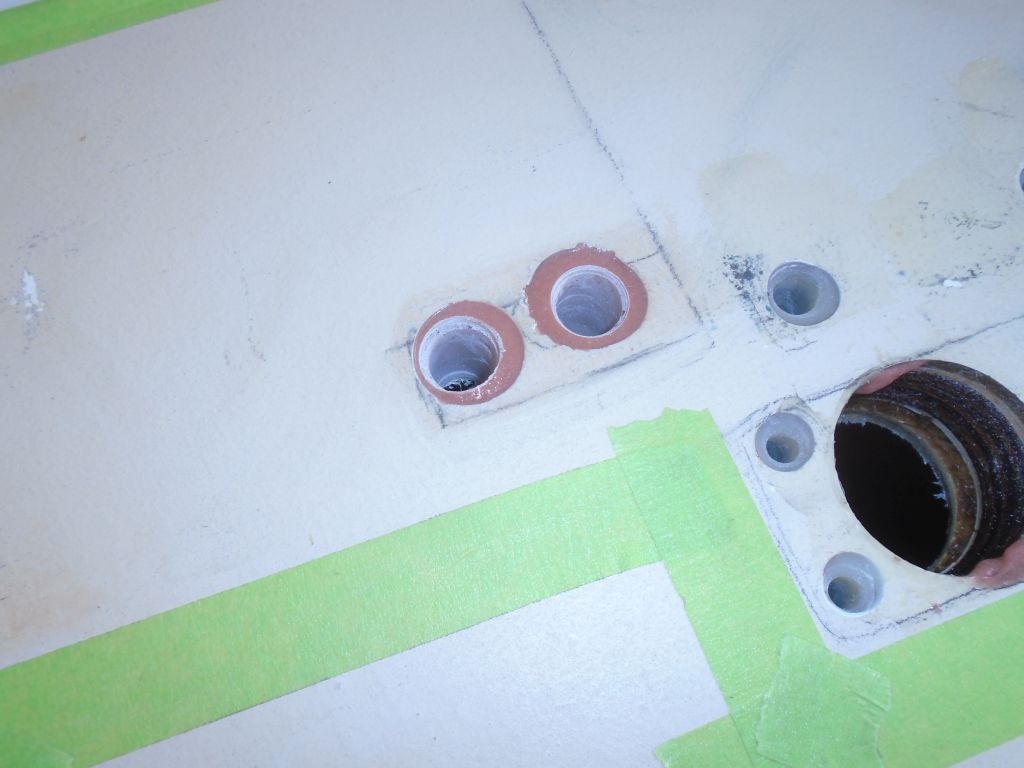
Removing everything one (I hoped) final time, I drilled
two 5/8" holes through the epoxy-filled voids in the
deck for the cables, and also prepared the four mounting
holes for the windlass cover, cleaning up thoroughly
afterwards. |
 |
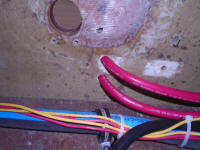
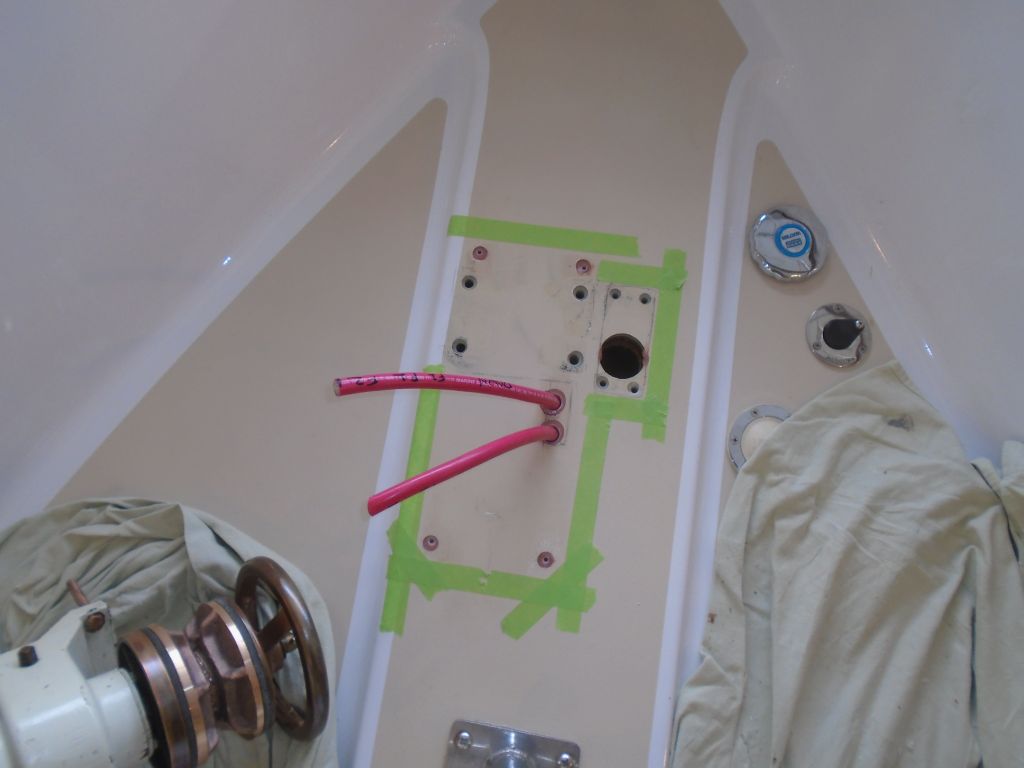
From below, I led up the two power cables (up and down
control) that would eventually lead to the windlass
motor. |
 |
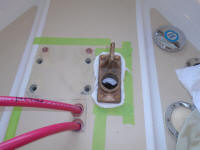
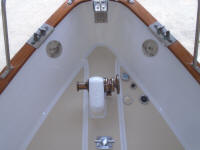
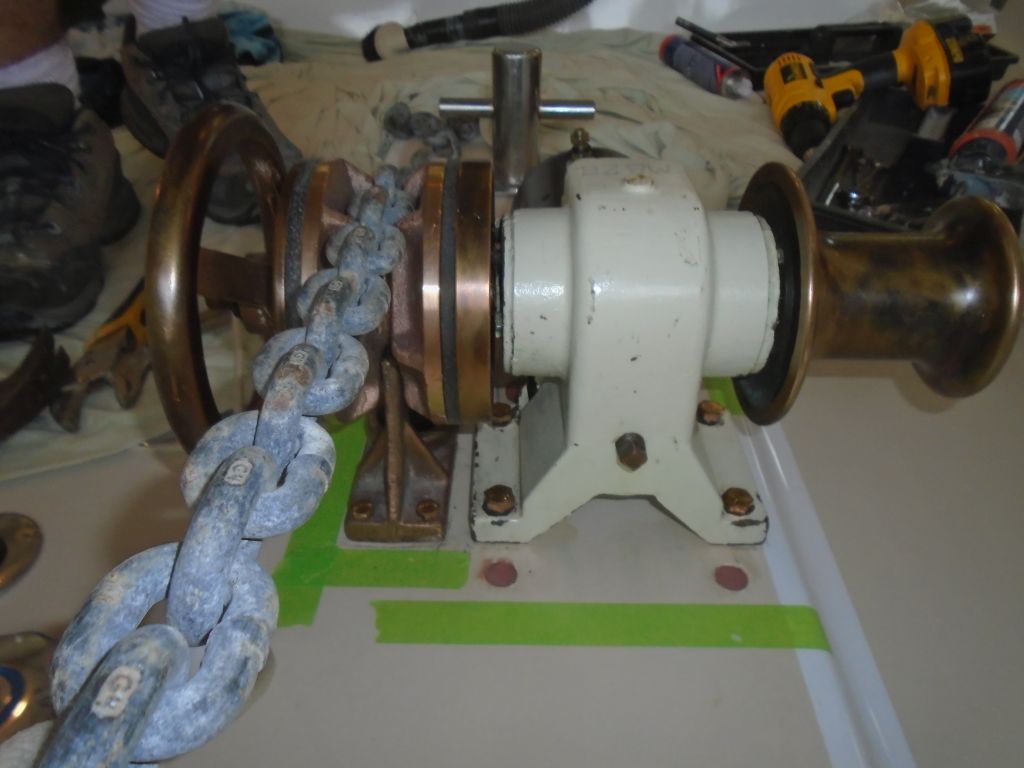
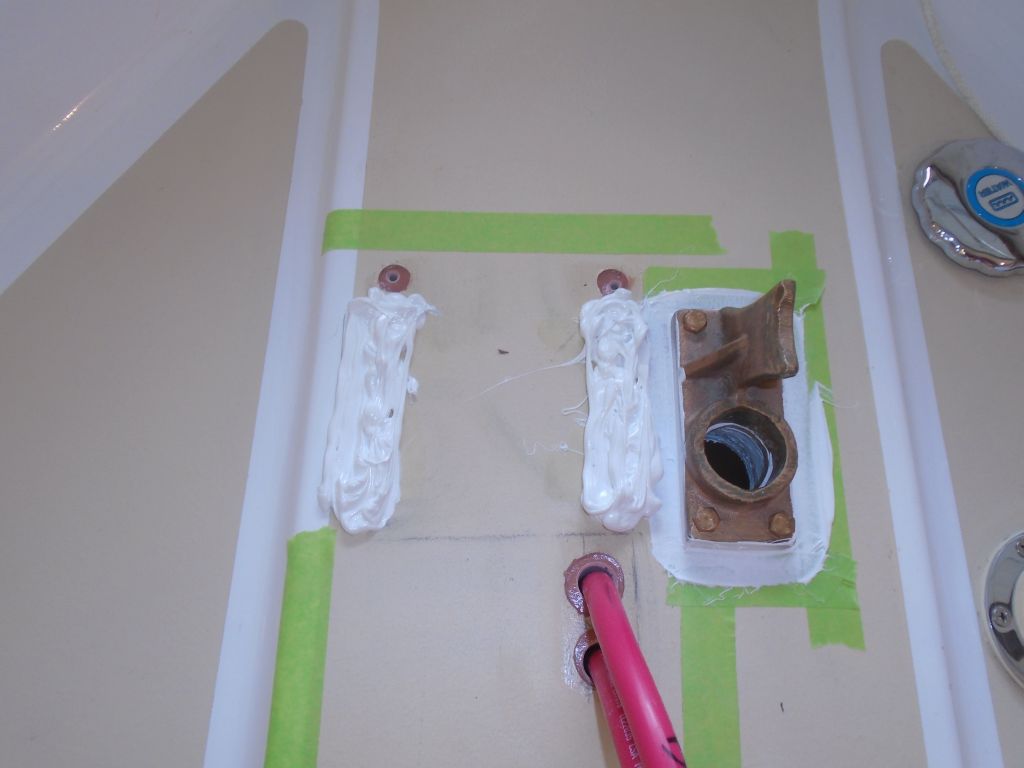
I started with the chain stripper, which had to be in
place before I could set down the windlass. With
abundant sealant on the deck, I installed the casting
with four bronze bolts, fender washers, and nuts.
The aft inboard bolt was a little close to the chain
opening, so I left off the fender washer there since it
slightly overlapped the opening. I used sealant
squeezeout to further protect the inside of the chain
hole, even though I'd already epoxy-coated the exposed
surfaces. I left the nuts just a little loose for
now, as the tolerance between stripper and wildcat was
close enough that I might need to slightly adjust
things. |
 |
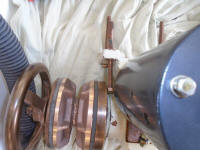
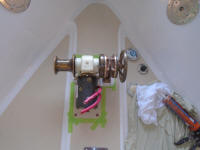
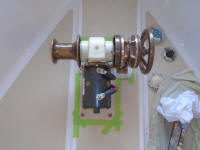
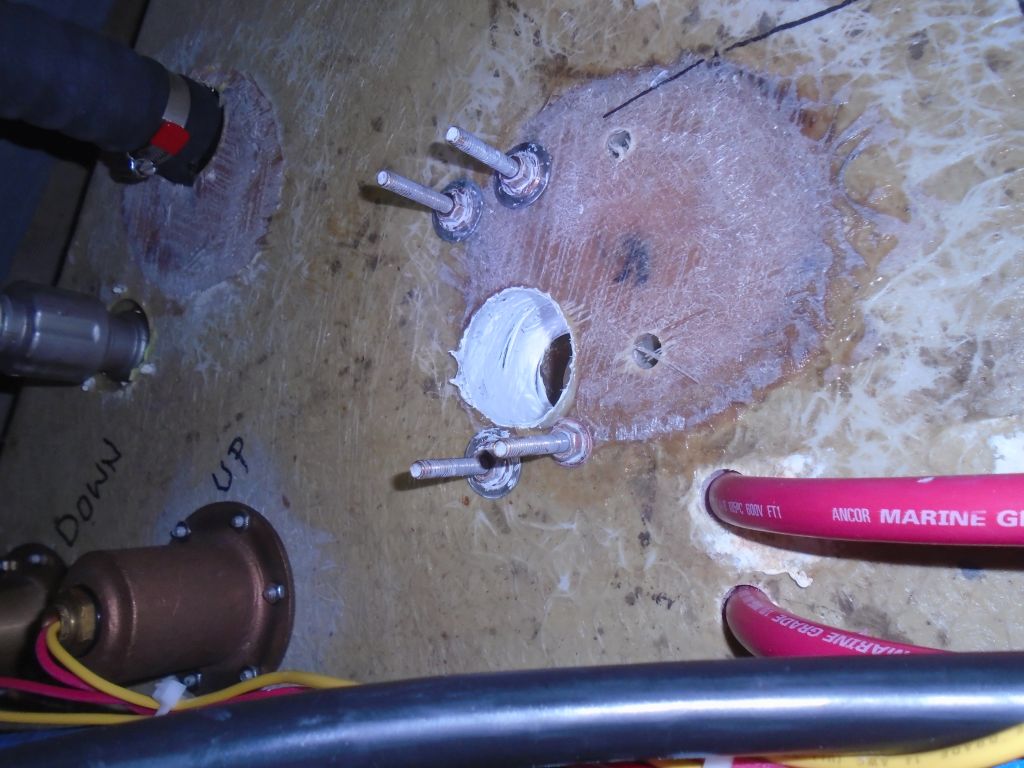
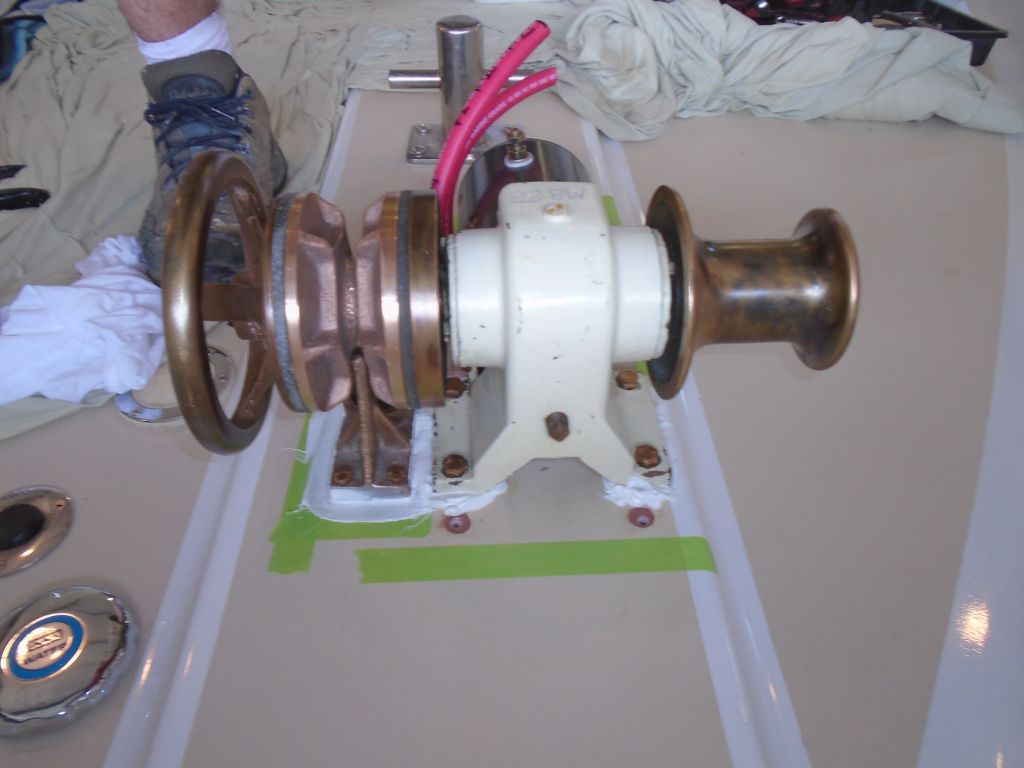
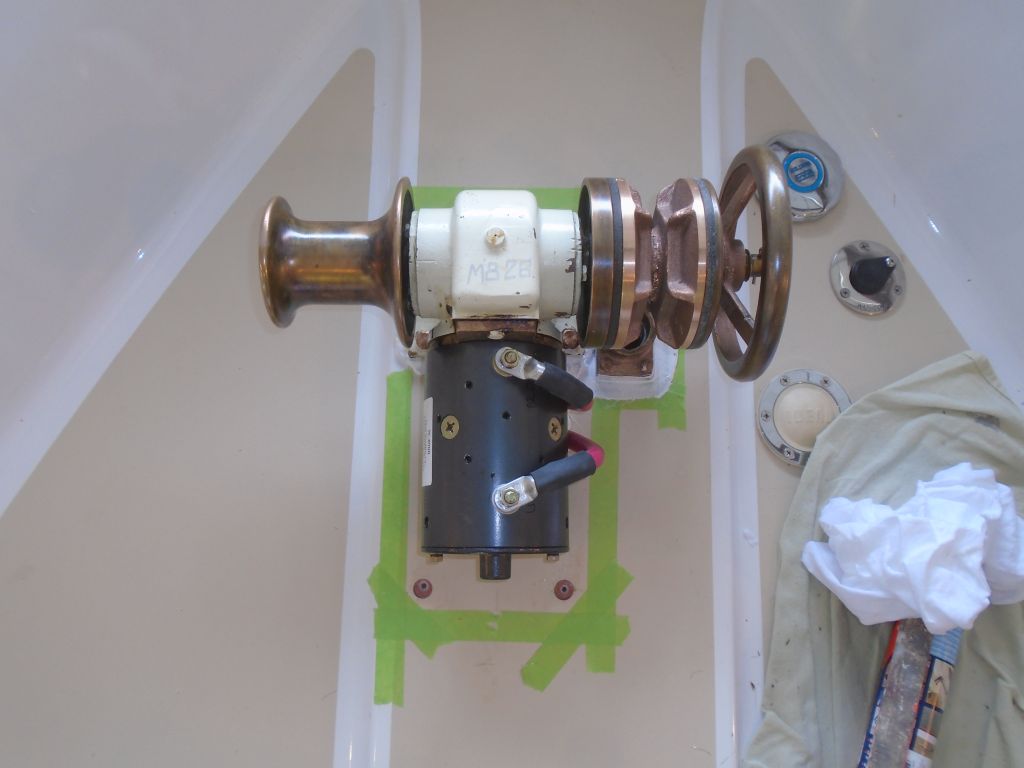
Next, I gooped up lavishly the mounting area for the
windlass, and set it in place. Belowdecks, I
installed my 1" fiberglass backing plate and secured the
windlass with fender washers and nuts, fiddling around
with the relationship between wildcat and chain stripper
as required to ensure the wildcat spun freely.
(This required a lot of back and forth between the chain
locker and foredeck.) |
 |
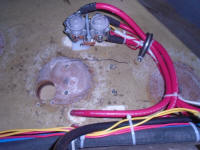
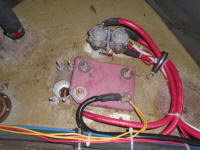
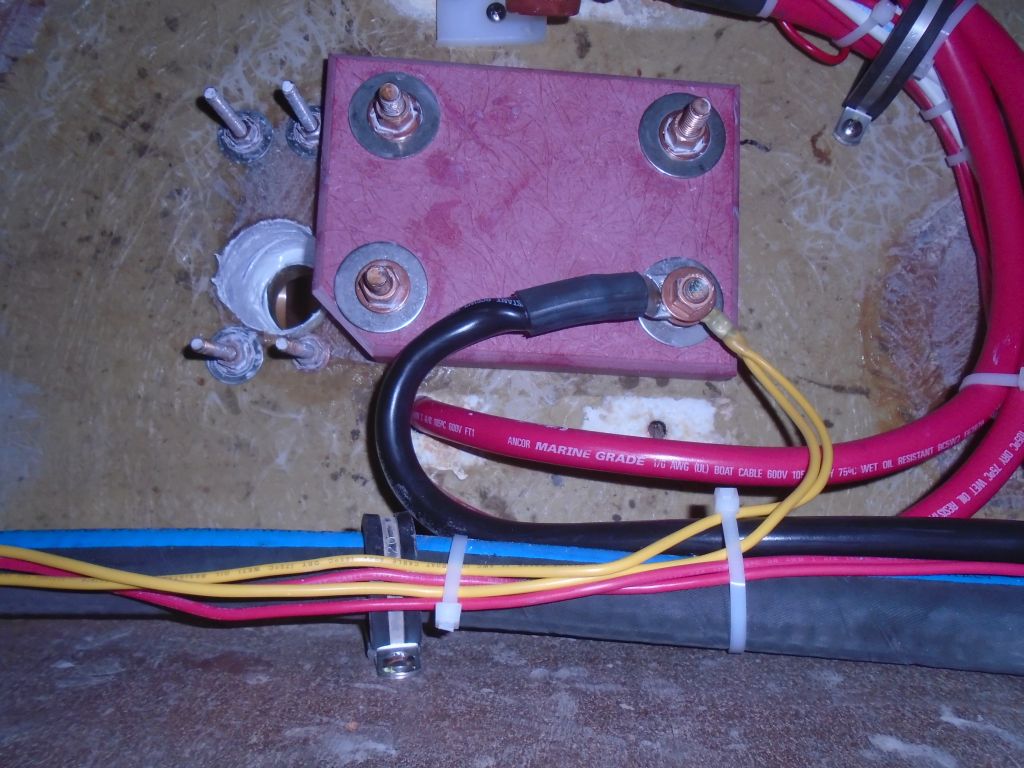
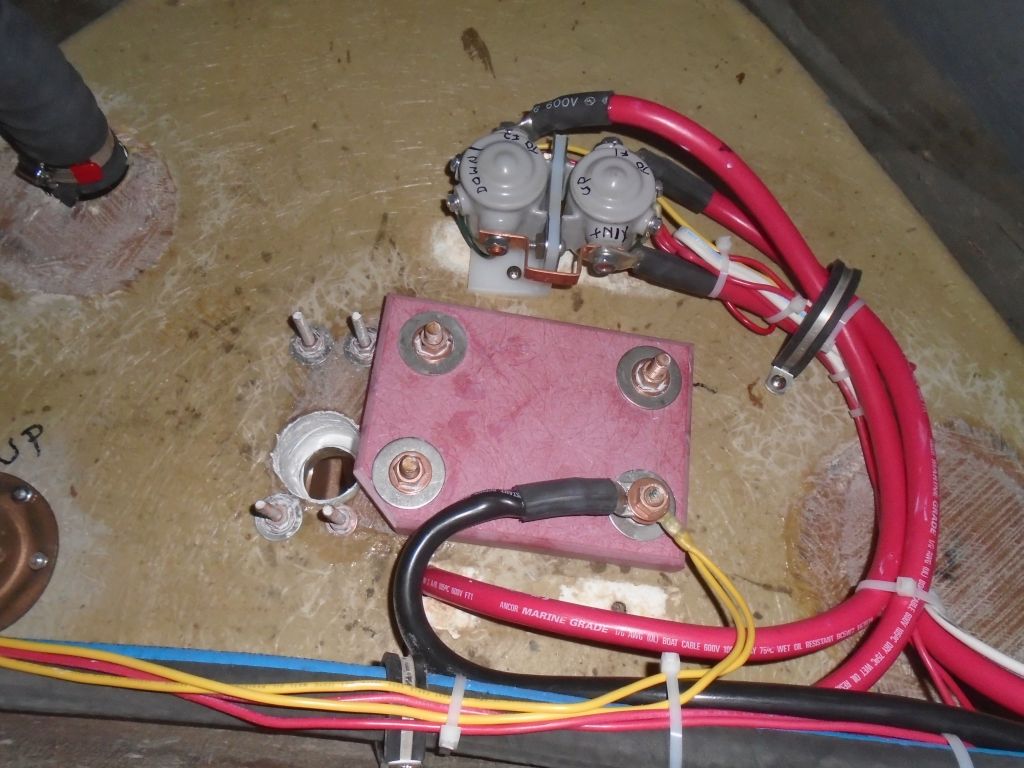
To finalize the installation, once I had all the bolts
tight I added another washer to one bolt, then installed
the negative cable and wires for the system to that
bolt, securing them with a final washer and another nut.
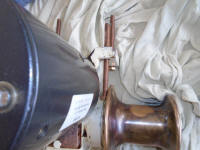
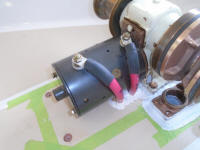
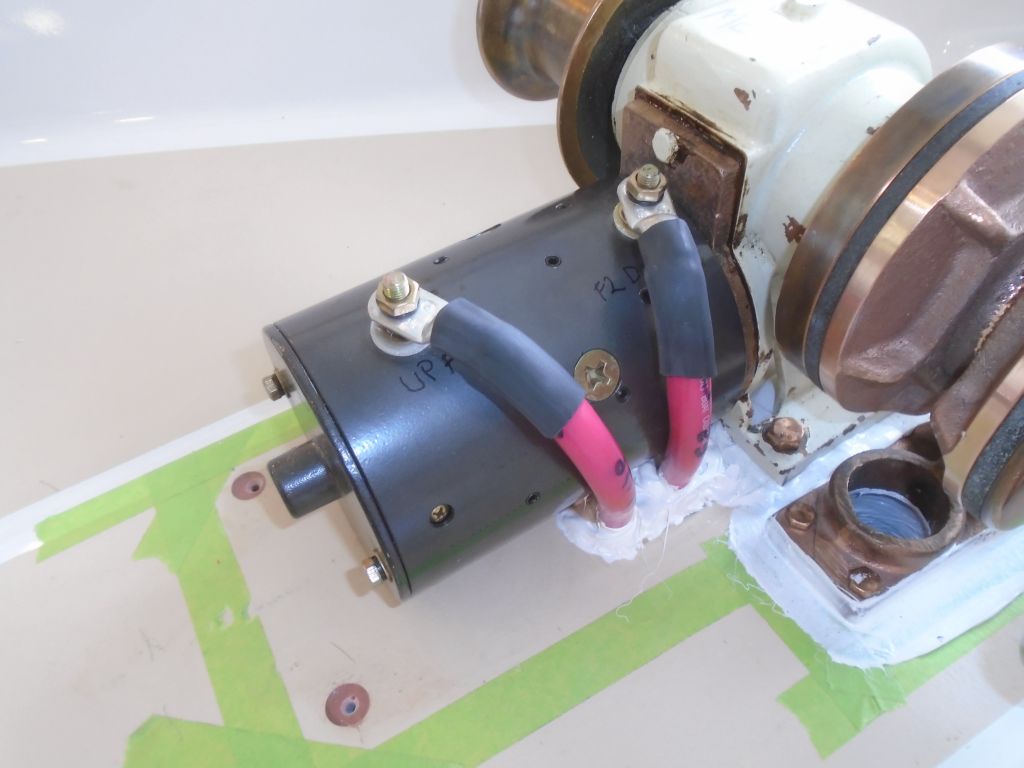
Back on deck, I made up the ends of the two large
positive cables and secured them to the appropriate
posts on the windlass motor, after which I applied
sealant all around their bases. |

 |
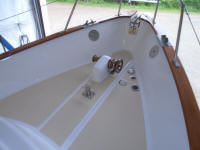
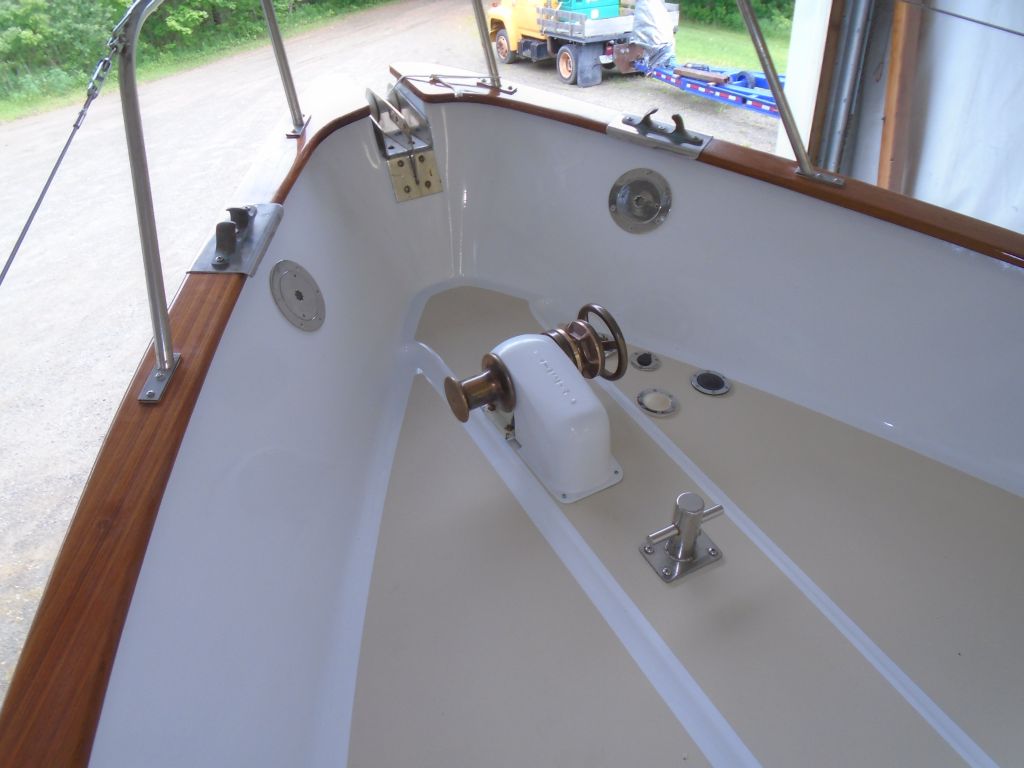
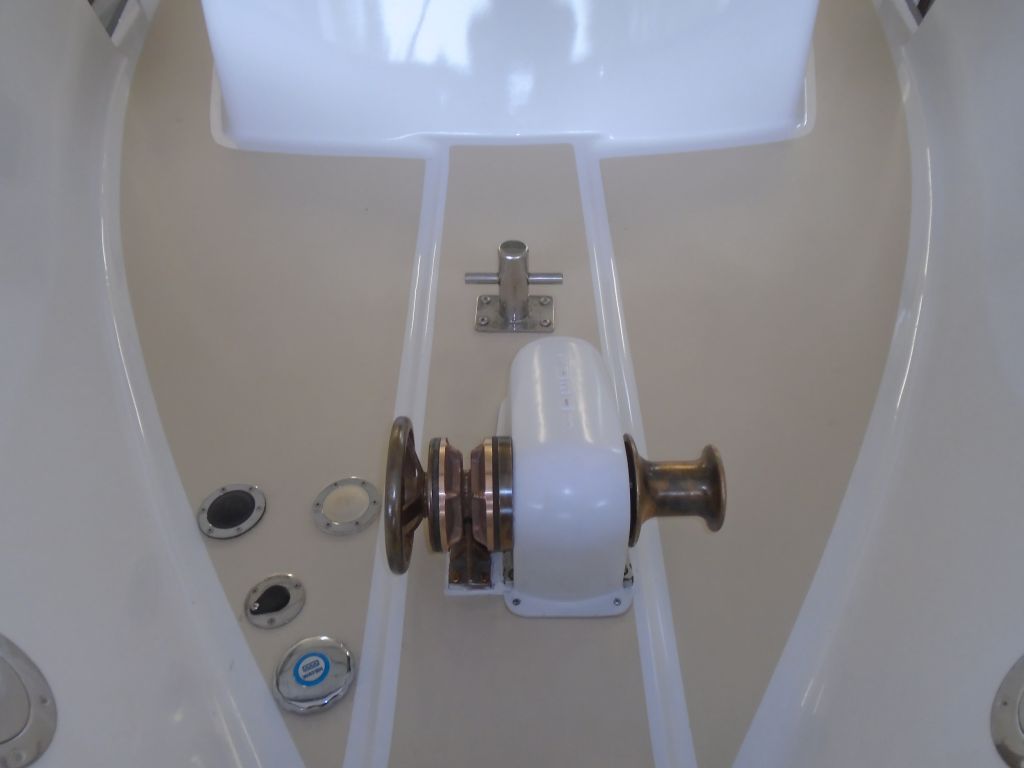
Finally, I cleaned up excess sealant as needed, and
installed the windlass cover with four machine screws
and some butyl tape sealant just at the screw locations,
as any water that got into the housing needed an easy
route out--plus the cover had to remain removable.
I discovered to my head-shaking wonder that there was
barely enough (read: not really enough) clearance
between the cover and the windlass motor for those
two large cables where they ran against the motor
housing, but with care I massaged the thing into
place. A good future upgrade would be to cut out
this part of the side of the cover and build in a sort
of "power bulge" to allow it to fit better.
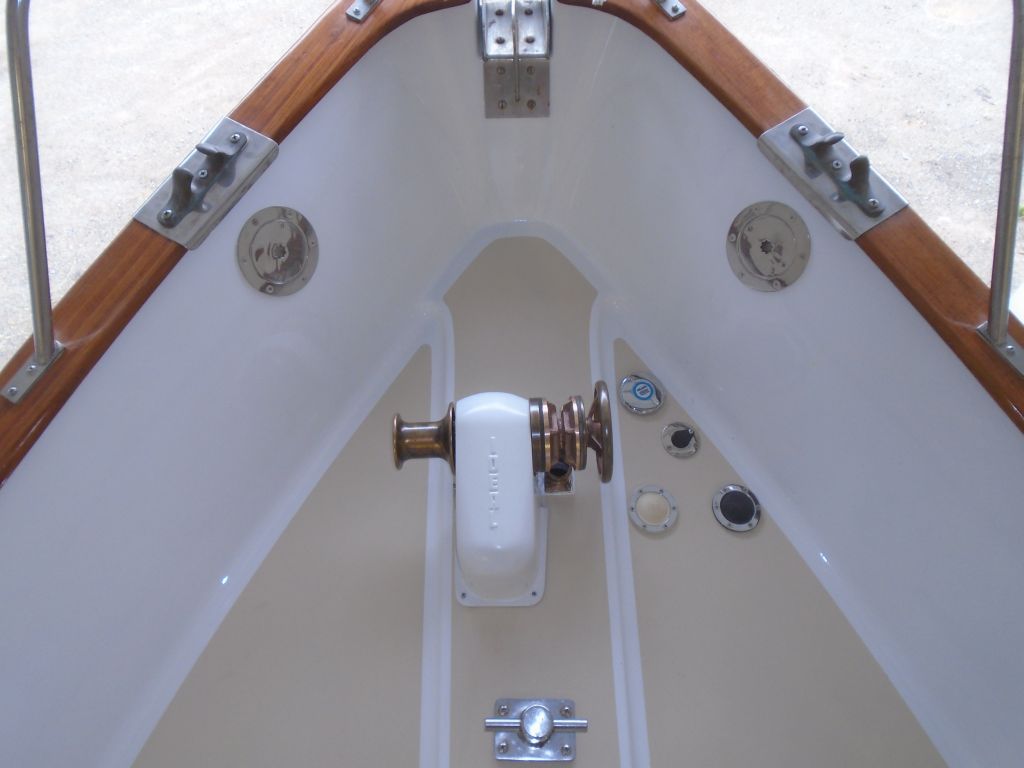
In any event, it all looked nice now and oh-so innocent
in its done-ness, all doe-eyed and so darn cute that one
could almost forgive its sins of installation.
All that remained to complete the windlass installation
was the main 150-amp breaker panel, which was not
available from Ideal Windlass in a timely manner, so I
ordered essentially the same thing from another source;
this would be here presently, and I'd install it at the
helm console as soon as time allowed. |

 |
| |
Total Time Today: 4.5 Hours |
<
Previous | Next > |
|
|


