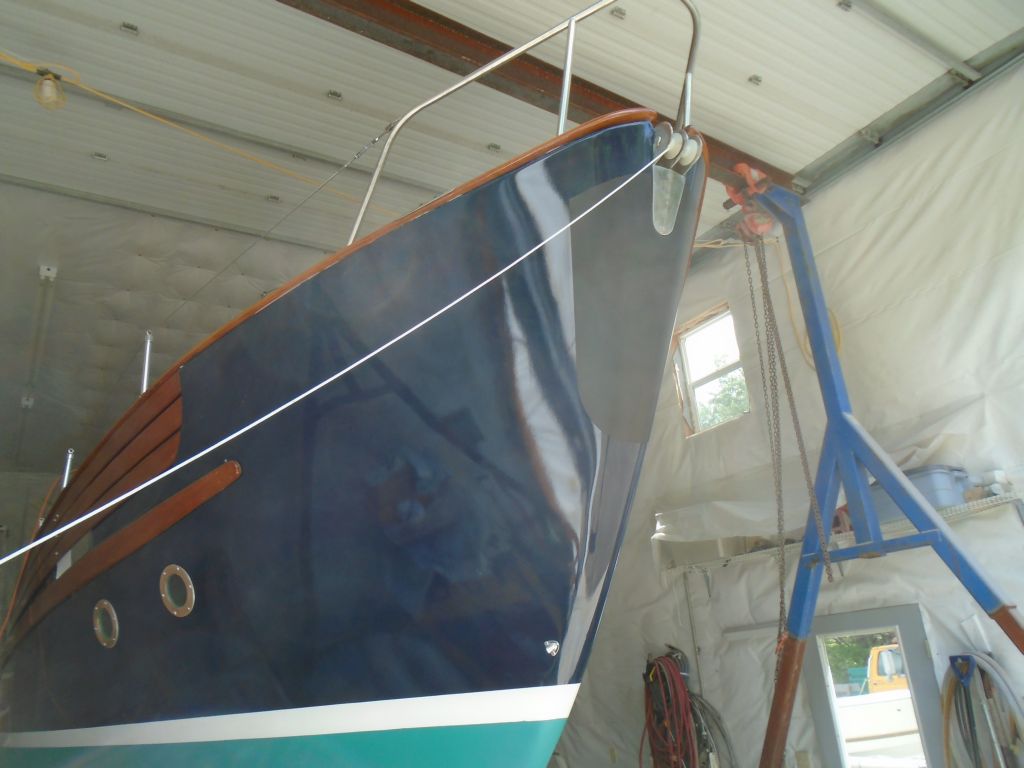
Bringing the anchor up during earlier mockups had
highlighted an issue with anchor clearance at the
stem--put an other way, there wasn't clearance, and the
anchor tended to hit the hull on its way up or down.
The near-vertical angle of the stem towards the top, and
the general configuration of the anchor rollers meant
that this looked to be a continuing problem--one that
was not necessarily unforeseen, but only actually
putting the system to use highlighted the need for a
forward-looking plan.
The best answer--but one that couldn't happen in the
short time before launch--was to build an anchor roller
extension, or platform, to move the anchor tackle
forward away from the stem. This would aid in
launching and retrieval, and would ultimately be a good
addition to the boat.
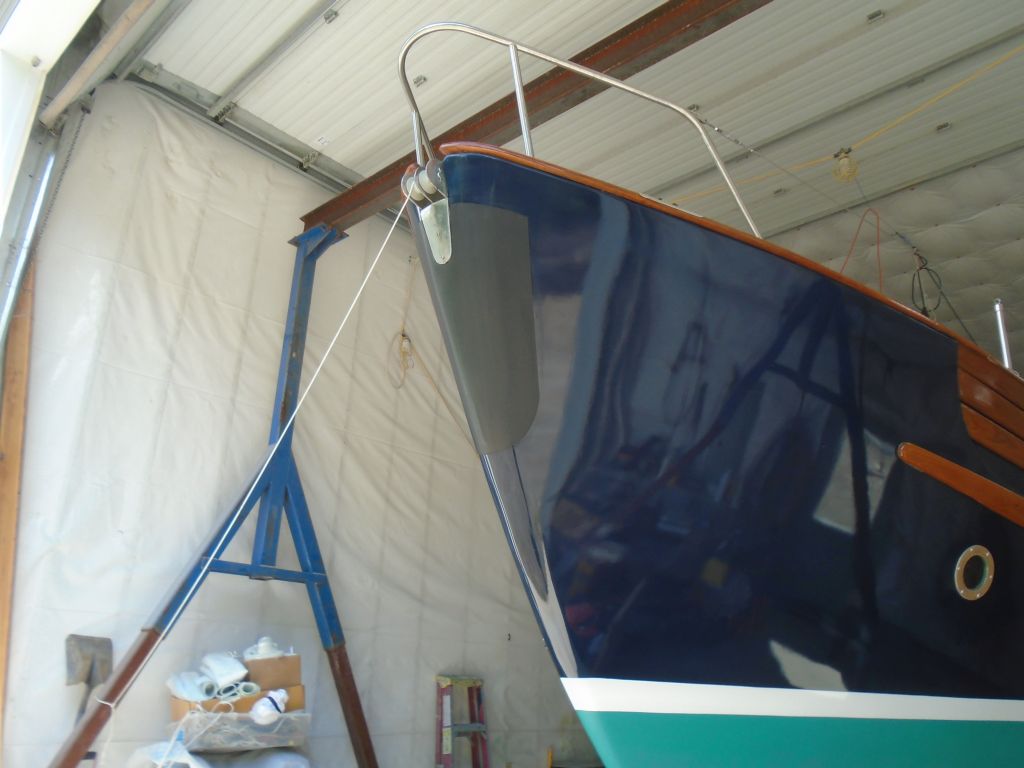
In the short term, to help protect the bow from the
anchor during the first season, the owner and I decided
to try some self-adhesive rubber on the stem in the
most-affected area. This would at least provide
some protection during normal use, and in the interim
while a more permanent and effective solution was
prepared. We chose the rubber since it seemed it'd
be effective, and was do-able with the technology,
skill, and time constraints involved. A metal
protector of similar nature would have worked too, but
getting this contracted in time seemed unlikely, and the
owner preferred the long-term plan of a platform
extension anyway.
With a sheet of 1/8" thick self-adhesive material on
hand, I used pattern material to get the general layout
and make some measurements for the shape of the
protective pad. After cutting out a template to
the correct shape, and checking the fit, I cut out the
rubber and, after thoroughly cleaning the bonding area
on the hull, applied the new material. It actually
looked quite good--and from a distance was virtually
invisible.
Later, I performed the final steps required to fire up
the new propane system and stove. I soaped up the
various pipe connections in the propane locker as a
final and easily visual test for leaks (none), then
prepared to light the stove. First, though, I had
to install three batteries that powered the stove's
electronic ignition system. These were necessary
only for convenience; the stove could be lit with a
match or lighter without them.
With everything ready--including a fire extinguisher,
just in case--I lit the stove. The burners caught
immediately despite the fact that the system had never
been used. All in all, it looked like
this would be a very nice stove.
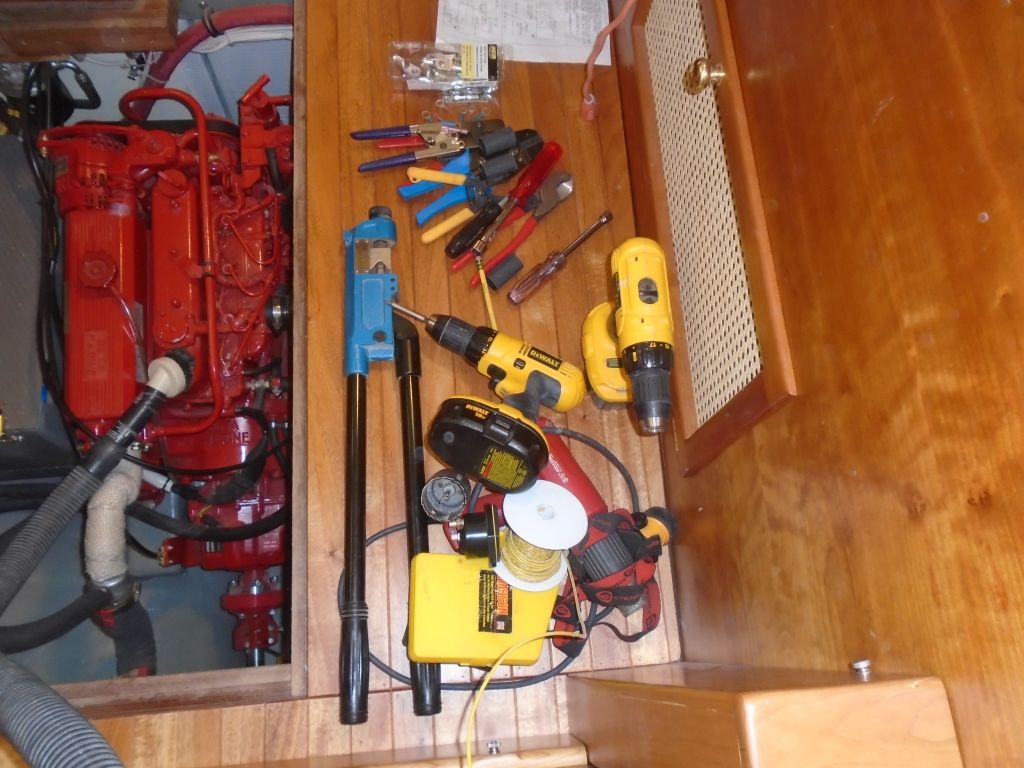
Later in the afternoon, once it arrived in the usual
daily delivery, I prepared to install the new anchor
windlass breaker panel--a straightforward 150-amp main
breaker required for the system. Does one really
require this many tools to install a simple switch?
Perhaps not, but it helps.
The new panel was nicely made, with a textured, machined
aluminum panel and integral breaker switch. After
some consideration, I decided to install the new panel
next door to the windlass switch, so I removed the
steering wheel for access. The panel required a
single 2-1/8" hole to allow the breaker unit to pass
through.
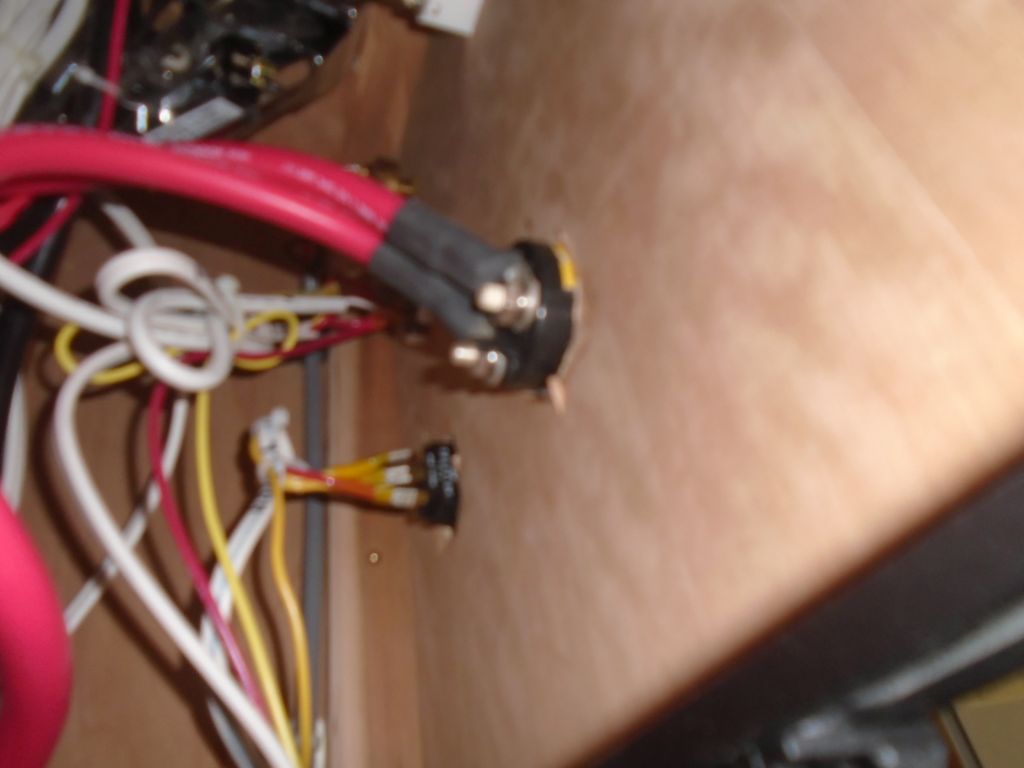
With the hole drilled, I finalized the wiring to
the new switch: power in with a 1/0 cable from the
positive distribution buss in the console, and the load
cable (already in place and awaiting its final
connection) leading forward to the windlass solenoid.
With the final connections made, and the new cables
secured within the locker as needed, I installed the
panel and completed the windlass installation.
With great anticipation, I turned on the power and
tested the windlass from the helm switch, as well as the
foot switches on the foredeck. Success!