Project Log: Tuesday, May 5, 2015
What had started out as fairly involved plans to enclose
and reconfigure the cockpit seats and lockers early in
the project had morphed over time--inexorably and not
necessarily by choice, but eventually by
practicality--into a simple prefabricated propane locker
that I purchased on impulse when I happened across it as
a sort of "scratch and dent" item on a supplier's
website. This small, self-contained locker did
everything it had to do, and was the simplest and most
realistic way to complete the propane system. I
bought the locker without much consideration for how
exactly I'd install it, but knew it would do what I
wanted.
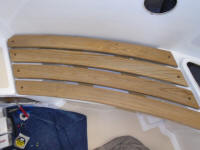
Earlier, after considering various installation options,
I'd determined that I could--and would--mount the locker
beneath one of the original teak cockpit seats.
With the seats temporarily back in the boat for the
first time since the project began in 2010, I could
start the final details of the LPG locker installation.
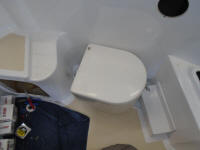
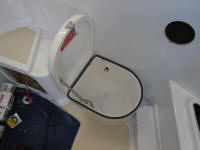
The locker fit very nicely in the space beneath the
starboard seat.
|

 |
To service the locker, I'd need to keep the seat
removable, rather than permanently installed with
screws, and to that end I ordered some hold-down clamps
to secure it from beneath, which I'd install as soon as
they arrived. In fact, the new owner and I decided
that it made sense to secure both cockpit seats in this
way, allowing them to be easily removed for access to
whatever. I'd bung the old screw holes in the
seats.
I wasn't ready to install the locker permanently just
yet--I wanted to await the latches for the seat--and
there were several things I had to finish first in any
event.
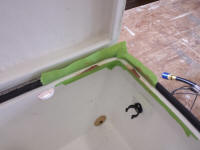
The locker had been minorly damaged in transit to the
supplier--hence its availability for less than its
normal price. What had happened was that the
regulator/gauge assembly, which was supposed to be
mounted in one corner of the unit, had broken away the
fiberglass lip and fallen off, leaving two ragged but
small holes in the lip.
In order to remount the regulator, I patched the damage
with epoxy thickened with high-density filler and
silica, which would have the guts to hold the screws and
allowed for an easy repair. I used masking tape as
a mold for the new work. |
 |
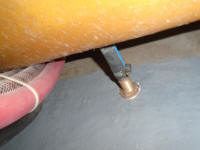
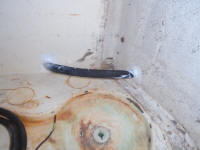
The best and most direct lead to the new propane drain
fitting in the hull was through the storage compartment
at the forward starboard side of the cockpit--the
original propane locker--and aft to the space in which
the new self-contained locker would mount. This
path avoided any low spots in the hose and kept the
length as short and straight as possible. Once I'd
led the hose through, I sealed the holes around the
hose. |
 |
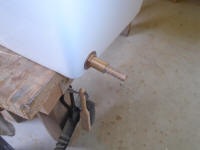
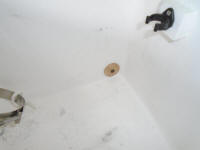
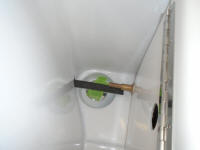
The locker came without a drain fitting installed,
allowing the user to choose its location to suit.
I abandoned the cheesy nylon fitting in favor of a
bronze one, and, having determined earlier the path of
the drain, installed the fitting in the lower corner of
the locker, in line with where the hose would lead to
the new through hull I'd installed in the boat. |
 |
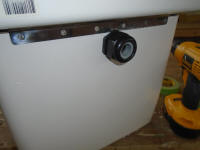
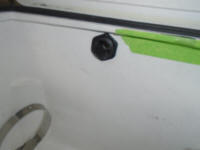
To lead the propane hose and wiring into the locker from
the forward part of the boat, I installed in the top of
the locker a plastic vapor-tight fitting designed for
this purpose. |
 |
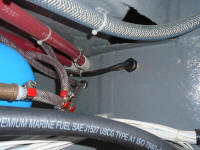
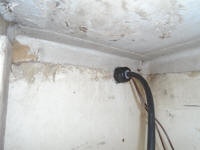
During initial stages of installation for the propane
stove, I'd led the hose and (much later) wiring for the
solenoid switch aft along the starboard side of the
engine room. Now, I installed another one of the
vapor-tight clamp fittings in the bulkhead leading aft,
into the old propane storage space, and led through the
hose and wires. I needed one more of these
fittings to complete the run aft, out the aft side of
this space and then to the new locker, and I'd install
that and complete the system when it arrived. |
 |
Perhaps one might ask why not use the original propane
locker. The reason is that it does not meet
current standards-driven requirements for safe propane
storage in the USA. The side-opening door is the
main reason for this failure, and this was the reason
I'd once contemplated reworking the area to allow for a
top-opening locker and all that other rigamarole.
I'll admit that many times over the years it was
tempting to use the old locker as is, but in the end the
new locker just aft turned out to be the best
solution--legal, safe, and good on the conscience while
remaining pleasantly simple.
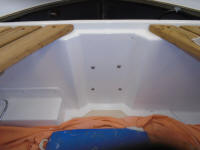
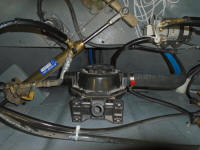
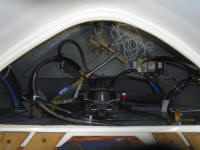
Next, I installed the manual bilge pump--a durable and
simple Henderson MK IV--in the lazarette, bolting it
through the forward wall of the locker in m ore or less
the same position a similar pump had been in the
original boat. I connected the suction side of the
hose, but awaited some fittings and the completion of
the electric pump's hose before I completed the final
short section of the manual line to the discharge.
My hose for the electric pump was backordered, so it
would be a couple days anyway till I could install it,
so I pulled out the smaller hose, using it to lead
through a messenger line to make installation of the
proper hose easy when the time came. |
 |
It seemed to make sense to continue work in the cockpit,
the goal being to complete the work there--and
especially any work required at the aft bowels of the
engine room--before moving on to other areas. To
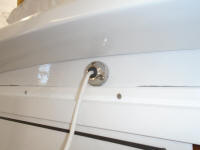
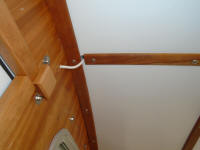
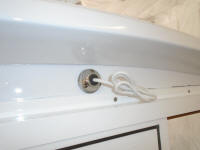
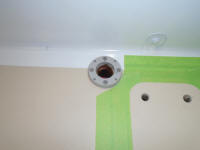
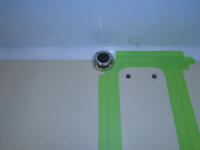
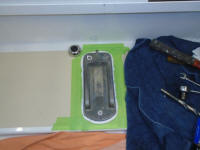
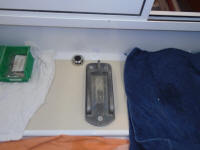
this end, I installed two waterproof cable entry points
to eventually service the mizzen mast: one up
above the pilothouse door, for the AIS system's VHF
antenna cable (which antenna was mounted on the mizzen);
the other down on the sole, just to port of the mizzen
step, through which the radar cable would run on its way
to the interface box mounted just below.
For the larger one through the deck, after drilling the
large hole required, I prepared the raw opening with
epoxy to seal off the core within, and secured the
fitting with sealant to the deck. For now, I left
the solid plug in place, but this would later be
replaced with another that featured the correct-sized
hole for the cable passing through. |
 |
Meanwhile, I installed the mizzen step with lots of
sealant and new 3/8" flat head bolts. |
 |
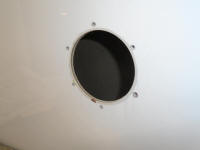
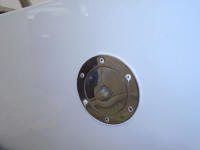
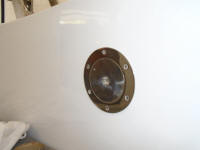
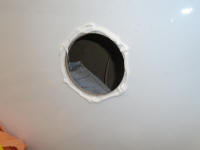
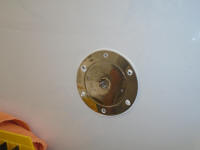
To fill the large access holes in the cockpit sides that
I'd drilled earlier to allow access to various
installations, I installed two stainless steel
inspection ports with sealant and machine screws into my
habitually-prepared drilled-tapped-countersunk holes. |
 |
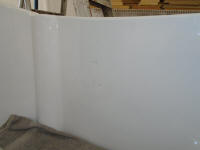
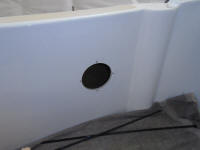
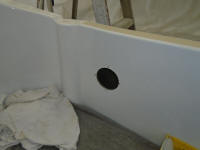
I had hoped to install another pair of these exact
inspection ports at the forward end of the cockpit, to
provide access to the winch bases, but discovered that
unfortunately they seemed to no longer be available
(it'd been several years since I sourced and purchased
the two pairs I'd installed elsewhere). So I found
a close alternative, also stainless steel, and with
these on hand I prepared two openings that would allow
the access to the winch bases for installation.
Keeping the tops of the new ports aligned with those
already installed further aft, I marked the locations
and prepared the holes and fastener holes, though for
now I left the inspection ports out as the raw holes
allowed better access than the finished plates. |
 |
| |
Total Time Today: 7 Hours |
<
Previous | Next > |
|
|


