Project Log: Wednesday, May 6, 2015
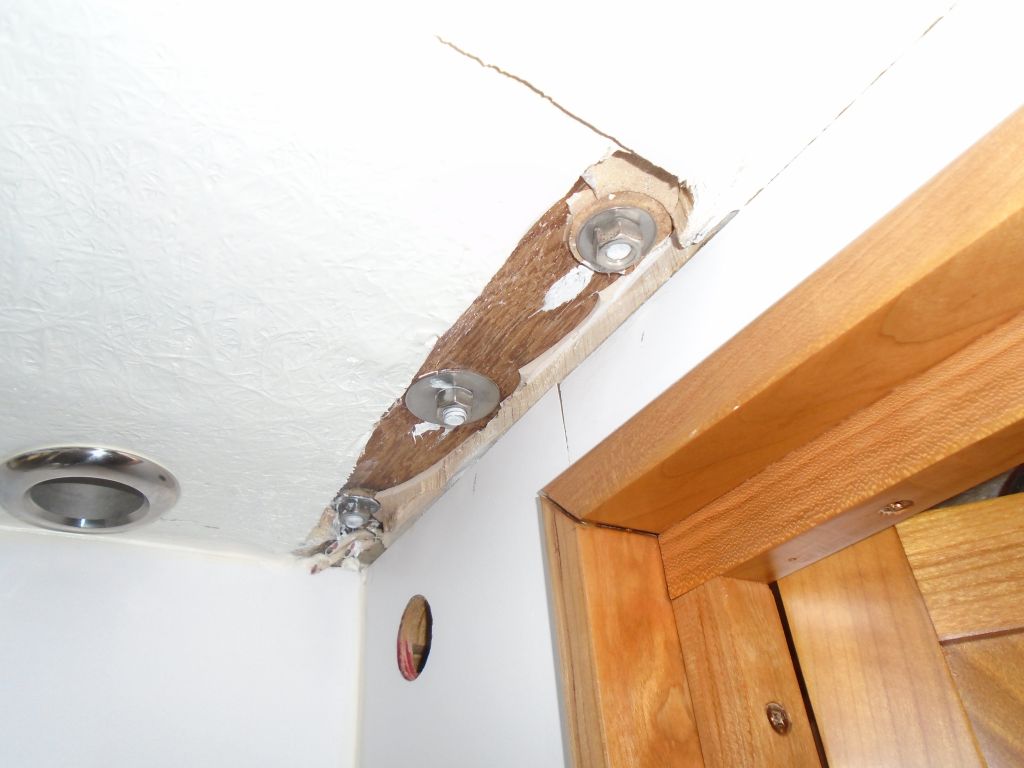
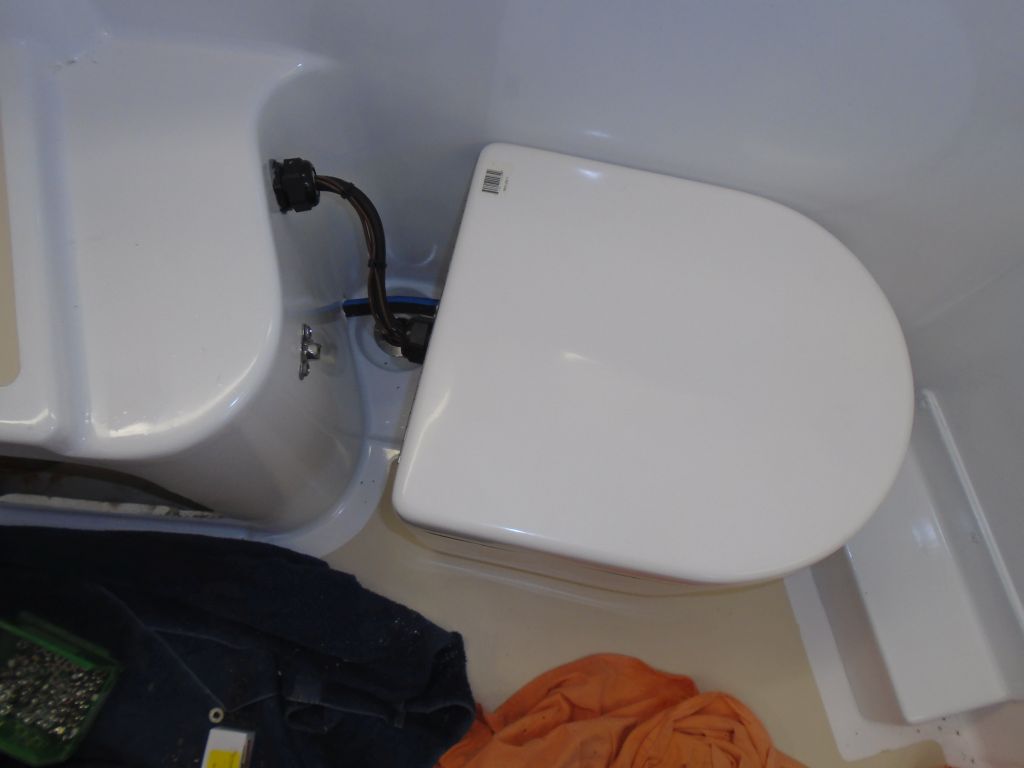
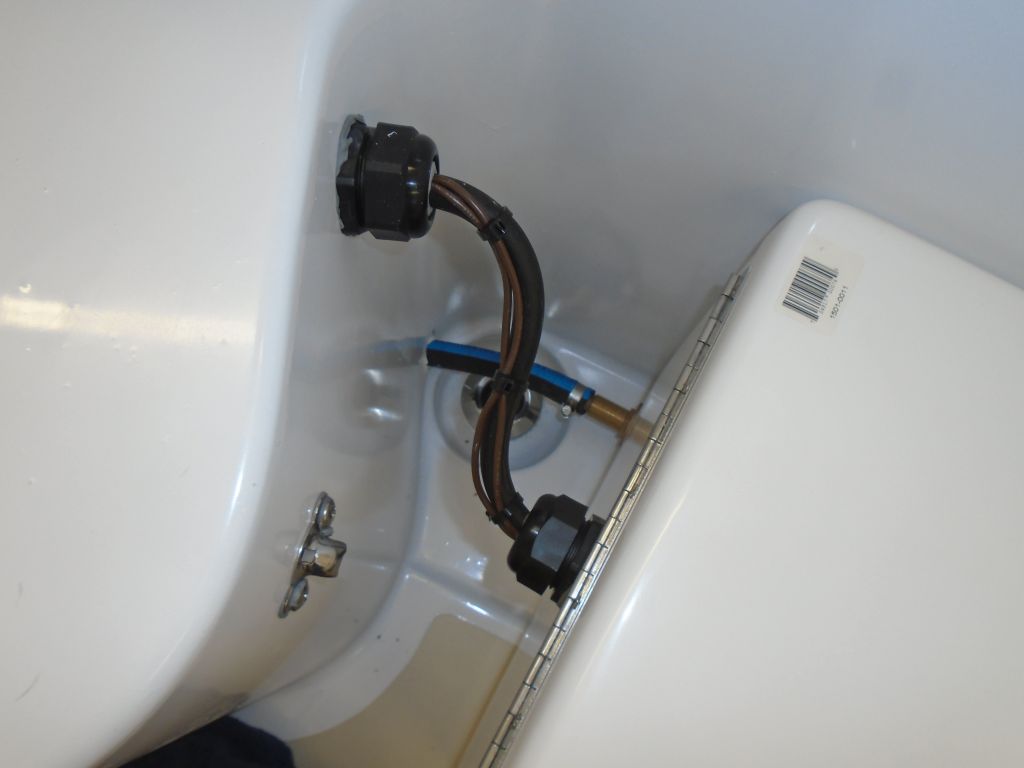
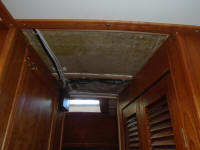
To install the mainmast step, first I removed the
headliner from the passageway in the cabin, exposing the
starboard set of bolt holes; the port set was accessible
through the head.
|
 |
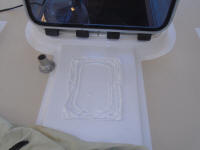
Thusly prepared, I installed the original mast step with
lots of sealant and new bolts, securing them from
beneath with nuts and washers. Afterwards, I
cleaned up the excess sealant and reinstalled the
overhead panel and trim below. |

 |
Much earlier, I'd installed the groundwork for a
saltwater washdown pump, mainly to clean anchor chain.
During those earlier stages, I'd installed a special
hose fitting in the foredeck, along with a wiring run to
the forward cabin where I expected to install a pump,
plus hose and fittings to a nearby seacock intended for
the purpose (along with servicing the galley sink hand
pump). With all the basics in place, final
installation of the chosen pump itself was generally
straightforward, if not quick.
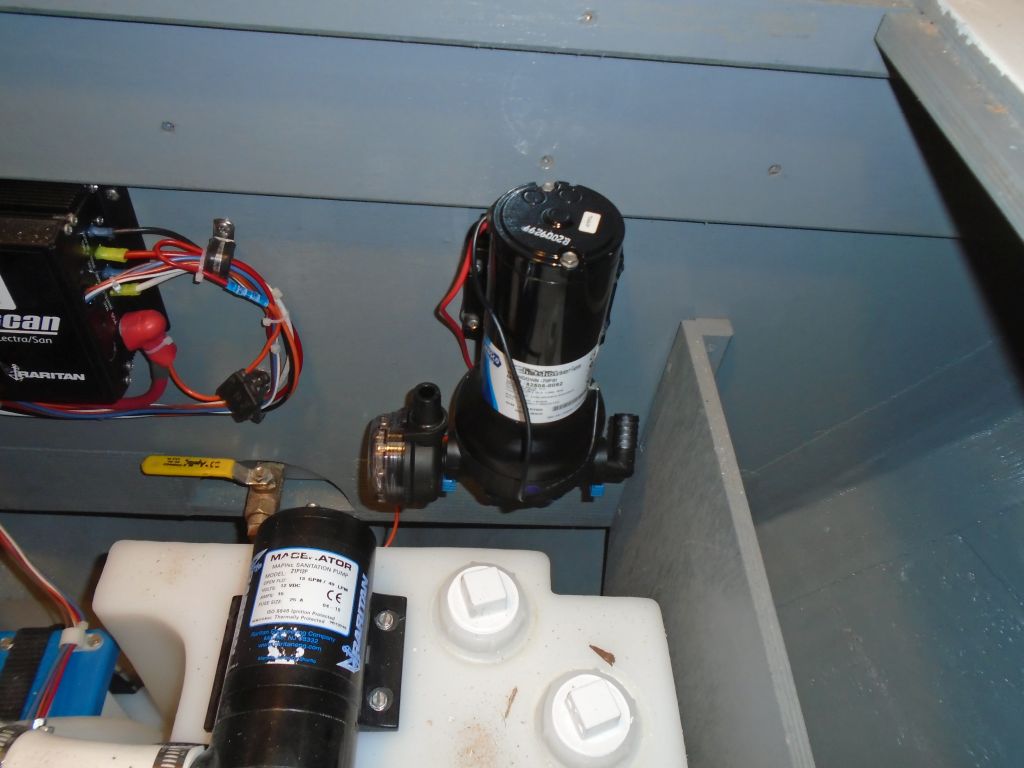
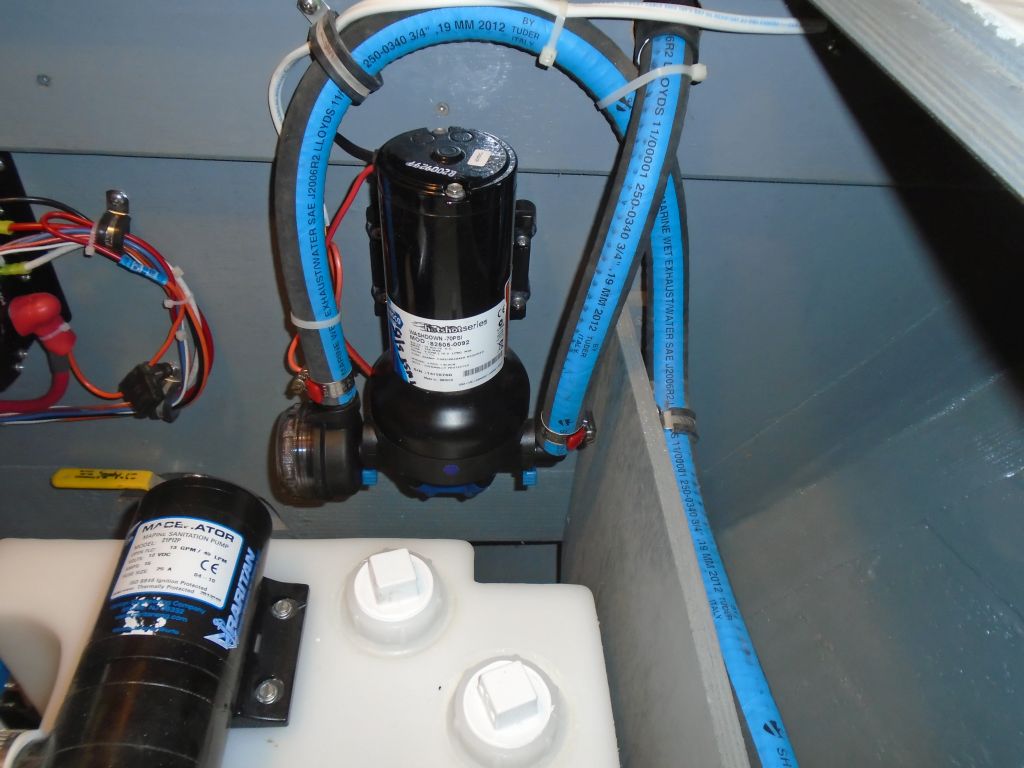
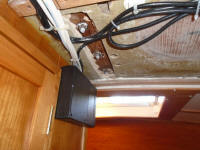
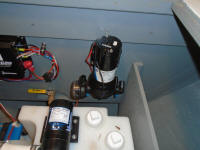
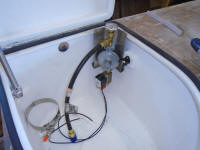
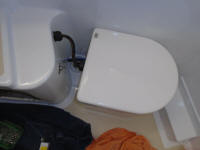
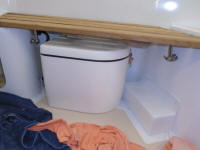
I chose to install the pump at the forward end of the
holding tank machinery space beneath the v-berth, where
there was ample room for installation, inspection, and
maintenance. I secured it to the bulkhead with
four screws and the included rubber vibration-damping
mounts. |
 |
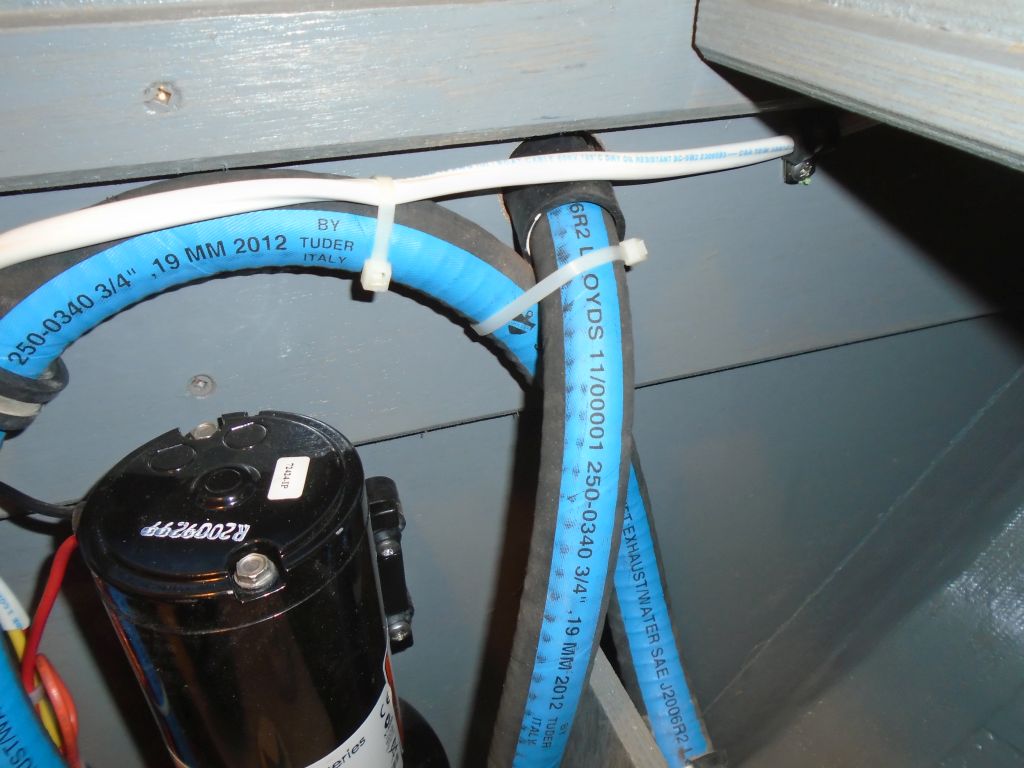
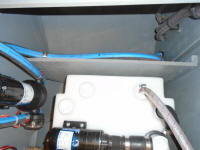
Next, I installed the intake and discharge hoses.
The plugged stub of hose I'd originally attached to the
through hull fitting wasn't long enough to reach the
pump location, so I removed it and reeved in new hose as
needed to lead to the pump's intake, which included a
small filter. I secured the hose along the way as
required. |
 |
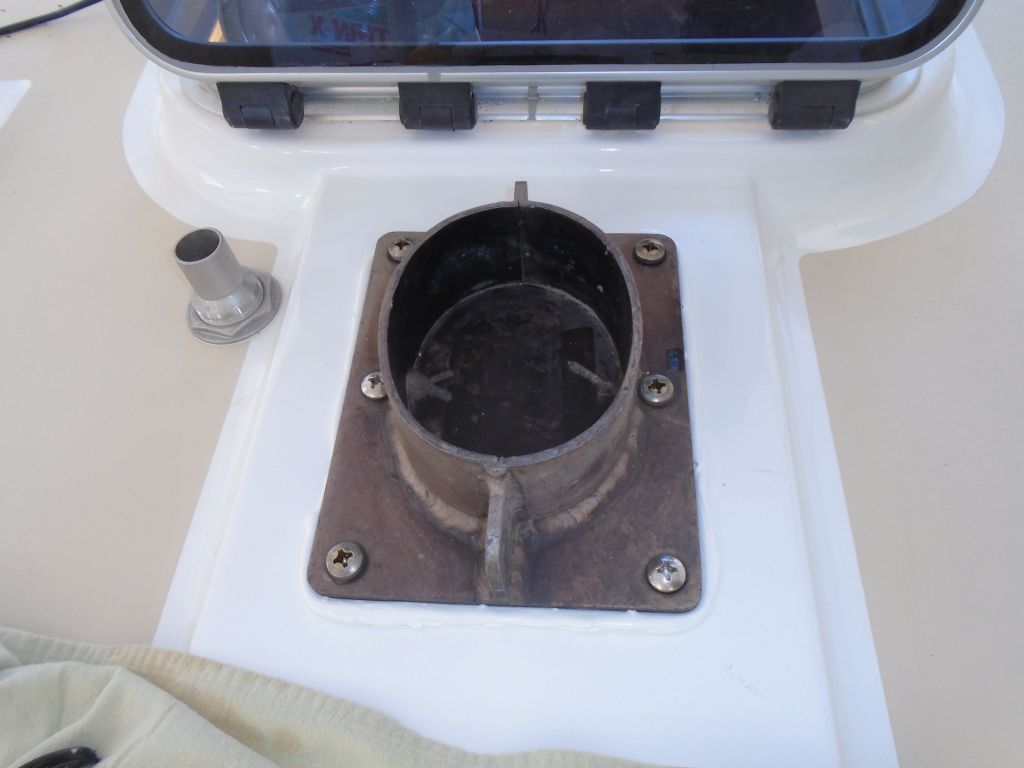
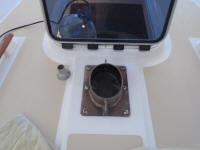
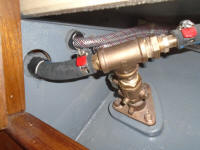
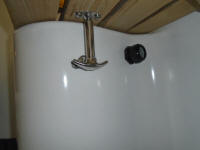
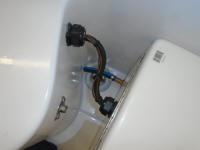
When I originally installed the deck fitting for the
system, I'd installed a 1/2" pipe-hose fitting (bronze),
as the threads in the fitting required this. Of
course the pump was 3/4" hose, and no bronze fittings
were available with 1/2" pipe threads and 3/4" hose
nipple, without several adapters. Rather than
adapt endlessly and reduce the hose size, I chose
instead to remove the 1/2" nipple, as I found and
ordered a 316 SS fitting that adapted properly, which
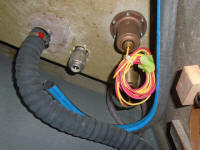
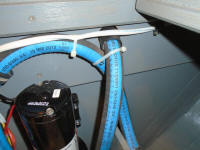
I'd install as soon as it arrived. Meanwhile, I
led an additional length of 3/4" hose from the v-berth
and up into the chainlocker (through the dedicated hose
lead on the port side) and over towards the fitting,
where it would await final connection. |
 |
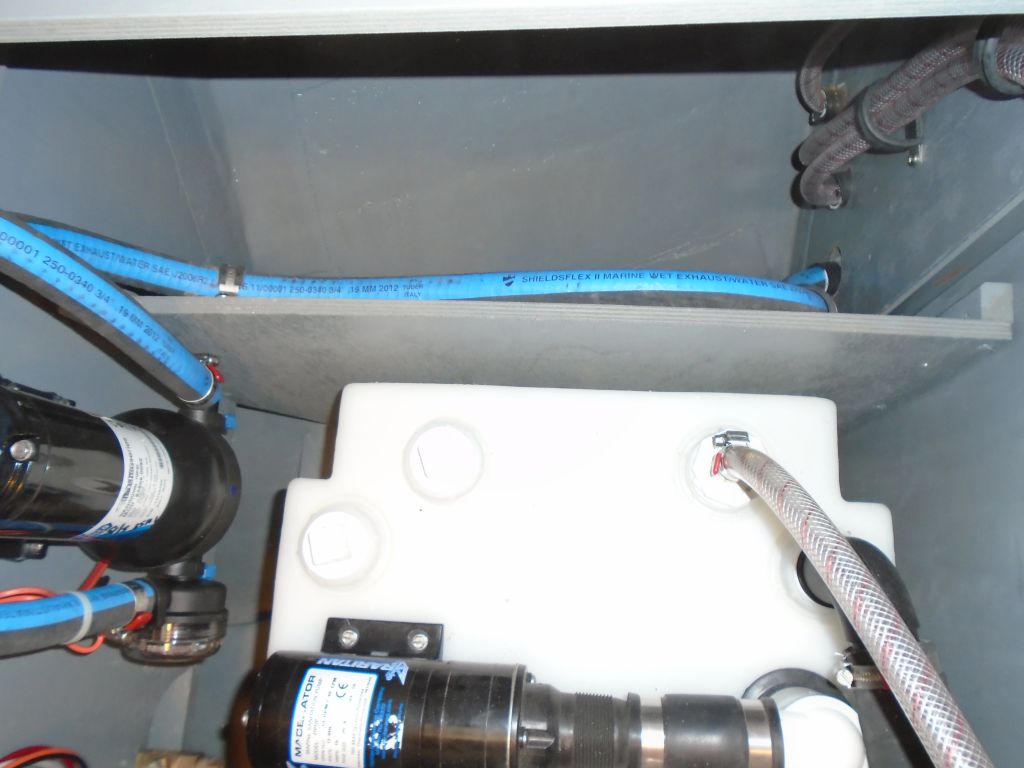
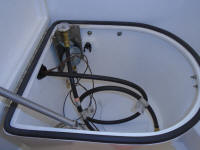
I led the remaining hose aft, along the top of the water
tank and through the retaining bulkhead near the new
pump, where I connected it to the discharge.
Afterwards, I led the wiring forward from where I'd
dead-ended the circuit earlier, and made the wiring
connections for the pump, including a 20A fuse.
The main pump switch/breaker was located in the panel at
the helm. The pump tested operational when
complete. |
 |
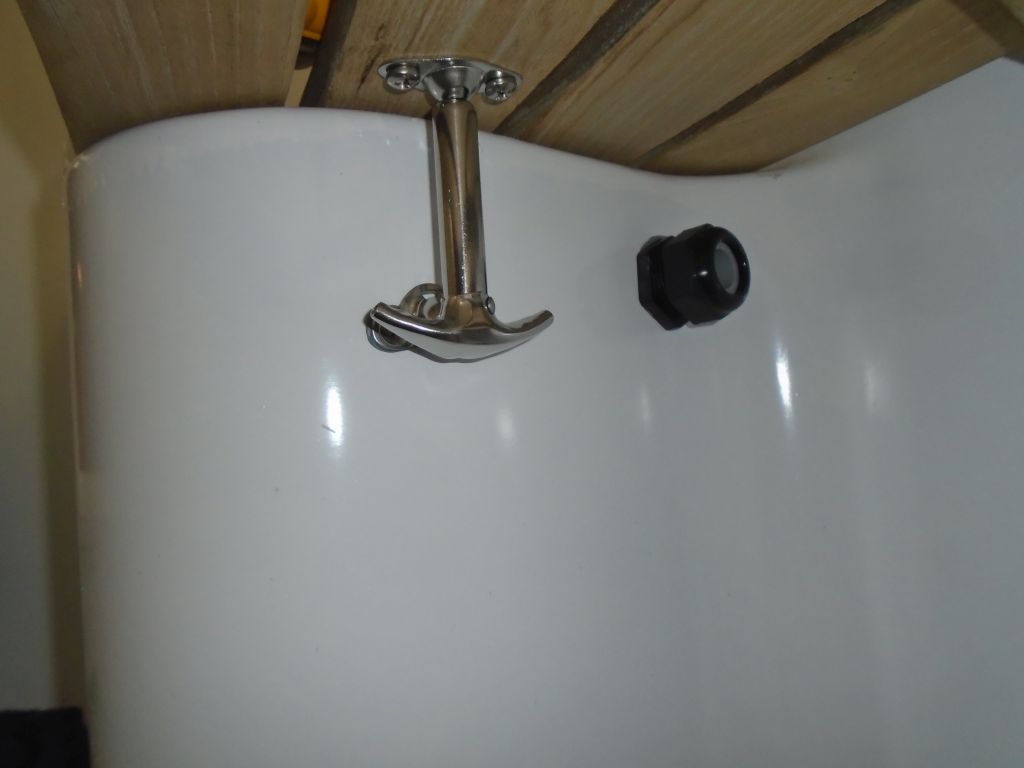
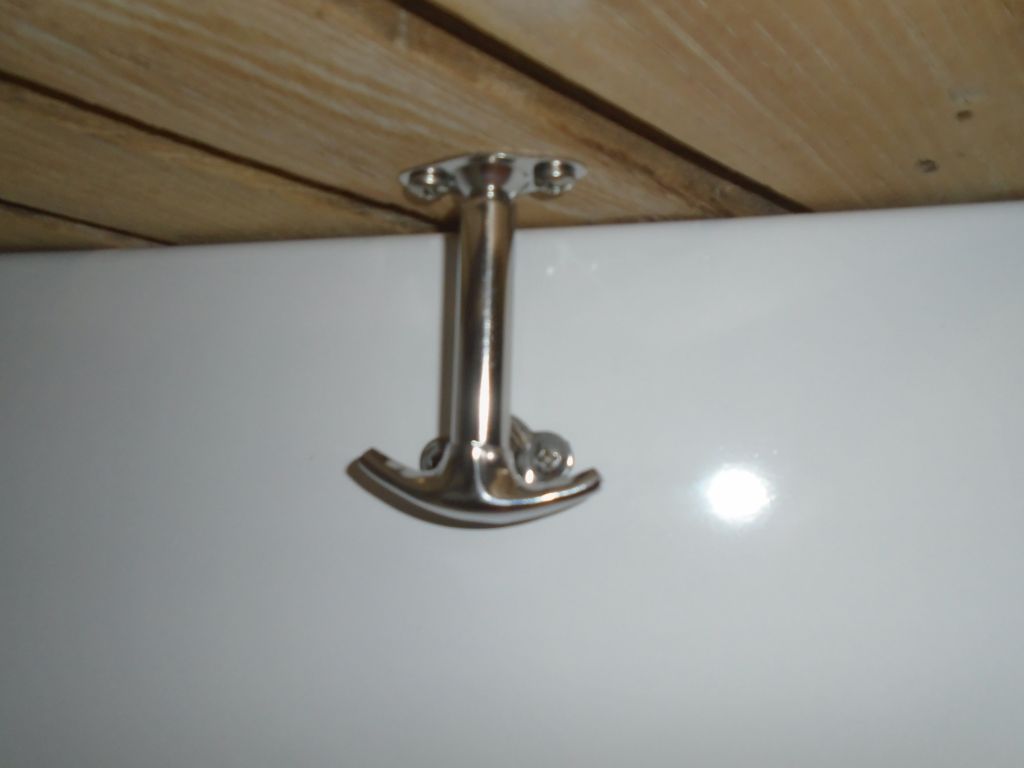
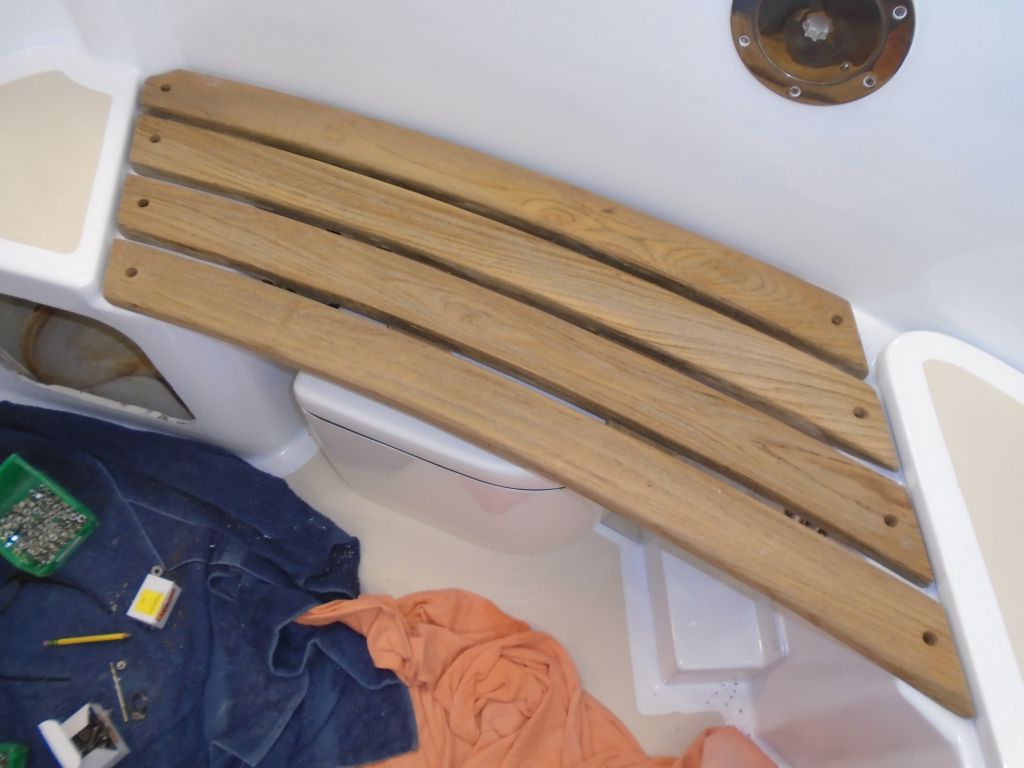
To allow the slatted cockpit seats to be removed, mainly
to allow access to the new LPG locker location, I
installed some T-handle hold-down clamps, two per side.
These held the seat in place but allowed for quick
removal. The top portion of the latch screwed into
the teak seats, and I bolted the lower portion to the
bulkheads on each side. For now, I completed only
the starboard side, as I wanted to install permanently
the LPG locker. |
 |
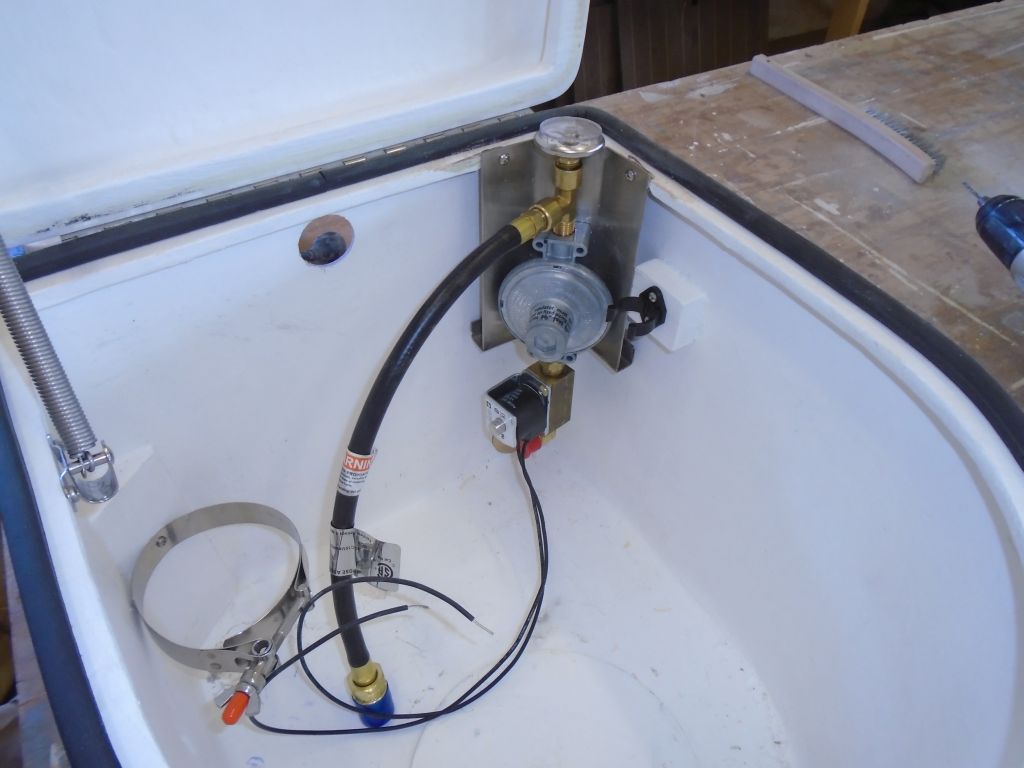
My repairs to the locker lip had cured overnight, and
now I screwed the regulator assembly back into position. |
 |
To install the locker in the cockpit, I'd earlier
determined that it would sit nicely on the cockpit sole,
leaving the recessed area outboard near the scuppers
accessible for drainage, and that I could secure it
adequately by screwing through the locker into the
cockpit wall, avoiding fasteners through the deck.
This I did, securing the locker with butyl sealant and a
pair of 1/4-20 machine screws into tapped holes in the
cockpit. |
 |
During installation, I secured the drain line to the
locker, and ran in the LPG line and wiring for the
solenoid, which I led through the vapor-tight fittings
from the old propane storage area to the new locker. |

 |
All that was required to complete the propane system and
render it operational was to connect the solenoid
wiring, connect the propane line from the stove to the
regulator, and fill and connect the propane tank.
I'd take care of the wiring and hose connection in the
immediate future, but for now the day was done.
|
Total Time Today: 8.5 Hours |
<
Previous | Next > |
|
|