Project Log: Wednesday, November 24, 2010
Lacking, at the moment, the time to immerse myself in
one of the more involved jobs looming ahead, I decided
to look into the disassembly--to the extent
necessary--of the various components of the stern tube.
At a minimum, I needed to learn how the whole assembly
went together and perform necessary inspection and
maintenance; at the other end of the spectrum, I was
considering revamping the inner end of the setup to
incorporate a new thrust bearing and shaft connection
system. Ultimately, the decision how to proceed
would hinge upon my findings and the current conditions.
Earlier in the unbuilding process, I'd removed the inner
portion of the stuffing box, along with the old
propeller shaft, leaving only the core components
behind. Since this area had until recently been
hidden beneath the old fuel tank, as well as buried in
varying amounts of debris, silt, and mud, I'd not yet
spent any time inspecting the way the whole thing was
put together.
Before beginning, however, I decided to remove the
rudder. I knew this would be necessary later in
order to install the propeller shaft, and now seemed as
good a time as any to remove it; it would give me better
access to the external part of the stern tube.
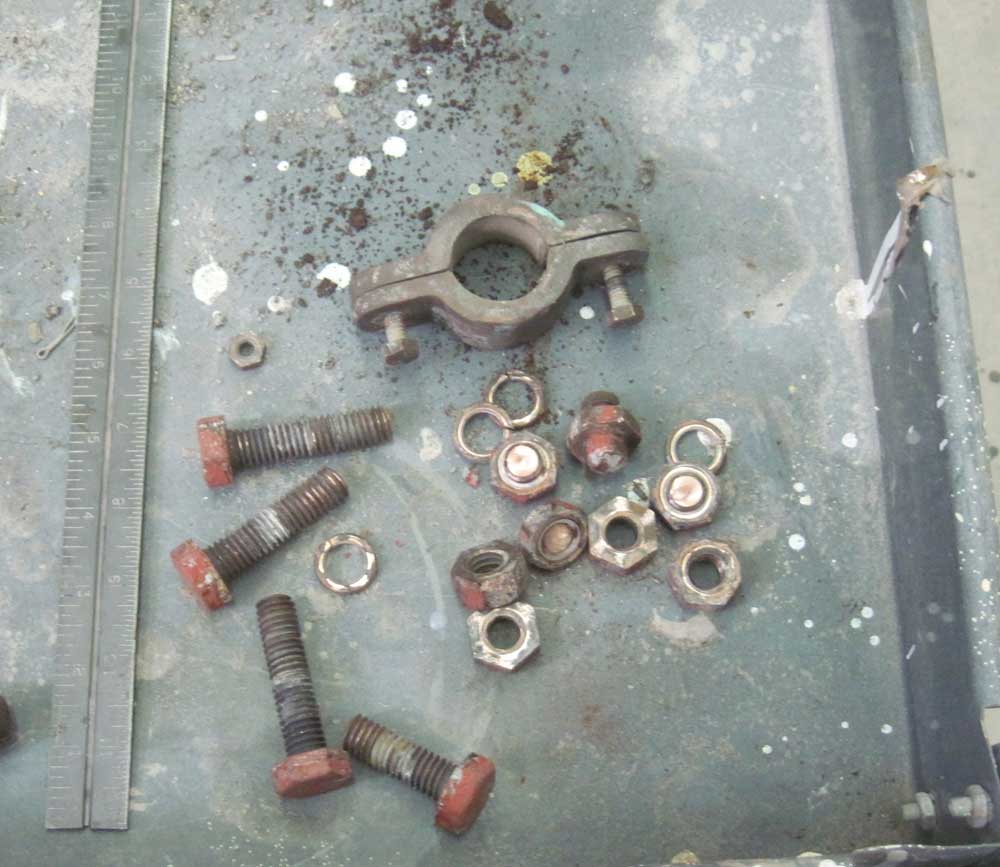
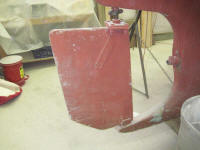
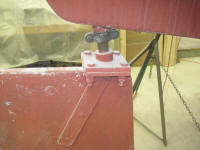
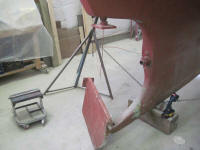
The rudder on this boat featured a nice practical
workboat touch: it was secured to the rudder shaft
through a pair of square flanges, one secured to the
shaft and the other to the rudder itself. The
flanges were held together with four bolts; removing the
bolts would allow me to slide the shaft upwards enough
to pull the rudder out. |
 |
In practice, this worked as well as in theory.
Although the four bolts were caked in layers of bottom
paint and slopped with the epoxy barrier coat that had
been similarly slopped over the bottom of the boat, the
nuts loosened easily. I decided it wasn't worth
trying to clean up the threads; I'd be replacing the
bolts anyway. The extra resistance of the thick
paint eventually caused the nuts to seize up on their
way off, to the point that continued wrenching simply
snapped the soft bronze bolts. All that mattered
was removing the four bolts, not saving them.
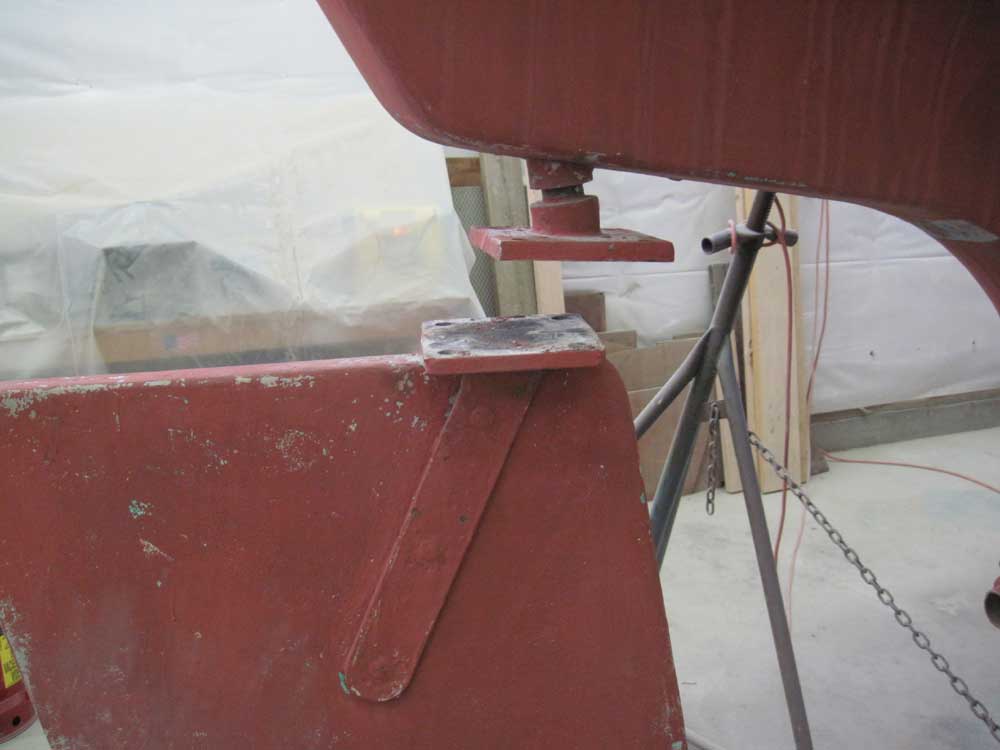
In relatively short order, I'd removed the bolts, as
well as a stop collar on the shaft that prevented it
from moving upwards on its own. Then, I could ease
the shaft upwards as far as possible, giving me the
space needed to pull the rudder up and out of its lower
bearing point in the skeg. This was by far the
easiest rudder removal I'd had the pleasure to
experience. Reinstallation would be even easier. |

 |
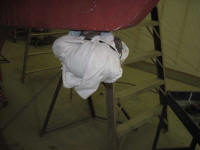
With the rudder now out of the way, I covered the
evil-looking corners of the square plate remaining on
the rudder shaft with some cushioning so I wouldn't ram
my head into it while working nearby. |
 |
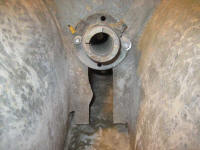
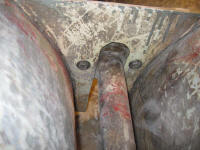
Inside the boat, I checked out the connection of the
metal stern tube, which ran from the deadwood to a point
about 36" forward, where it was connected to the fixed
portion of the old stuffing box with threads. The
stuffing box was in turn bolted to a small bulkhead,
securing the whole works in place. It was pretty
clear that the stern tube, a metal cylinder threaded at
each end, was threaded into a flange at the deadwood,
which flange I imagined was part of the external
housing. |
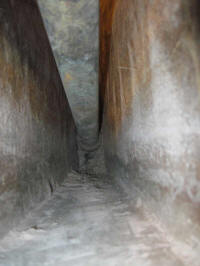 |
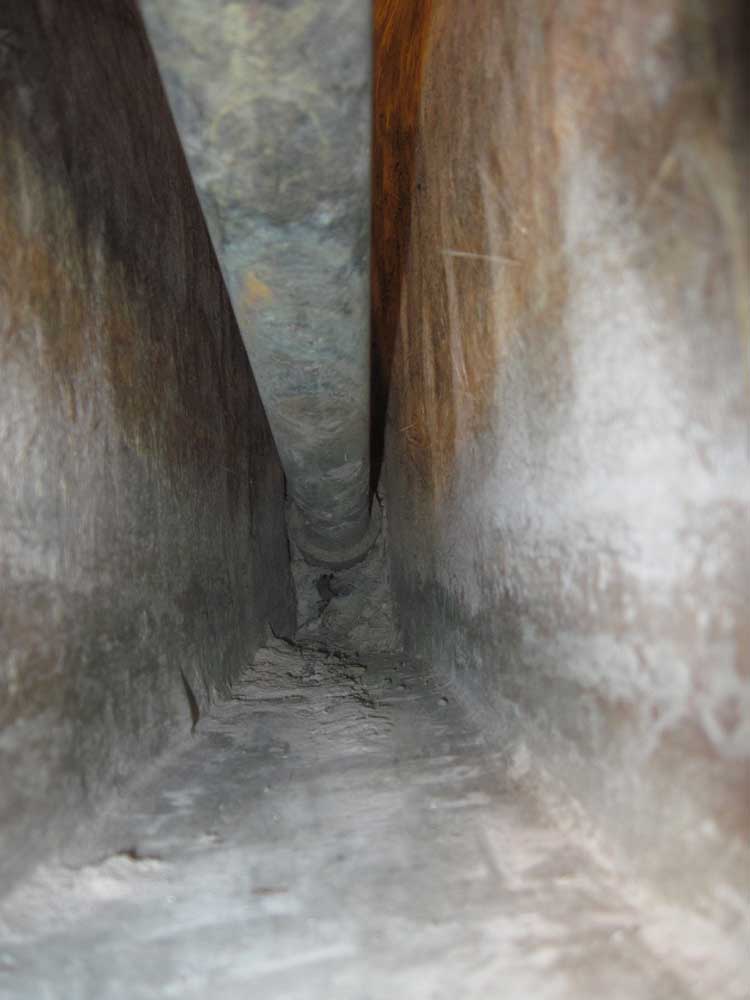
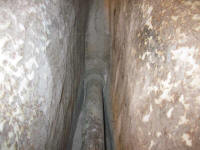
Outside the boat was an external stern (Cutless) bearing
housing, which was bolted to the deadwood. From
inside, I could see the other side of the bolts, or at
least one of them; the second, bottom bolt was hidden
beneath the stern tube assembly, and completely
inaccessible to eyes, fingers, or tools: the
clearance between the stern tube and the hull in this
area was less than a finger's thickness. |
 |
This effectively meant that at least to start, I wanted
no part in any requirement to access that bolt. So
for the moment, this meant that I chose not to attempt
to remove the external bearing housing, nor the stern
tube itself. Fortunately, there might be no need
to do so either, but in any event I needed to feel my
way along to determine the best course of action.
There was no immediate reason why I needed to rebuild
the whole system, nor any immediate reason why I might
not leave well enough alone for once, but before closing
this area off to access when I reinstalled a fuel tank
over the space, I needed the setup squared away one way
or the other.
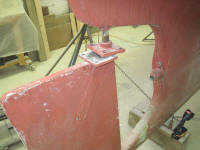
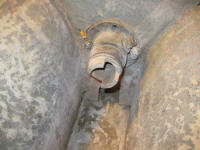
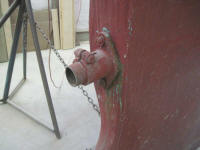
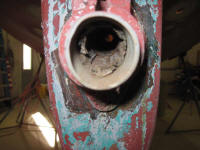
For now, I focused on the external stern bearing.
Again, I was unclear exactly how this was configured.
There was a clamping bolt at the top side of the tube,
which seemed logically to be intended to hold a
normal-type Cutless bearing in place within the housing,
aft of the internal stern tube and deadwood.
However, releasing and removing this bolt did not
immediately release the protruding cylinder.
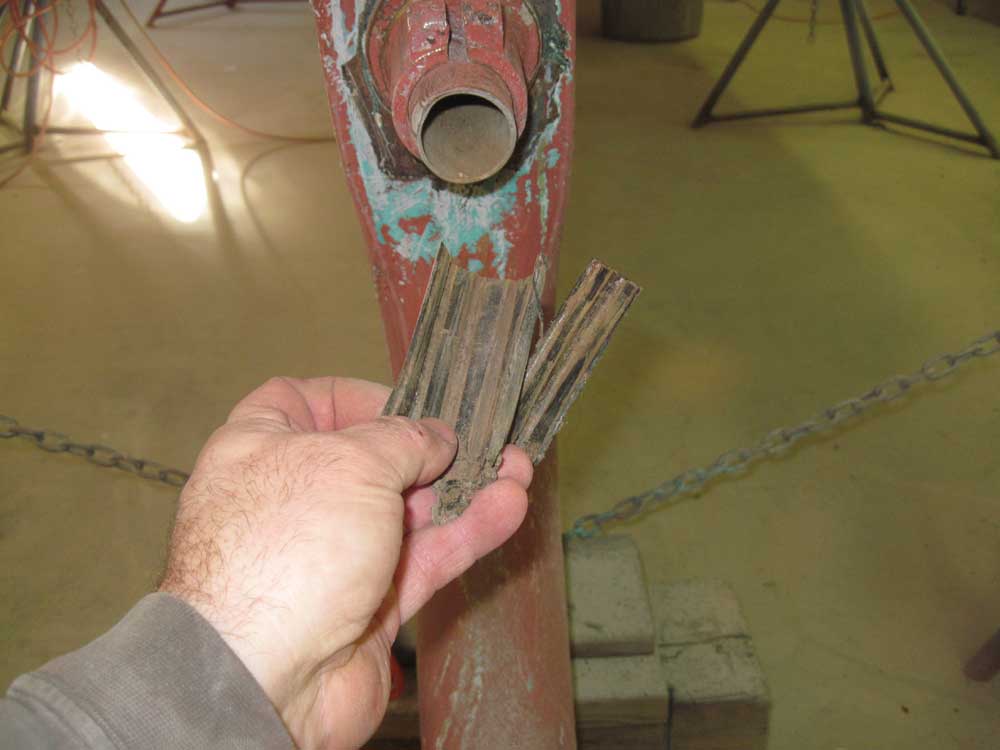
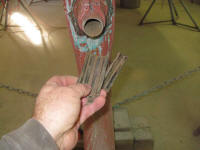
It was clear that within the protruding cylinder was the
remains of an old Cutless bearing, severely worn and
beyond salvage. So to begin, I peeled out the
rubber remains, which released easily by using a long
screwdriver as a sort of chisel inside the tube itself. |
 |
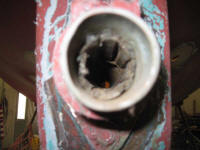
After cleaning up the debris inside with some sandpaper
and blowing the tube clean with air, I reinspected the
inside as best as I could. It looked like there
was a seam inside, again seemingly a division between
the internal stern tube and the external bearing.
I continued to surmise that eventually, the external
part of the tube would come out of the bearing housing,
or at least I hoped so; it didn't seem like a new
bearing was supposed to go inside the existing tube, all
the more so since there was no evidence of the typical
brass shell of the old Cutless bearing remains that I'd
removed.
I tentatively put a wrench on the cylinder, hoping to
break it loose and turn it out, but to no avail, and I
didn't put much pressure on the wrench lest I damage the
tube. Not knowing exactly how this whole setup was
put together, and given the potential challenge of
replacing all the components, I chose to proceed with
plenty of caution.
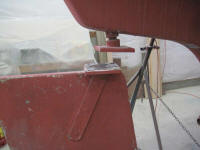
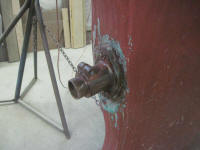
For the moment, since I was about out of time, I
satisfied myself by scraping and wire-brushing most of
the paint off the bronze housing so I could better
inspect it and decide how to proceed. I thought
careful application of heat to the housing would be next
on the agenda, to try and release the bond between the
two metal parts.
Then again, my theories might be completely incorrect,
but in any event I'd find out soon enough. One way
or another, I'd need a new Cutless bearing at this end
of the tube, whether it went inside the tube as
existing, or not. All would become clear in due
course. |
|
Total Time Today: 1.5 hours
|
<
Previous |
Next > |
|
|