Project Log: Friday, September 3, 2010
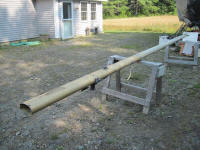
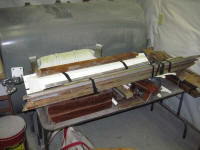
Over the course of an hour or so, I stripped the
standing and running rigging and loose hardware from the
mizzen mast to prepare it for storage. I planned
to paint the spars later, at which time I'd remove the
remaining fittings. |
 |
The standing rigging from both masts seemed to be in
fair condition, though I'd inspect it fully later on.
The running rigging was all trash, stiff, worn,
weathered, and stained, but would make good utility line
around the shop once I'd used the old halyards as
templates for new rigging later on. |
 |
The nearby passage of Hurricane/Tropical Storm Earl had
rearranged our cruising plans for the long weekend
(after some concern earlier in the week with the storm's
track, it turned out the storm was minimal and stayed
well offshore, bringing only rain and moderate wind to
the area), so it seemed a good chance to get some
serious dismantling done.
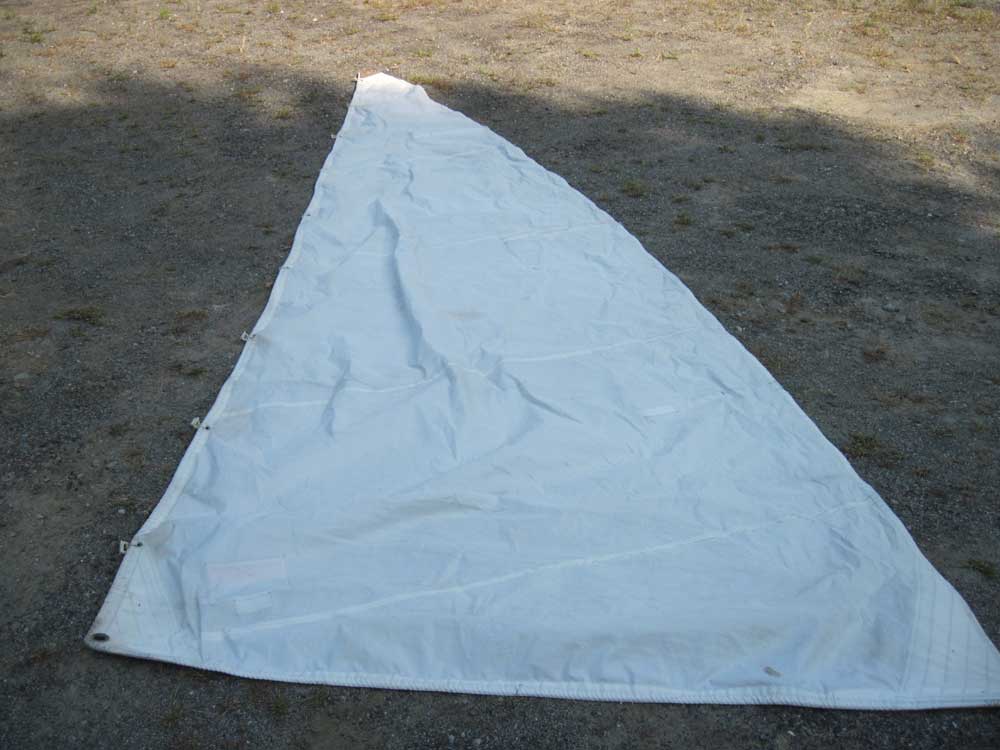
First, though, I took advantage of the calm morning to
spread the sails out and have a look. Most Fishers
have tanbark sails (i.e. Dacron dyed rust red), so I had
to admit a small disappointment to discover that my
sails were white Dacron, as during the course of my
Fisher research I'd grown to like the tanbark look.
The jib, a 155% by Sobstad, was in generally good
condition and relatively new, but I'd need to get the
sunshield changed, since the green didn't fit in with
our planned color scheme. |
 |
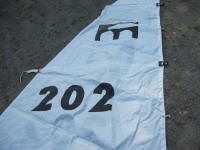
The full batten main, also by Sobstad, was in similar
condition and of similar age to the jib. The sail
number indicated 202, while other information I'd found
seemed to suggest the hull number was 129. Further
investigation required. |

 |
The mizzen was original, according to the previous
owner, and certainly appeared older, though still
serviceable. |
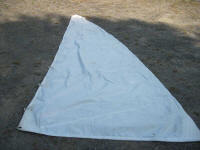 |
I didn't spread out the cruising spinnaker, as it was
contained within a sock, but it looked to be in good
condition. I was glad to have this sail in the
inventory from the getgo, as it was not a sail I'd
normally rush to purchase, though I'd enjoy having it.
I also discovered, as I stored the mizzen mast next to
the yawl-rigged mizzen from my other boat, that the size
of the mizzen mast would allow me to potentially use the
mizzen staysail from my other boat, since the Fisher's
mizzen mast was a bit taller than the one from the
Seabreeze.
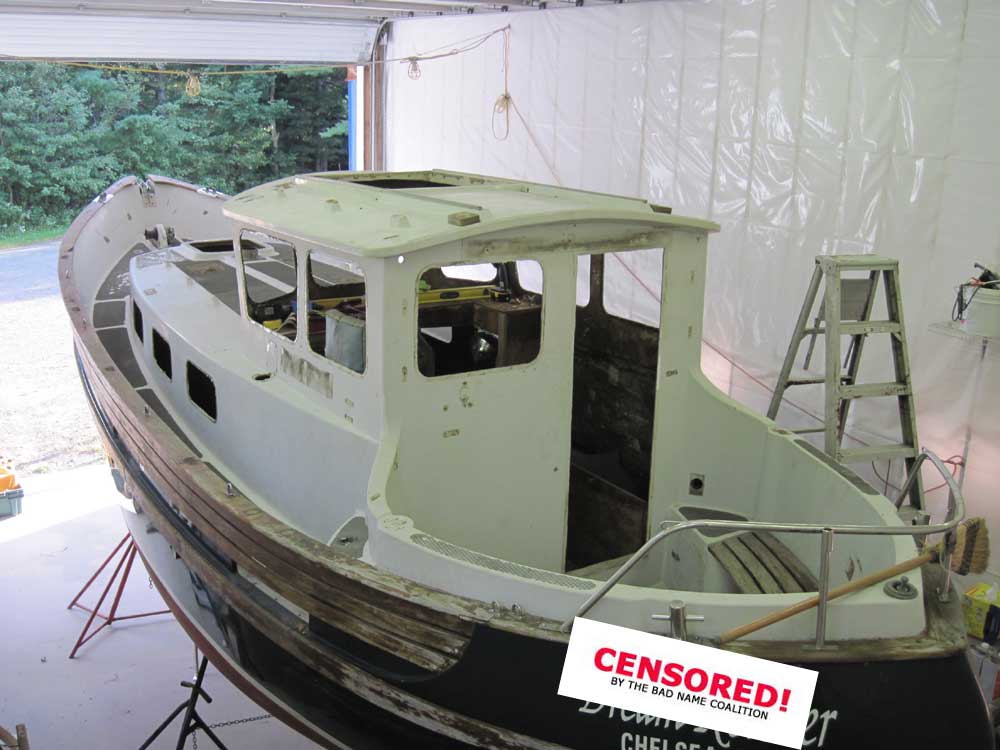
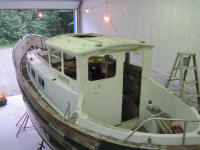
After storing away the sails for the moment, I set up to
get to work on the boat, installing a power cord,
lighting, and collecting various tools and so forth.
Then, starting at the stern, I began to systematically
strip all the hardware from the decks, including various
cleats, eye straps, and winches in and around the
cockpit.
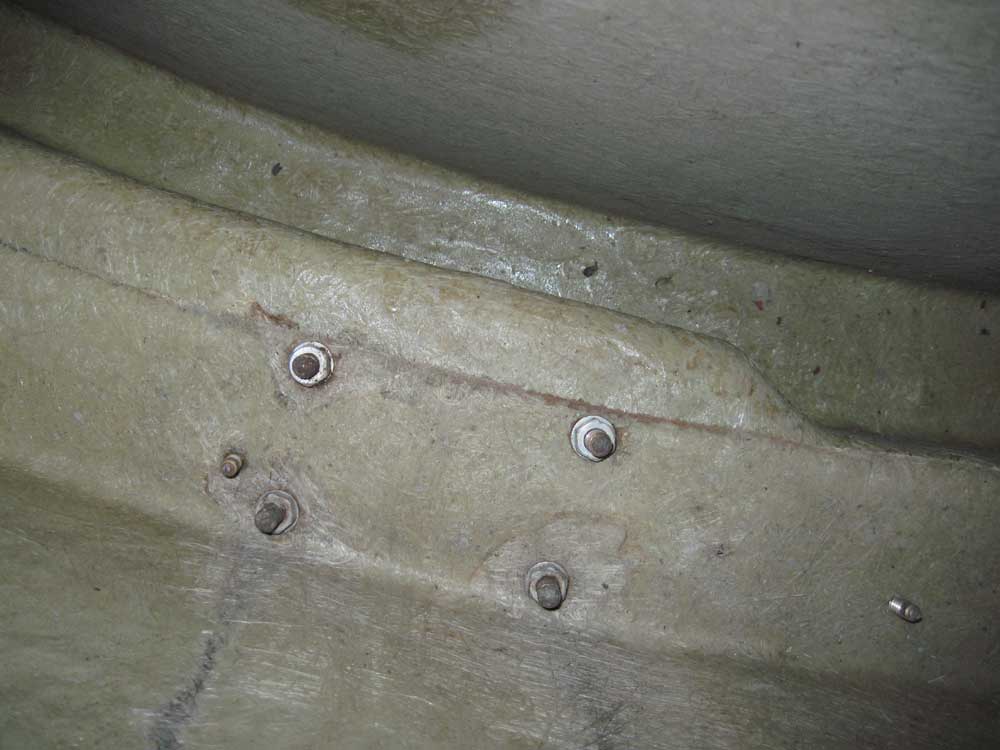
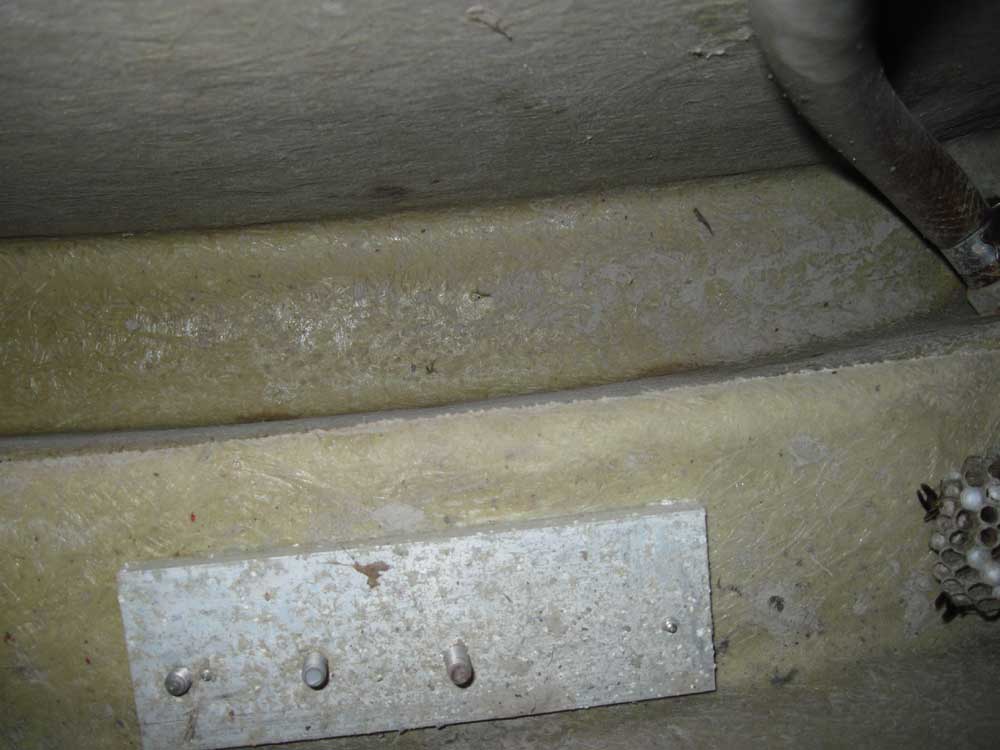
Access to many areas was challenging thanks to the
design of the deck mold; some installations on the
caprail, at the top of the bulwarks, would require long
extensions and difficult contortions, particularly at
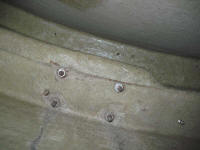
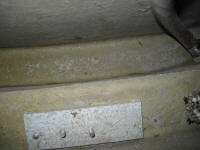
the aft end. Since I wasn't yet sure how to go
about accessing the nuts on things like the aft mooring
bits, I left those alone for now. It appeared that
the pulpits and lifeline stanchions were secured with
machine screws tapped into aluminum plates secured
beneath the caprails, with no nuts, so hopefully they'd
come off with relative ease.
Note that I took these photos by holding the camera out
of sight around the edges of the lazarette opening in
the cockpit, with the lens point up into the 2' tall
molded void, at the top of which was located the
hardware seen in the photos. |
 |
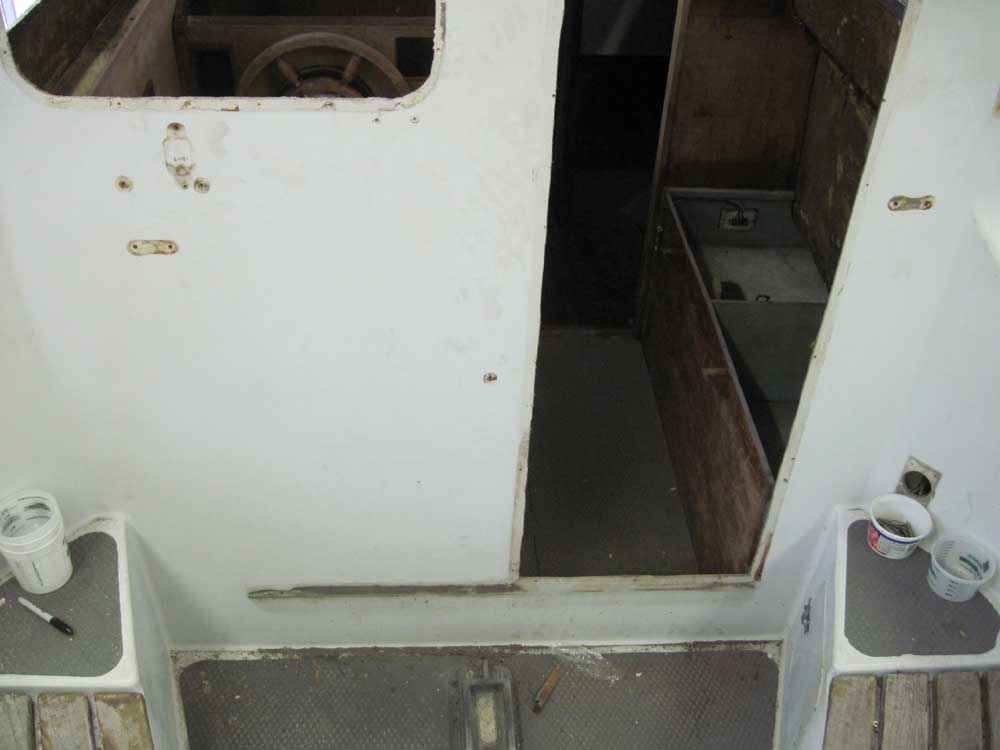
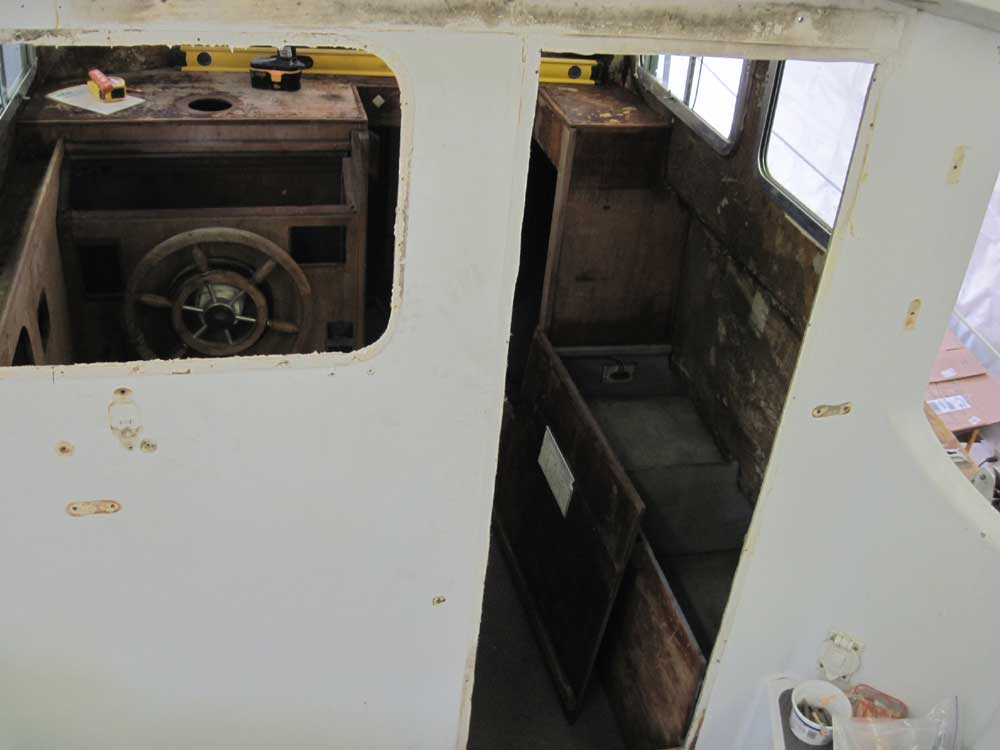
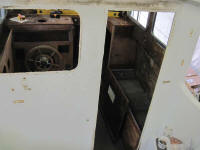
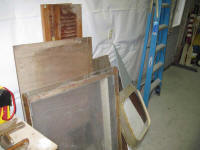
In any event, I removed the remaining hardware that I
could reach, plus the complicated rolling door trim for
the pilothouse door. I removed this piece by
piece, reserving the old pieces for future reference.
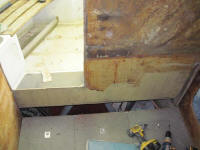
The process went relatively smoothly till I discovered
that many of the fasteners for the lower rail and trim
were hidden behind a plywood panel at the lower aft side
of the pilothouse--a panel that I'd probably have
removed anyway, but didn't expect to now. The
panel came out easily, though I discovered that it hung
beneath the pilothouse floor and provided important
support for the aft end of the floor and its structural
members. I'd have to add temporary structure to
support the floor till I could replace the aft panel or
otherwise secure the floor's structure. |
 |
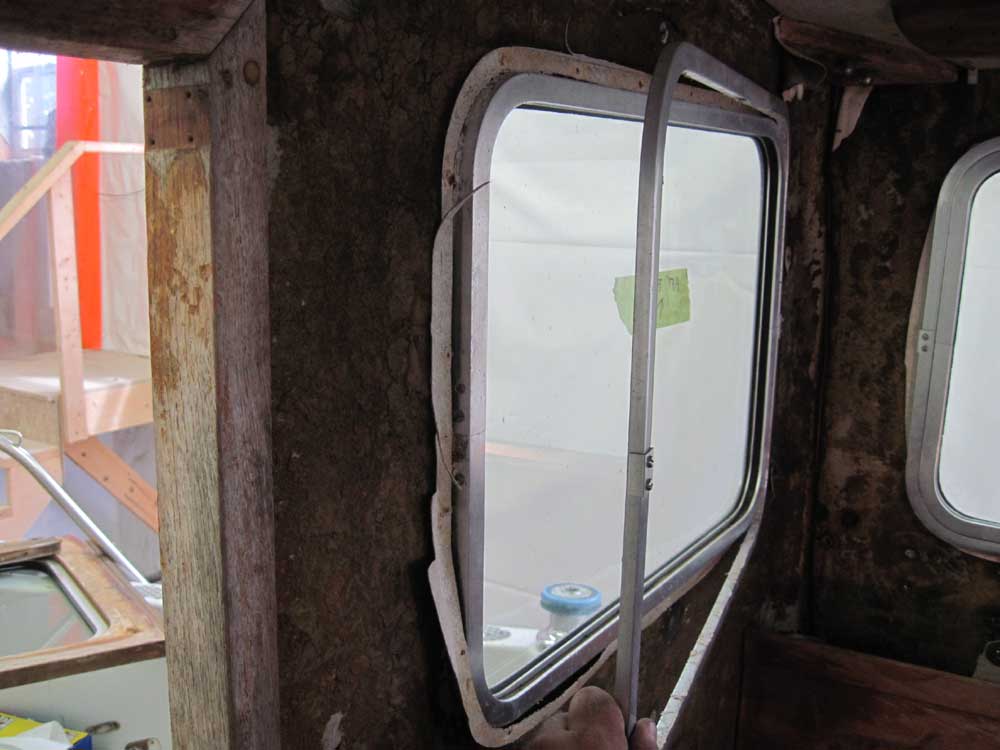
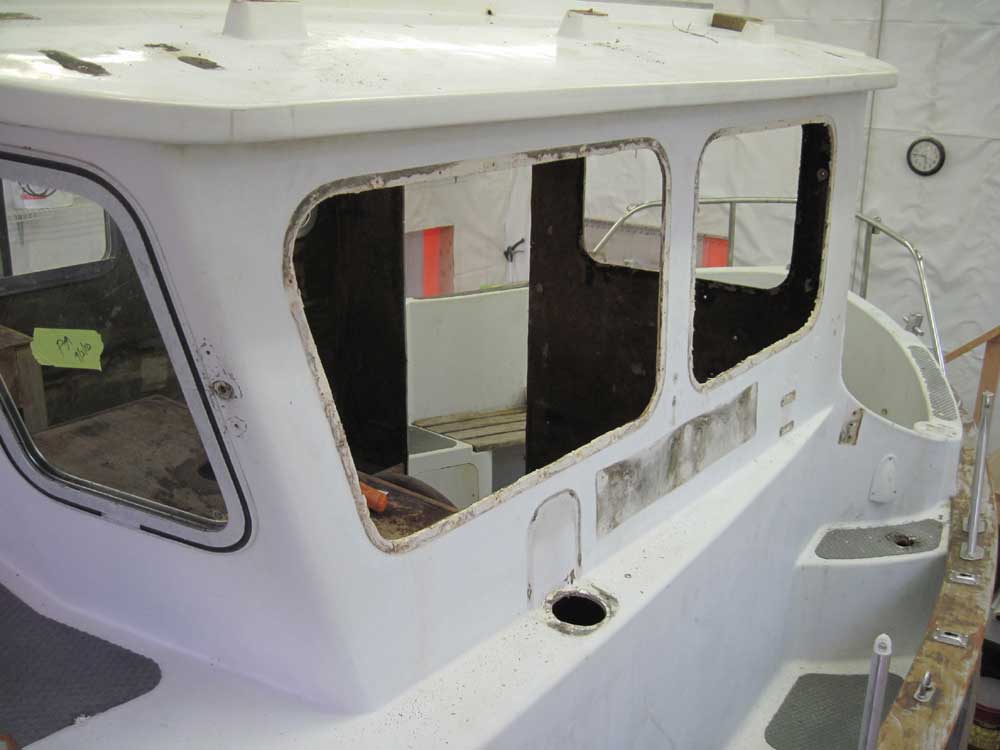
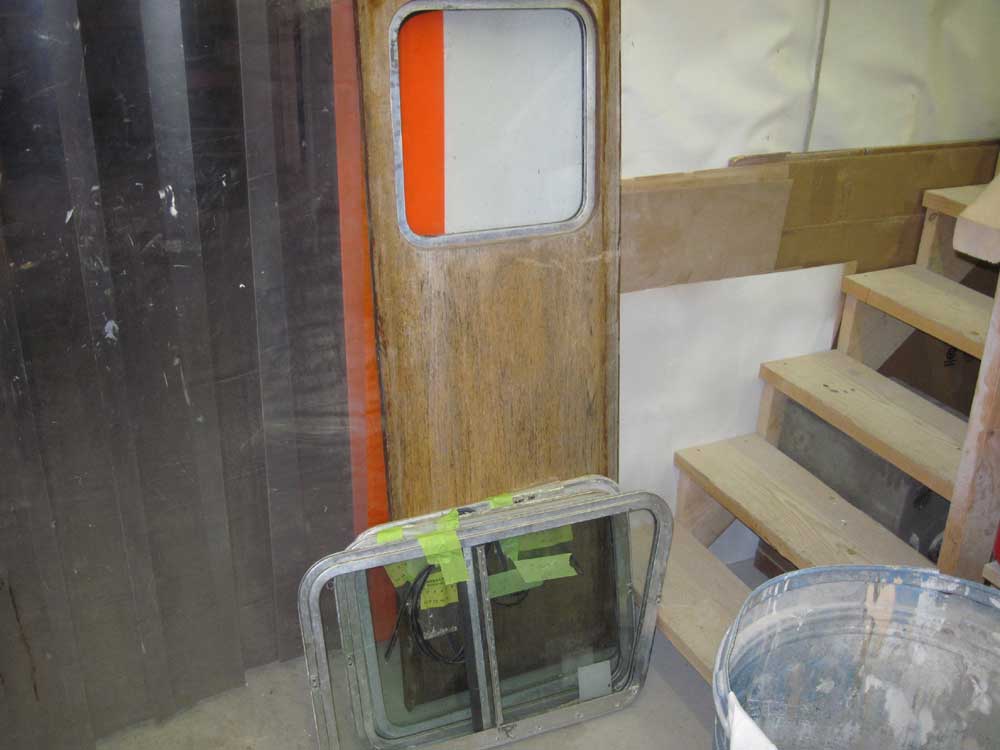
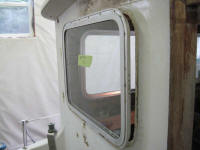
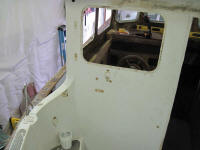
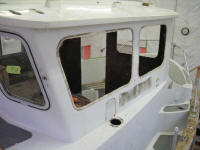
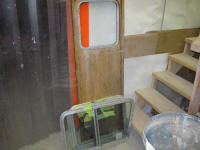
The aluminum-framed pilothouse windows featured a
2-piece frame secured together through the fiberglass
with ordinary self-tapping screws from the outside.
I was pleased to find that these screws came out easily,
as did the window frames themselves, which were bedded
in something that looked and smelled like ordinary
window glazing compound. |

 |
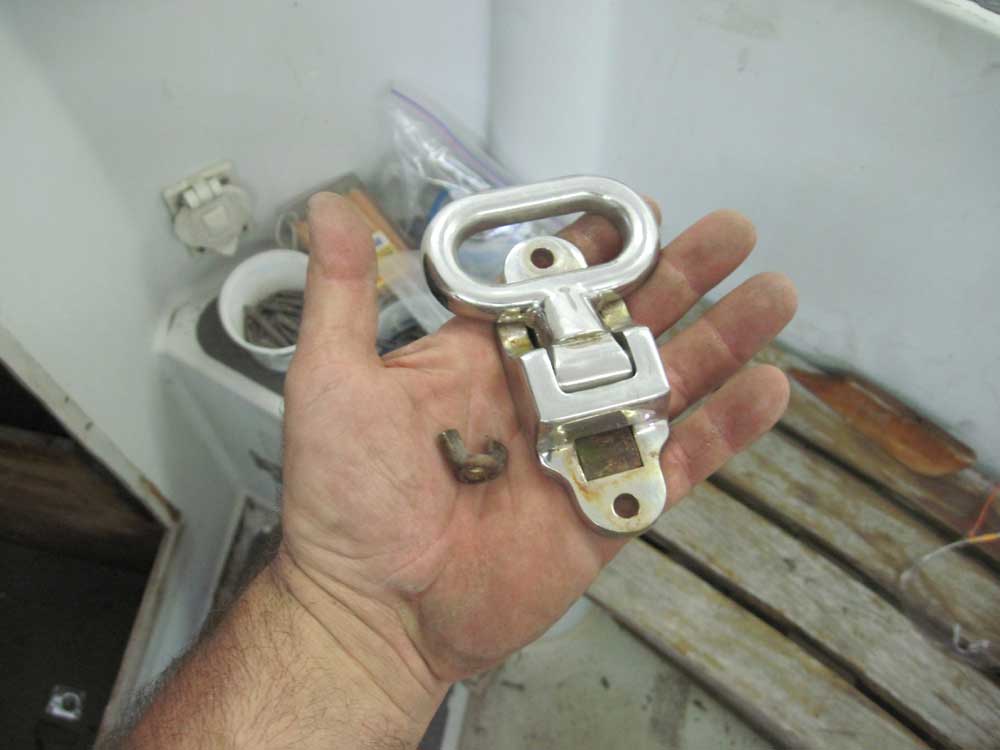
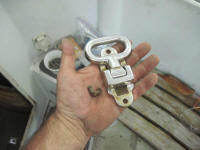
I was amused to find that this rugged step, which had
been located on the port cockpit coaming near the
ingress to the sidedeck, was secured from the back side
with this rusty wingnut. One sees all sorts of
oddities in boats. There was no visible sealant on
any of the hardware that I removed from the cockpit
area. Access to the back of this step was through
a very small opening located at the aft end of the
storage area outboard of the port pilothouse, beneath
the sidedeck. While I was in there, I also removed
the remaining hose from the waste deck plate above, and
then removed that deck plate as well. |
 |
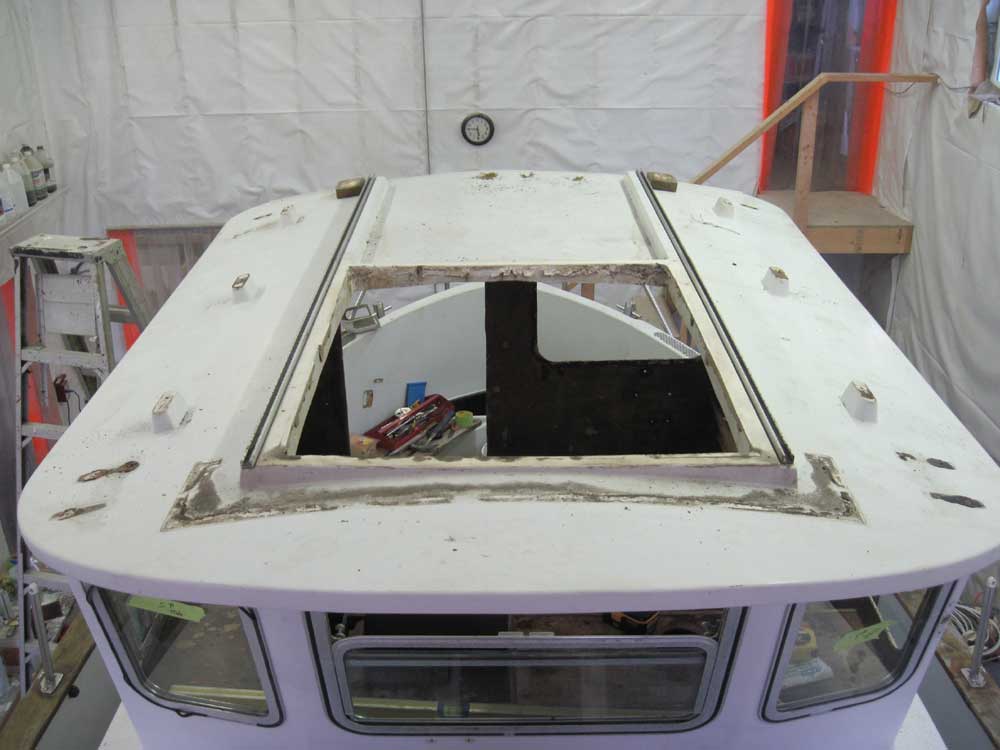
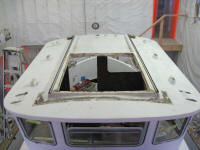
I removed the trim and cowling from the overhead hatch
in the pilothouse, allowing me to slide the hatch
forward and remove it. I'd have to completely
replace this hatch, as the original was in poor
condition. I removed the traveler, handrails,
running lights, and other hardware from the pilothouse
roof, plus the huge loudspeaker that had been located at
the forward edge of the pilothouse and which everyone
seemed to "like". |
 |
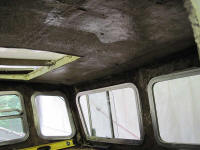
Removing the handrails, which turned out to be secured
with threaded rod between the inside and outside
sections, allowed me to also remove the overhead liner
panels in the pilothouse. |
 |
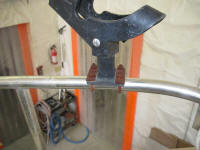
These rusty, awful U-bolts fortunately unscrewed easily;
I'd been worried that I'd never get this thing off
without cutting. |
 |
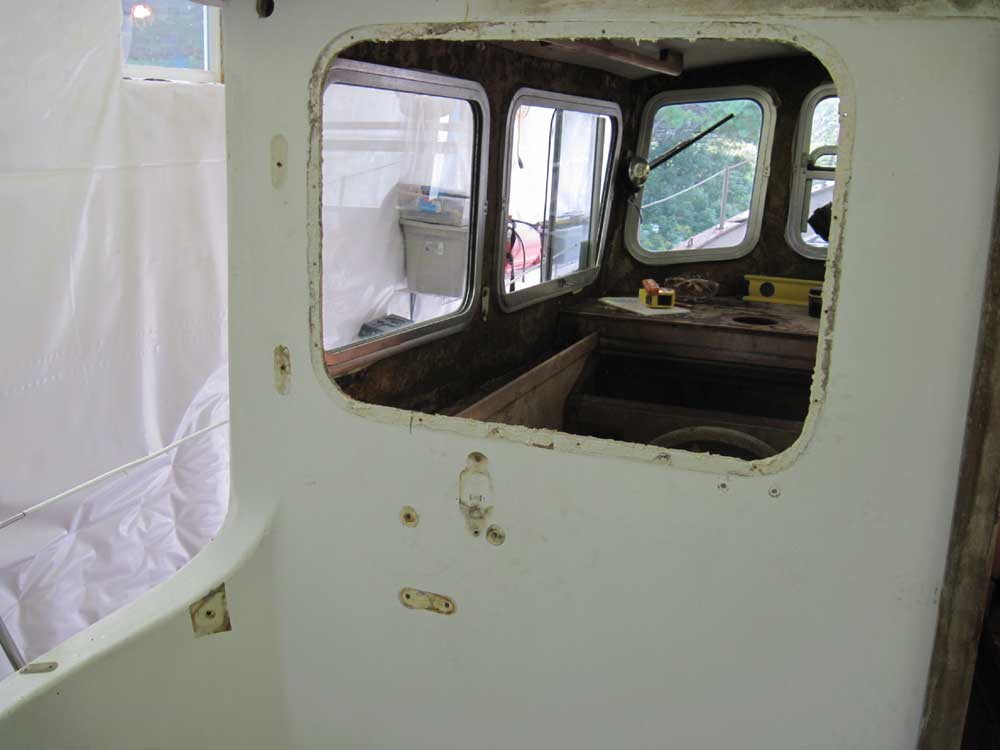
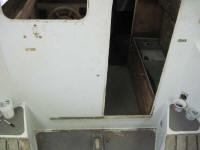
I ended the day by completing the hardware stripping on
the port side of the pilothouse, removing the two
windows, Fisher 30 placard, various hardware, and
whatever. I also removed the lifelines for storage
and eventual replacement. Some brilliant mind had
installed a plain steel screw in place of a cotter pin
in the turnbuckle of the port lifeline, which was rusted
in place and prevented
me from removing the turnbuckle body to pull the
lifeline aft through the stanchion tops. I had to
cut the stud, which was OK since I'd no intention of
reusing the ancient lifelines anyway. |

|
Total Time Today: 8 hours
|
< Previous |
Next > |
|
|