Project Log: Tuesday, January 18, 2011
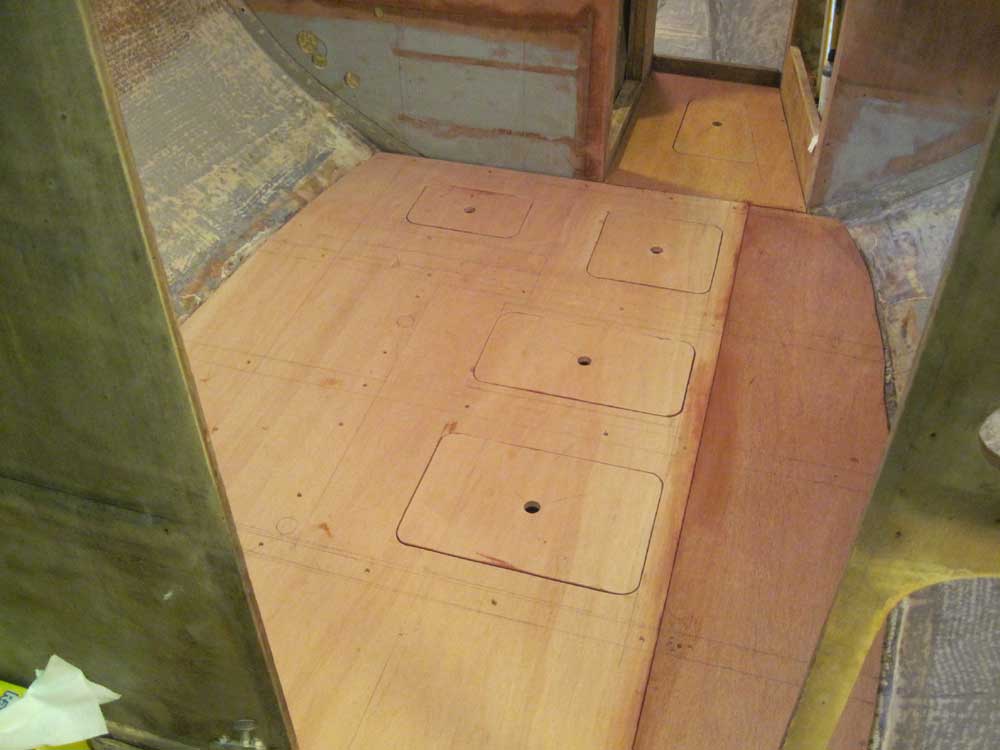
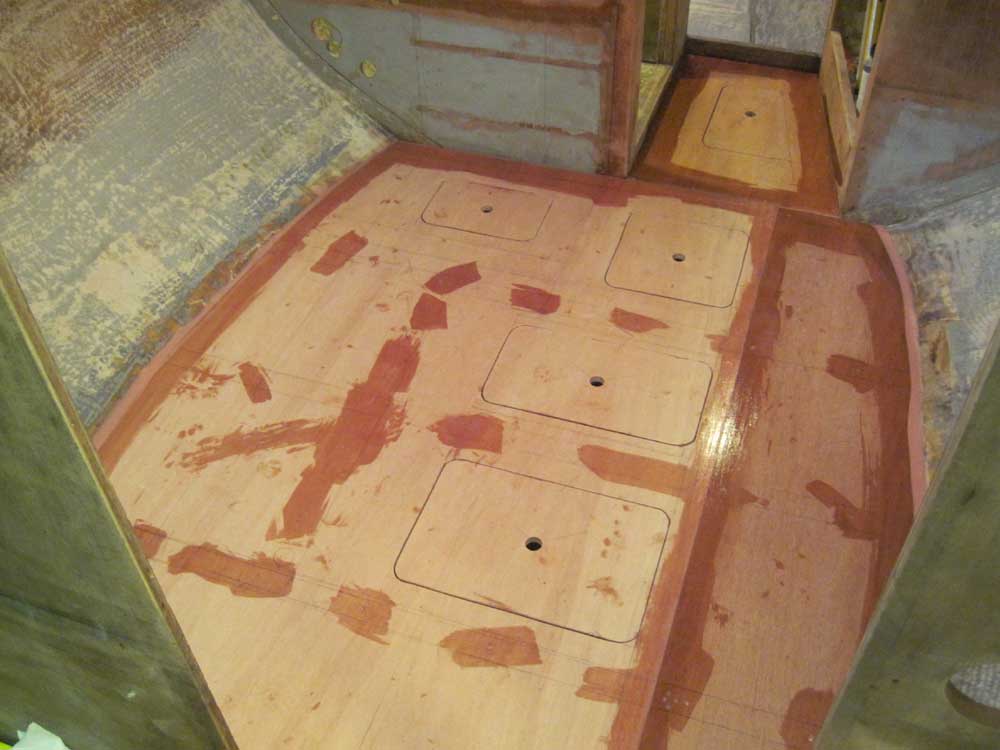
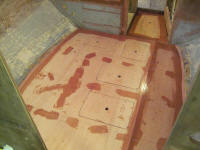
To install the cabin sole, I applied beads of epoxy
adhesive to the tops of the various support cleats and
beams, and then laid the plywood sections in place,
beginning with the small piece in the passageway, then
the large main cabin piece, and finally the small
section of the main cabin.
Before installing the final piece, I applied additional
adhesive to the seam between the two main cabin
sections, and then secured the plywood tightly with
bronze screws. To avoid any plywood movement while
the adhesive cured, I worked on other things in the
meantime. |
 |
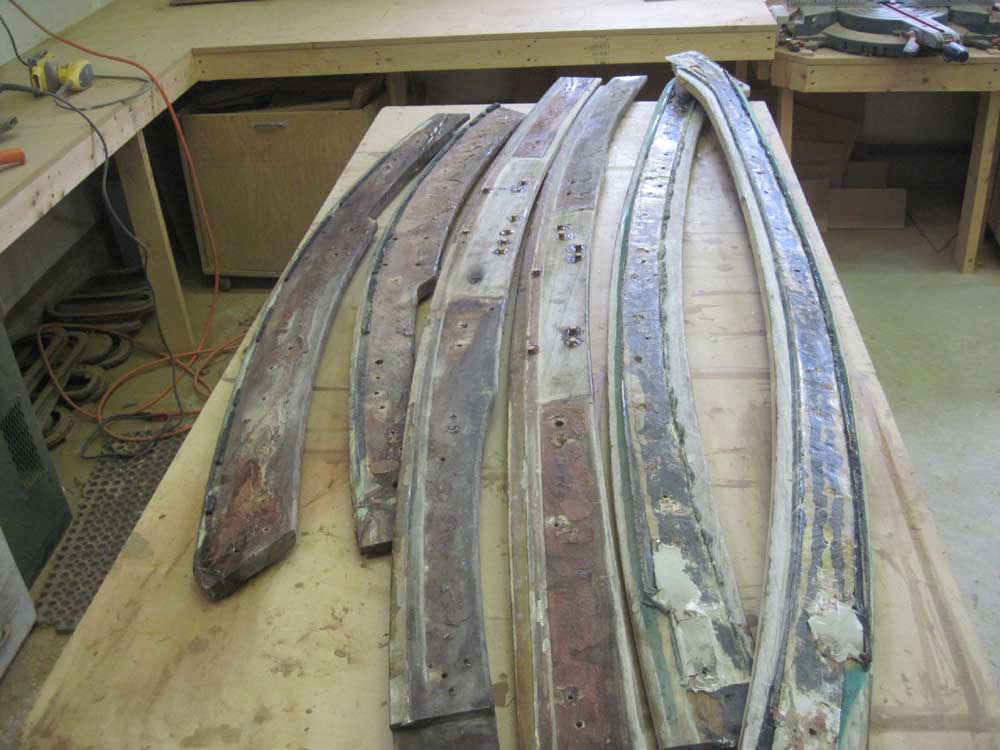
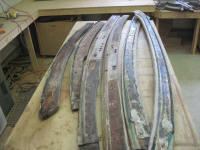
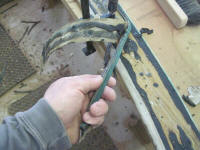
The newly-repaired caprail sections were ready for
cleanup and sanding. Once again, I was oddly
impressed (in a head-shaking sort of way) with the
oddity of the heavy beads of sealant coupled with crispy
fiberglass tabbing found on the forwardmost pieces. |
 |
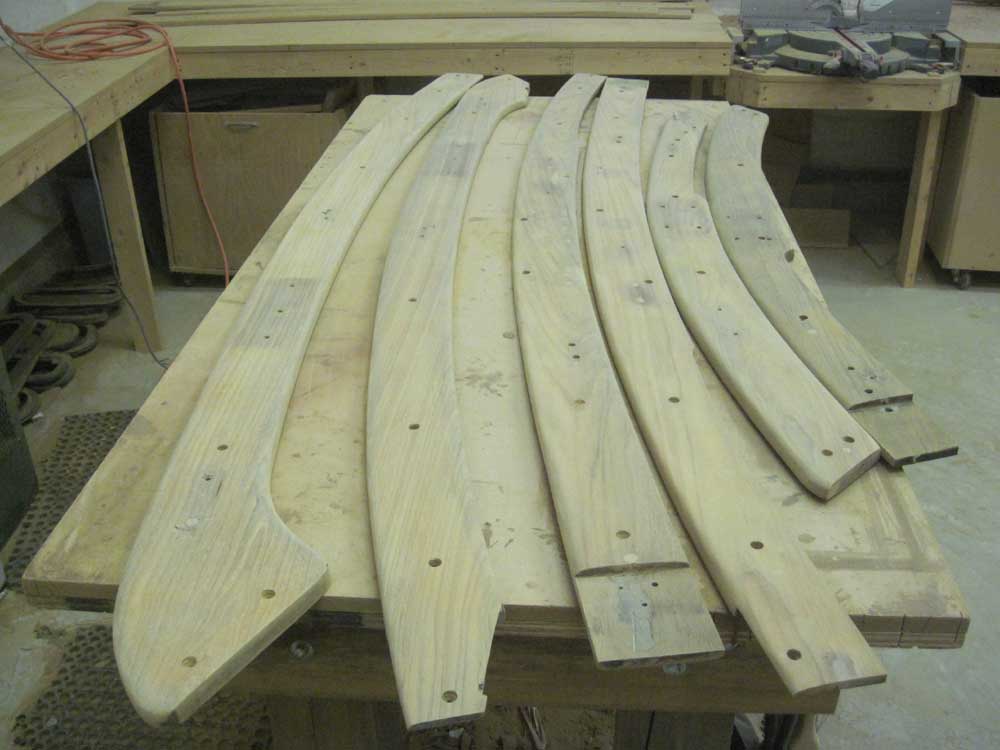
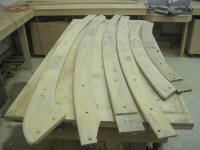
As before, I scraped away the excess sealant and other
debris, then sanded both sides of the six sections with
80 grit paper to clean up the wood and smooth the
various bungs and epoxy repairs effected yesterday.
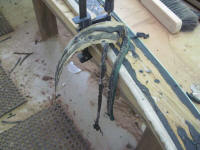
Late in the day, after some other work, I continued the
sanding with a vibrating finishing sander, working
through 80-120-220 grit paper to complete the
pre-finishing prep work required on these six sections
(other than some additional repairs to the port forward
section--second from left in the photo below--which
featured two broken ends). |
 |
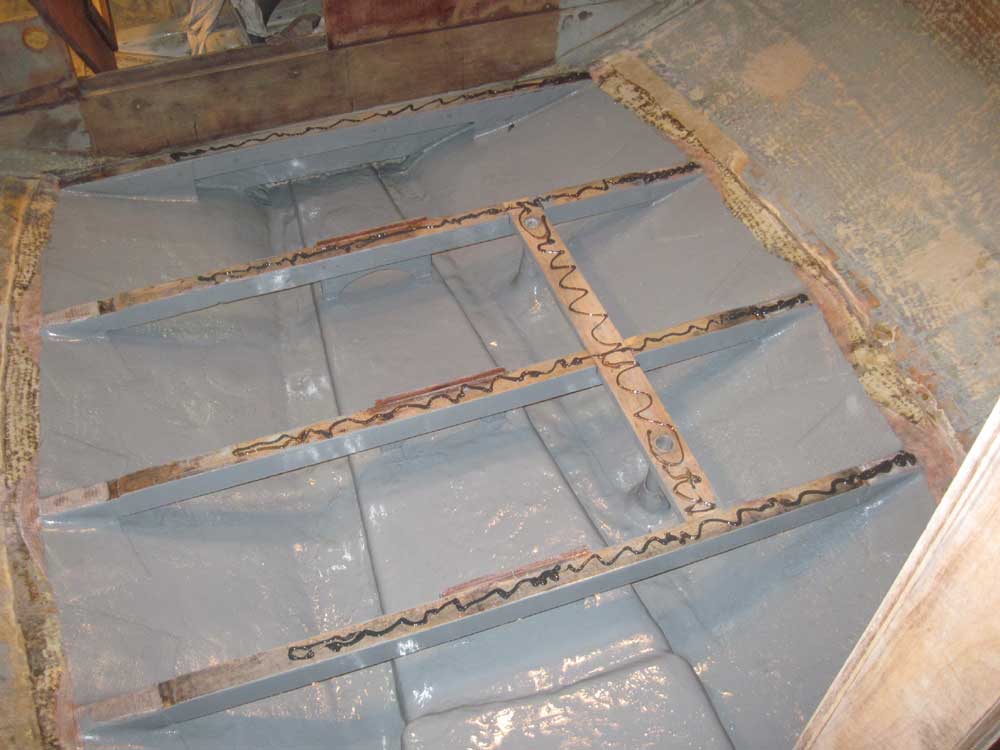
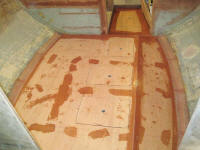
When the cabin sole adhesive had had a few hours to cure
sufficiently, I applied epoxy fillets to the edges where
the sole met the hull, to fill the gap there and smooth
the transition between sole and hull--as well as to add
adhesion and reinforcement. While I was at it, I
filled the small gaps between sheets and filled the
screw holes as needed. |
 |
Afterwards, I installed 4" biaxial tabbing to secure the
plywood to the hull at the edges, not so much for
strength and reinforcement as to ensure a clean
transition between the two. These areas would be
inside lockers when all was said and done.
I realized my error in applying epoxy fill material to
the screw holes while installing the tabbing, as it was
difficult to avoid leaning or kneeling on some of the
epoxy residue, making the process a bit more of a mess
than I would have chosen, but otherwise not causing any
serious issues. |
|
Total Time Today: 5.25 hours
|
<
Previous | Next > |
|
|