Project Log: Sunday, October 2, 2011
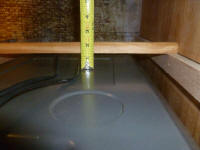
After lightly sanding the new tabbing in the galley, I
worked on some additional layout. Reinstalling,
temporarily, the galley's front panel, I marked level
lines to represent the tops of the floors of each recess
(range and refrigerator) by holding a level across the
base of the cutout. On the range cutout, I
also struck a plumb line off the back edge to represent
the back panel; the refrigerator opening did not have a
back panel, as the fridge would take up the space right
to the hull. |

 |
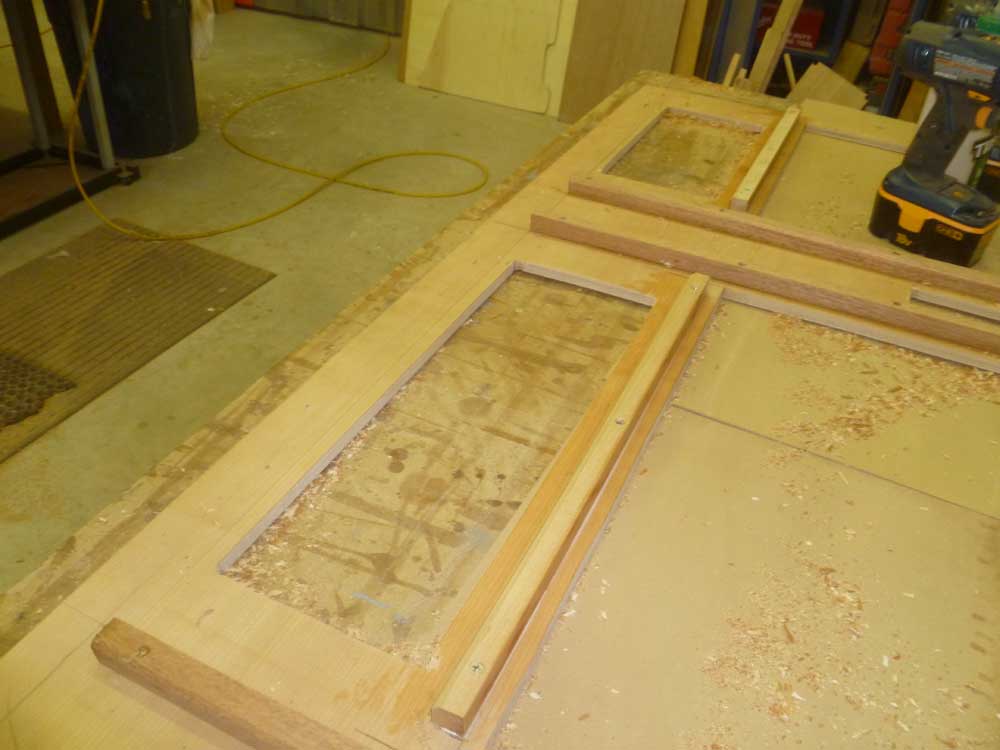
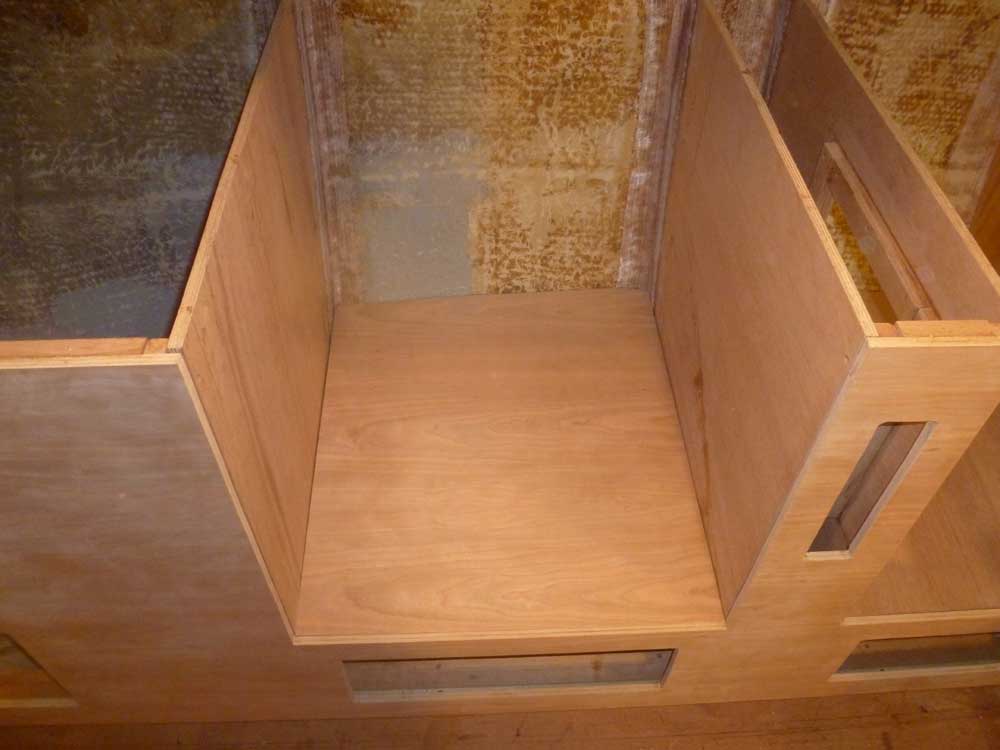
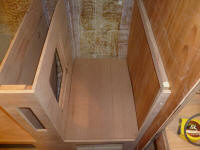
I milled hardwood cleats to fit each space as needed,
then installed the horizontal cleats, along with a cleat
across the inboard edge of the front panel. I used
a scrap of plywood to lower my layout lines accordingly,
so that the cleats ended up a plywood thickness lower
than the layout line. |
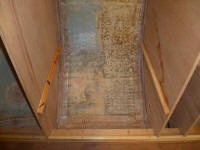 |
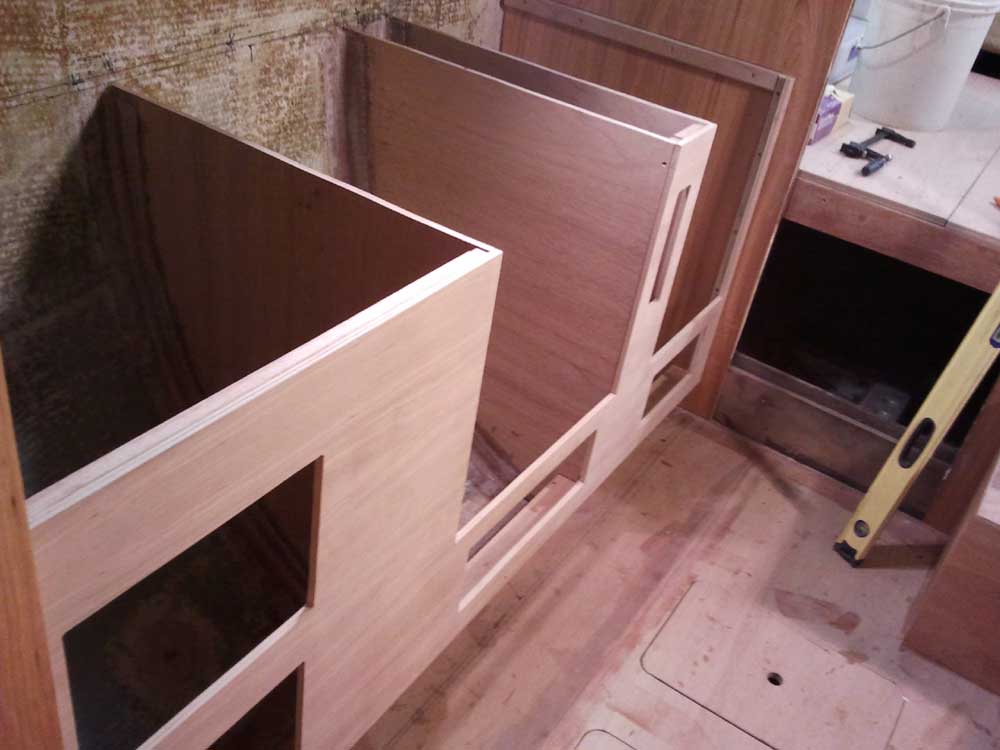
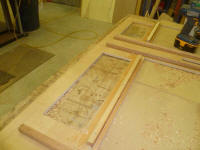
Next, I cut the base panels for each opening.
I used 1/2" cherry plywood in the stove cutout, as I
thought there might be a bit of the surface visible
through the stove's base once installed. |
 |
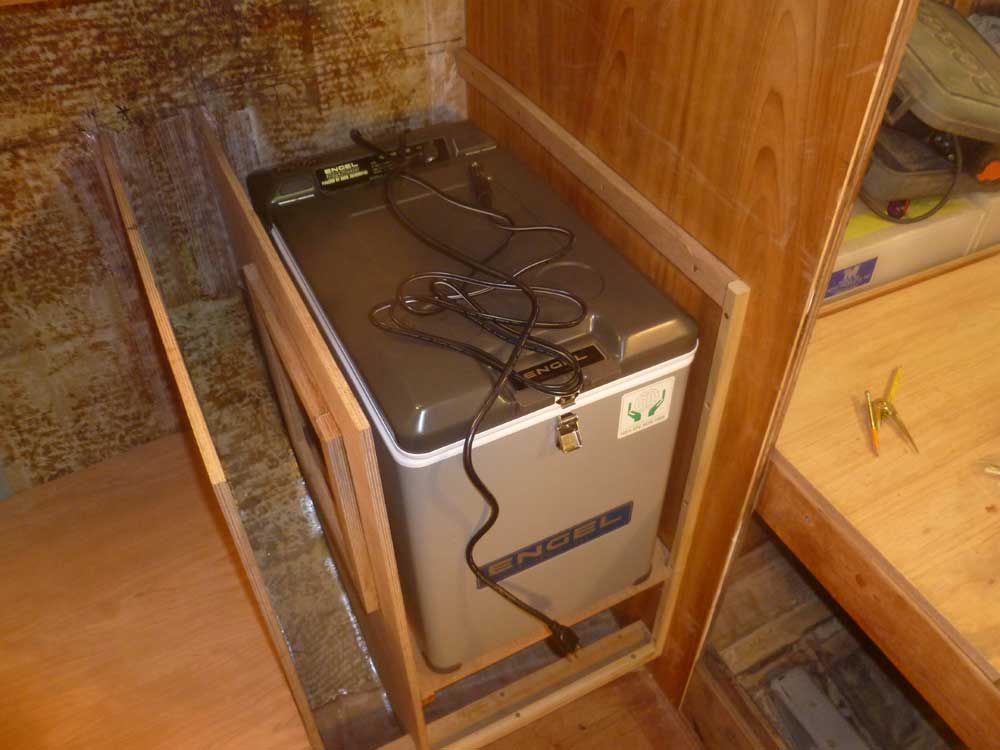
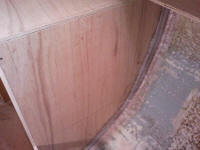
I decided to try the fit of the Engel refrigerator in
its designated space before I went any further. I
knew the length tolerance was tight, but I'd suddenly
had the terrible thought that the power plugs for the
unit protruded some distance from the back side, and
that these might interfere with the hull.
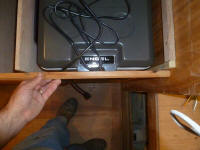
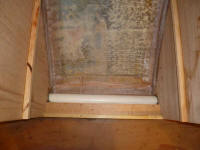
This proved to be an accurate concern. With both
the AC and DC power cords plugged in, I slid the refer
into the space. The protruding cords, particularly
the longer DC plug (on the right in the photo below),
contacted the curve of the hull, and prevented the
fridge from sliding back quite far enough, so the handle
and lid latch protruded slightly beyond the inside edge
of the cabinet's front (as represented by the wood cleat
in the photo), roughly 1/4". Never mind that I'd
never be able to operate the latch or conveniently use
the handle. |
 |
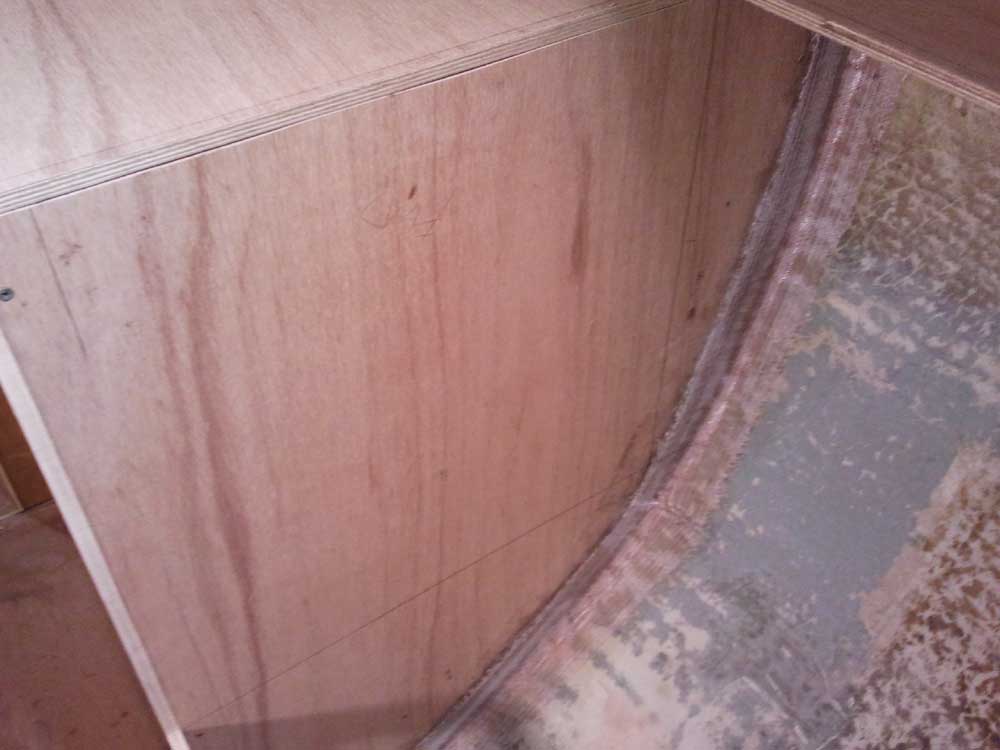
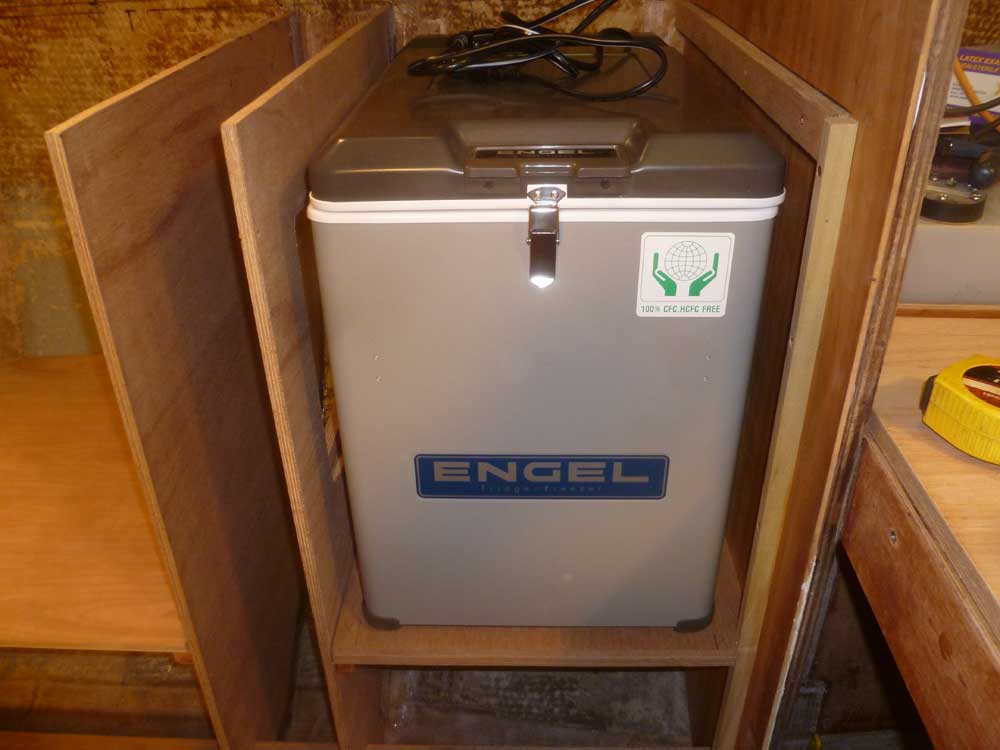
Otherwise, the unit fit nicely, with ample room around
(though I still planned various ventilation schemes,
including louvered vents, in-cabinet vents, ventilated
door, and fans as needed).
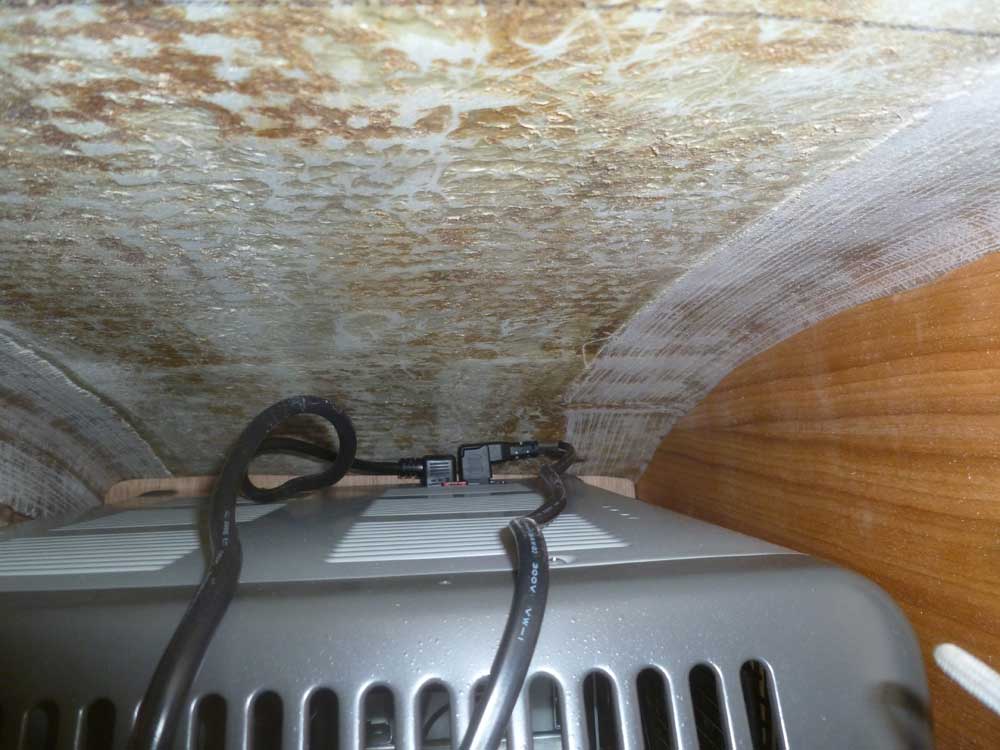
I'd intentionally left clearance above the top of the
unit, a bit more than an inch overall. |
 |
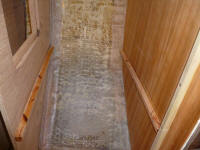
This additional room meant that I could raise the
platform, which would give more horizontal clearance
since the hull curved outboard as it went up, so I cut a
second layer of 12mm plywood to lay on top of the
original floor, and this small increase allowed the DC
plug enough extra room so that the whole fridge remained
within the bounds of the cabinet, and still left nearly
3/4" clearance above the top of the unit. However,
it still looked like I'd have to remove the lid latch,
and possibly modify the handle for easier operation
within the specifications of the cabinet. But that
could come later. |
 |
Before I could permanently install any of these shelves
and enclosures, I had more work to do on other aspects
of the galley space. Throughout the process, as
things came together, I'd been mindful of the
requirement to run various hoses, cables, and wires to
and through the space: propane line; water hoses;
electrical wiring for the galley itself; and
"through-wiring" for electrical things located in the
forward half of the boat. I didn't know the
details of these installations, but had to provide a
convenient and safe means of routing them in any event.
As always, possible route locations were inevitably
complicated by the details of the boat's construction,
my own new constructions, and other factors. For
example, I could have chosen to route water hoses to the
galley sink through the bilge, but I didn't like running
anything through the bilge that didn't absolutely have
to be there, so I chose to avoid this possibility.
Also, the design and location of the new tankage
bulkheads in the engine room prohibited certain possible
routes near the bottom of the galley cabinet.
After giving the ideas various amounts of thought as I
worked in the area, I decided upon a plan. The
narrow space between the refrigerator and stove, which
would otherwise be used only for ventilation, looked
like a great place to run hoses through, and I'd
have reasonable access through the access hatch I'd
built into the refrigerator space. The
construction of the toekick also had a sort of built-in
channel that I thought I could utilize.
The difficulty was getting wires and hoses to this area
in the first place. I didn't want to clog up the
air space outboard of the refrigerator with conduit, as
I felt the fridge would need as much circulation as I
could give it, so while I'd considered running conduit
across the top outboard section of this cabinet, I
ultimately decided against it. Instead, I thought
I'd run wires, hoses, etc. above the countertop in this
area (hidden behind a vertical panel that I'd be
installing later), then down into the 6" space between
the bulkheads, where I could more easily route things
forward beneath and above the range enclosure.
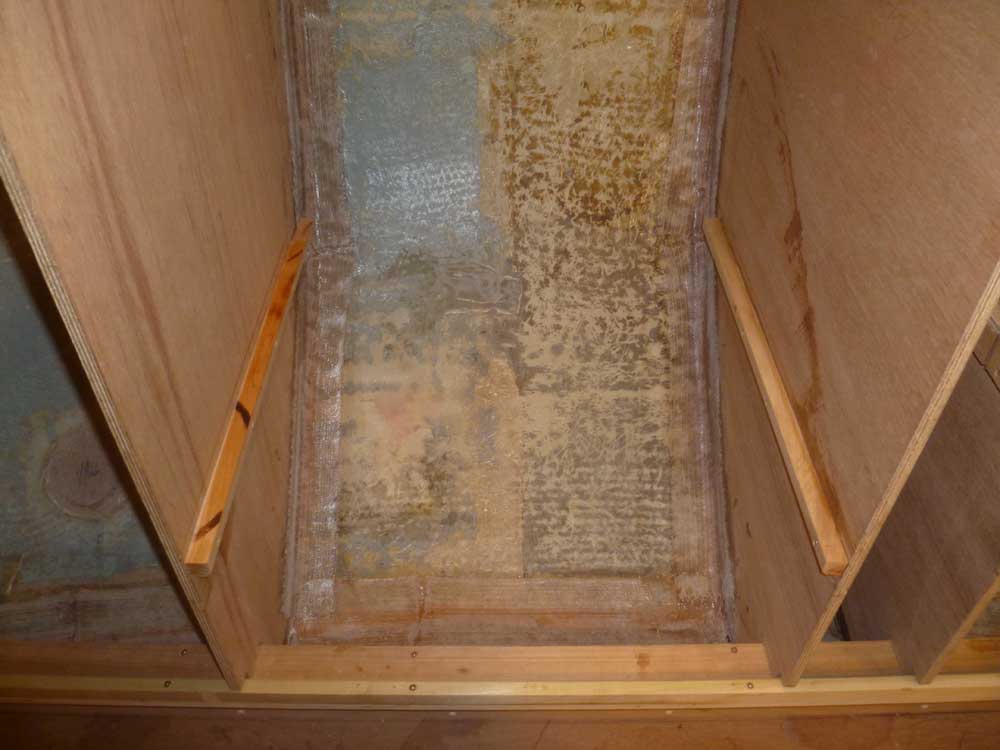
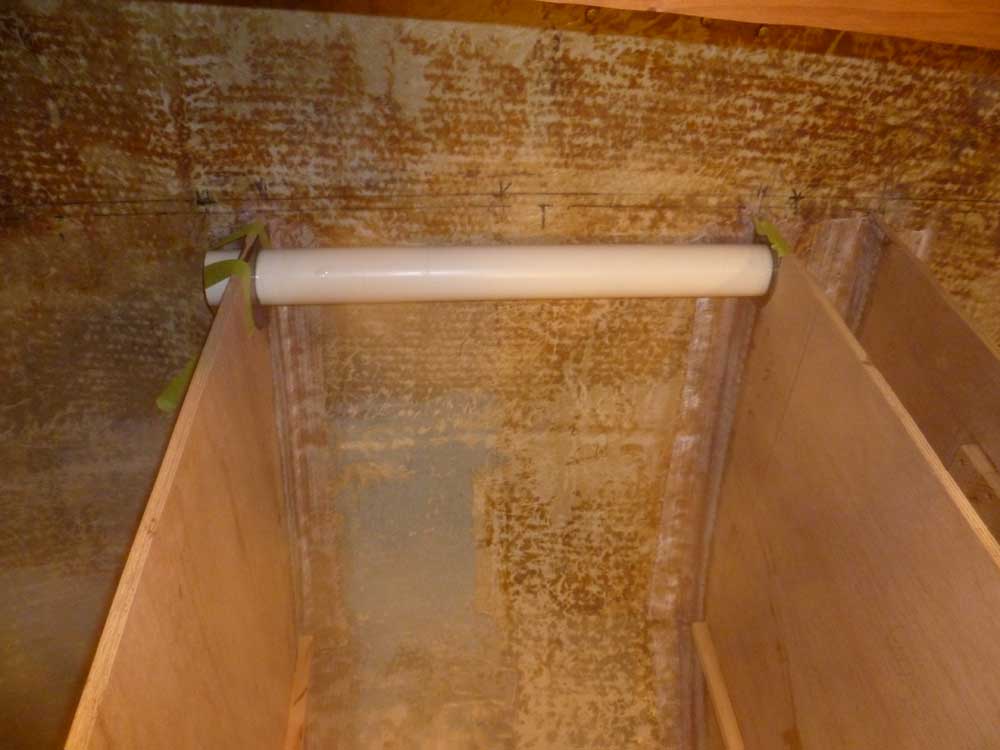
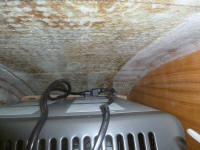
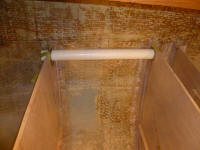
To that end, I installed two 2" conduit pipes through
the range space, opening into that narrow 6" space on
one side, and into the large open galley cabinet forward
of the range. Each 2" pipe was large enough to
hold four or more water hoses, or any number of wires.
I figured I'd probably run the water supply hoses
through the lower section, and wiring (and windlass
cabling) through the upper one, but in any event the two
pipes would give me options down the road.
In each case, I drilled holes of the appropriate size,
then installed the conduit with epoxy adhesive to hold
it in position. I left extra pipe on the forward
end of the upper conduit, in case I wanted to extend it
later with fittings and additional pipe. The
conduit would protect its contents, and also give an
easy means of running things later. |
|
Total Time Today: 5.75 hours
|
<
Previous |
Next > |
|
|