Project Log: Monday, October 3, 2011
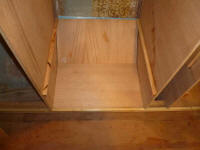
I continued work on the deceptively simple galley
cabinet, slogging through the minutiae of its hidden
internal components. After contemplating the lower
lockers (beneath the range and refrigerator enclosures)
over the past few days as I worked on adjacent
structures, I decided to go ahead and install flat
platforms running between the top of the toekick
structure and the hull, rather than leaving the spaces
open the extra few inches beneath. I felt the
lockers would be more attractive and useful with
flat floors, and the amount of space I gave up was
minimal in a practical, usable sense.
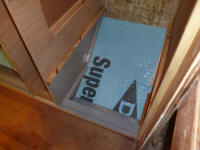
To that end, I installed additional support cleats as
needed, keeping their tops level with the top of the
toekick (which would support the inboard ends of the
platforms). Where the platforms intersected the
hull, I installed additional angled cleats on the
bulkheads.
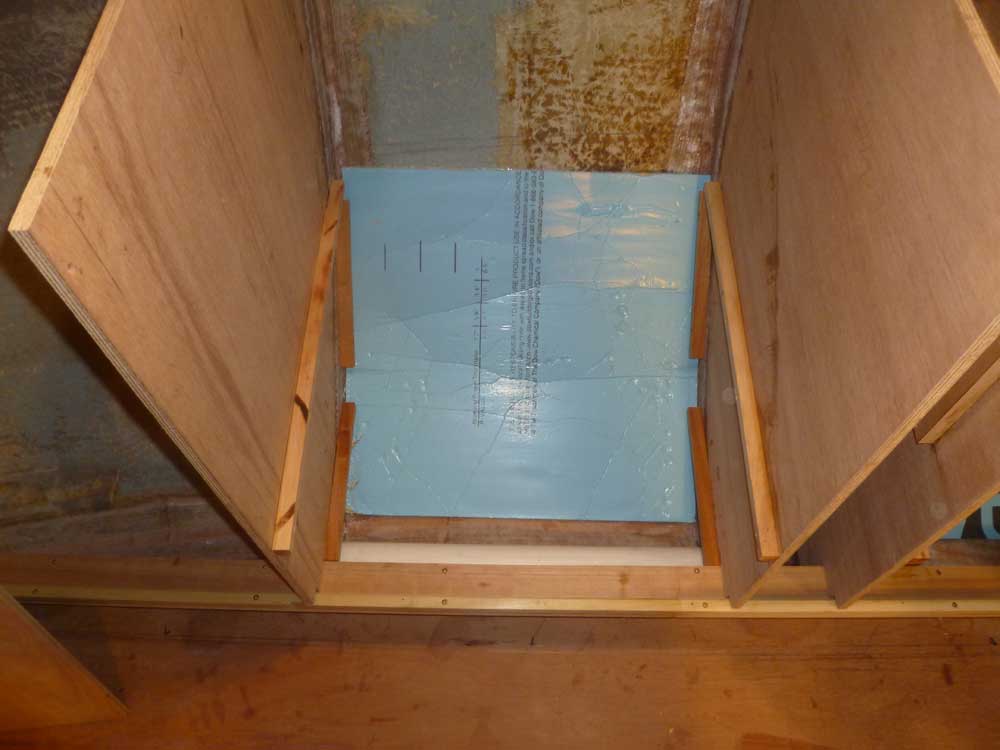
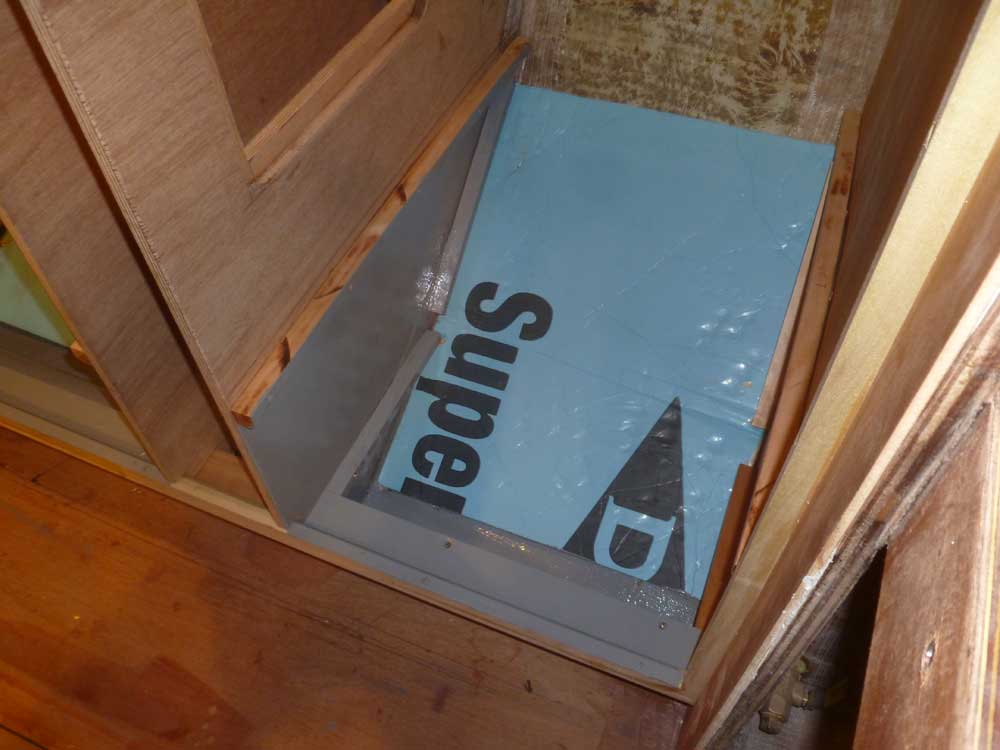
Behind the cleats, I installed more of my 1/2" rigid
foam board insulation, a step I'd internally debated
with vigor over the past few days. To cover and
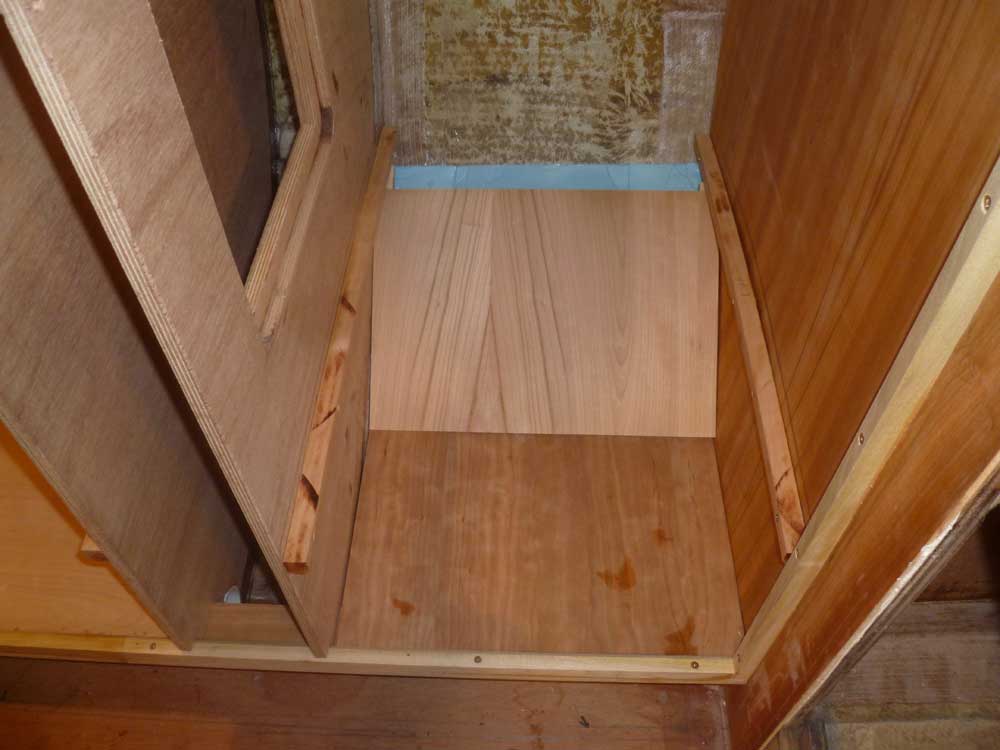
protect the insulation, and finish off the lockers, I
cut and fit cherry plywood panels--1/2" for the bottoms,
and 1/4" panels against the hull. |

 |
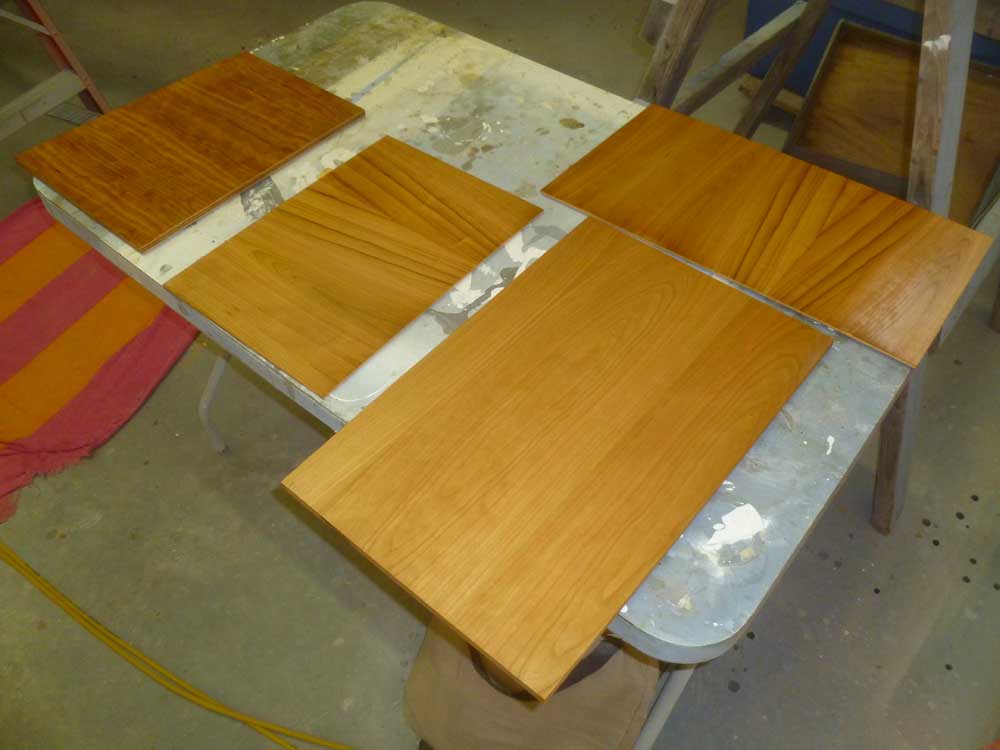
Temporarily removing the panels, I painted the insides
of the lockers with gray Bilgekote, and varnished both
sides of the panels for protection and (where exposed)
appearance. |

 |
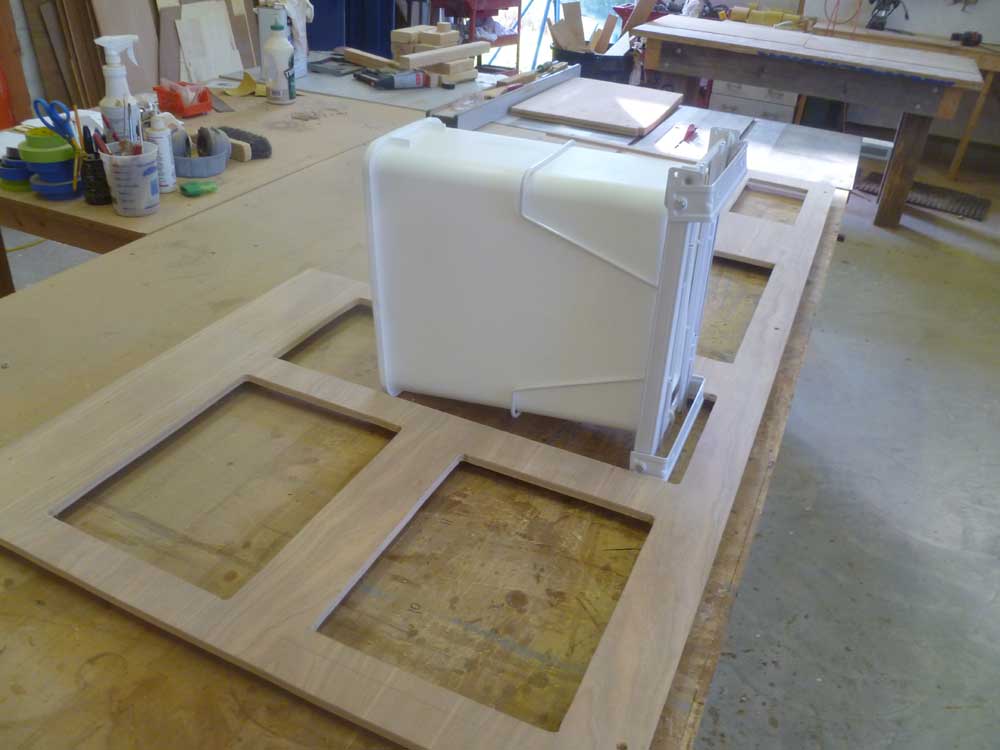
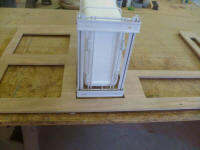
The galley trash can and holder arrived, so I could
finalize the layout and cuts on the front of the galley. |
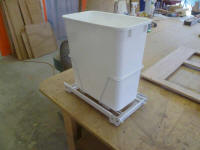 |
Up in the boat, I determined roughly where the shelf
that would support this slide-out holder needed to go; I
determined a safe point high enough to avoid the
impedance of the curvature of the hull, and made a
measurement that I transferred to the galley's front
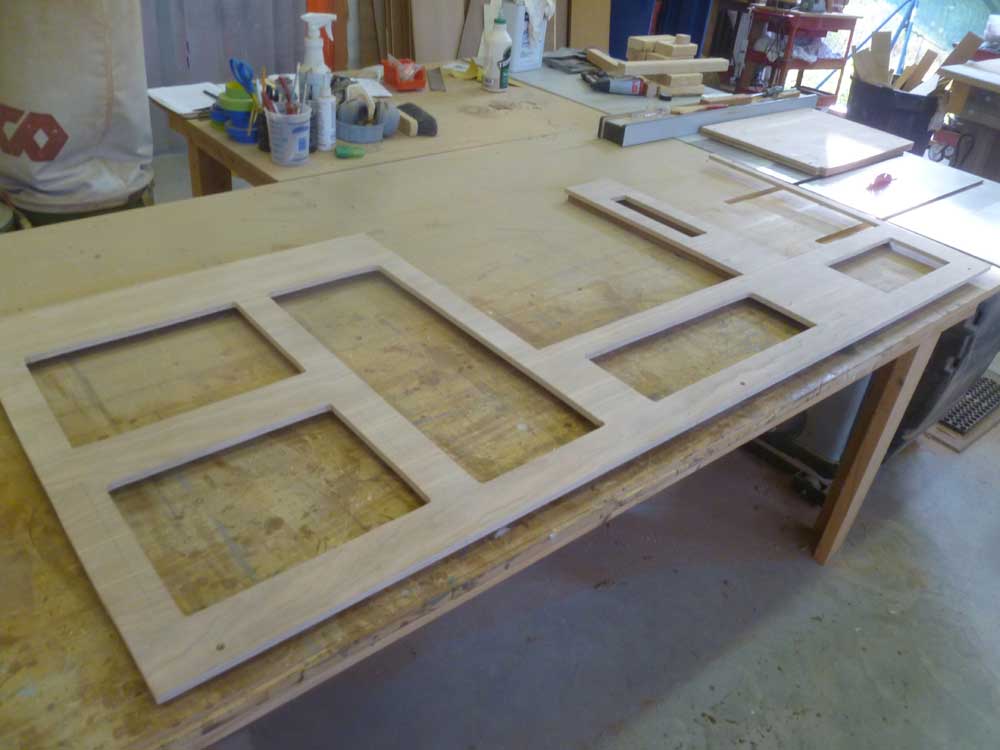
panel, which I had down on the bench.
After various measurements and layout in the available
remaining space on the cabinet, I decided to make the
door cutout even at the bottom with the locker openings
I'd cut beneath the range and refrigerator, and even at
the top with the previously-cut locker opening in the
galley. The resulting opening was wide enough to
slide the entire trash bin assembly through, even though
the sliding part and the trash can itself were a bit
narrower than that, so I could remove or install the bin
in the finished cabinet as need be. The height of
the opening was marginally taller than the minimum
required, but I felt the symmetry and alignment of the
various lockers was important. |


|
Total Time Today: 3.5 hours
|
<
Previous |
Next > |
|
|