Project Log: Friday, August 31, 2012
Checking the new V-berth ceiling cleats earlier in the
week after their installation, I discovered that one of
the cleats had sprung away from the hull--the same one,
in fact, that had done so earlier, while I was still
involved in the installation. As well as it had
worked for all the other cleats, in this case the hot
glue simply hadn't been able to hold the cleat in place
for whatever reason. |
 |
So my first order of business was to remove the cleat
and remnants of epoxy. I used a chisel to remove
the cleat (the two ends were firmly affixed), then
sanded the hull clean in way of the cleat location. |
 |
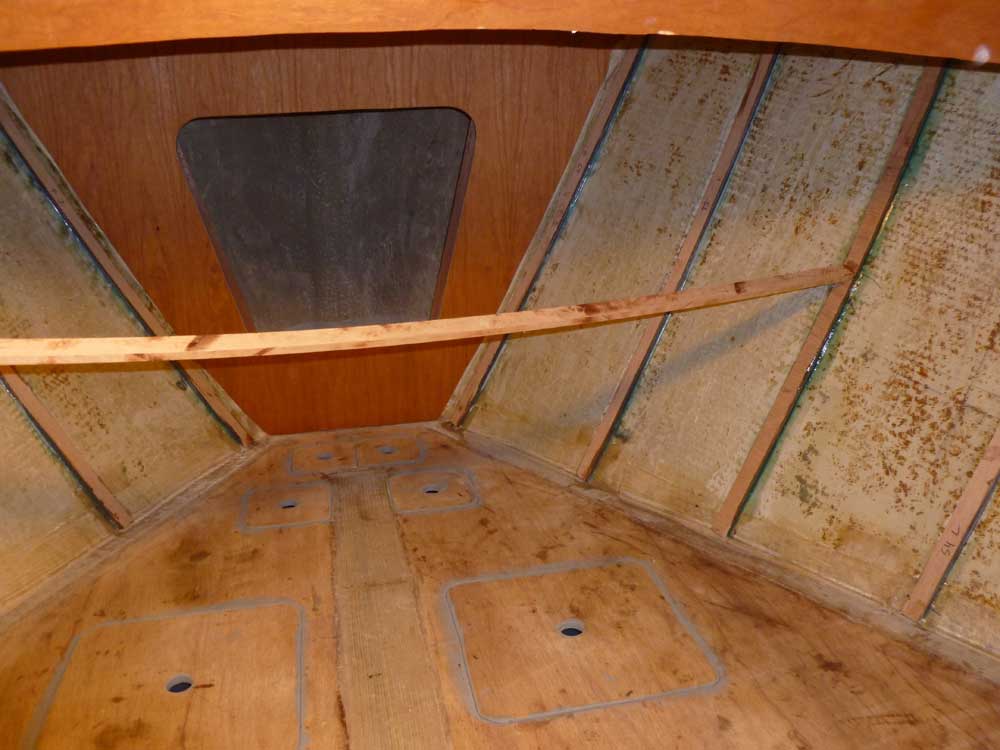
after cleaning up and cutting a new cleat, I installed
it, as before, with epoxy adhesive and some hot glue to
hold it into the curvature of the hull. This time,
however, I added a brace across the boat to hold the
center of the cleat firmly into the hull. I still
used the hot glue beneath the center of the cleat to
prevent the brace from sliding the cleat under pressure. |
 |
Involved in several other things in and around the shop,
I didn't get deeply involved with any major projects on
the boat, but whittled away at some of the odd jobs that
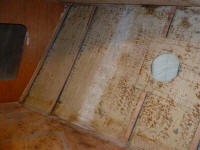
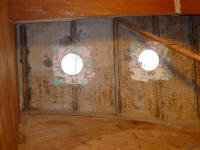
needed doing. The exposed hull around the
four deadlights in the forward cabin still needed to be
framed in with support cleats, which I'd laid out and
marked out earlier, but before installing the cleats I
did a little surfacing work on the hull in the these
areas.
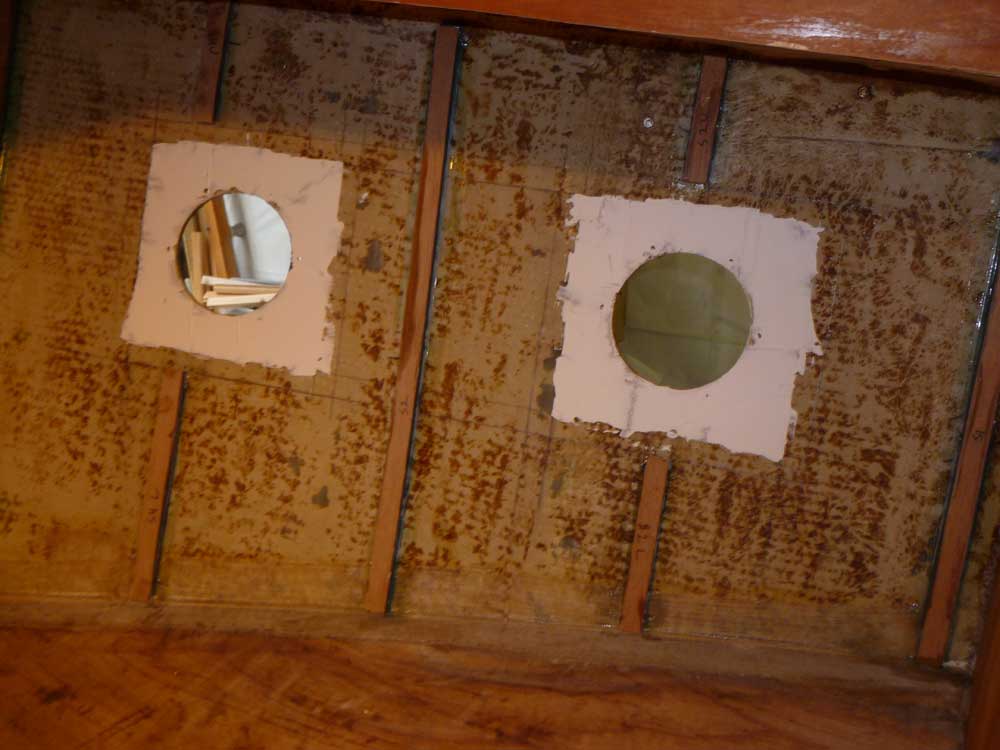
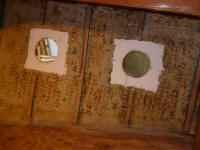
Since the hull would be exposed within these boxes, to
be covered with paint, I wanted to make the exposed
fiberglass a bit smoother and ultimately more
attractive, so I installed a skim coat of surfacing
putty, using a white acrylic putty made for bodywork.
I don't use this stuff often, but it is convenient to
apply (from a tube) and quick-drying, and in this
instance, where the surfaces were small and required
minor surfacing only, and would be covered with regular
enamel, I thought this material would be perfectly
sufficient. I applied the material only to the
areas that would be exposed, and chose to do it now
since it'd be easier to apply and sand the material
before the cleats were installed around the perimeter.
|
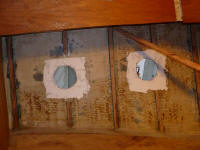 |
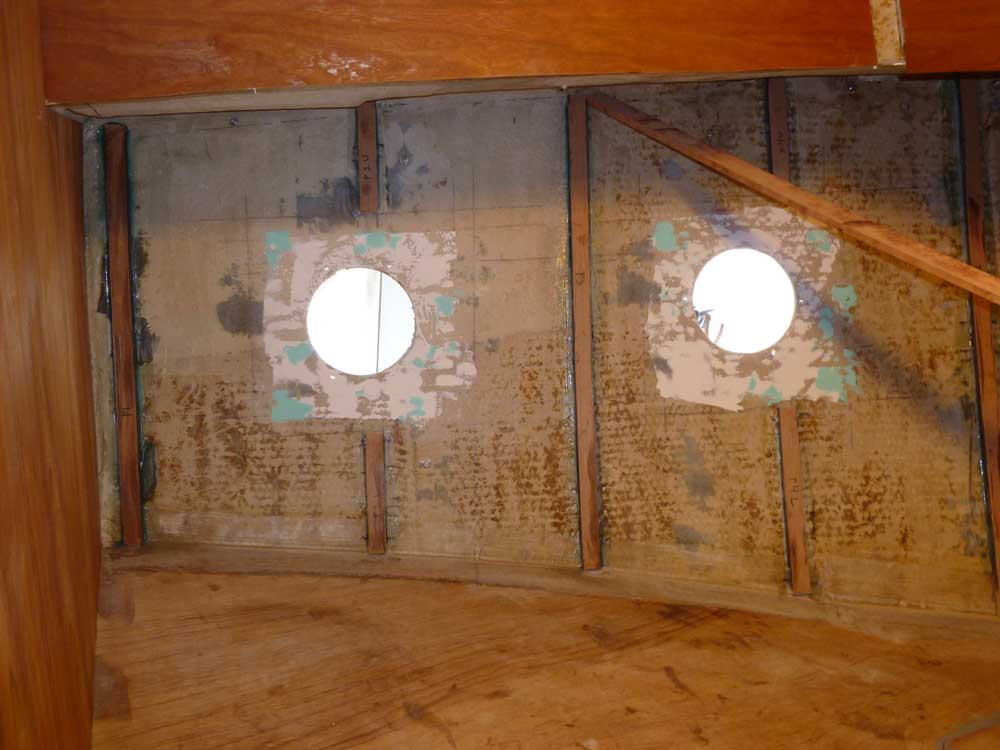
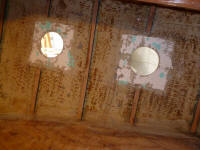
Later, I sanded the areas and spot-applied additional
surfacing compound in a few areas as required, this time
a green version of the same stuff, except the green had
an even quicker cure time. Shortly thereafter, I
sanded the areas smooth, completing the task. |
 |
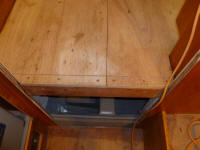
Among assorted other odds and ends, I made a slight
modification to the pilothouse underlayment. At
the forward end, I marked the plywood at a point halfway
across the support beam at the forward end, and cut off
the small sections forward of the line; these I
permanently attached to the beam. The reason I
chose to do this was because I'd been thinking about
routine removal of the floor for engine room access, and
how the system would all work once the final surface and
trim was installed, particularly at this forward end
where a vertical panel over the forward access to the
space would require trim to overlap the top; this would
get awkward if the entire floor panels had to come up. |
 |
Meanwhile, I made slight modifications to and
permanently (I hoped) secured three similar sections at
the aft end of the pilothouse, which I'd cut off earlier
but had found were in the way of removal of the cross
beam at the aft end. I hoped that slightly
shortening the end pieces, to provide clearance for the
beam to angle in and out of place, would make it
possible to leave these secured to the beam. I'd
probably also cut them in a transverse way, reducing the
amount the floor passed beneath the aft bulkhead, again
for easier removal of the beam when necessary. I'd
originally let the pilothouse floor sections pass well
into this space beneath the cockpit, but there was no
need for so much overhang.
This is one of those simple things that is more
difficult to describe than necessary, or than the
process deserves, so I'll quit there. None of the
work this day was particularly exciting, but such
drudgery must be completed at some point in order to
move the whole project forward.
|
| |
Total Time Today: 3.5 hours
|
<
Previous |
Next > |
|
|