Project Log: Sunday, February 19, 2012
To begin, I completed the ritual steps to prepare the
newly-epoxied backing blocks--washing, sanding, etc., to
remove any excess epoxy and clean out the through hull
holes.
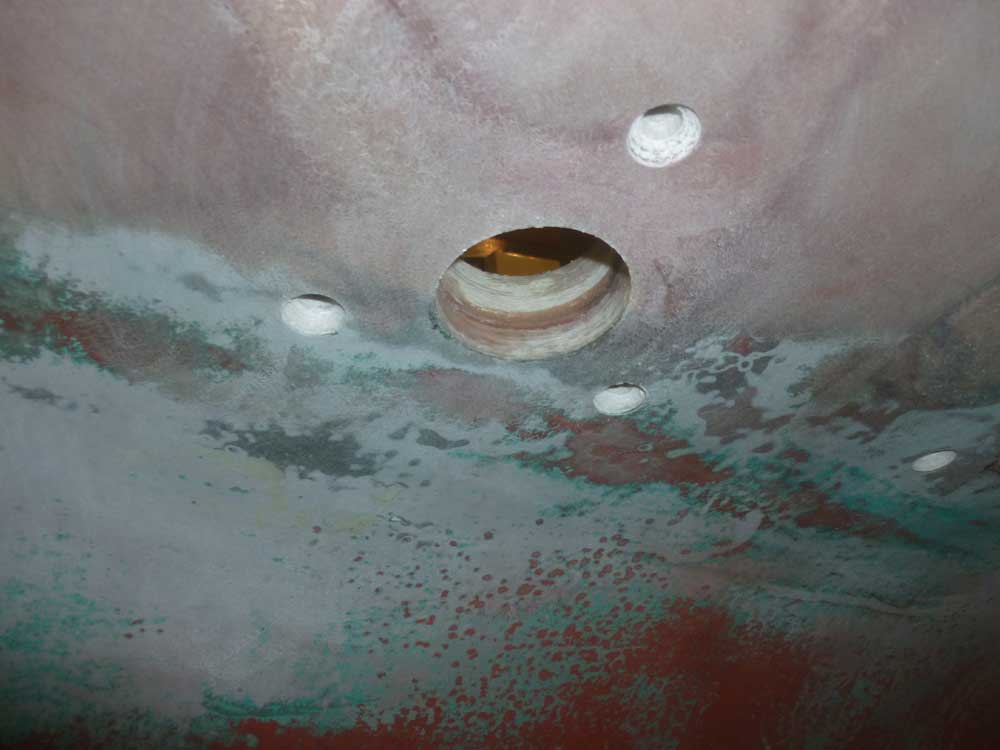
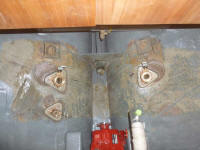
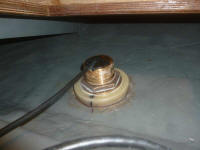
Afterwards, I inserted the three through hull bodies
through the holes from outside, holding them in place
with tape. |
 |
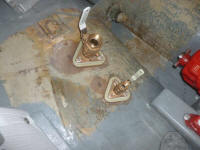
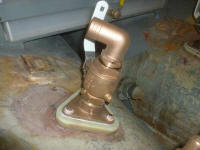
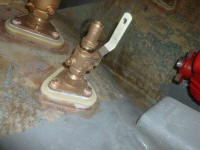
Inside the boat, I threaded on the valve assemblies,
tightening each as much as I could before then twisting
it to the proper alignment on the backing blocks.
Then, I drilled the three bolt holes to secure the
flanges. As I drilled each hole, I placed a bolt
in the hole to hold the alignment. I did this for
each of the three fittings. |
 |
After removing the valves and through hulls, from
outside the boat I countersunk the holes to allow the
bolts to lie flush, or just below the surface. I
thoroughly cleaned inside and out as needed. |
 |
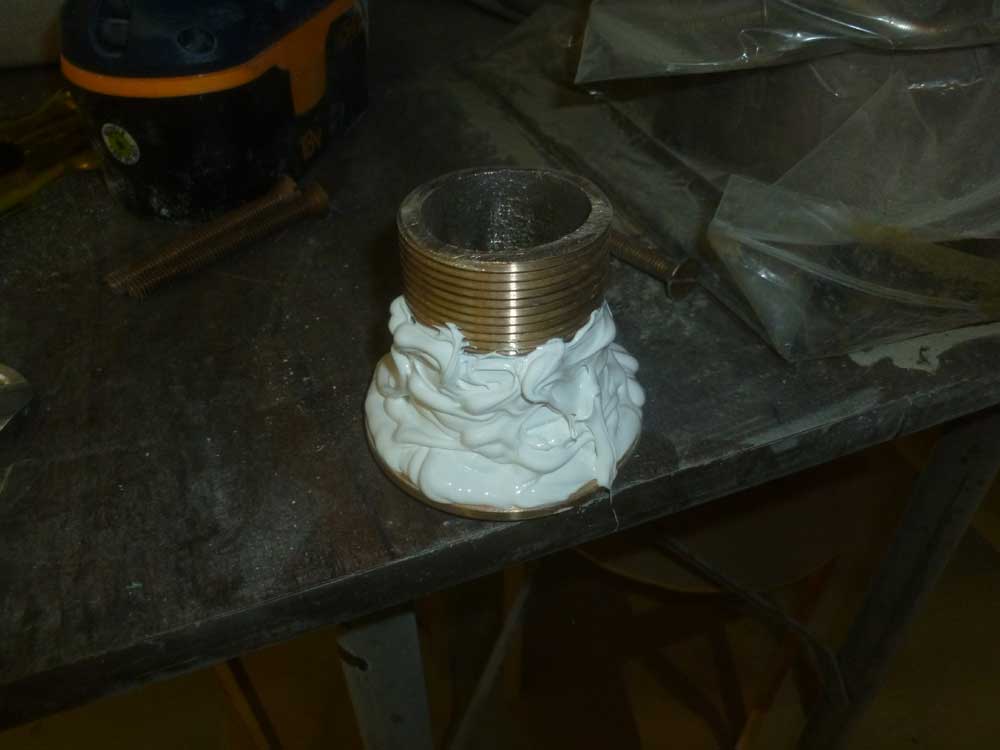
I applied a large quantity of 4200 polyurethane sealant
to the through hull flange and threads, then inserted it
in the hole, adding some tape to help hold it.
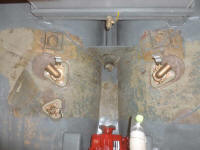
Because the three fittings were all in the same area, I
could combine the steps and do all three at once.
|


 |
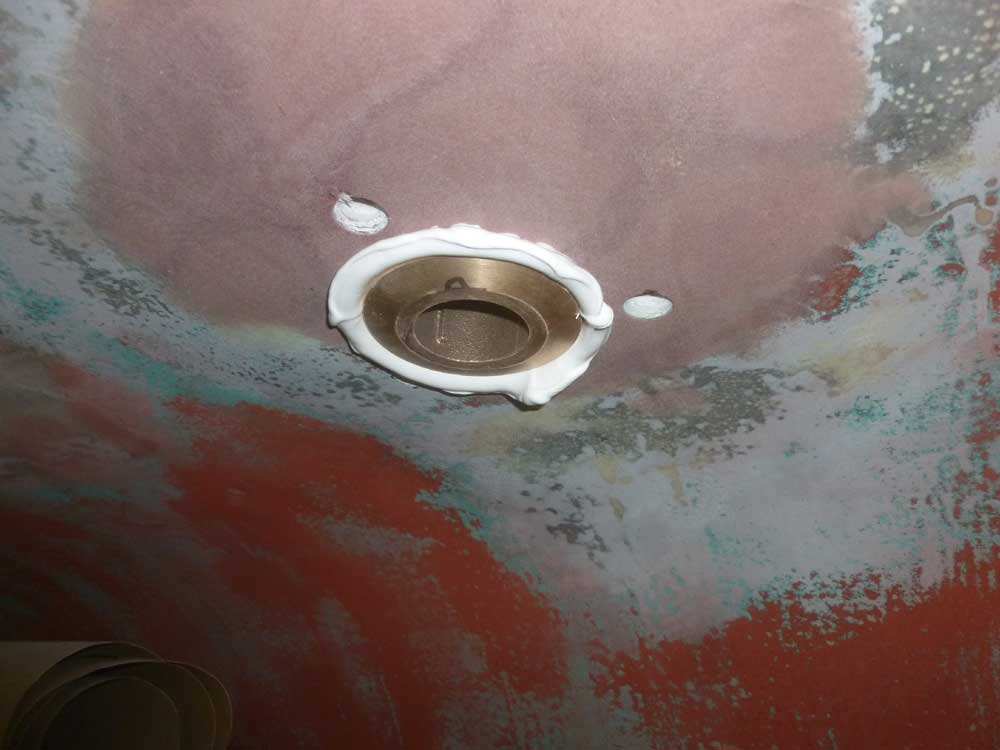
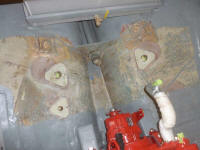
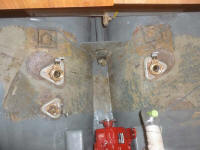
Inside the boat, with the three through hulls gooped up
and held in place, I added additional sealant around the
through hull body, the bolt holes, and around the rough
perimeter of where the valve flange would lie.
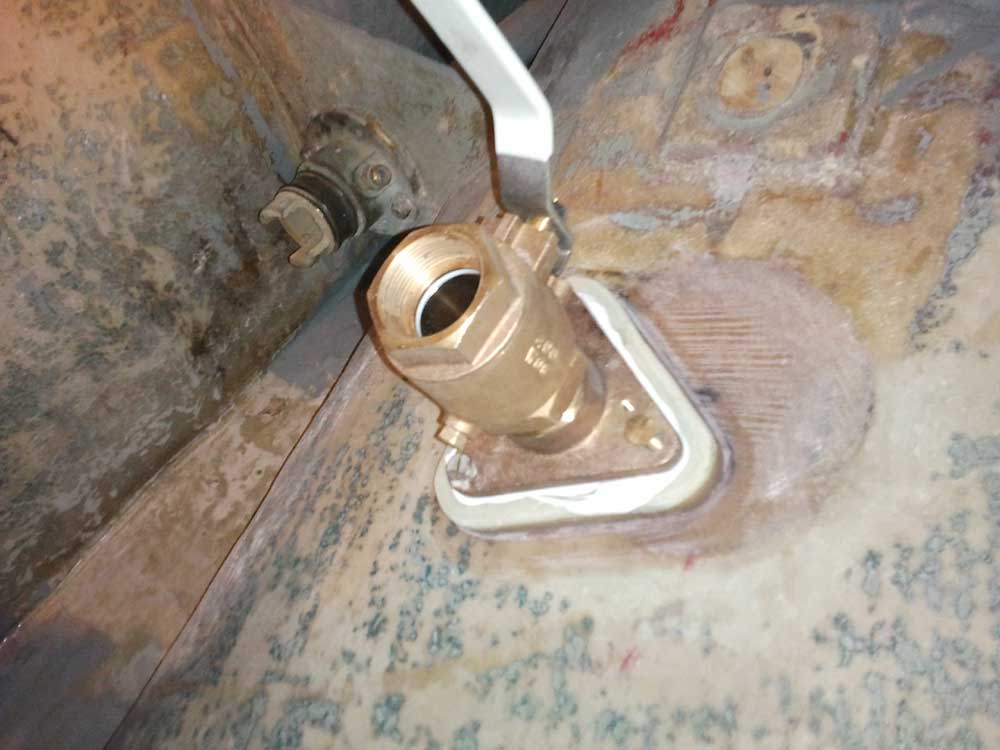
Then, I threaded on the valve/flange assemblies to the
point where I could align the bolt holes and, from
inside, insert temporary bolts to hold the alignment for
the next step. |


 |
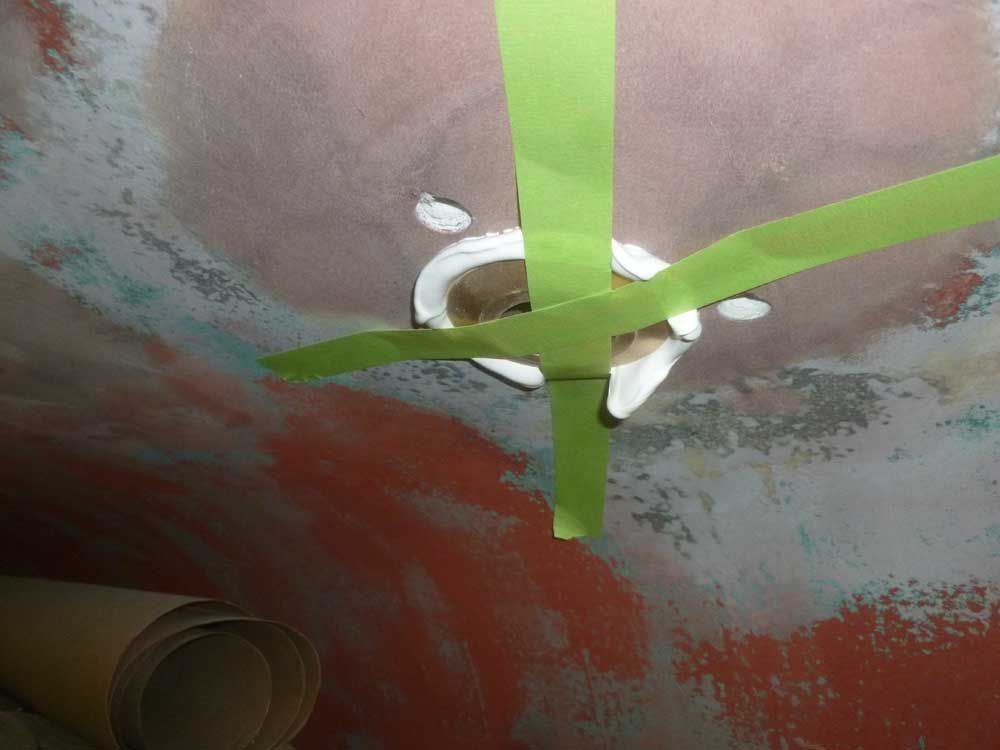
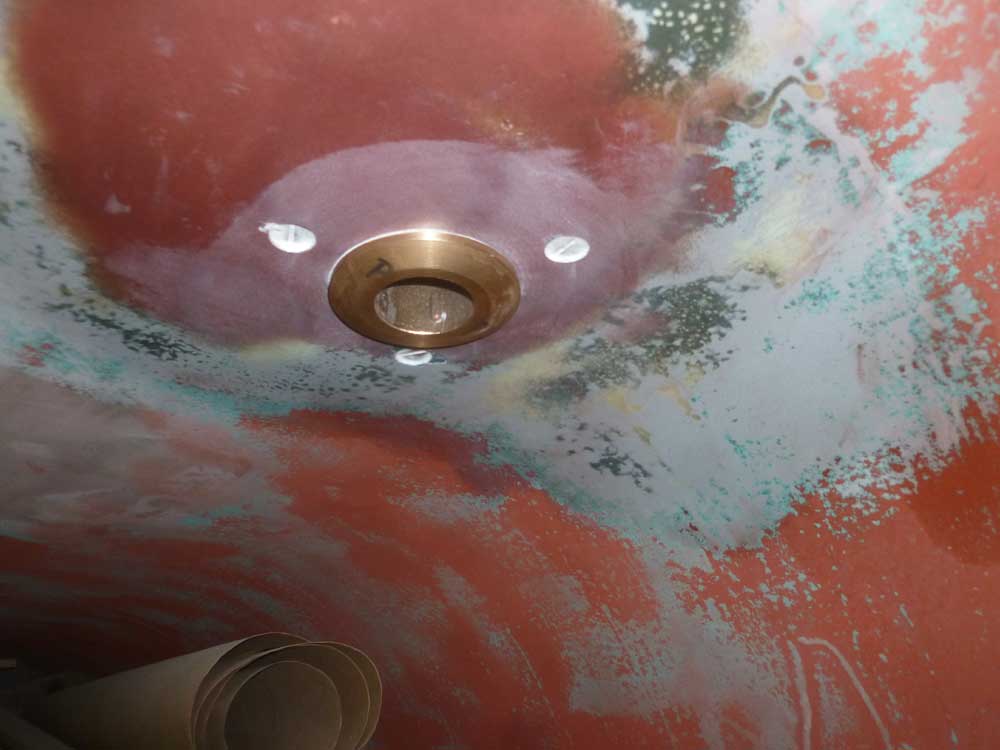
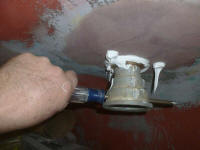
Back outside, I tightened the through hull a bit more,
but before snugging it completely I installed the
permanent bolts from outside, heavily coating the bolts
and heads with more 4200. As I inserted the bolts
I pushed out the temporary bolts inside the boat.
The sealant held the bolts in place on their own, so
with all three sealed and inserted I tightened the
through hull fitting the rest of the way with a special
tool. |

 |
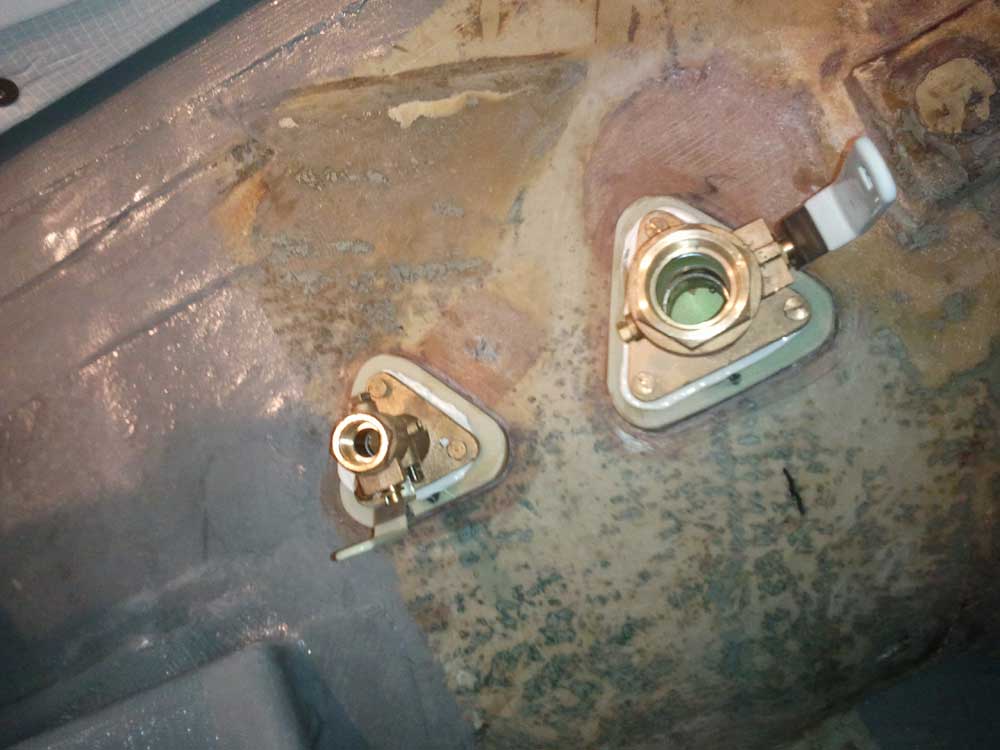
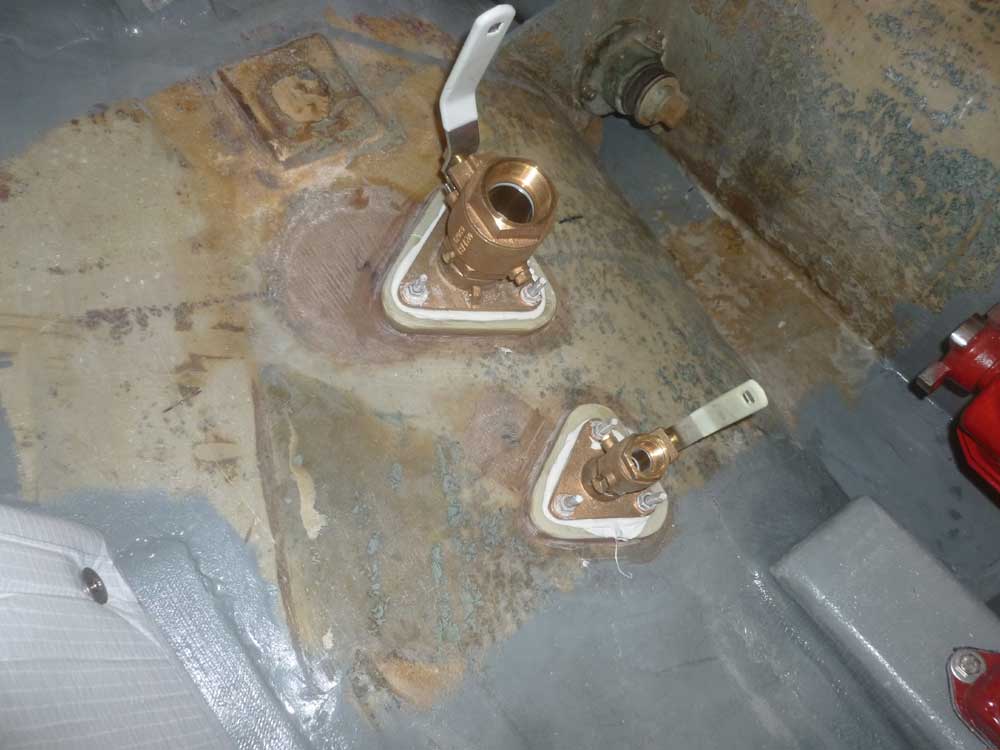
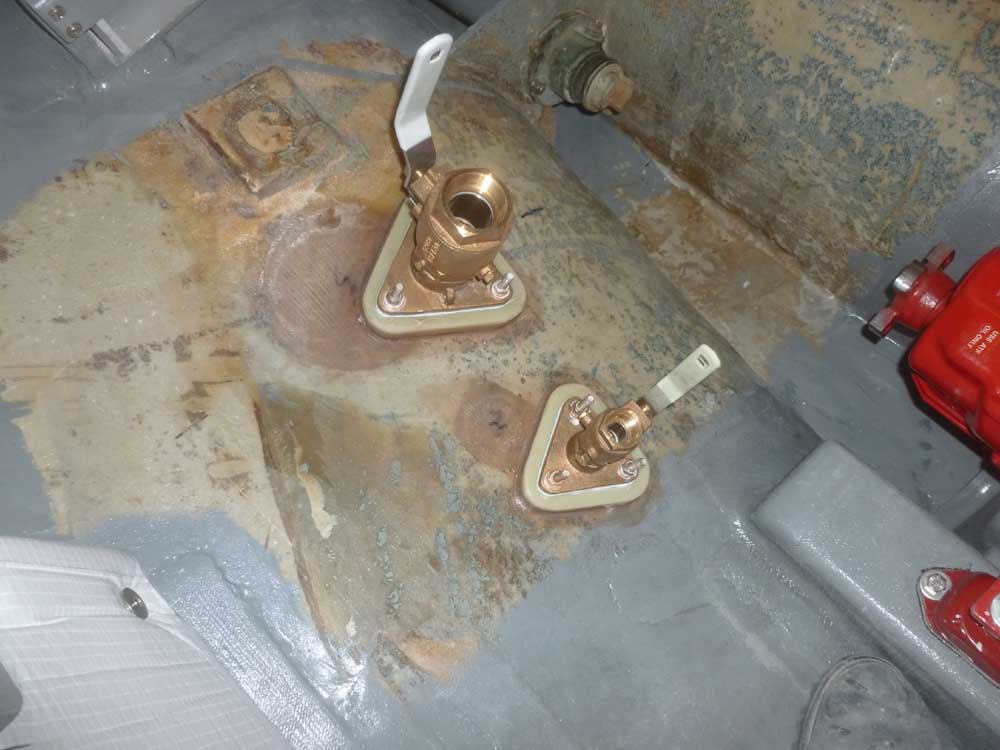
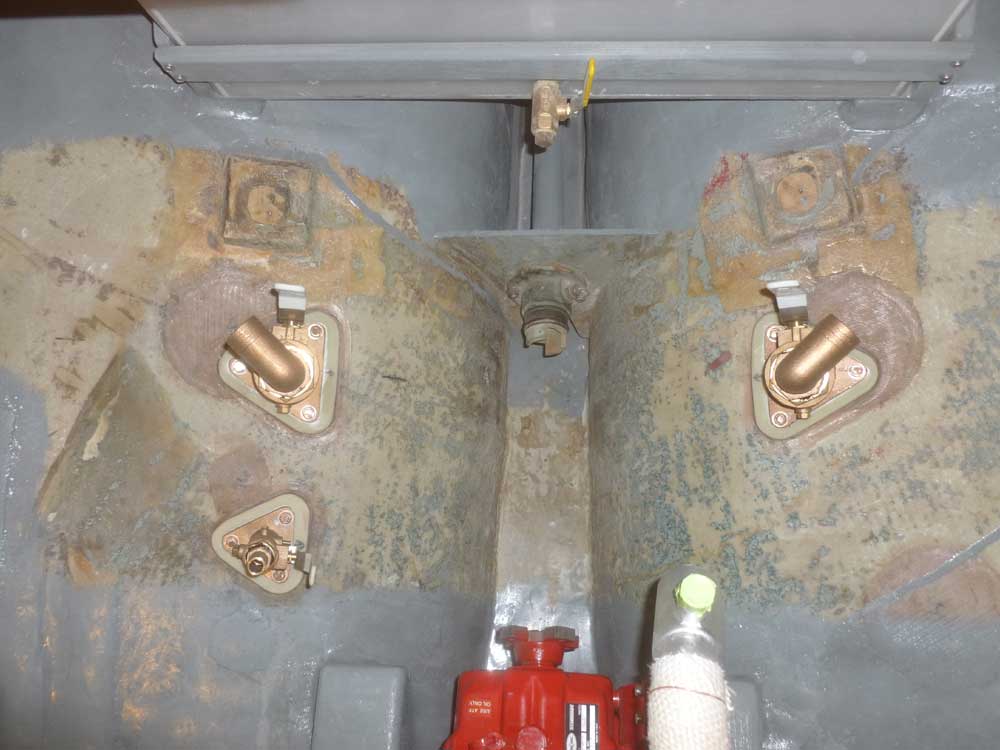
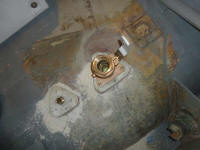
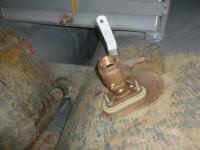
Inside once more, I installed nuts and washers on the
bolts, and tightened them securely. Because the
bolts were overlong, it was easy to hold the bolt with
locking pliers to prevent spinning. Afterwards, I
cleaned up the excess sealant. |

 |
Outside, I cleaned up the excess sealant around the
fittings and bolts. |
 |
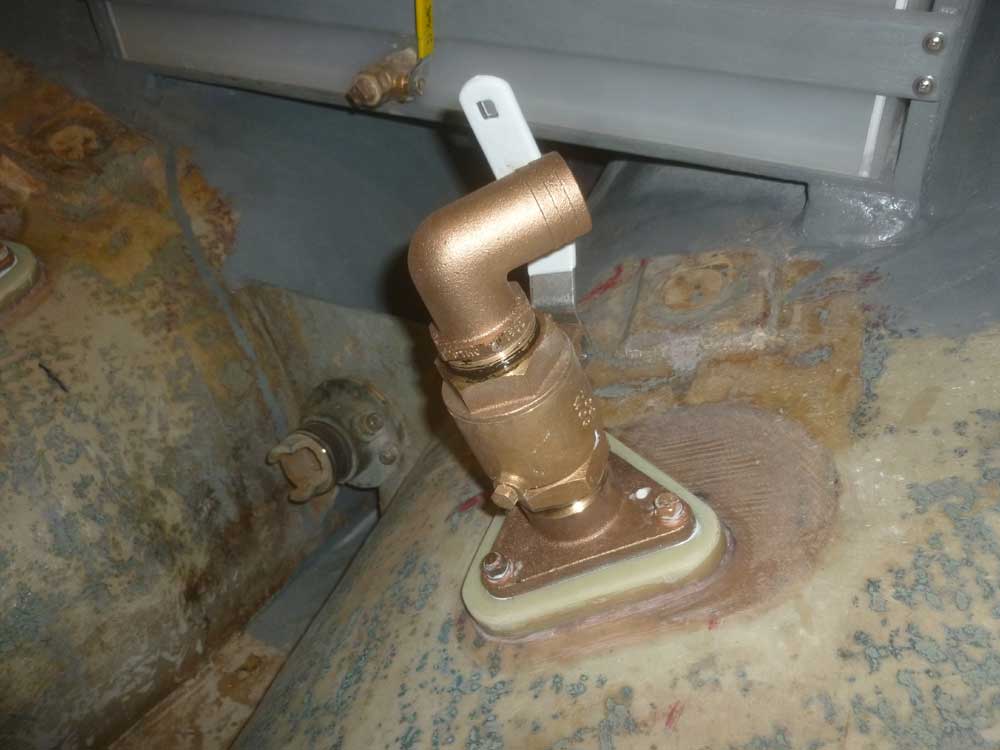
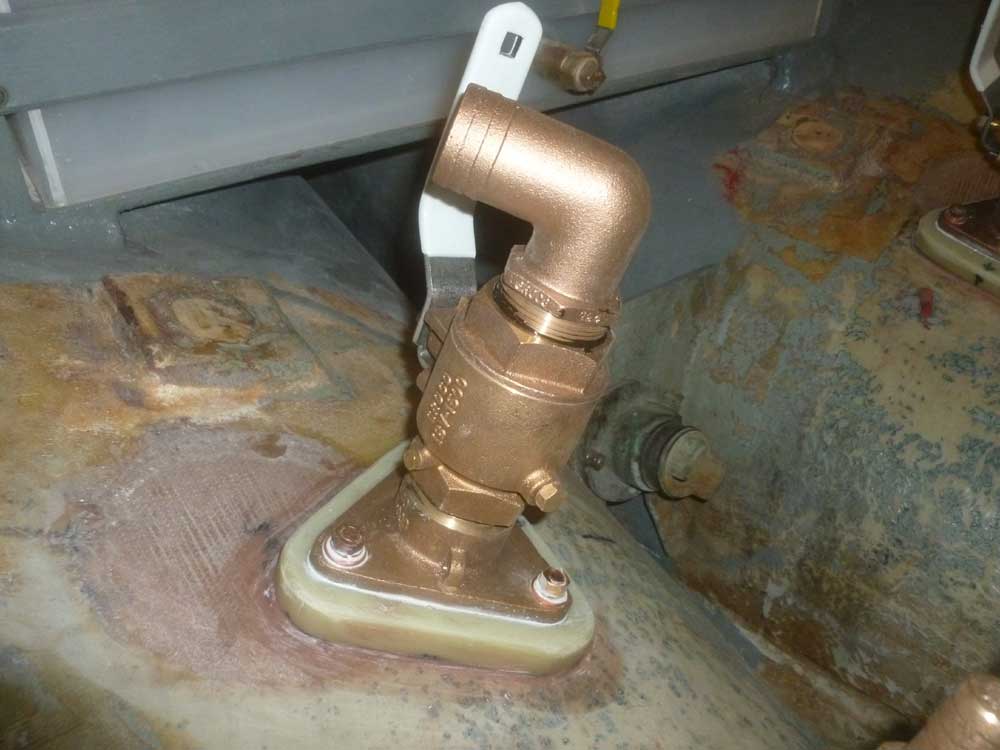
Later, I cut off the excess bolt length inside, and
installed pipe-hose adapters: 90° for the two
scuppers, and a straight fitting for the engine intake. |

 |
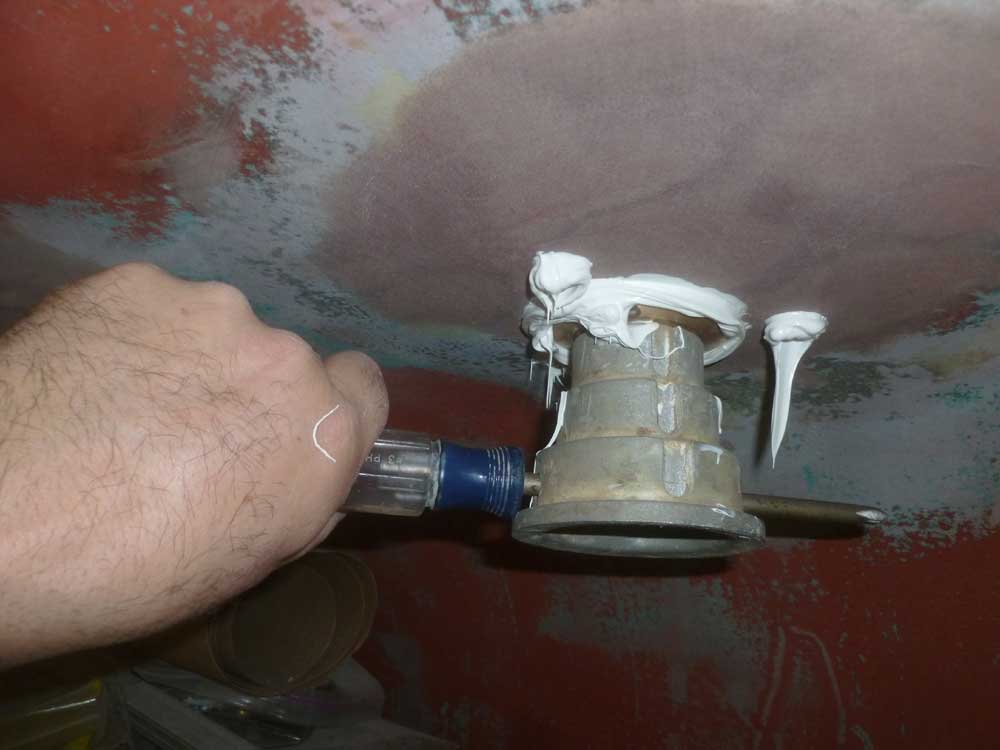
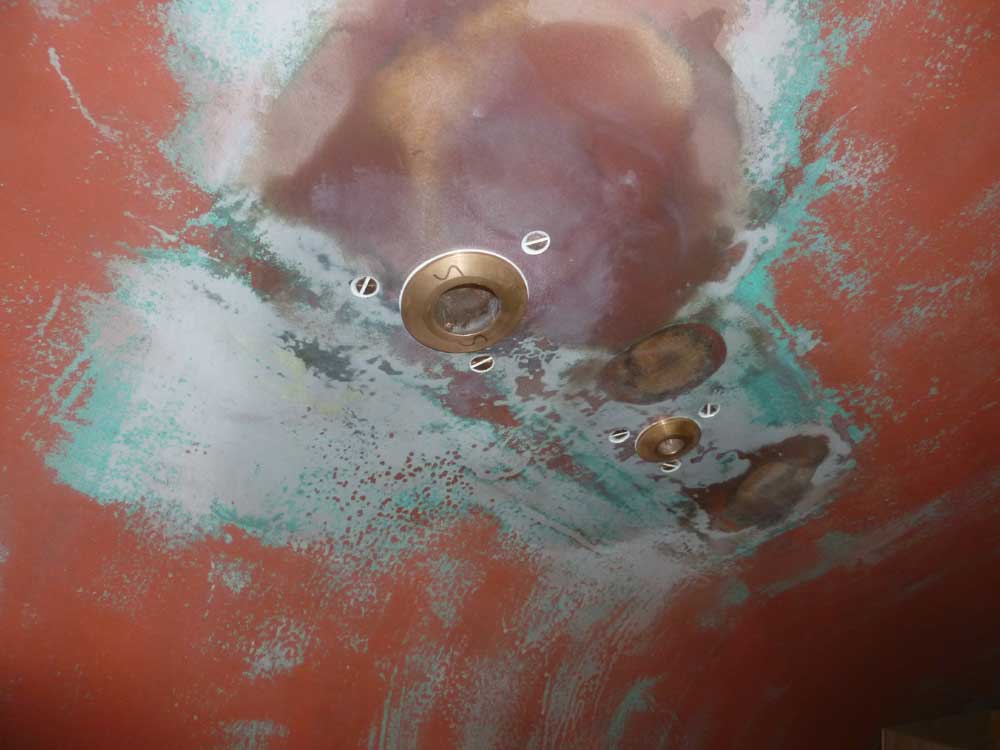
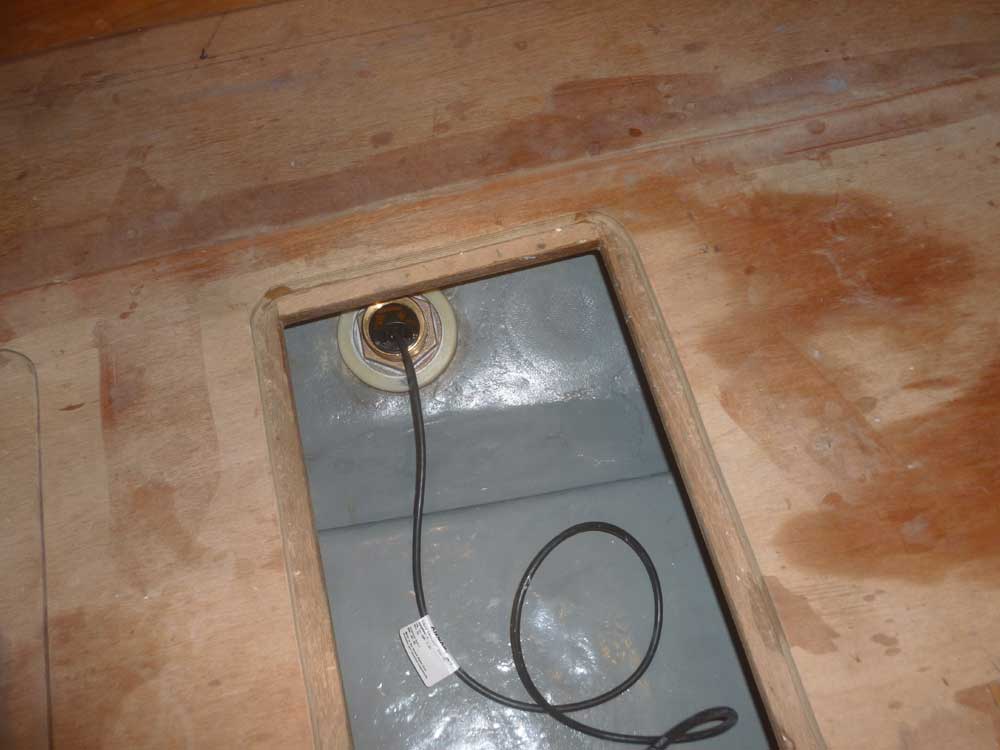
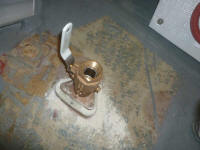
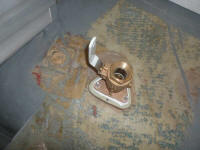
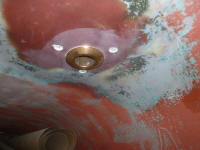
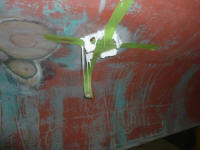
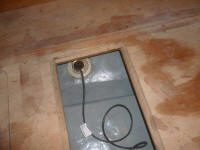
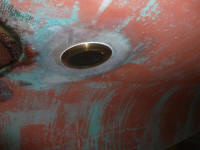
In a separate operation, I installed the depth
transducer. After heavily covering the flange and
body of the through hull with sealant and pressing it
into place (with tape to help hold it), from inside I
secured the fitting with additional sealant and the
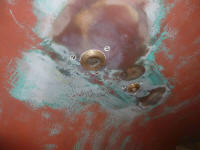
supplied bronze nut. The heavy weight of the large
transducer meant that it continually wanted to pull
itself down as I tightened it, leading to several false
moments of completion; I'd think the nut was tight, only
to find that the transducer had slipped down, so I
tightened more. Eventually, I tightened it all the
way, after which I cleaned up the excess sealant. |
 |
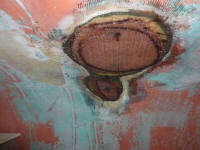
While I was in the area, I cut patches for the old depth
location just aft, plus the little drain hole I'd made
early in the project (both of which I'd earlier filled
and patched from inside), and fiberglassed them in
place. |
 |
I made a few advance preparations for some of the work I
intended to do next: aspects of the fuel system.
I'd intended to do this a few weeks earlier, but had
been stymied at the time by requiring screws that I
didn't have on hand. With the requisite materials
now in stock, I hoped I'd have what I needed to install
the fuel system manifolds and continue the layout of the
starboard engine room panel.
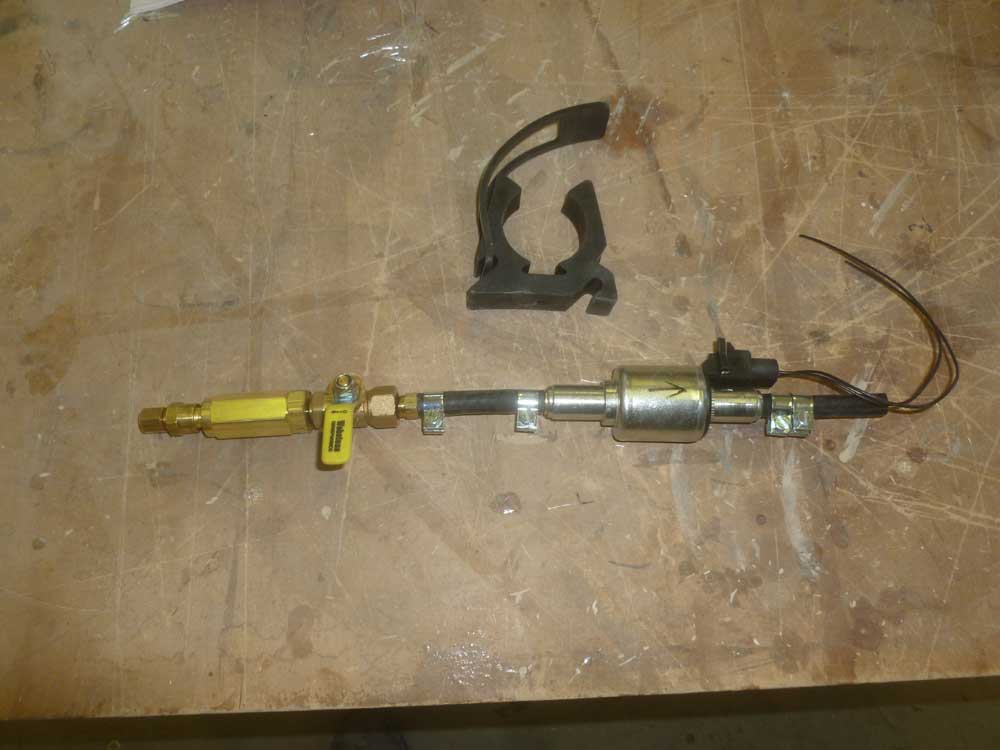
At the same time, I staged for some additional work on
the heating system, specifically its fuel supply.
The assembly of inline fuel filter, shutoff valve
(downstream of the filter; there was also a shutoff at
the fuel tank), and electric fuel pump required about
12" of length, to be supported directly aft of the
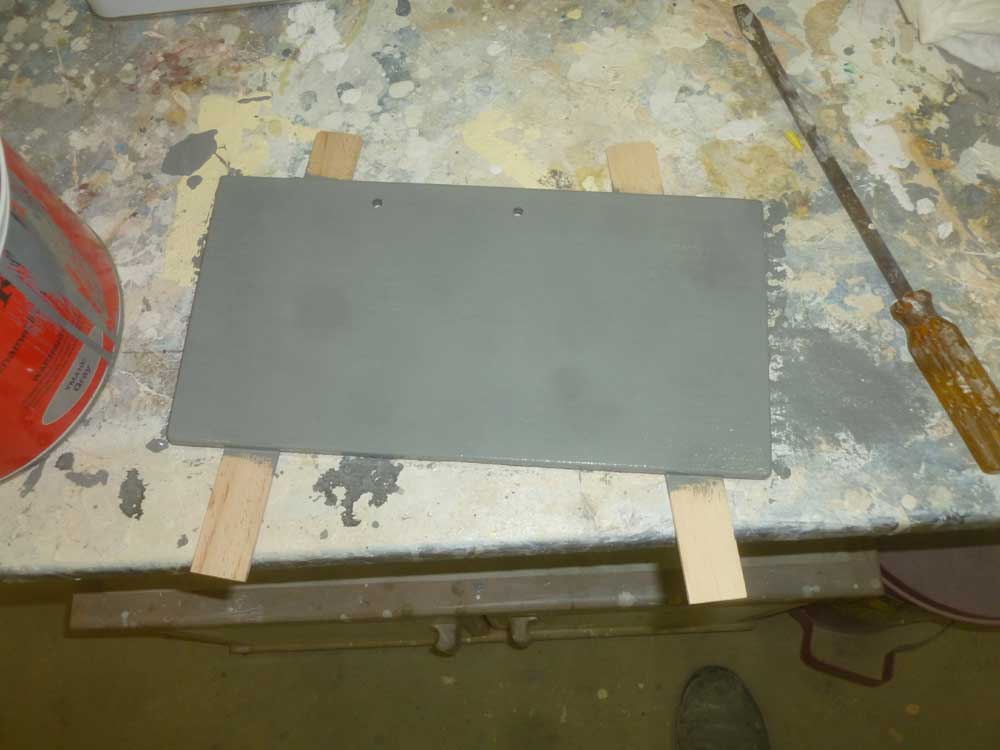
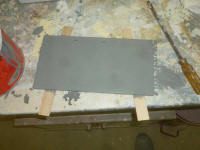
heater itself, and to this end I cut a 1/4" fiberglass
panel that I could hang from the nearby cross beam
support, to which I'd secure the elements of the fuel
system. I painted the panel once I'd cut it,
leaving it to cure overnight. |

 |
| |
Total Time Today: 5.75 hours
|
<
Previous | Next > |
|
|