Project Log: Sunday, January 22, 2012
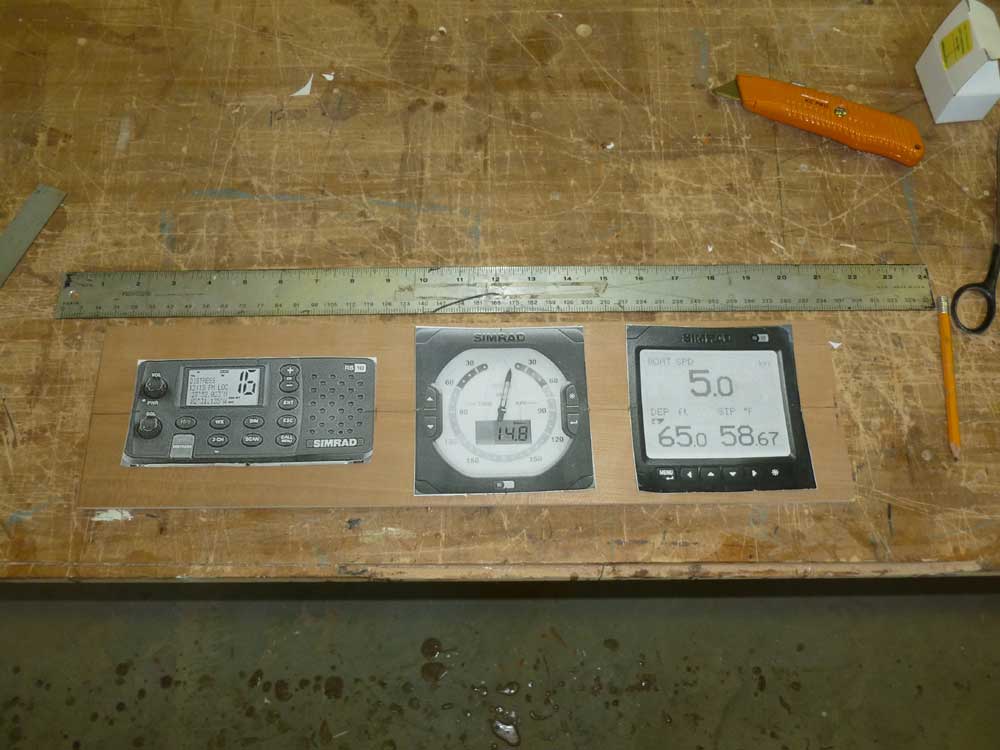
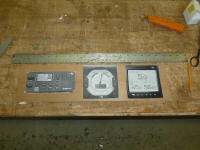
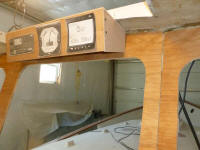
During the first part of the day, I built a simple
mockup of a possible overhead box to hold the two
sailing instrument heads and VHF radio. Using
life-size printouts to simulate the units, I sized the
front of the box no larger than needed. |
 |
Space above the pilothouse window was tight. I'd
have to be creative with the box to make it work in a
space that was smaller than the minimum required height
of the box's face. |
 |
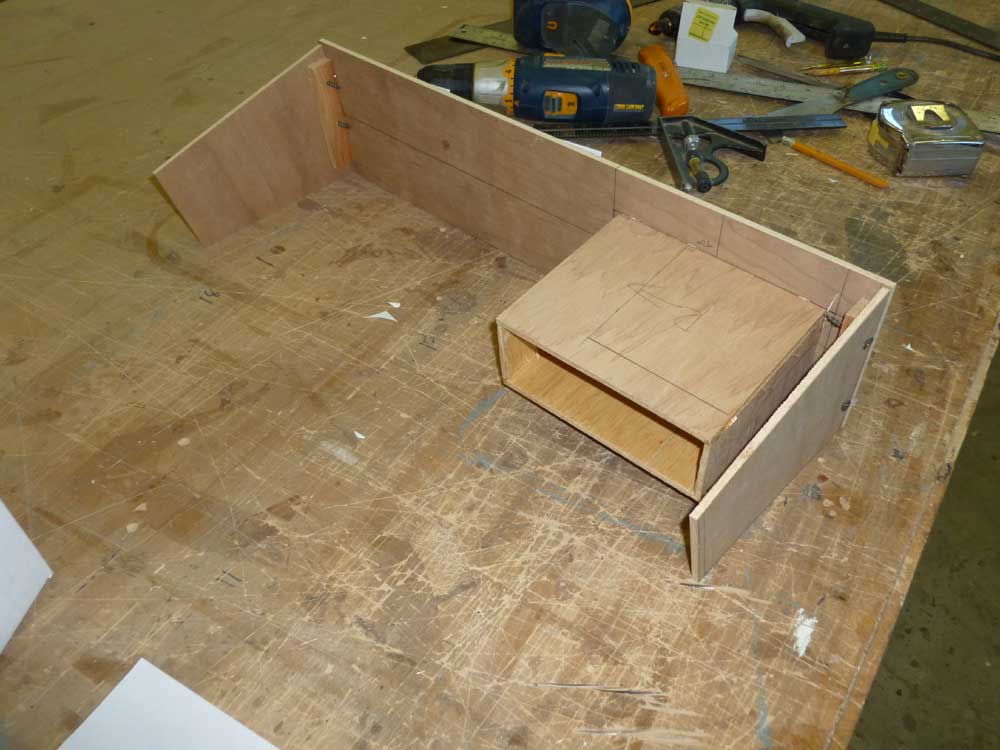
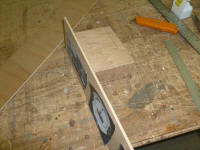
The controlling feature of the overhead box in its
current configuration was the depth of the VHF radio
behind the front. To simulate this, I built a
little box in the shape of the radio, and glued it in
the appropriate position behind. The box was
actually a bit larger than the true depth of the radio
to ensure the final version would have ample room for
wiring connections. |
 |
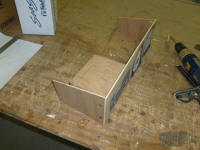
With the "VHF" in place, I determined that I could angle
and should the front of the box 10° down (I first tried
20°, but this angle caused interference between the
"VHF" and the top of the box). Then, to help the
sides of the box clear the top of the window frame and
minimize the bulk of the box, I angled the bottom of the
sides, tapering them towards the back as much as
possible given the required clearance of the "VHF". |
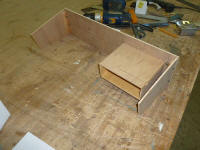 |
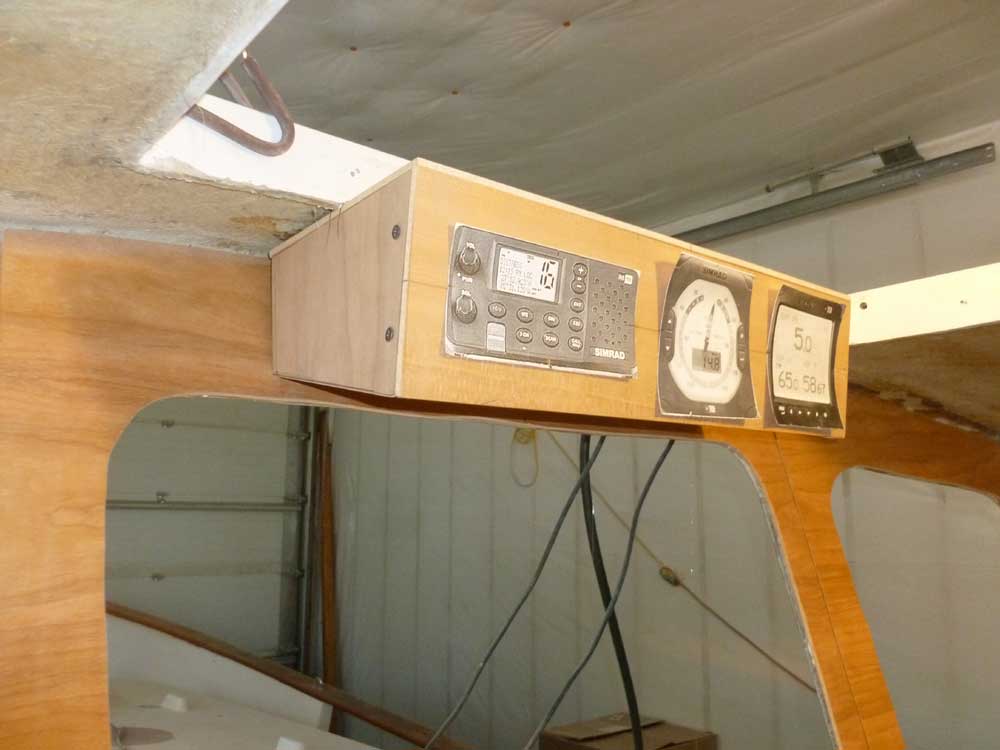
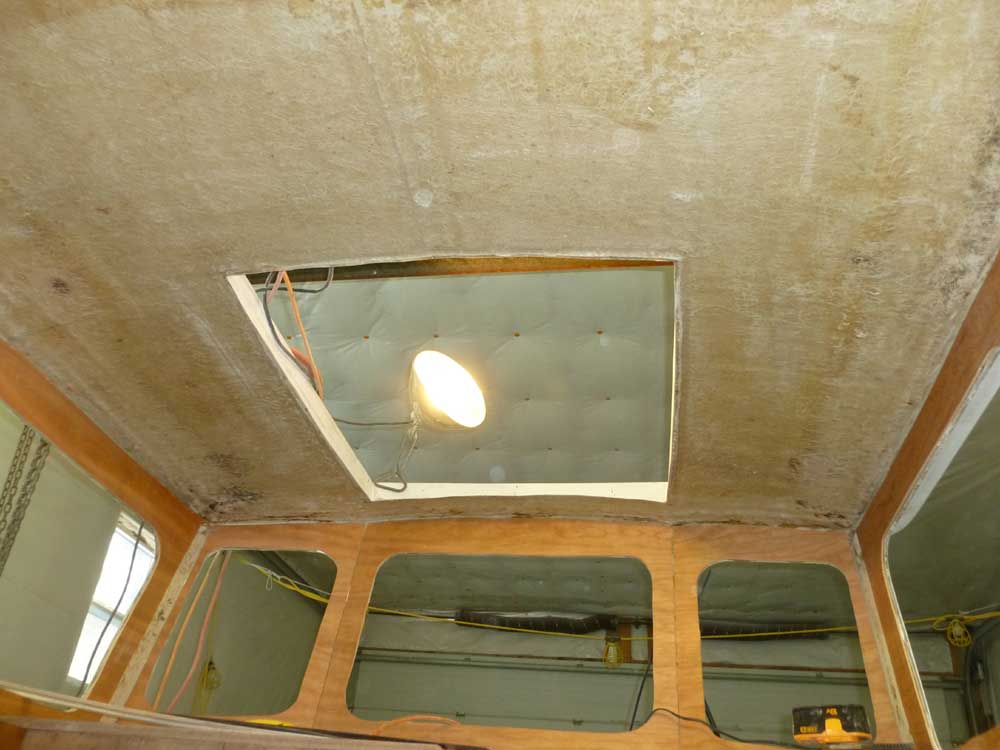
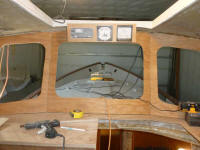
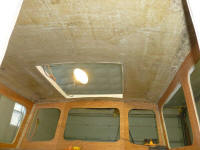
I glued on a top, then temporarily installed the mockup
above the center window in the pilothouse. There
was no way to avoid having the box extend beyond the
overhead hatch opening. |

 |
Obviously this represented only a very rough idea of
what I might install, and at a minimum there were some
manipulations required. This box was down
and dirty. I'd have to clip the lower forward
corners to clear the window frame once installed, and
any final version would be more smoothly integrated,
radiused, etc.
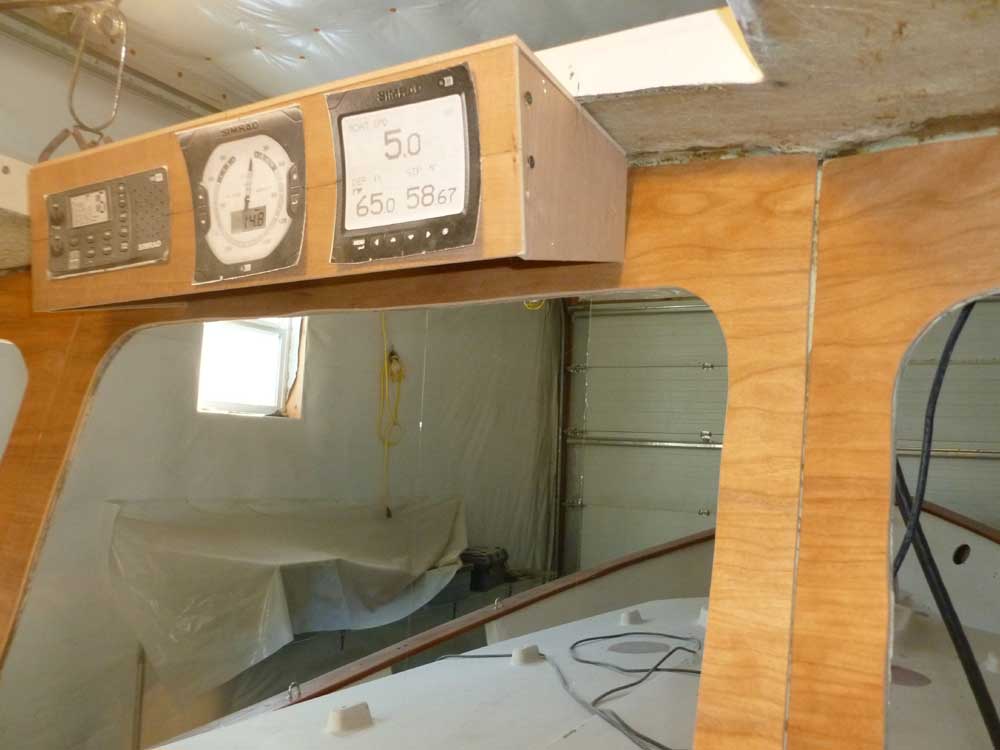
In many ways, this location made a lot of sense, but I
didn't love the protrusion, and the space available was
tighter than I wished. I could streamline the
depth substantially by taking the VHF radio out of the
equation and installing it elsewhere, such as in the
vertical face of the steering console. I don't
think I used the VHF on my last boat more than once over
the past five or six years, other than listening to the
weather (I can't stand the thing), so I suppose I don't
care where it's installed from that standpoint, but if I
do need to use it I'd prefer it was easy to use the
controls, change channels, and so forth, so the overhead
location makes sense there, and ultimately I expect the
overhead box will either contain all three items as
shown, or everything will end up somewhere else
entirely. I'd mull it for a while.
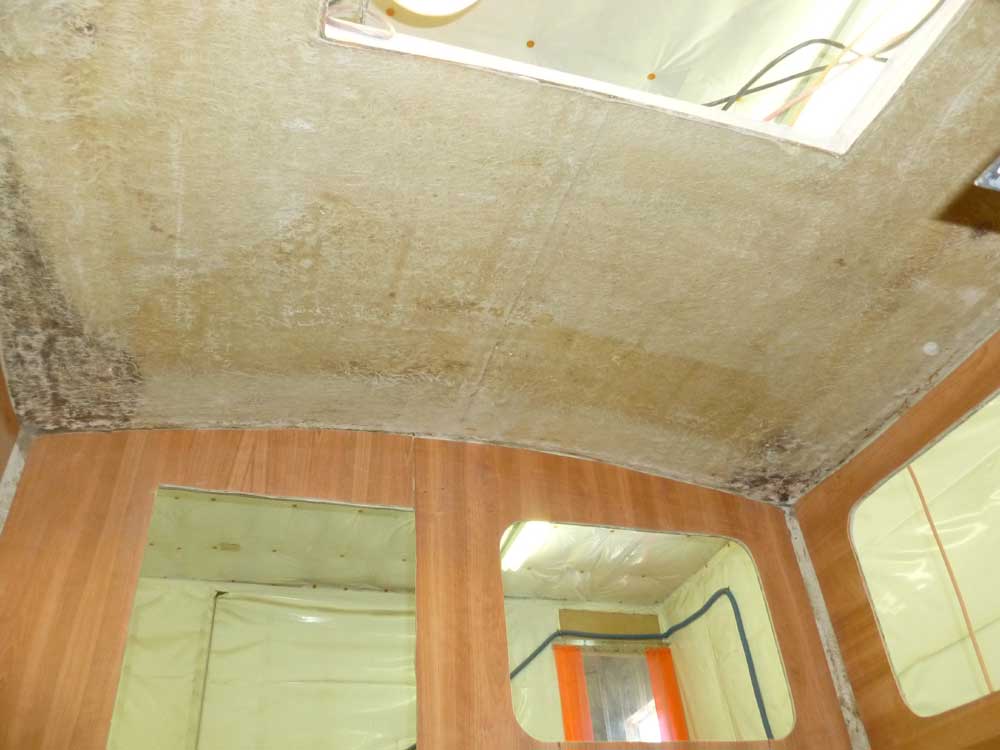
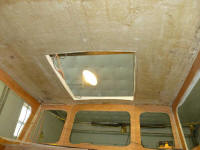
Moving on, I decided it was a good time to install the
support cleats for the overhead in the pilothouse.
Before doing so, however, I had to lightly sand the
surface, just to scuff the original laminate and
slightly clean it up. I'd not done this during my
major sanding stages a year or more ago since at that
time, there was no pilothouse floor structure, and no
way to reach the overhead. In the time since,
there'd probably been unlimited opportunities to sand
it, but for whatever reason I'd not done so.
Taking about 15 minutes, I sanded the surface lightly
with coarse discs, then vacuumed and solvent-washed. |
 |
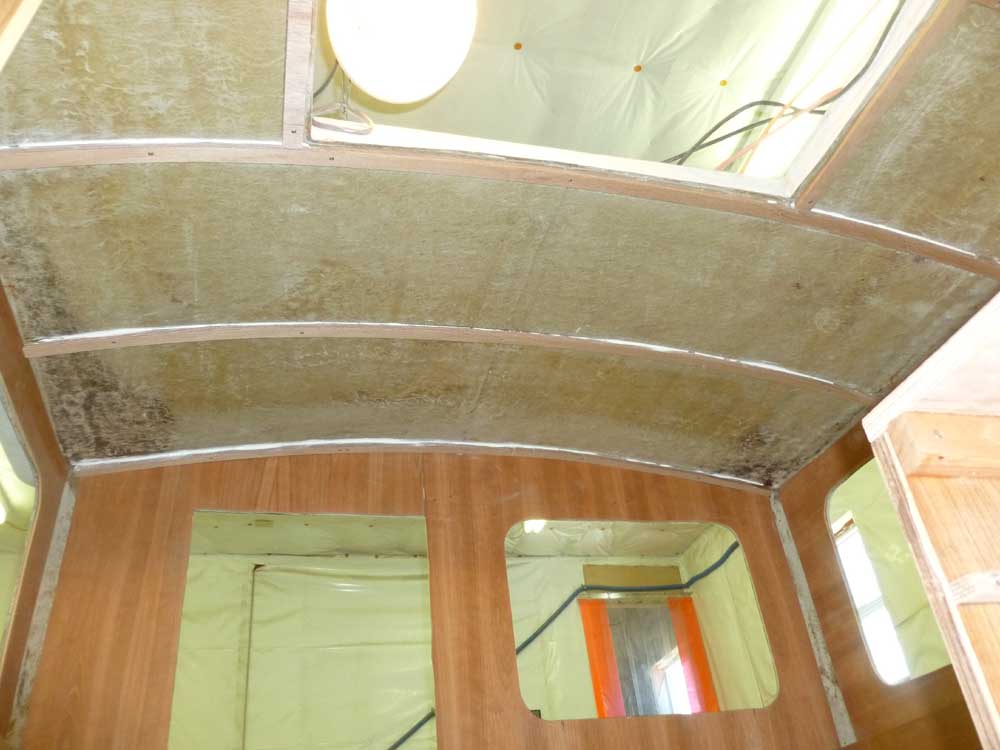
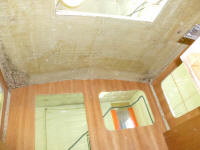
Next, I laid out for the cleats, Beginning with a
full-width cleat just aft of the large overhead hatch, I
found that my desired 16" on-center spacing (as much for
convention and continuity as anything) worked out quite
well both forward and aft. |
 |
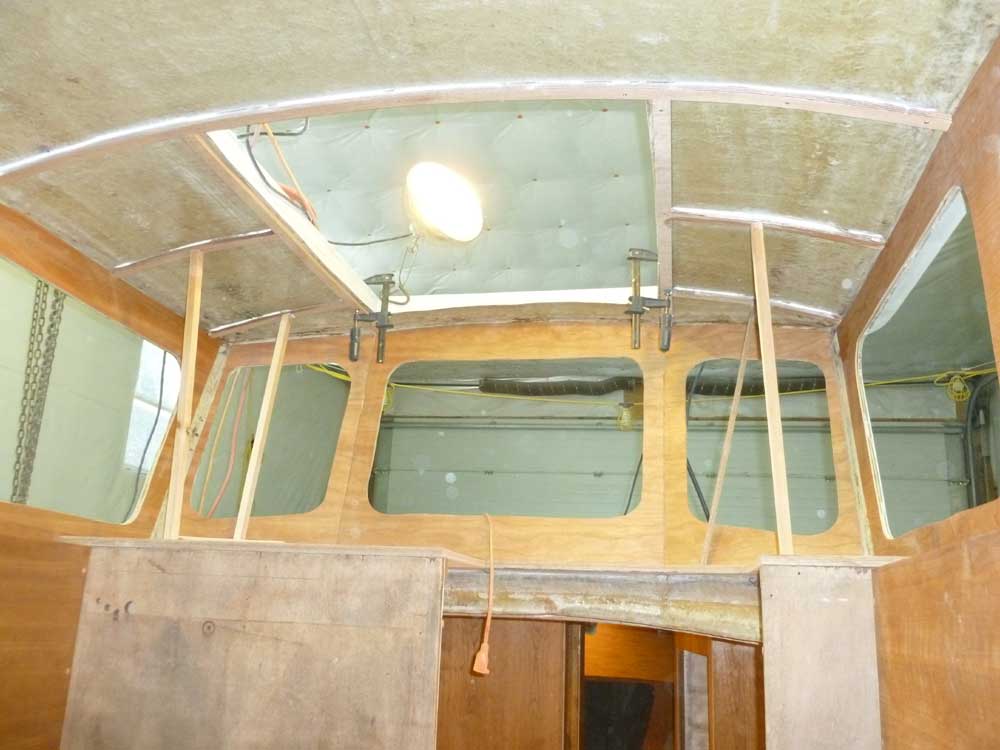
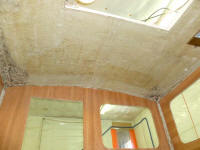
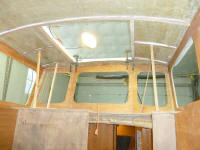
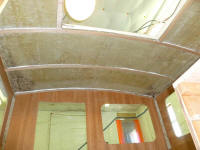
Finally, I cut and installed the 1/2" plywood cleats,
using the same technique I'd used in the main cabin
earlier, using polyurethane adhesive and temporary
screws. The short transverse cleats on either side
of the overhead hatch needed bracing to push them into
the required curve, as I didn't think the small
temporary screws would hold them adequately;
fortunately, the dashboard beneath made bracing easy. |
 |
| |
Total Time Today: 3.25 hours
|
<
Previous | Next > |
|
|