Project Log: Friday, May 25, 2012
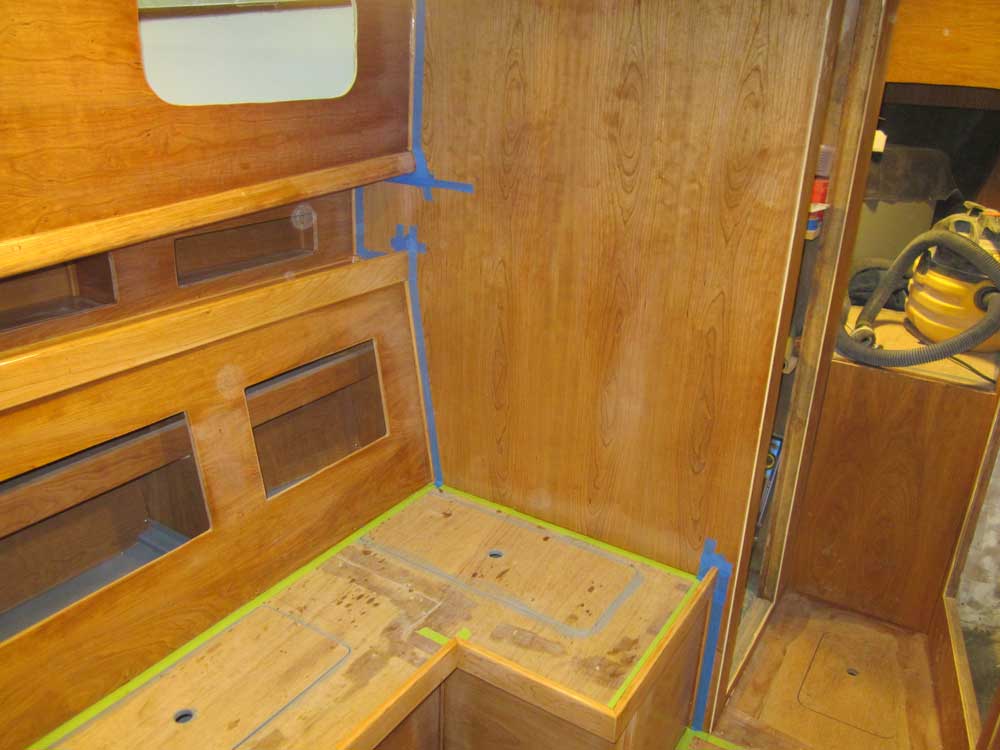
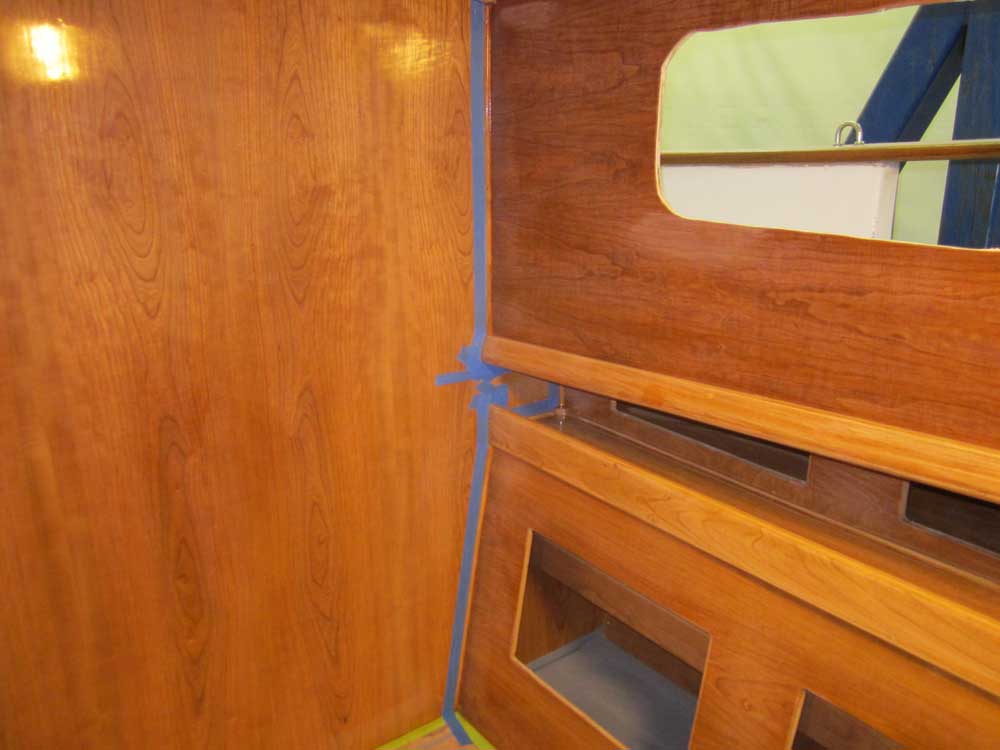
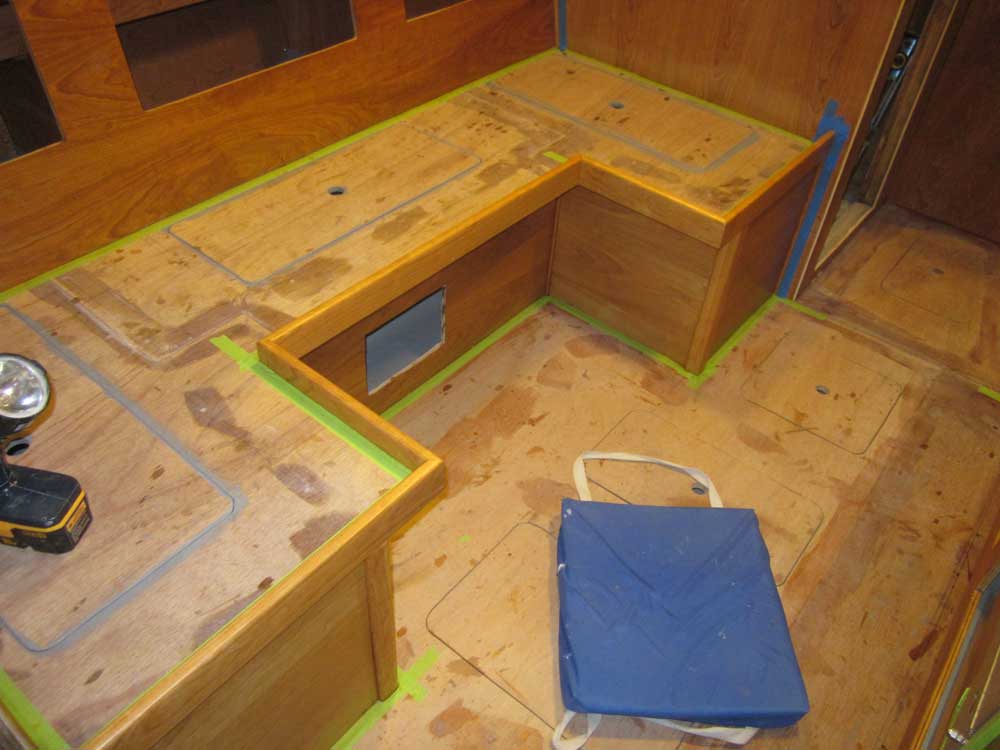
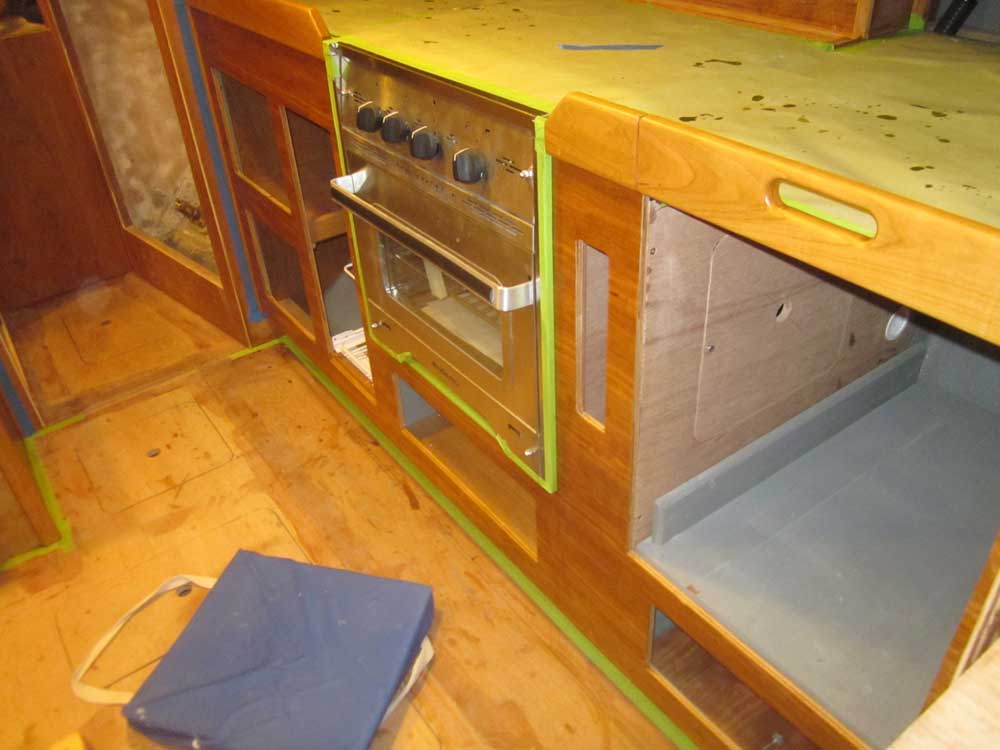
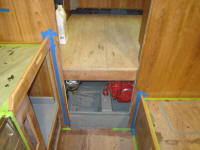
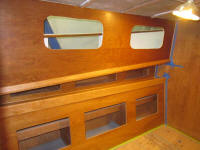
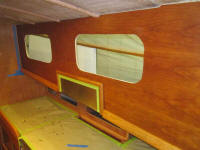
I got started early with a solvent-wash in the main
cabin, after which I masked off various areas from each
other to divide the work into manageable sections where
I could easily maintain a wet edge during varnish
application. Basically, this meant that I applied
tape on the main transverse bulkhead surfaces,
separating them from the remaining areas like the
underside of the sidedecks, cabin trunk, and dinette and
galley cabinets, which I'd complete during the first
round. But it was too early to apply the varnish,
so for now I moved on to other things. |


 |
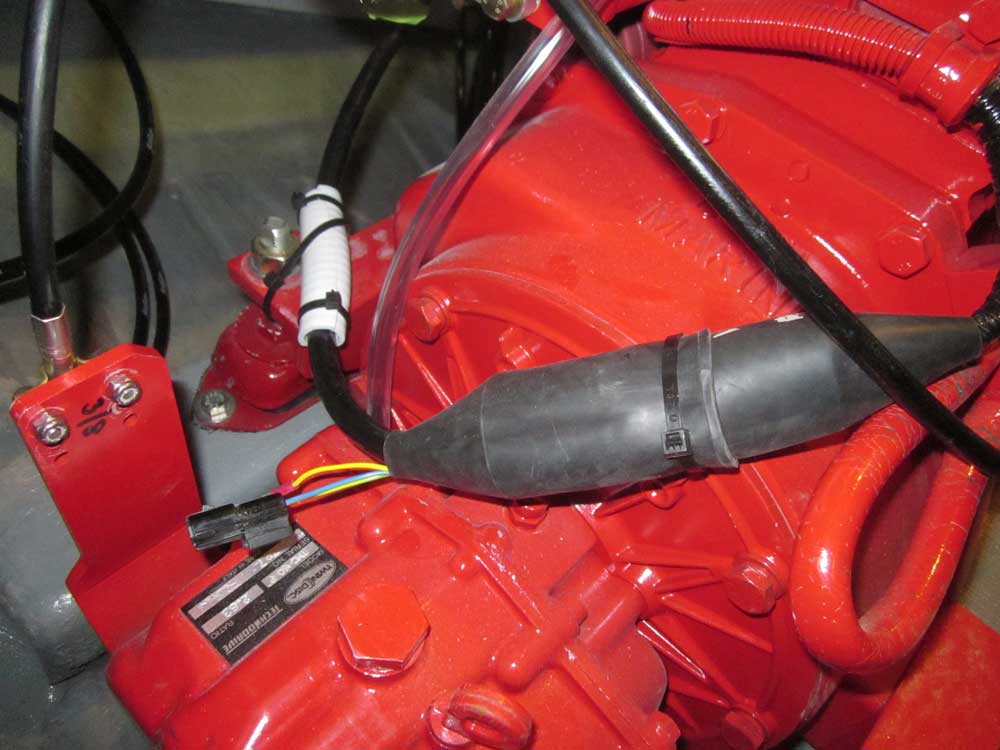
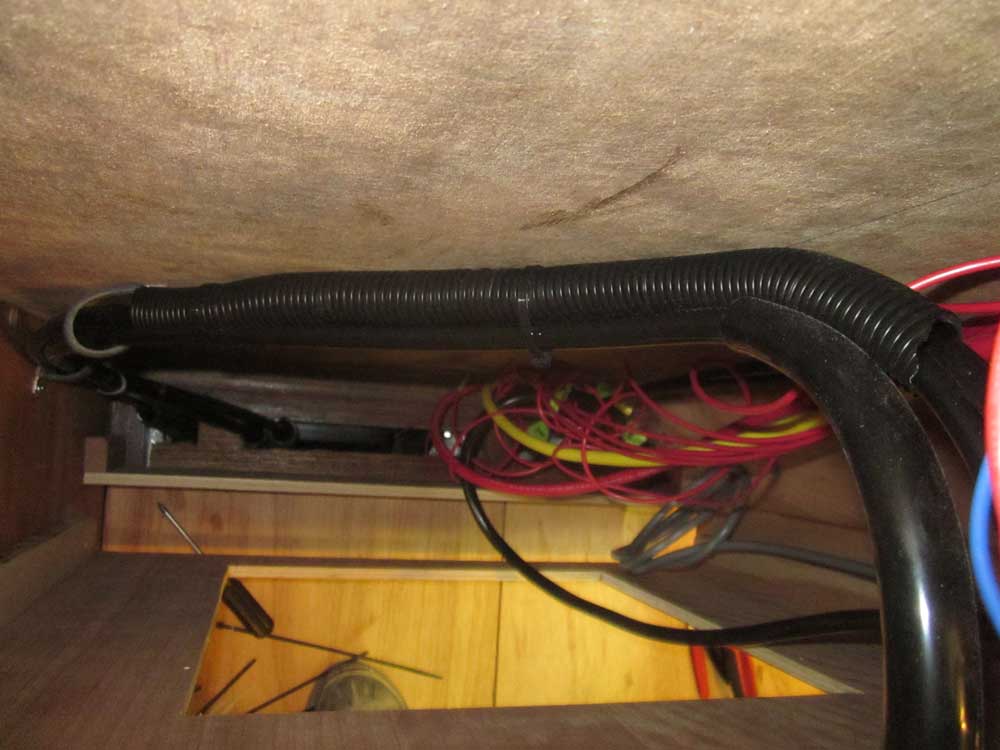
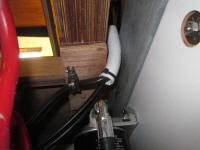
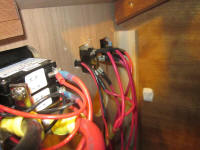
Back in the pilothouse, I continued preliminary
installation and wiring work at the helm console,
beginning with the engine wiring harness, which led from
a pre-wired plug on the engine to the top of the helm
console, where eventually I'd connect it to the engine
gauge panel. After connecting the engine side of
the harness, I led it forward and up into the console,
securing it as needed to keep it away from various
obstructions and hazards, and wrapped portions of the
cable harness with lengths of hose to protect against
chafe in a couple key areas. I led the harness up
into the console and held it aside for now, as there was
more work ahead before I could install the gauge panel. |

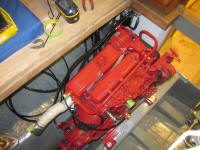 |
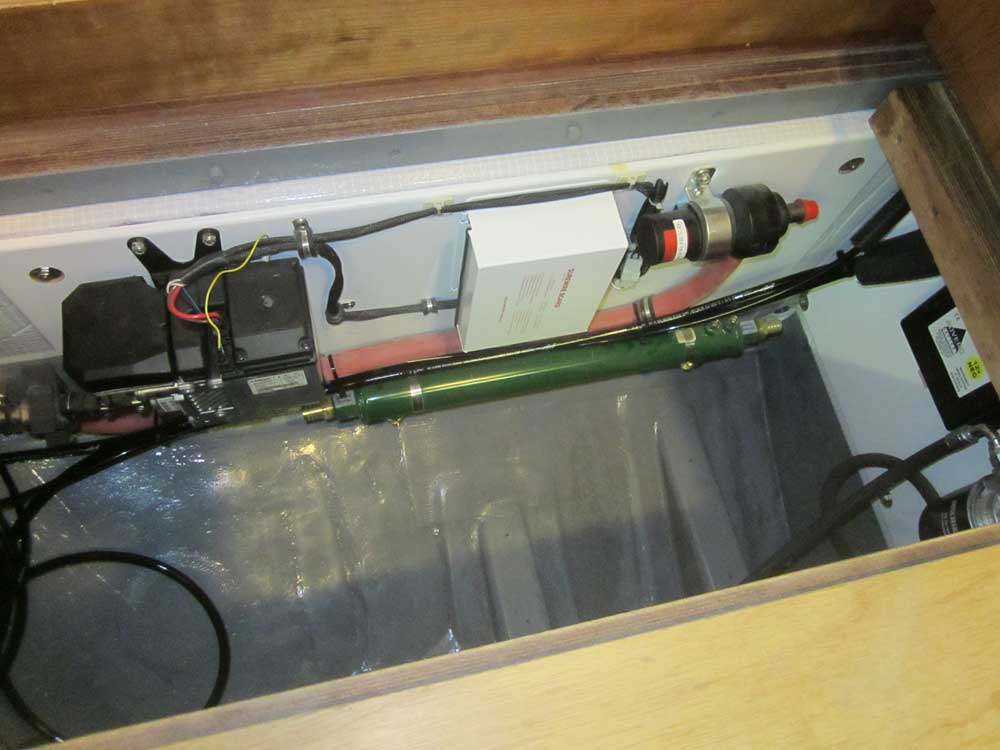
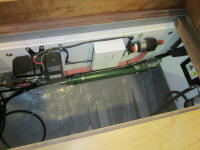
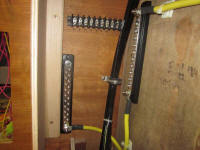
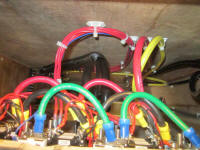
I organized the mess of steering hoses on the port side
of the engine room, and secured them along the port
utility panel to keep them safe and out of the way, and
clear of any hot portions of the diesel heating boiler
system. Later, I'd continue the hoses' run aft to
the steering room, but for now they were out of the way
where needed.
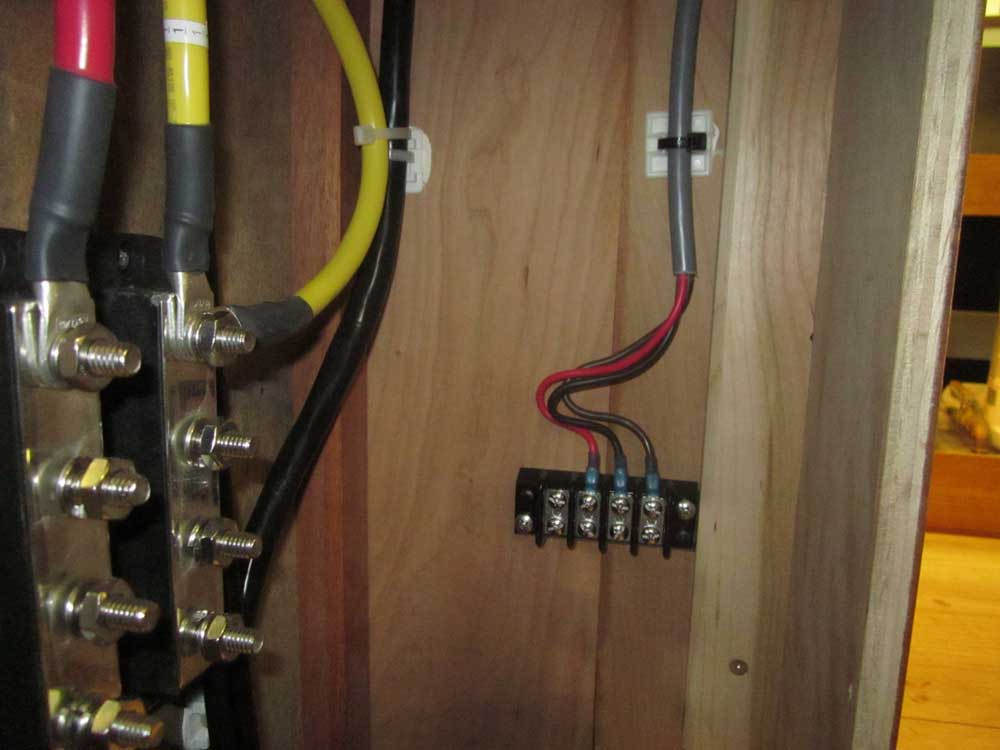
In the console, I added a bit of plastic split loom
behind the hoses as a bit of protection against any
tendency to chafe where the hoses rested rather firmly
against the wooden bulkhead. |
 |
I spent most of the balance of the day working on
various wiring chores within the console. As a
very early stage of the boat's overall wiring project,
this required me to think ahead to what would be needed
later, and to arrange installations within the console
in such a way as to keep all the future wiring
organized. I had no wiring plan on paper or
computer, but worked from logic and past experience, and
knew where and how I wanted it all to end up, even if I
didn't know all the details yet.
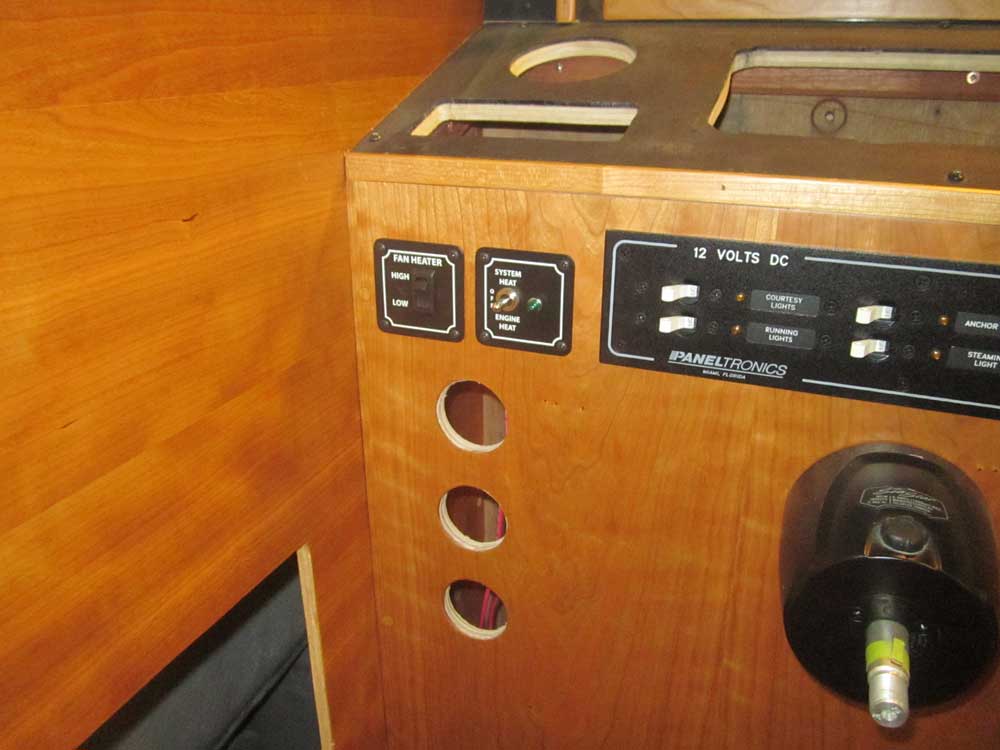
Continuing my top-down console wiring plan, I pre-wired
and installed the main vessel heating control switch, as
well as a switch for the pilothouse fan heater, which
I'd provided space for in the console during
construction. To accommodate these, and other
wires from that side of the console, I installed a
terminal block and negative distribution buss nearby.
Since there were still the three fuel gauges to pre-wire
and install, I left the raw wiring bundle on this side
alone for now.
|

 |
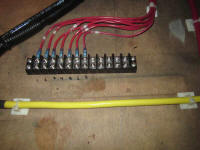
I terminated the bilge pump switch wiring harness at a
small terminal block, awaiting eventual final
connections to the pump later. |
 |
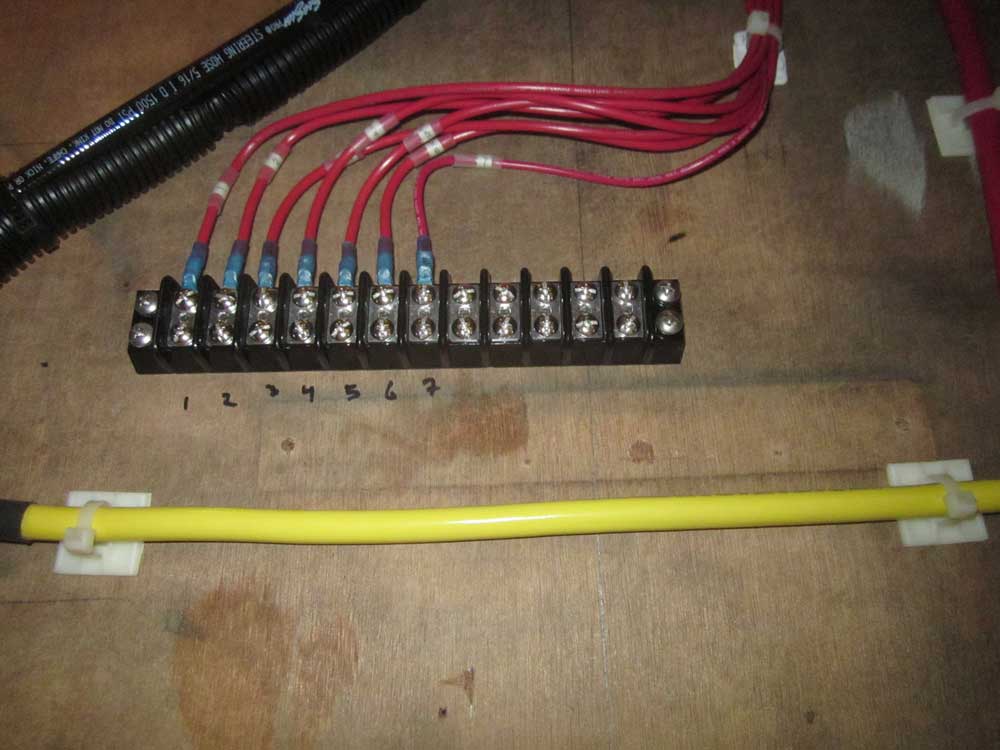
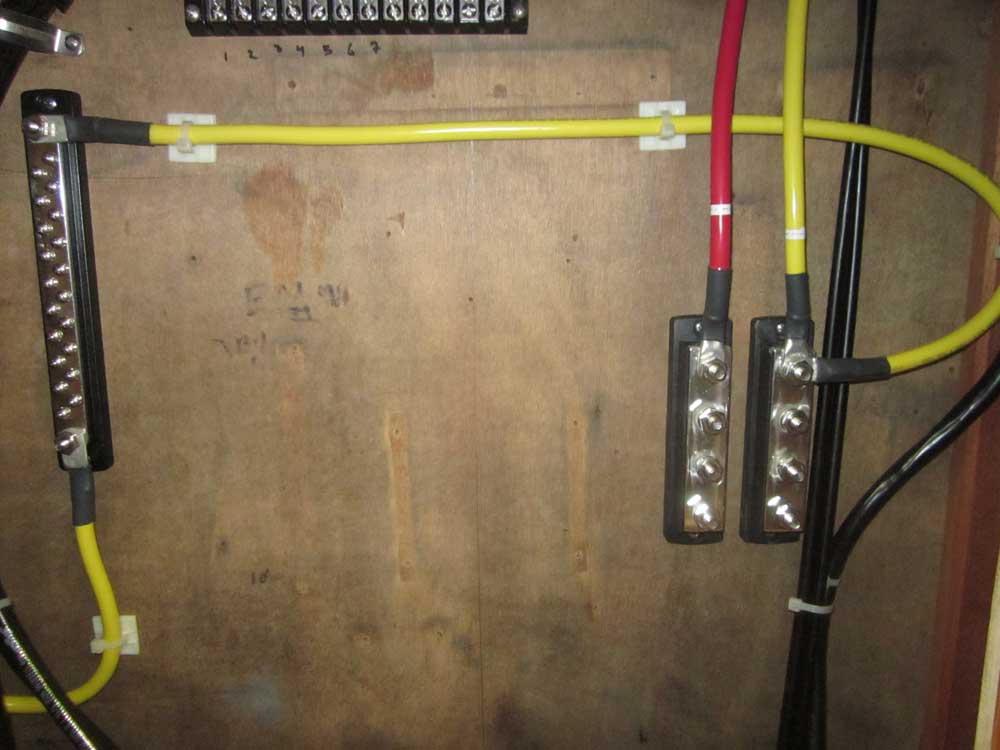
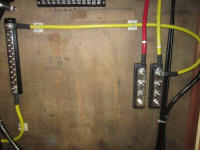
Considering the various wire leads ahead, I eventually
determined locations for two main battery cable
distribution busses, as well as a set of terminal blocks
for the small auxiliary panel at the top of the console
(and more). After installing these units, I made
up the wiring and cable ends as required. I
indelibly labeled each wire and used heat-shrink crimp
connectors in all areas. |
 |
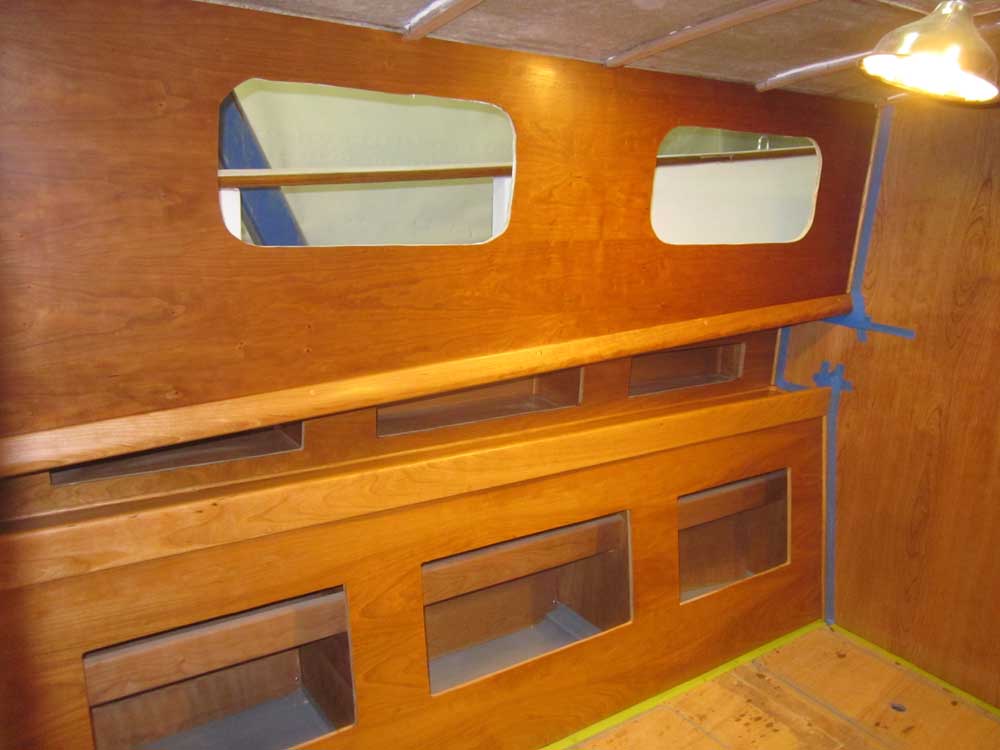
Later, after some additional cleanup and tacking off, I
applied a coat of the rubbed-effect satin varnish that I
like to the various surfaces in the main cabin. |


 |
| |
Total Time Today: 9.5 hours
|
<
Previous | Next > |
|
|