Project Log: Saturday, May 26, 2012
The day didn't start out that well. I thought I'd
go ahead and complete the run of the steering hoses back
to the after steering room, getting the coils out of the
way and avoiding any damage to them.
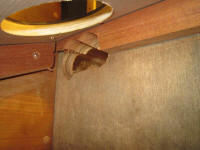
The first problem I discovered was that the existing
opening into the aft compartment wouldn't work, as the
fittings on the ends of the hoses were just too large
for the clearance above the top of the adjacent center
fuel tank. I solved this problem by drilling a new
access hole just to one side of the tank.
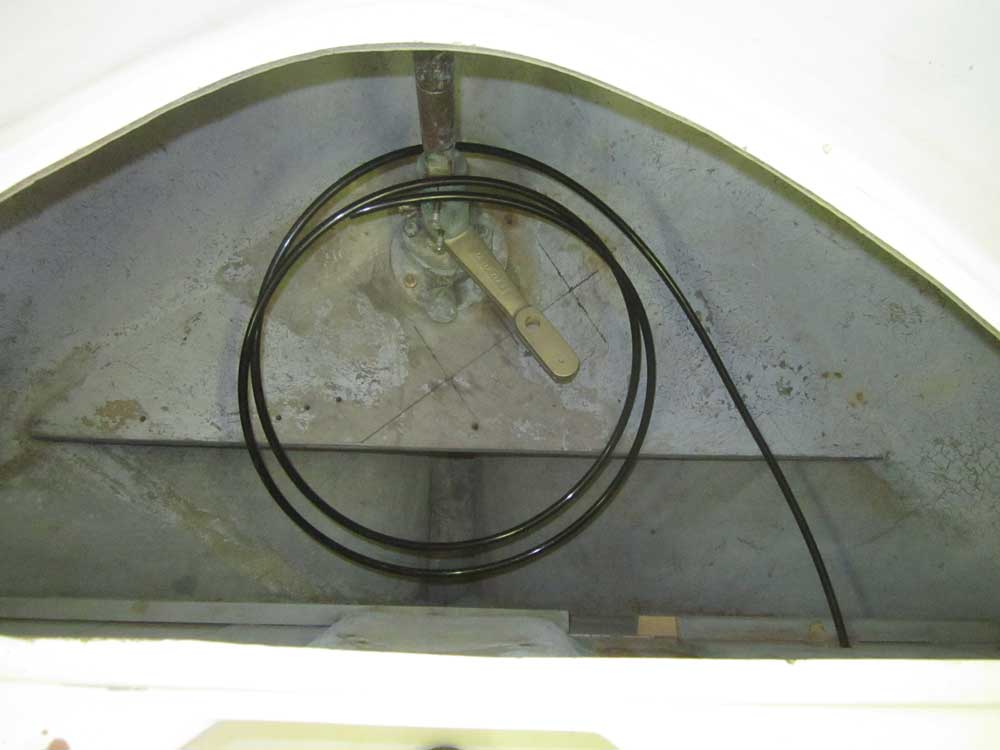
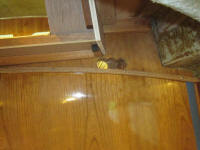
The real problem was that the hoses were too short.
Just too short. The hoses needed some
slack in them to accommodate the natural movement of the
(yet to be installed) hydraulic steering piston to which
they'd be attached, and this photo shows the best case;
the second hose would need to be even longer to reach
the far end of the cylinder (i.e more to the left of
this photo). Yes, I still needed to paint back
there, but was awaiting the final installation of any
supports required for the steering cylinder and
autopilot pump. |
 |
And so it goes. I'd order a new, longer pair of
hoses and switch them out when they arrived. A
small setback, but easily corrected, and better to find
out now.
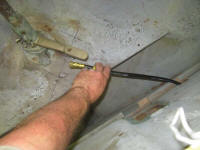
I did complete the run of the nasty coiled plastic hose
(a different type than the upgraded main hoses that I
selected) that would act as the compensating line
between the autopilot pump and the helm, as this hose
was long enough for the journey. What miserable
stuff that was to work with, nearly impossible to tame
into a straight line. I hated it, but at least the
end was now in the compartment where it needed to be. |
 |
While I had the hole saws out, and before things
progressed too much in the console, I created an access
hole between the console and the space immediately
behind, in the void above the eventual main cabin
overhead where various critical electronics wiring and
installation would be located. These spaces needed
to communicate to allow passage of various cables and
wires between the electrical source and the instruments
themselves.
There wasn't a lot of room where this opening could be
located, so I made it as large as possible within the
confines of the space. Later, I'd clean up the
edges of the opening. |
 |
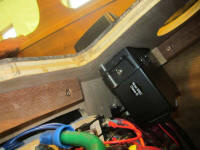
I continued with some wiring work in the console, this
time with the three fuel tank gauges. I omitted
the lighting circuits for these gauges, as I thought
that would add unnecessary complication and just be
wasteful, but even so, each gauge required three
separate wires: battery power; fuel tank sender;
and ground. As elsewhere, I left the wires long
for eventual connection to a nearby terminal block. |
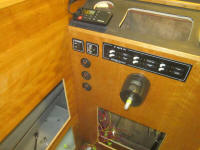 |
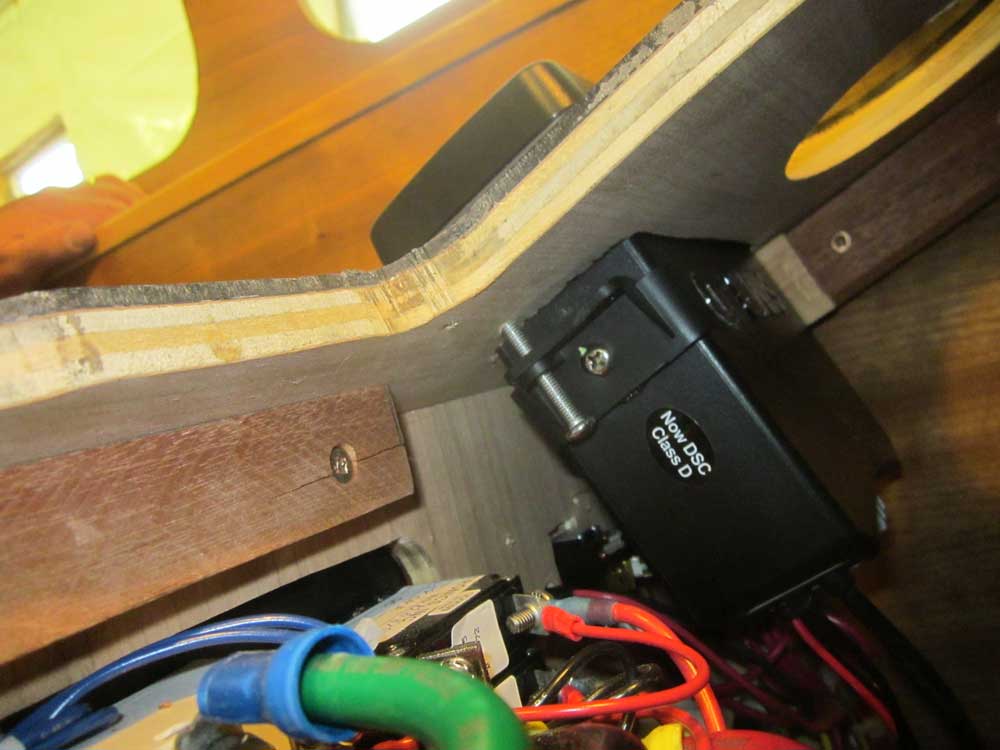
Also in the wiring mix for the upper portion of the
console was the VHF radio. While it was early for
this sort of installation, the flush mounting of the VHF
required that I do it sooner than later, to minimize the
need to access the top of the console again in the
future. See, once I got all these wiring chores in
the top half of the console complete, I'd be doing all
the remaining work from the large opening below, and
while I'd always be able to get into the top section by
removing the engine gauge panel, I didn't want to have
to do this more than needed.
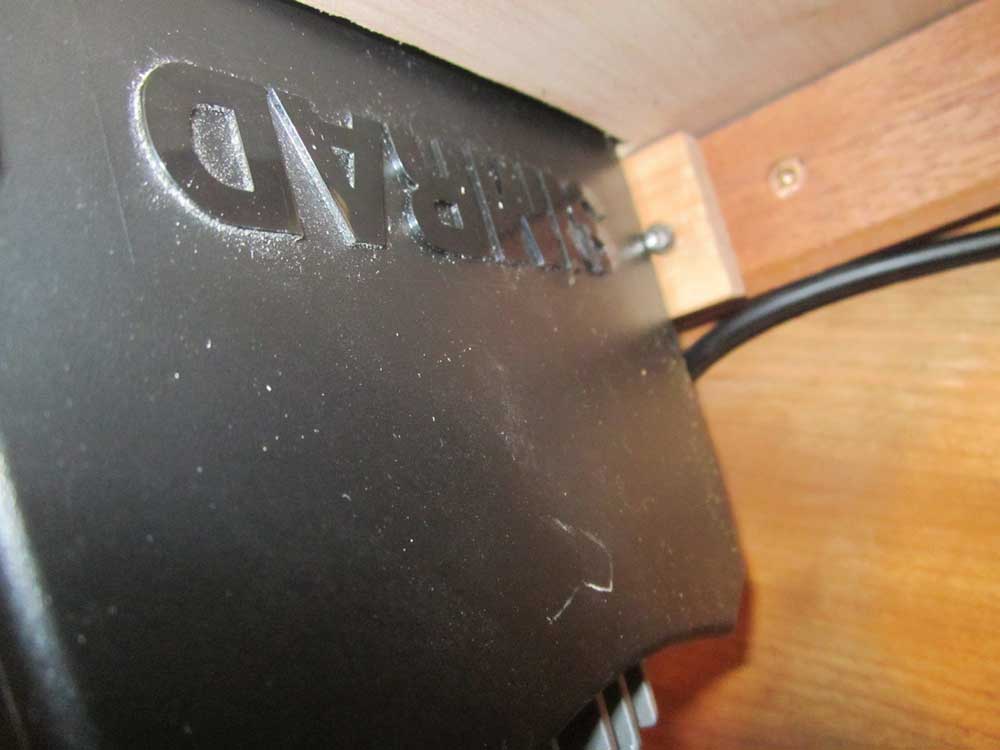
The VHF was easy to install, but the lack of access to
its outboard side meant that I couldn't install the
supplied flush mount clamp, so I came up with a way to
hold that side tightly, while still allowing removal
someday if required. Beneath the outer flange of
the casing, where it sat on the panel, I applied a small
piece of butyl tape as a basic adhesive, sort of like
chewing gum, if you will, and beneath the console I used
a small wooden wedge to secure that side of the VHF
casing against the nearby wooden cleat, adding one screw
through the wedge to ensure it stayed in place. On the
accessible side, I used the supplied flush-mount clamp. |

 |
I'd intended to do more work in the console, but at
lunchtime the sky miraculously and instantly cleared,
along with a cleansing breeze to sweep away fog and
excess humidity, and I spent the remainder of the day
doing things outside.
|
| |
Total Time Today: 3.25 hours
|
<
Previous | Next > |
|
|