Project Log: Monday, October 8, 2012
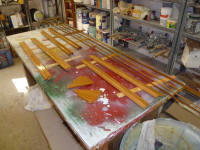
After lightly sanding the first coat of varnish on the
trim pieces, I applied a second coat, looking to
complete the varnish buildup in advance of the trim's
installation. |
 |
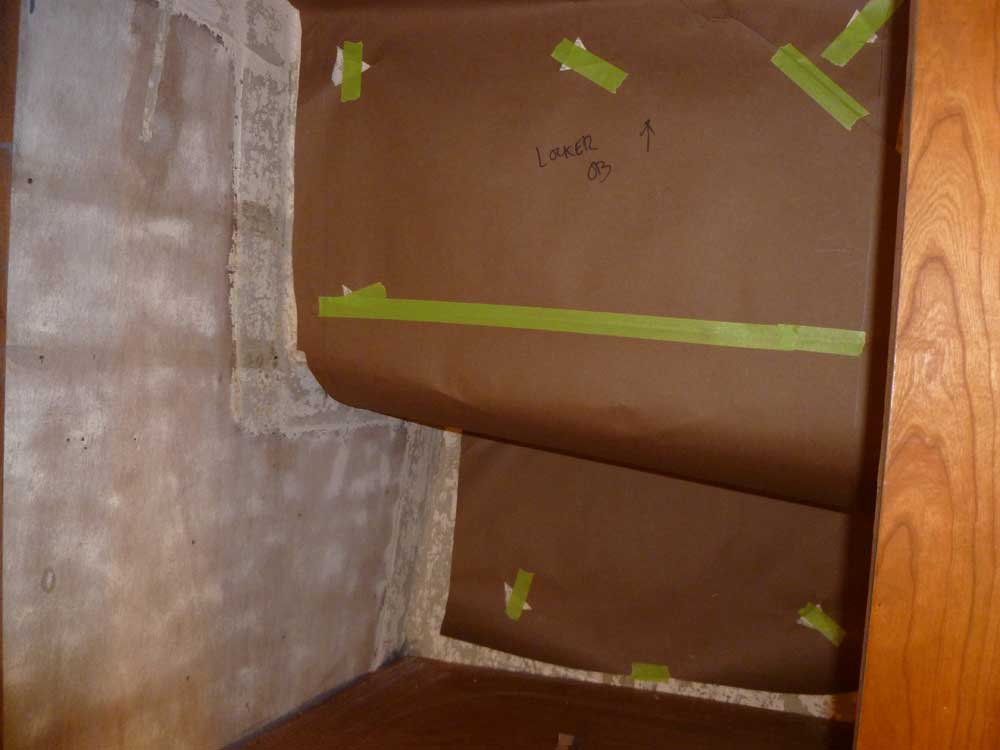
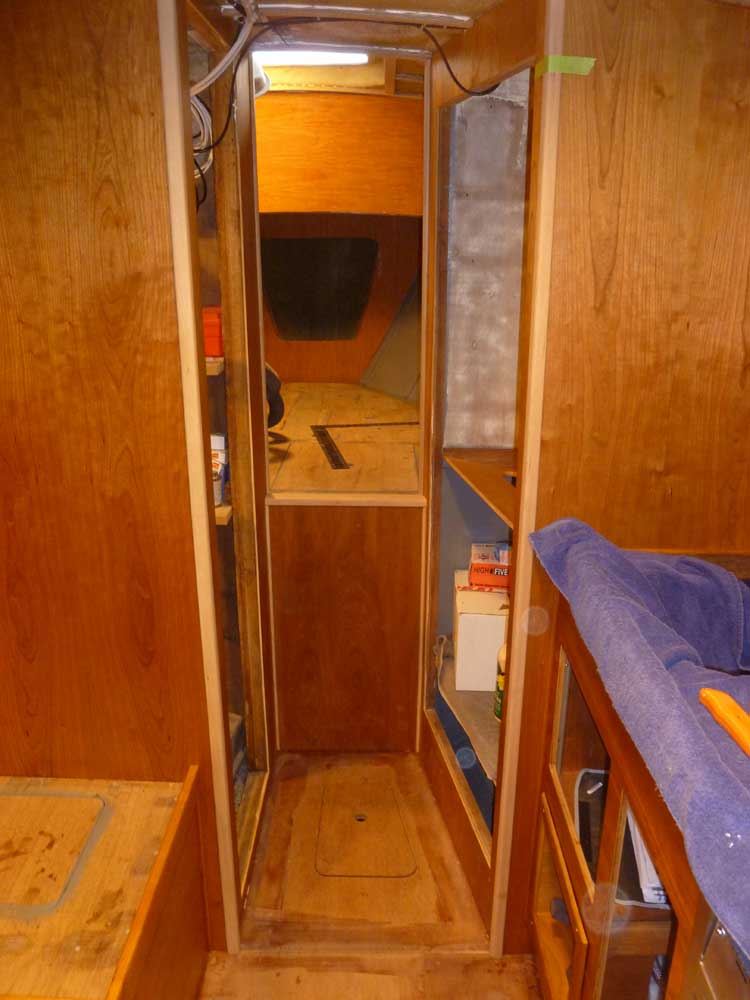
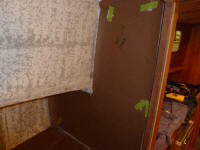
The large storage locker opposite the head had been on
my mind since I'd worked on the lower sections a while
back. I expected the upper half of the locker
would end up being general storage and storage for
clothing and the like, and had considered a few options
for finishing off the area, from simple paint to
aromatic cedar planking. I discounted the planking
early on, when I decided that the readily-available
products of this nature were, to put it mildly, junk.
I didn't want to spend untold hours on a simple storage
locker, and eventually decided to simply line it with
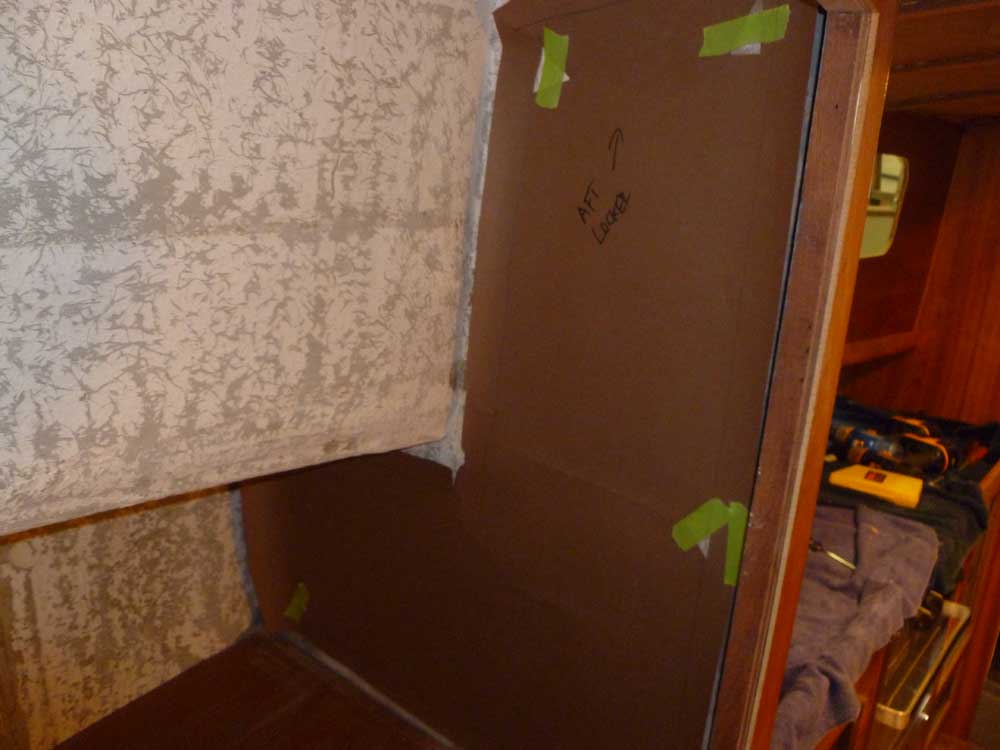
marine headliner fabric. I'd already been planning
to use this fabric for the overhead and hull/cabin trunk
side of the locker, with their multiple contours, so
using the same material for the fore and aft bulkheads
was a logical conclusion.
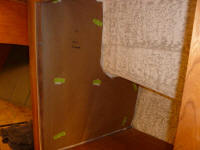
I ordered more of the material to have on hand, and in
the meantime made paper patterns of the three surfaces
to be covered. |

 |
While I was in this mode, I made various measurements
for other materials I'd need coming up, including
forward cabin ceiling material, the cabin sole, and the
overhead in all areas. I'd calculate what I
needed, and hoped to make up a final wood order in the
near future.
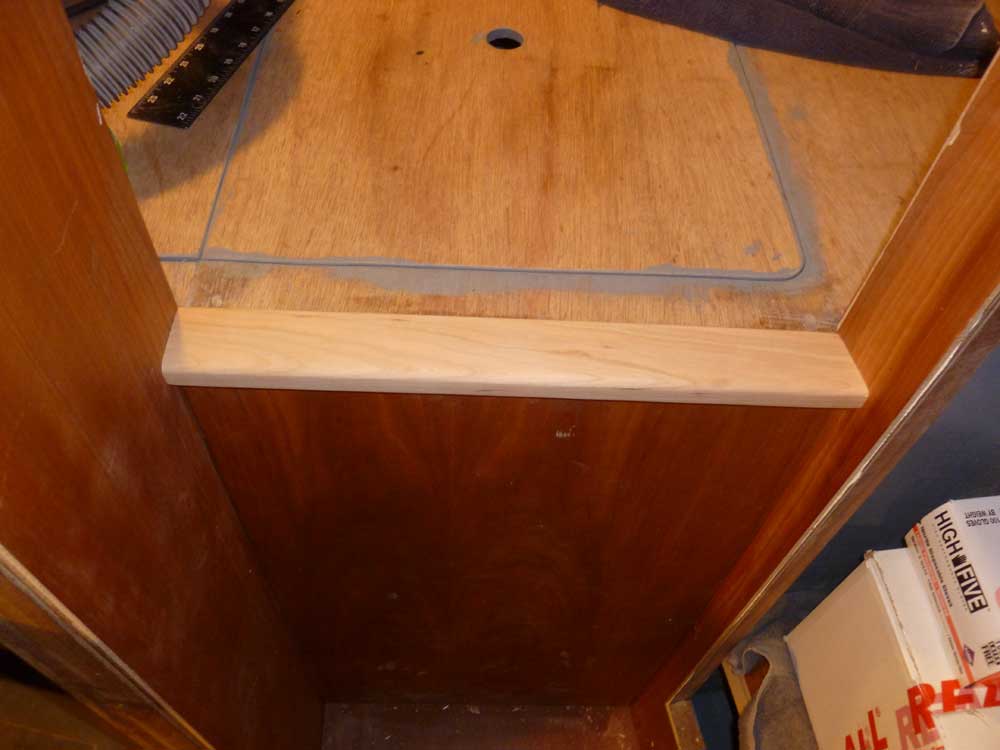
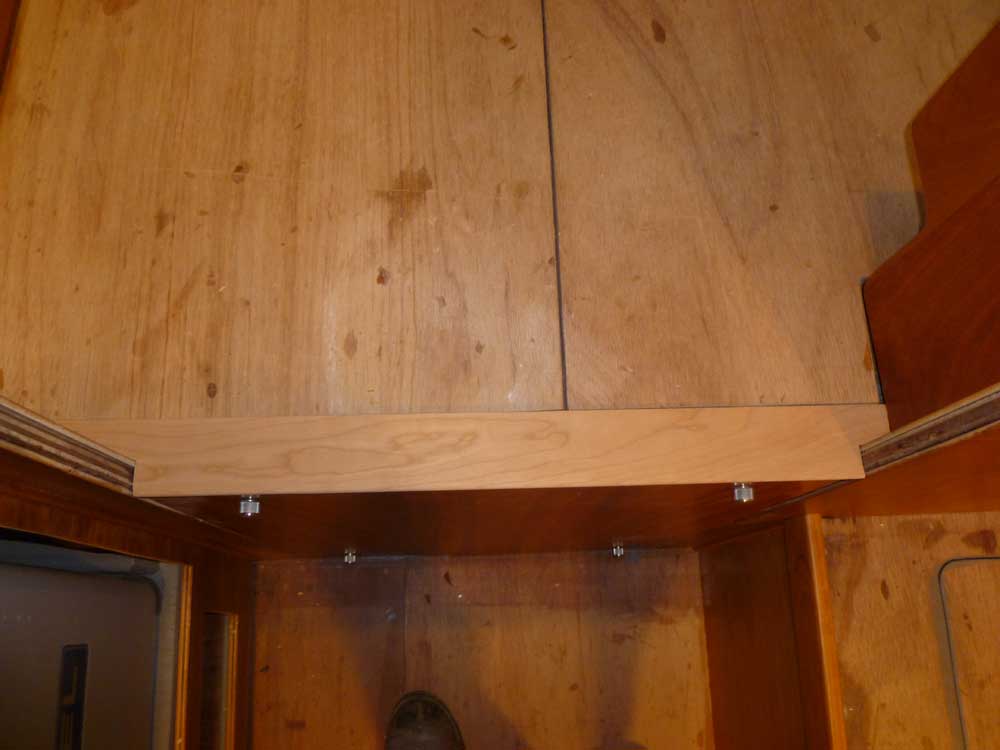
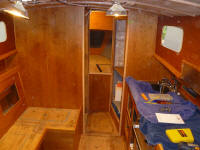
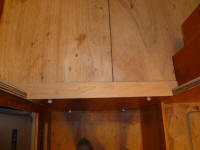
Next, I turned back to trim. It struck me that the
L-shaped trim I'd made for the forward pilothouse
corners was nearly a perfect fit for the top aft edge of
the V-berth platform, above the vertical bulkhead at the
entrance, so I cut a piece of the remaining trim to fit
and glued it in place. |
 |
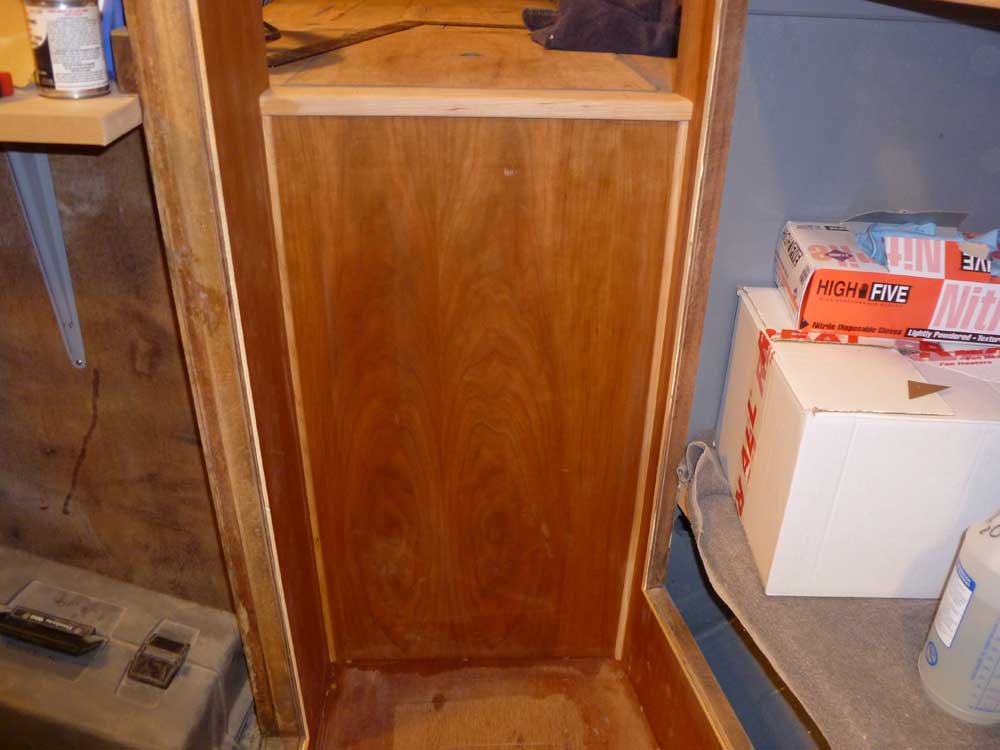
Beneath the flat trim, I cut and installed quarter round
molding at the vertical corners between the sheets of
plywood veneer. I installed these trim pieces
unfinished since I'd not yet varnished the surrounding
areas, other than a sealer coat on all surfaces, so I
could varnish the trim in place while wrapping up the
adjacent varnish.
|
 |
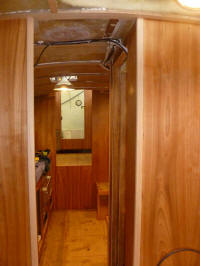
This got me on track for the remaining trim in the
passageway, to cover the four corners between the
passageway and the main and forward cabins. I made
up straightforward angled trim pieces from solid cherry
stock for each corner. With the angled starboard
side of the passageway, the trim pieces there required
both an outside angled corner (aft side) and an inside
angle (forward side), while the two trim pieces opposite
featured simple 90° corners.
After milling the trim and sanding it smooth through 220
grit, I cut and installed the four pieces with glue. |

 |
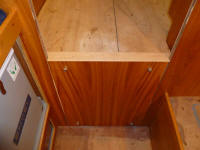
The companionway opening was next on the trimming list.
To begin, I used a 1/4" thick piece of solid cherry to
create a sort of threshhold at the forward end of the
pilothouse sole, slightly overhanging the top of the
removable vertical engine room panel beneath, and
extending back to the ends of the pilothouse sole
panels, covering the permanently-installed sections of
the substrate forward. Though I didn't plan to use
cherry for the sole surfaces, I chose cherry for the
threshhold as a contrast, and because it would tie in
with the surrounding cherry companionway trim.
For now, I left this section loose to decide if I liked
it or not. If so, I'd later install it permanently; the
vertical panel beneath would be removable with this trim
in place, as would the main hatches in the pilothouse,
and other potions of the companionway trim would butt
against it as required. |
 |
| |
Total Time Today: 6.25 hours
|
<
Previous |
Next > |
|
|