Project Log: Sunday, October 14, 2012
To get started, I lightly sanded the newly varnished
areas with 320 grit, then cleaned up. When
building up coats of paint of varnish, my preference is
to always do the sanding first thing in the day, though
I'd not apply the next coat till later.
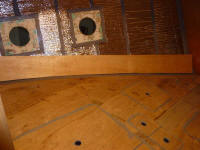
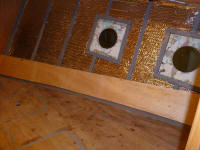
While more or less in the forward cabin, I decided to
install my temporary ceiling simulations, so that the
v-berth mattress could be templated. I wasn't sure
when this would happen, exactly, but it could be
anytime. Upon reflection, I realized that the
plywood I'd used to build these was thinner than I'd
wanted--only about 3/16", so I added an additional layer
(in the form of slim strips beneath) to bring the total
simulated thickness close to 3/8". I planned to
resaw my ceiling material from 4/4 stock, which, with
blade loss, typically allowed finished board thicknesses
of about 5/16" +. |
 |
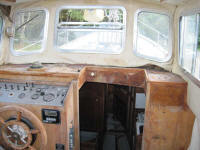
Mulling over the companionway opening and planning the
trim there, I eventually determined that I needed to
build and install the trim surrounding the top opening
first, so that the edge trim along the bulkhead could
overlap that as well. When I'd cut the opening in
the dashboard, I'd pushed the cutout much closer to the
windshield than the original opening, which was squared
off and, for the brief time I worked around it during
the very early days of the project, always seemed to be
in the way and was a head-banger. |
The original companionway on August 26,
2010
 |
I'd also allowed the forward end of my new opening to
parallel the windshield, mimicking the angled profile of
the forward edge. These changes meant that the new
opening, while necessarily requiring vertical trim to
meet the eventual plane of the overhead beneath, would
be larger and more comfortable to use.
When I installed the top fiddle trim around the
companionway opening, I'd planned ahead for the trim I
was about to build by allowing the fiddle to extend
below the edge of the plywood dash substrate by 1/4" or
so. This would hide the seam at the top edge of
whatever trim I built, and would also register its
position properly.
I made some basic measurements to determine the overall
width of the trim pieces; I needed blanks of at least 6"
wide to handle the starboard side, as the overhead
followed the camber of the cabin trunk and, with the
horizontal dashboard, the gap to fill became larger the
further outboard one went. So I milled a piece of
4/4 cherry to 6" wide, then measured and cut the two
forward sections of my trim, which incorporated the
miter angle corresponding with the facets of the
pilothouse windshield. I left these pieces a bit
overlong so I could be sure to get the miter right
first. |
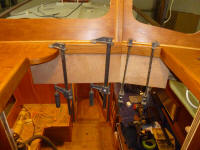 |
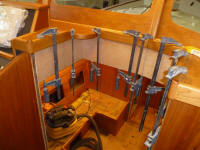
Clamping the pieces in place was a bit challenging, and
the starboard (right in the photo above) section tended
to pull a way from the trim at the top edge, which
opened the miter joint as seen in the photo. By
pushing the top edge in tight to the overhanging fiddle
trim, I could correct this problem, and would do so with
wedges during final installation.
With the "hard" pieces cut, I measured for the two
sides. On the port side, this section would have
two simple vertical cuts, while to starboard the forward
end needed an angle to mate properly with the angled
trim ahead of it. I cut these sections slightly
overlong and then trimmed incrementally as needed till
they fit tightly.
|

 |
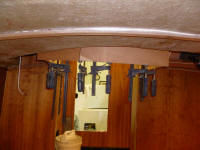
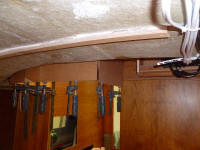
For now, all the pieces extended further down than
required, so I could mark and trim them exactly where
the overhead would lie. I planned to use the
bottom edge of this trim to secure the overhead panels,
so I'd trim the solid companionway surround to the same
height as the plywood overhead cleats. |
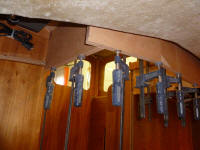 |
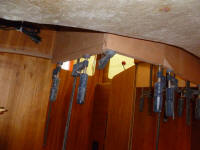
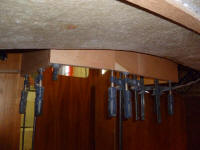
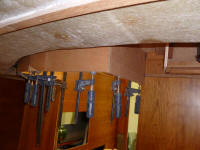
First, however, I marked the overlong ends of the two
forward sections. where they ran past the returns, and
trimmed the excess. Then, I used a straightedge
held across the overhead cleats to mark a cutline on the
sides, and also made a series of marks along the front
edges to show where the cuts needed to be made. |
 |
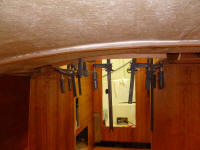
Then, I removed the trim sections and made the cuts
according to my marks, and finally sanded all the
pieces smooth before dry-fitting them one last time. |
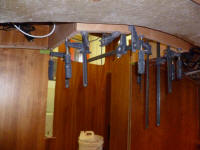 |
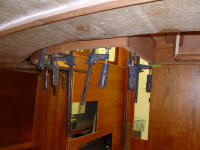
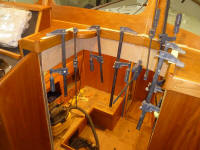
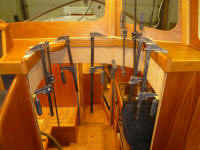
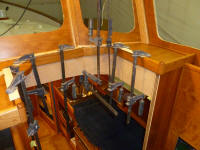
Satisfied with the fit, I installed the trim with glue,
gluing to the underside of the dash, the after bulkhead,
and, where sections met, to itself. There was no
way to use fasteners. |
 |
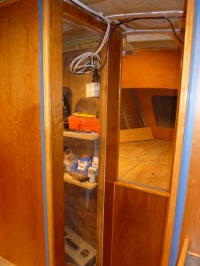
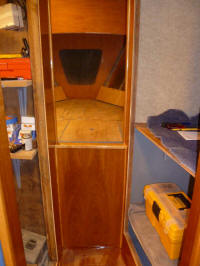
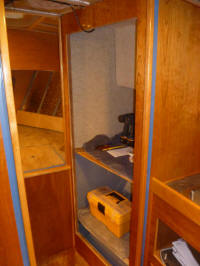
Finally, I applied a coat of varnish to the bulkheads
and trim in the forward cabin and passageway. |
 |
| |
Total Time Today: 4 hours
|
<
Previous |
Next > |
|
|


