Project Log: Sunday, February 3, 2013
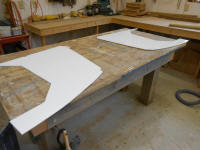
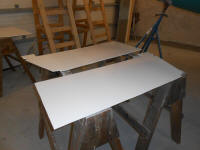
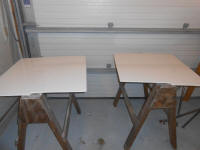
I began with the six overhead sections, lightly sanding
and applying a second coat of white paint. |
 |
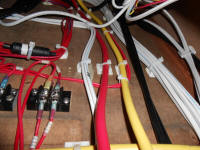
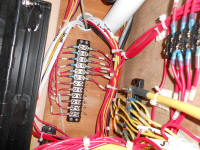
Next, I continued the wiring project with the final
wiring for the heating system and thermostat.
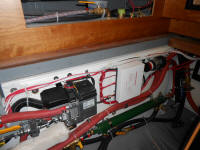
Following the wiring diagrams and my own existing
layout, I secured the final wires, running two through
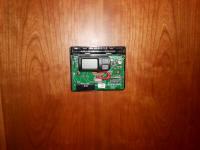
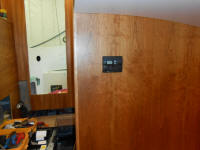
the console to my chosen location for the thermostat
control, on the after bulkhead in the main cabin.
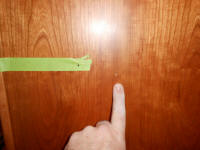
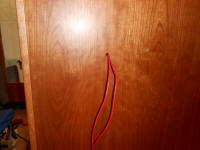
To locate the control, I had to drill more or less
blindly from the inside of the console, to avoid
damaging wiring already in place within, so I made some
basic measurements to help me locate a pilothole from
inside. Outside, I'd marked my hopeful location on
some tape; the actual hole, thanks to obstructions
within the console, ended up a little off the mark, but
the exact location wasn't as important as a safe
installation. |
 |
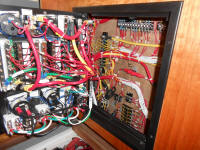
I terminated the ends of the 3-conductor AC cable from
the water heater at the appropriate circuit breaker in
the AC portion of the electrical panel. |
 |
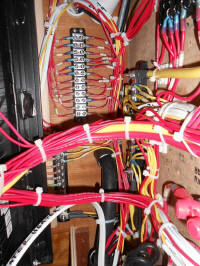
As I'd worked my way though this extensive wiring
project, I'd debated, on an ongoing basis, whether or
not to "waste" time wiring up the three fuel tank
senders I'd installed. The fuel gauges were hardly
a crucial installation, but at the same time it'd be
nice to get the wiring done. But with an end to
the wiring in sight, and a desire to be done with the
wiring within the console (at least in a major sense), I
decided to press on and complete the gauge wiring.
Not that I don't enjoy wiring--I do, very much, but it
was time for it to be done.
This was not a difficult task, with two wires required
for each sender: a ground, and the sender wire
from the gauge itself. In addition, there was a
power supply required for each gauge, though those wires
didn't need to go to the senders at the tanks, just to a
power source of my choosing, which I'd get to in due
course.
The only problem, as it were, was that the starboard
fuel tank was far away and required a long wire.
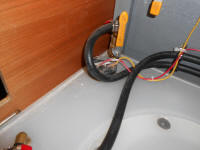
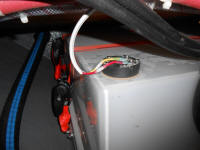
To make wiring this sender easier, I ran only a single
wire for the sender terminal, leading it though the
after bulkhead to the tank space, beneath the cockpit,
and along the port side of the engine room to the
console; hooked the ground wire to a nearby and
convenient terminal block I'd installed for some of the
cabin lighting.
|
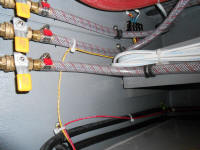 |
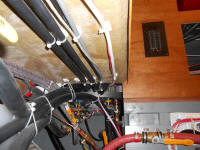
I ran a sheathed wire pair from the console to the
center tank beneath the cockpit, following the same path
as the starboard sender wire, and made up the
connections on each end as needed. During a
preliminary wiring stage, I'd already run the necessary
wires from the gauges themselves down to a terminal
block within the console, so now I just had to connect
to the terminal block. |
 |
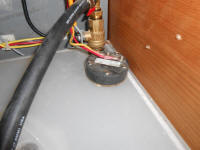
Completing the wiring, I installed the two wires needed
for the port tank gauge. For the three gauges'
power supply, I used short lengths of wire to jump
between the three such terminals on my terminal block,
combining the three circuits into one for a trip up the
console to the engine gauge panel, where I planned to
install the wire to the appropriate terminal in the
ignition circuit so the gauges would only run when the
key switch was turned on. If I'd thought about
this long ago, and planned differently, I could have
placed the three power supply wires next to one another
on the terminal block and used metal jumpers between
them, but I didn't want to move the wires now, and it
was a cinch to make 2" long wire jumpers to accomplish
the same thing.
I needed to find a wiring schematic for the panel before
I could secure the wire end, so I installed the wire
label and ring terminal and left it there for now.
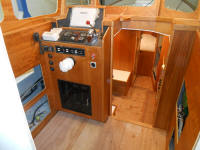
Then, done with the wiring in the console (except for
eventual AC circuits), I closed up the panel and, sick
of the protective paper and feeling safe enough, removed
the paper from the panel enclosure. |
 |
| |
Total Time Today: 5.5 hours
|
<
Previous | Next > |
|
|


