Project Log: Saturday, February 16, 2013
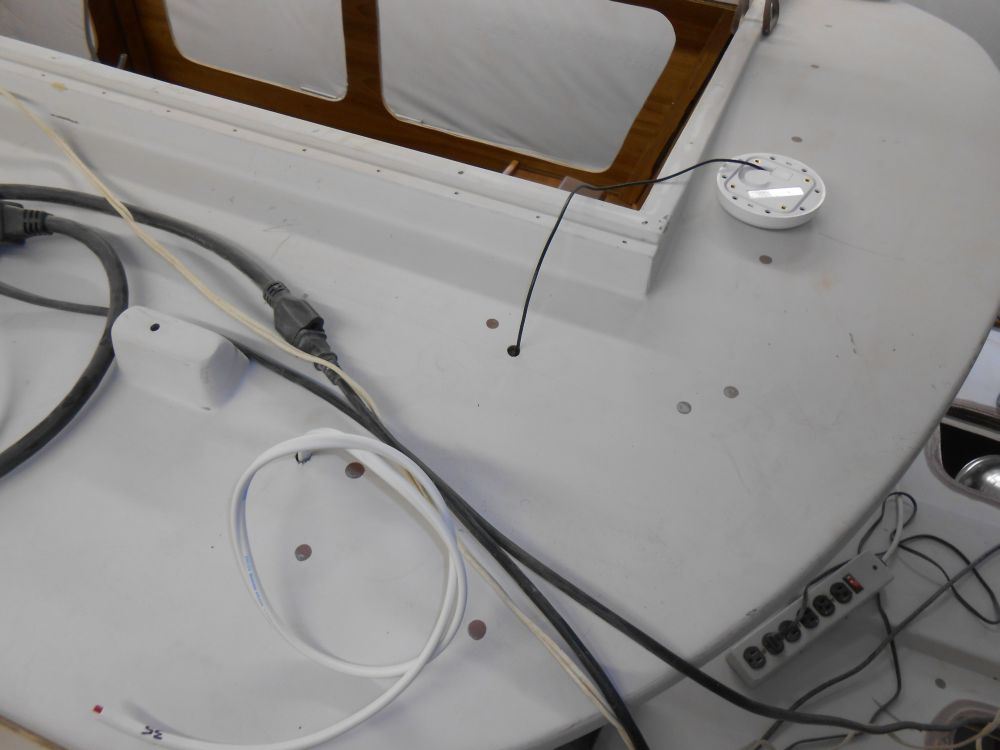
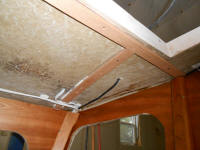
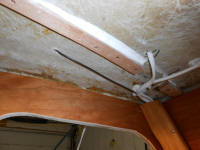
Before I could install the final overhead sections in
the boat, I had to finalize some of the wiring in the
pilothouse. During an earlier wiring stage, I'd
drilled holes though the deck for the running lights and
two GPS antennas (the main one and the dedicated one for
the AIS), and then sometime between then and now I'd
treated those holes to avoid water ingress into the deck
core.
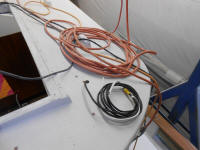
Now, I led the wires through their respective openings,
leaving the excess above deck for now. When it
came time to paint, I'd have to deal with these wire
bundles, but that was the minimal price to pay for
getting the wiring and overhead done at this stage.
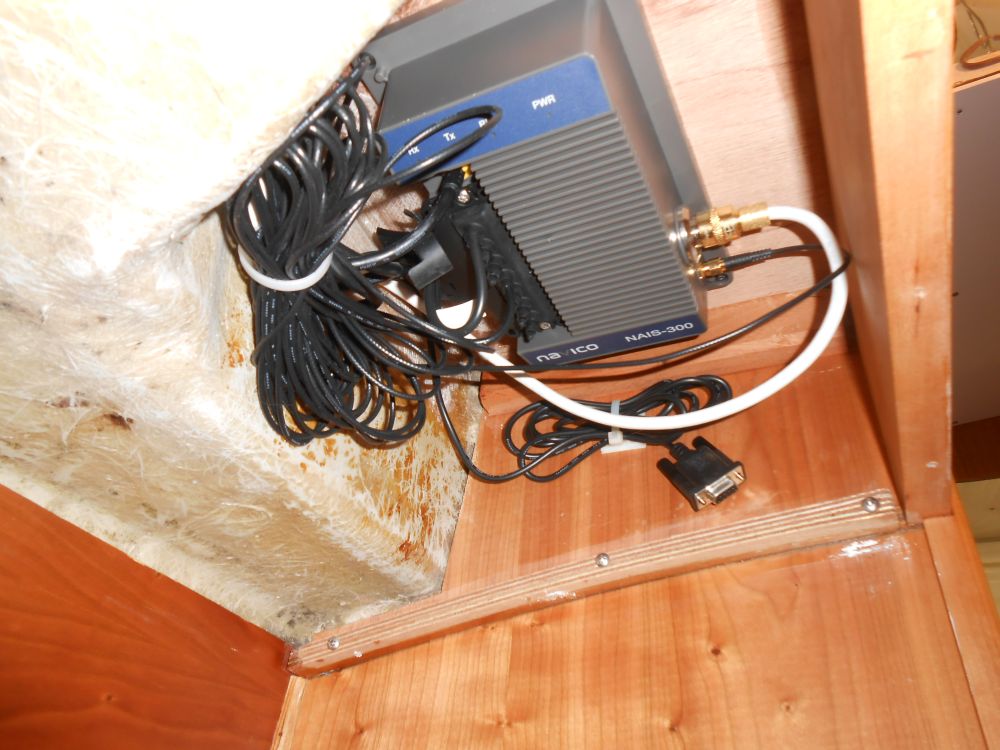
The AIS antenna was hard-wired at the antenna end, so in
order to install its wire now I'd be dealing with the
antenna and some wiring during painting, but again I chose to do
the rough installation now, and deal with the antenna in
the way to achieve the greater good of
wrapping up wiring tasks and the overhead installation.
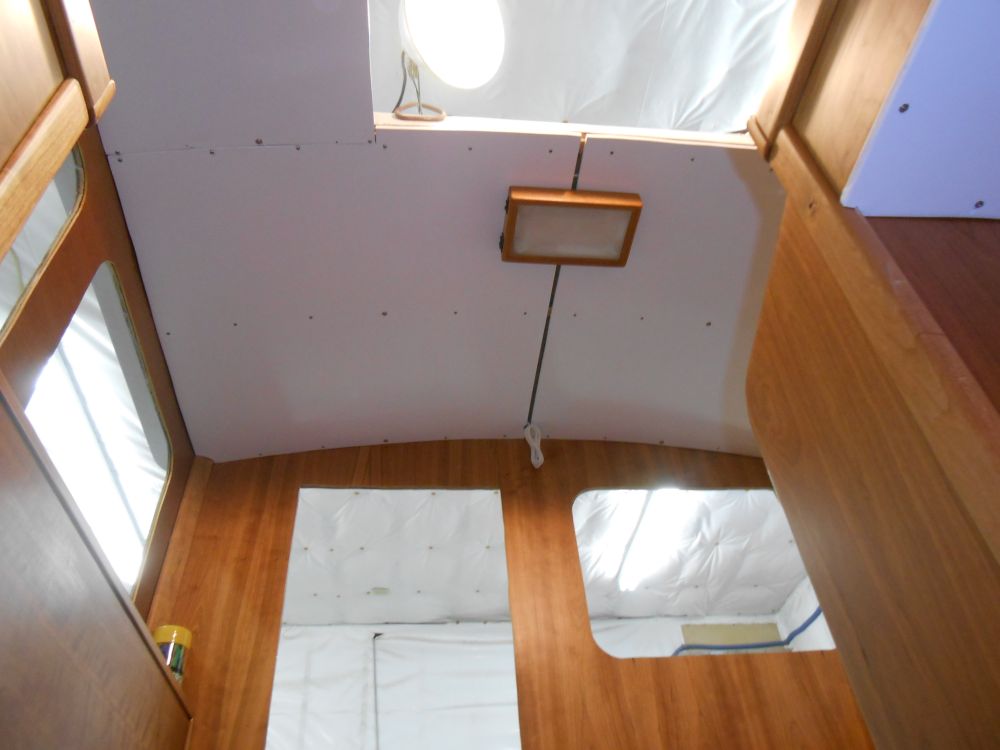
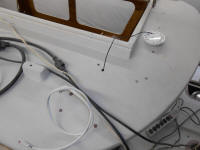
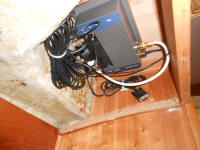
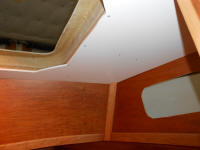
Removing the corner trim in the pilothouse, I led the
antenna wire down into the space beneath the dash where
I'd installed the AIS unit. I took down a section of the
main cabin overhead to access this space and tie up the
excess antenna cable and make its connection to the box. |
 |
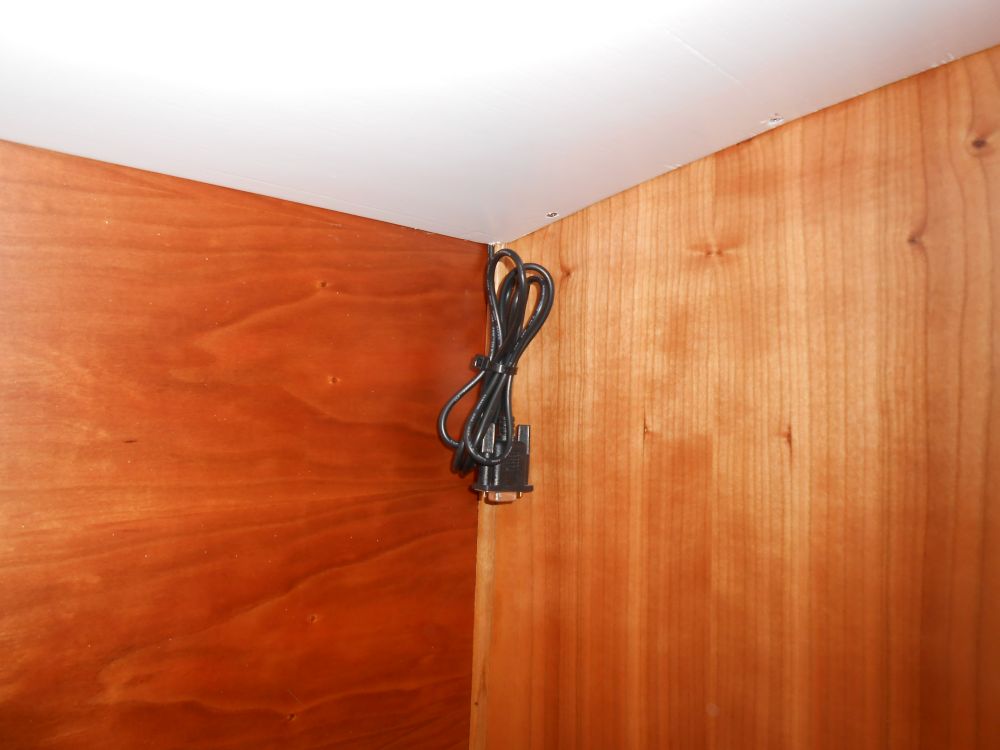
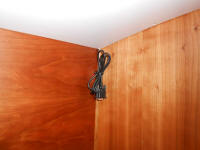
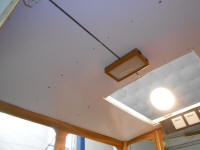
At the same time, I decided to lead a computer interface
cable (a funnily obsolete serial plug--seriously, Dude?)
out from beneath the overhead for future use when I had
to set up the AIS system. This way, I'd not have
to remove this overhead panel again, at least not for
routine access. There was a nice little space at
the outboard corner for the cable to pass around the
overhead cleat and out the overhead next to some corner
trim. I'd probably install a simple junction box
here to hold and hide the cable now and in the future,
but for the moment I just bundled and tied it up in the
corner after I reinstalled the overhead panel. |
 |
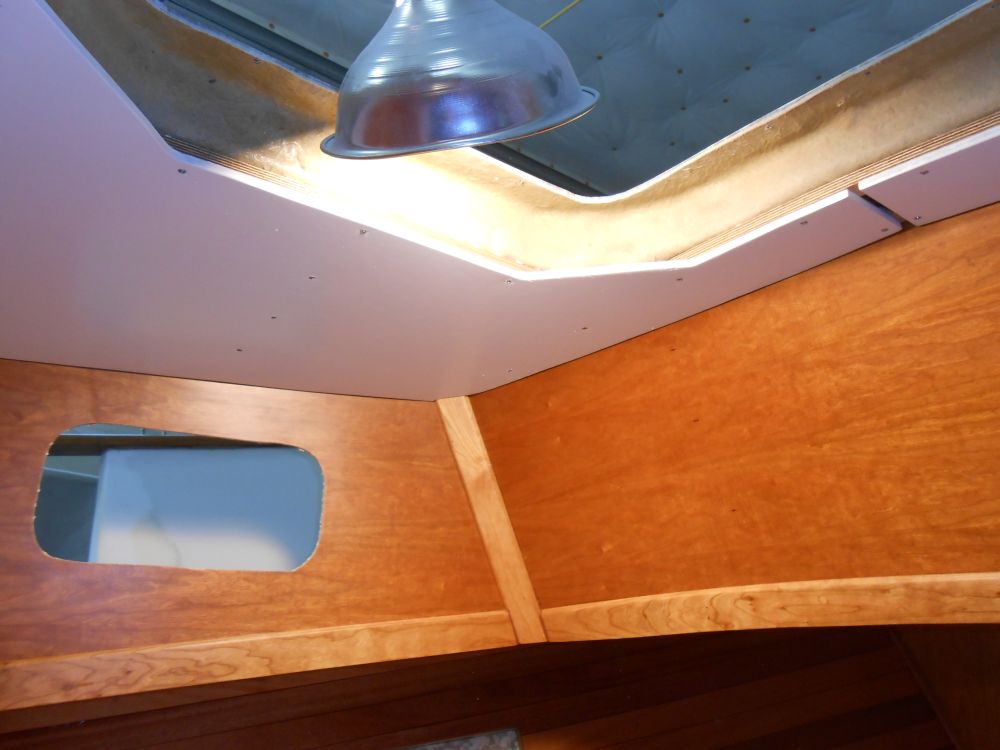
These tasks complete, I installed the final sections of
overhead paneling, starting in the forward cabin.
Sometime later, once I'd installed the forward hatch,
I'd figure out the details for trimming out its opening. |

|
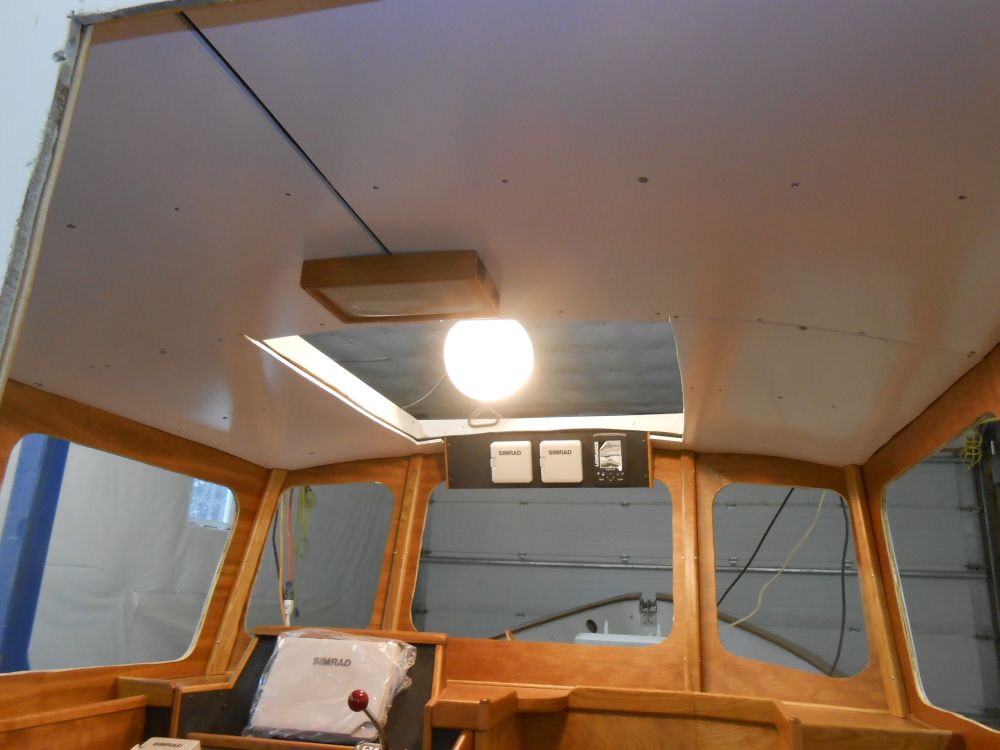
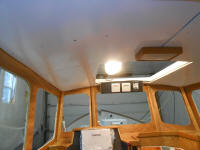
Then, I installed the four pilothouse panels, finishing
up by installing another overhead light fixture in the
center. With all the overhead in place, now I
could get to work on the trim required for the seams and
screw locations. |


 |
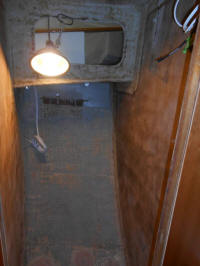
The "dirty little secret" of the interior so far had
been the head compartment, which was still in its
completely raw state. Much earlier, I'd installed
some temporary work shelving, and for many months had
used the space for tool and other storage, a very handy
thing. But with the most significant interior work
complete, and the other areas of the interior at at
least a passable stage of completion, it was about time
to start seriously thinking about what to do with the
unfinished head compartment.
So I took the rest of the afternoon to clean out the
head, removing piles of unneeded tools, scraps, and
supplies, and generally reorganizing what I had on board
to better reflect the jobs ahead. I removed the shelves
and brackets, as I could keep my tools in the storage
locker across the passageway, or in the forward cabin or
elsewhere. |
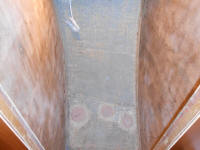 |
My plans for this space were simple. I planned to
install a toilet and showerhead only, with essentially
waterproof surfaces elsewhere to make the whole space
available for this use. I'd probably close off the
space against the hull, and hopefully hide plumbing
there as well, but I planned no sink, cabinets or other
storage areas, or basically anything else, choosing
instead to optimize the small space for its required
uses. By keeping the whole space simple, free from
unnecessary corners and so forth, it would work well as
a Navy shower stall--an onboard luxury that we were
greatly looking forward to, but which brought it its own
levels of complication and logistical issues.
Despite these simple plans, I still didn't know what
material to use to finish off the space.
Waterproof (or at least realistically water resistant),
simple, and easy were the requirements. I planned
to use a manual Lavac toilet, the best and only manual
toilet worth consideration, which I'd likely purchase
soon to have on hand for planning purposes. With
the space cleaned out, it was ready for action whenever
I was. |
| |
Total Time Today: 4.5 hours
|
<
Previous | Next > |
|
|