Project Log: Sunday, February 17, 2013
Now that the overhead panels were complete and all in
place, I decided to start work on some of the overhead
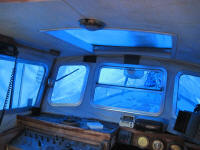
trim details, beginning with the large overhead hatch in
the pilothouse. Originally, there'd been some kind
of molded trim unit that covered the rougher insides of
the opening, but I didn't want to reuse that. |
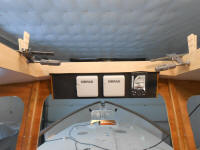
Photo from 25 July 2010
 |
The trim needed to cover the edge of the overhead panel,
and close off the gap visible at the edge of the
overhead, as well cover at least part of the overhead
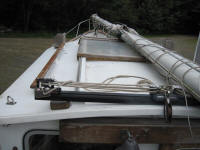
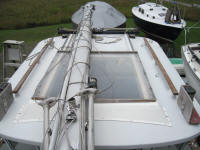
opening for best visual appearance. Some time ago,
I'd also made the decision to abandon the original
sliding hatch design, which was rather bulky,
unappealing, and, by most anecdotal accounts, prone to
leakage, in favor of a fixed panel, since I saw little
need for the opening hatch and fixing a panel in place
would avoid many potential pitfalls. |
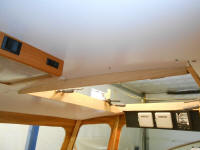
Photos from 25 August 2010
 |
I considered various approaches to the trim, including
L-shaped pieces to do the job in one section, but
settled on a two-section approach that would be easier
to mill and install, particularly given the camber of
the overhead. First, I'd line the opening with
wood, then, later, install slim trim pieces to span the
seam between the new vertical trim and the overhead, in
keeping with the other seam trim pieces needed for the
overhead.
To begin, from a larger piece of cherry stock I milled
thinner strips of wood, abut 3/8" thick and 3-1/2" wide,
as I saw no need or desire for full-thickness stock for
this trim. At the same time, from the same board,
I milled several 1-1/2" wide, 1/4" thick strips that I'd
eventually use for the trim to cover overhead seams and
screw lines.
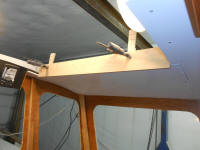
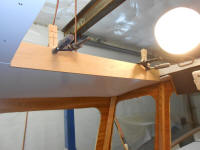
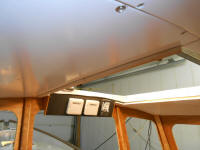
After some basic measurements, I prepared two pieces of
the new stock for the longitudinal sides of the opening,
trimming them to fit the length as needed. The
sides of the molded opening were not straight, square,
nor plumb. My initial thought had been to let the
trim follow the contours more tightly, but as I fitted
the rough pieces I decided instead to let them run
straight and plumb, as the sides were quite curvy.
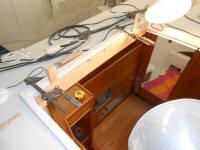
To hold the pieces thusly, I used shim stock behind and
clamped the side pieces temporarily in place while I
scribed the lower edge to match the overhead. |
 |
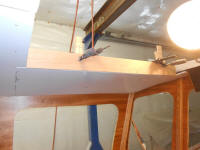
Removing the sides, I cut the lower edge to the line,
then reclamped and shimmed the pieces in place so I
could cut, fit, and scribe the forward and after
sections. |
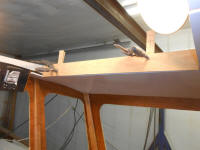
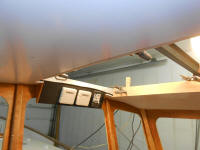
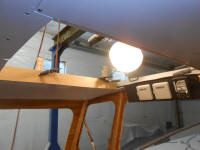 |
At the forward end, with the overhead instrument panel
to deal with, as well as a particularly ugly and uneven
raw edge, I held the trim piece a set distance above
and scribed the whole lower edge to the contours
required to accommodate the shape of the overhead and
clear the electronics as needed.
The aft section just needed scribing to match the deck
camber. |
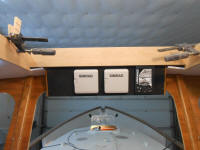
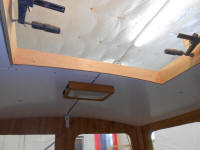 |
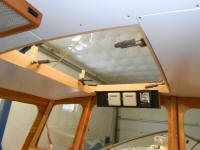
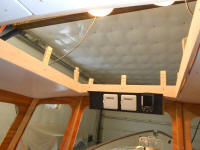
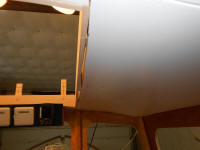
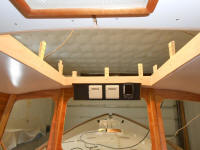
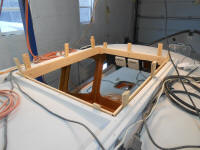
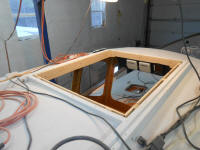
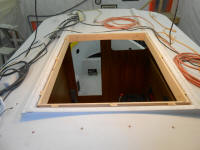
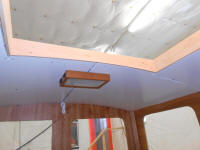
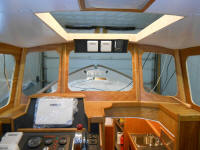
Satisfied with the dry fit of all four pieces, I removed
the trim and sanded the faces and lower edges smooth.
Then, I installed the trim, beginning by clamping all
found pieces in place with the shims required to hold
each piece in its proper orientation. The way the
overhead was built, it was possible that this trim might
need removal in order to take down the forward sections
of the overhead, so I installed the trim with screws
from the inside, which I countertunk flush and left
exposed. I applied some glue between sections of
shim stock, and between the shims and the wooden trim
itself--but not between the shims and the hatch
opening--to help hold the shims in their position during
any future removal of the trim. When the trim was
removed, the stacked shims should come with it.
|
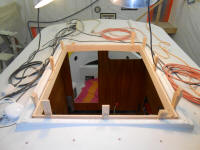 |
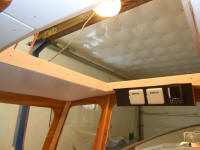
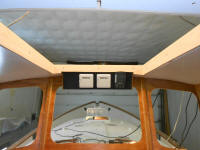
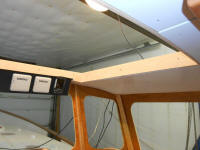
Once all the pieces were in place, and the glue had had
a chance to set up, I trimmed off any excess shim length
as needed. |
 |
| |
Total Time Today: 4 hours
|
<
Previous | Next > |
|
|


