Project Log: Sunday, January 20, 2013
I continued with the wiring work. To begin, I
strung one additional two-conductor cable aft for the
stern light, then led this into the console to secure it
along with the other running lights. I left the
aft end of the cable loose in the lazarette for now,
awaiting final connection sometime later.
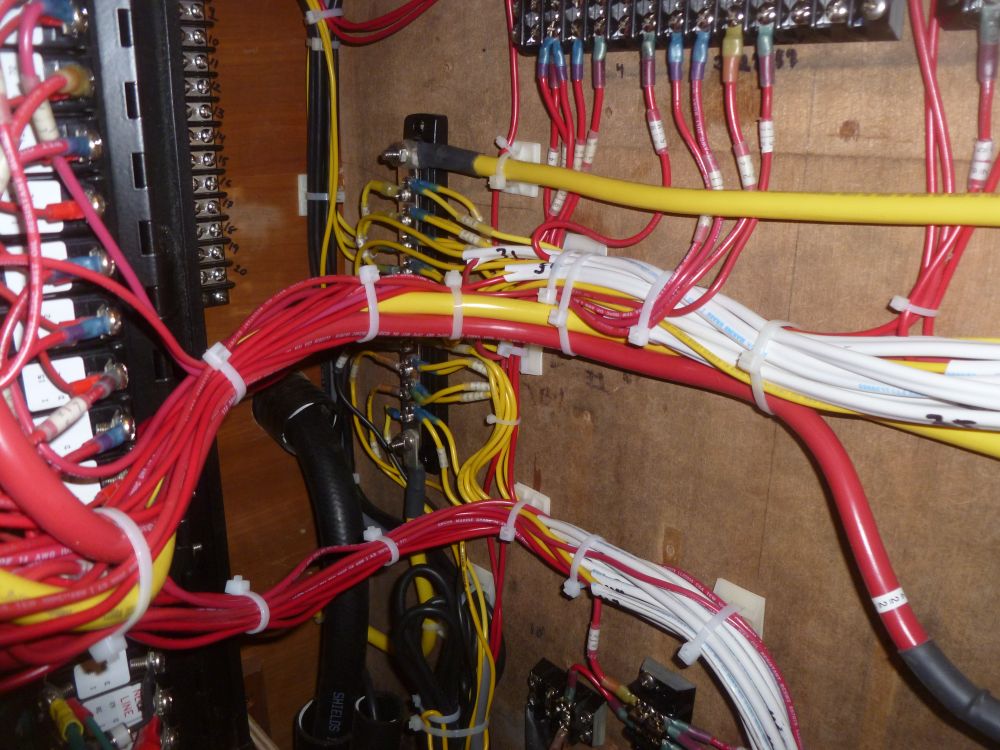
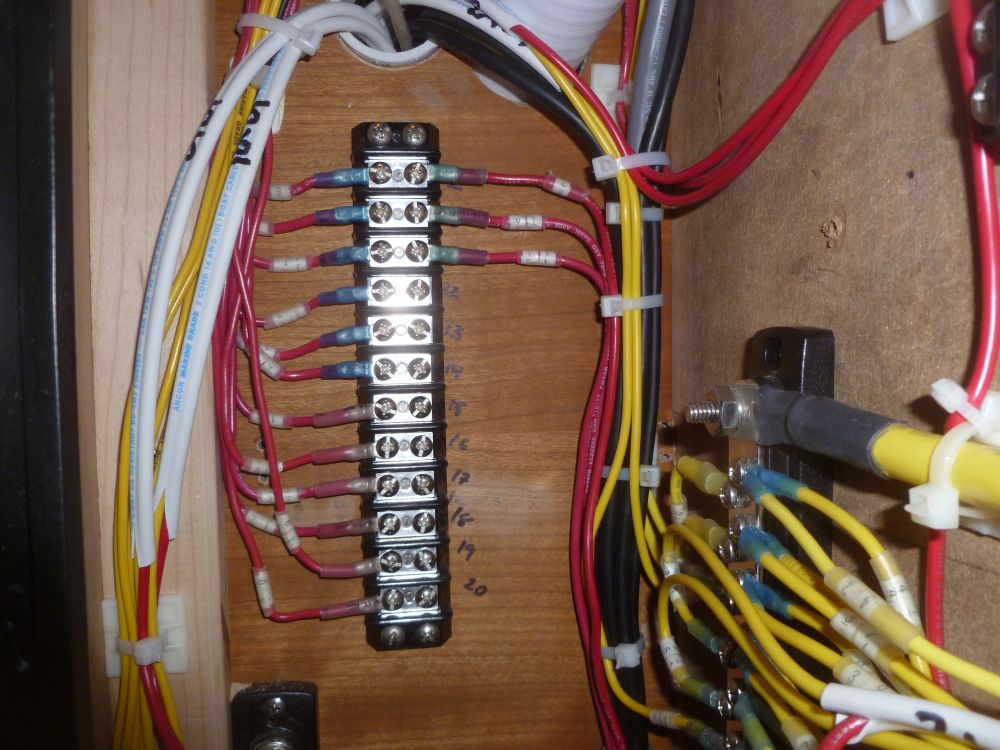
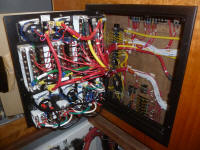
Meanwhile, I made up several additional wires within the
console, wrapping up the major wiring connection work
with most of the circuits now run to their final
connections and bundled within the console.
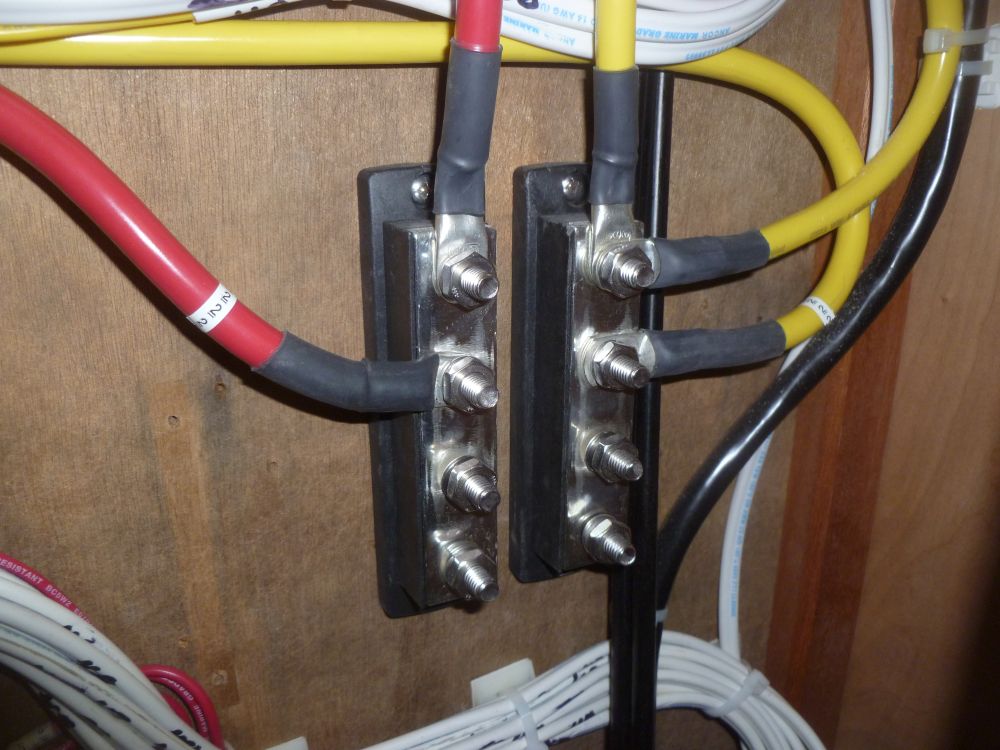
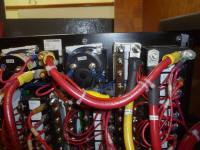
Afterwards, I installed larger cable (the ones marked
"2" in the photos below)to connect the main service
panel with the battery cable buss. |

 |
The system was now at stage where, if I were to
connect batteries, everything already installed should
work. That said, I still had a number of fixtures
to install, including additional interior lights, pumps,
fans, and other things. But at least the wires
were in place and connected at the "hard" end. And
surely other things would crop up in the meantime.
They always do.
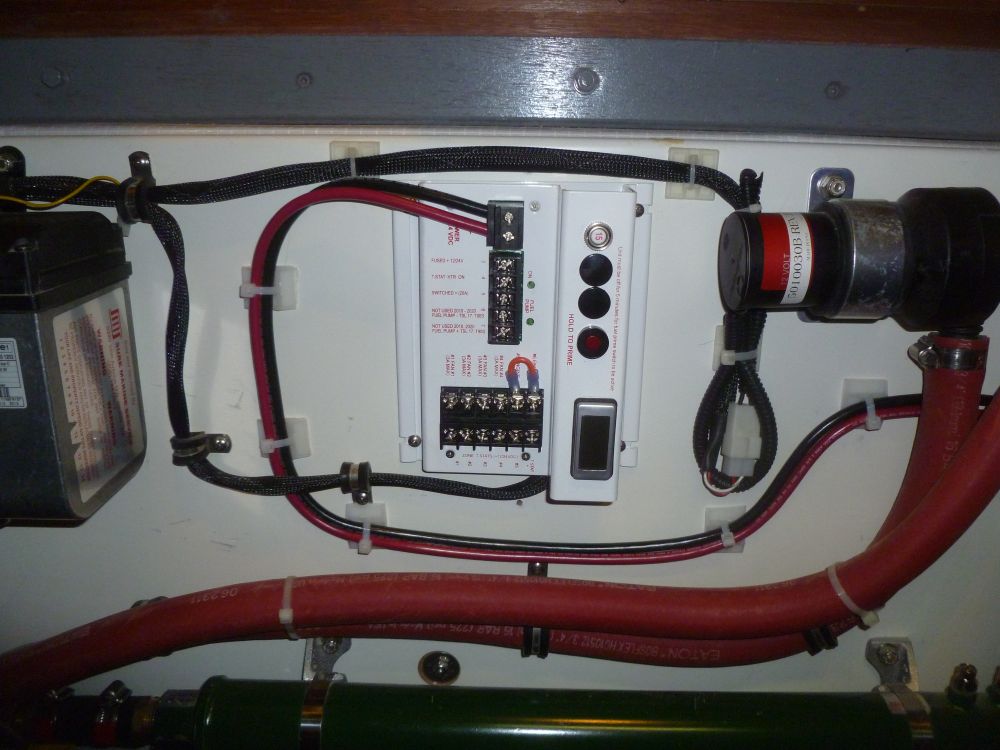
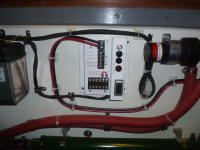
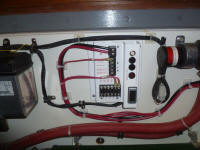
The next stage of wiring centered around the diesel
boiler's control board, beginning with the main power
supply. The instructions called for 10 ga. wire
for the main power lines, which I didn't have on hand,
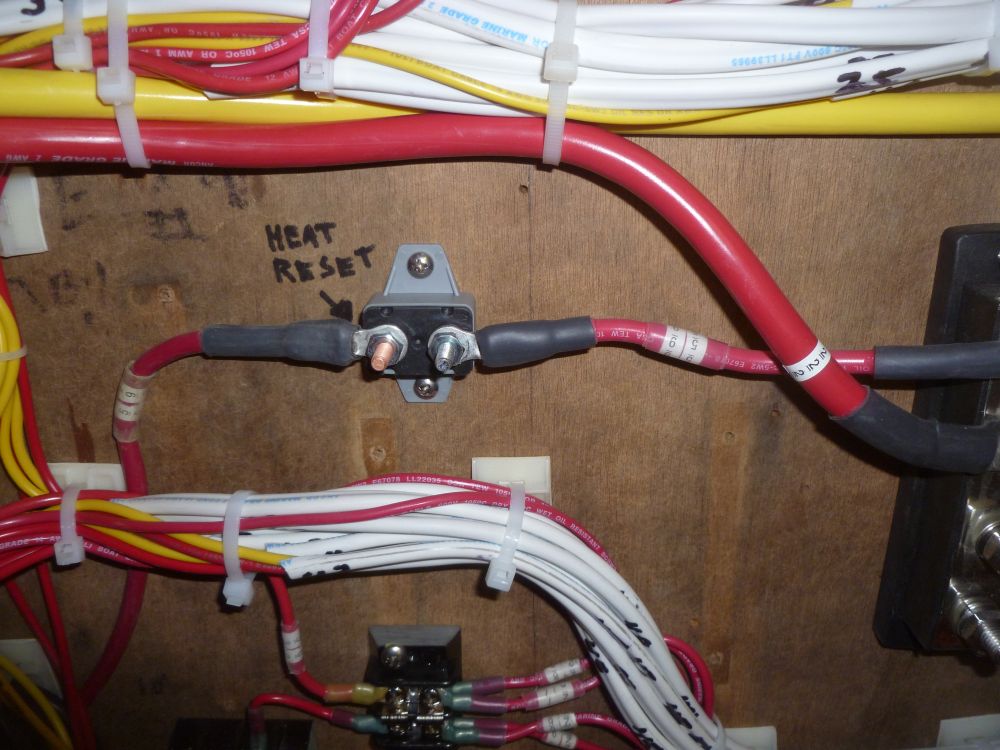
but I did have 8 ga., so I used that. The system
came with its own special circuit breaker for the main
positive cable, so I didn't need to run the lines
through the main breaker panel. I made up a length
of cable to connect the breaker to the battery buss,
then led another length down into the engine room and
back to the control board, along with a black negative
cable that I connected to the closest negative
distribution buss. |

 |
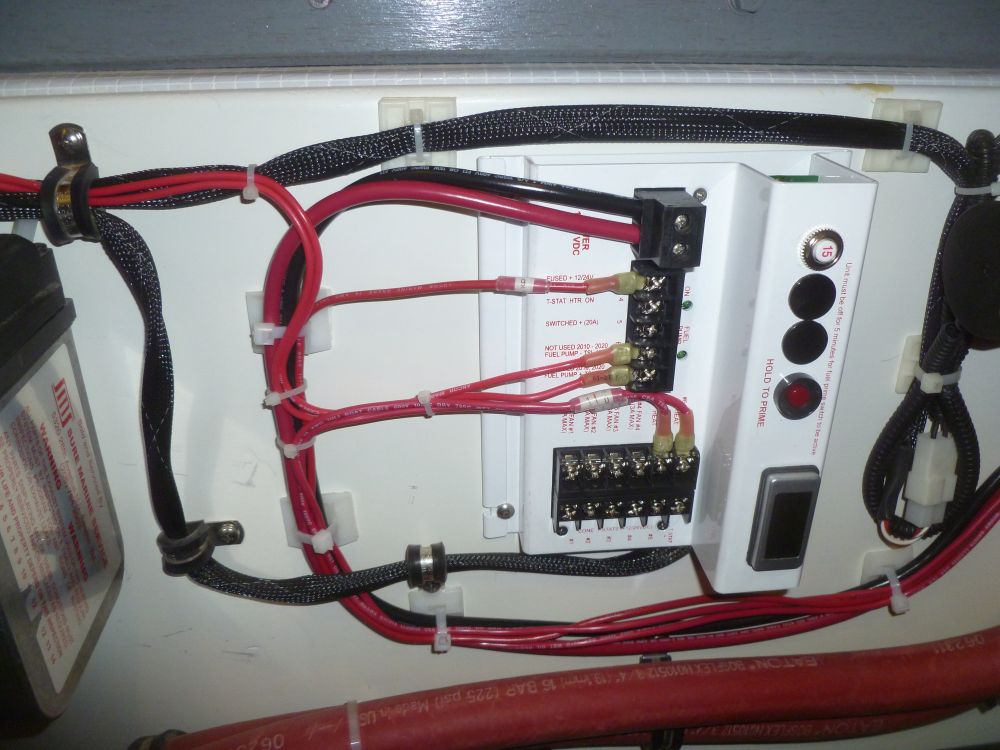
Because I had no power yet applied to the whole system,
I made up the main power connections to the control
board right away, as I knew I'd have the remaining
wiring done before installing any batteries. The
instructions admonished that all the related wiring
should be complete before applying power to the system.
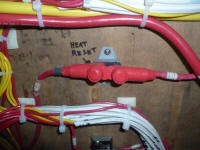
I realized I'd forgotten earlier to install the supplied
rubber boots over the two terminals of the heater
breaker, so I removed the terminals and slid over the
boots. |
 |
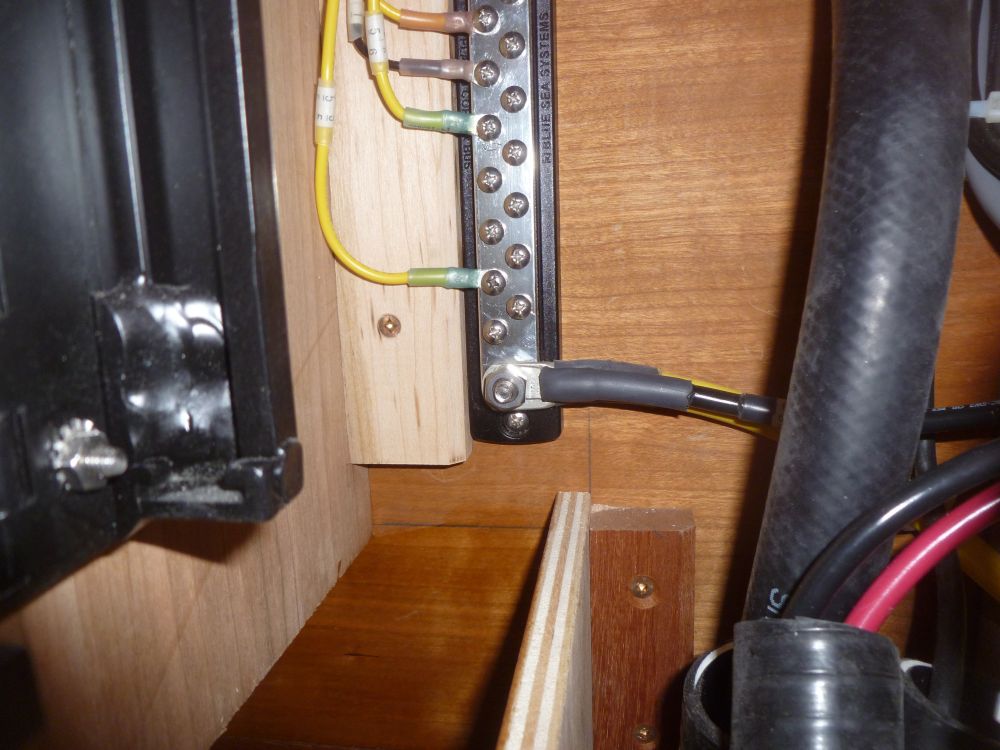
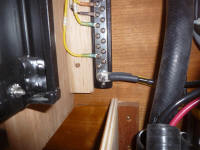
Next, I made up three additional wiring connections
between the main power switch (engine heat/system heat
switch on the console) and the control board.
During an earlier wiring stage, I'd led the wires from
the switch to a convenient terminal block within the
console, so now it was a matter of containing the runs
from there to the appropriate terminals on the control
board in accordance with the instructions and wiring
diagrams.
|

 |
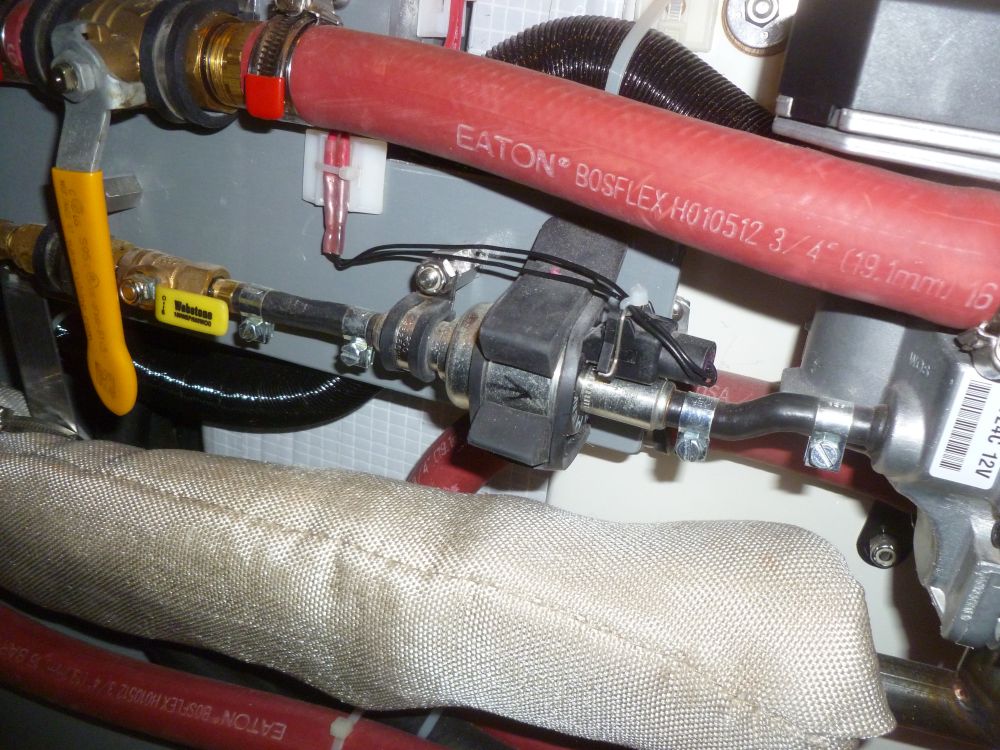
Next, I wired in the boiler's fuel pump, a non
polar-specific pair of wires than I led to the
appropriate terminals on the control board. |

 |
This wrapped up the work for the day. In order to
complete the heating system's wiring, I'd need to wire
in the two fan heaters, along with the thermostat and
one additional fan heater control, which I'd take care
of next time. |
|
Total Time Today: 5.75 hours
|
<
Previous | Next > |
|
|