Project Log: Friday, April 18, 2014
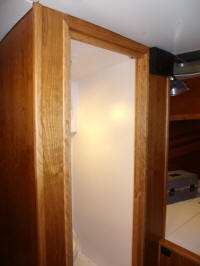
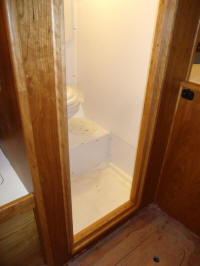
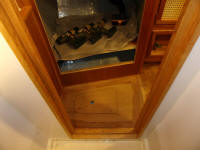
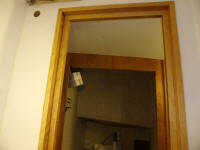
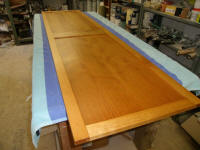
Over the past days, I finished up the varnish work on
the head door and door frame.
|
 |
For some time I'd been studying and searching for a
shower head system to install. I needed a handheld
shower, but also wanted a mount, both for storage and
for shower use as needed. I didn't want one of
those stiff, miserable plastic hoses that can't be
tamed. I wanted it to look decent. I didn't
want to take out a bank loan to pay for it. I
wanted something that wasn't a total piece of junk.
I didn't want 24 shower spray patterns, Amazon rain
forest simulators, or any of that. I didn't think
asking for the stuff to be made from metal was a
stretch, though as it turned out this was the most
unlikely desire of all.
I searched online and at the home centers. I was
left underwhelmed in all cases. I'm sure some of
the systems with $1500 price tags were probably very
nice, but come on. It's a shower. A basic
handheld shower. Why should something so simple be so
hard to find in a basic, functional format for a
reasonable cost? Never mind that most things I
could find didn't include such niceties as shower mixing
valves, shower mounts, and the like--all extra.
Start adding these into the at-first-glance low cost of
certain shower heads and suddenly the price ballooned.
Never mind various impracticalities of many of these
possibilities, insofar as my particular installation
requirements went. Read on.
Ultimately, inevitably, inexorably, I settled on a
compromise. In the end, after figuring I'd find
what I needed through an online plumbing supplier or a
big box store, I found the final solution I chose from a
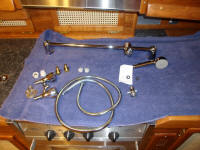
regular marine supplier. The Scandvik system I
selected was complete: shower head (with only a
single spray pattern); mixing valve; metal flex hose
(hurray); sliding rail-mount system (perhaps unnecessary
but I'd come to like the looks of these); and even
adapters between the BSP threads on the mixing valve and
the NPT threads used widely here. (I'd run into
these BSP threads earlier too, on the water heater, and
this had required a very expensive adapter fitting.)
The price was more than it was worth, but more than
reasonable when compared with everything I'd seen during
my research. |
 |
The most important feature I compromised on was the
construction material: chromed plastic.
Pretty much everything I'd physically laid my hands on
in the store, regardless of price or number of spray
patterns, was plastic. Fair enough. I guess
I could have had all metal if I'd been willing to pay
$500 or more for the system, though since I never looked
at anything like that I can't even say for certain.
Such extravagance just didn't seem necessary or even
beneficial in this situation.
Anyway. The system I chose was far from ideal, but
would do the job. My particular installation had
certain restrictions, particularly as regards the
positioning of the plumbing connections and shower
controls/mixing valve. With the layout of the
boat, and the need to hide (of course) the back
side/plumbing connections, I had a limited area in which
to consider mounting a valve: that is, just in the
utility space beneath the v-berth. With a solid
bulkhead, any penetrations above that point would be
visible--obviously not acceptable. I liked this
Scandvik system because it had a pleasingly small valve,
requiring just two small holes for installation, and
this would work well in the installation zone I had
available.
I will say that when I ordered this, I expected the
mounting rail to be metal; it was plastic. This
was a disappointment, but upon reflection I decided to
proceed. I could easily enough replace the plastic
rail and mounts with real metal if I decided later to
become creative and come up with my own system.
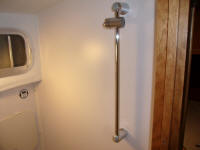
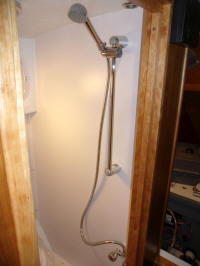
For now, I went ahead and installed the sliding rail and
mounts. Because it was plastic, and secured to the
bulkhead with just screws, I thought I might well have
to install a warning placard not to use it as a
handhold. It would really be fine for its intended
service, though. |
 |
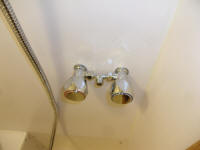
After various measurements, double-checks, adjusting of
existing hoses and wiring in the utility space to make
room, and the like, I determined a mounting location for
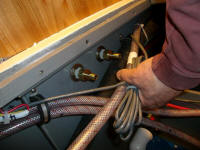
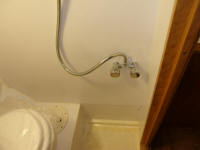
the shower valve/controls. It was lower than I
would ordinarily have chosen, but this was dictated by
the height of the berth platform forward, and couldn't
be helped. I tucked it off closer to the corner of
the head to keep it out of the way. The mounting
required two 5/8" holes through the bulkhead; I sealed
the valve with butyl tape.
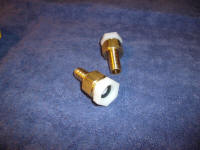
After securing the valve with the washers and nuts
provided, I installed the plumbing barbs, after
pre-assembling some brass barbs onto the supplied
plastic BSP/NPT adapters. Then I assembled the
shower head, hose, and on-off trickle valve (allowing
the shower to be shut off to a trickle without needing
to adjust the temperature and flow), and connected the
hot and cold water hoses that I'd run earlier.
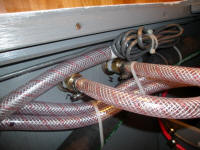
This project required minor reconfiguration of the
holding tank vent hose, and a wire bundle from another
installation. |
 |
The shower installation essentially completed the
plumbing work, and the head compartment itself. To
truly liberate myself from additional work in this
space, I decided to finish up some minor wiring runs,
leading to the light fixtures in the saloon and forward
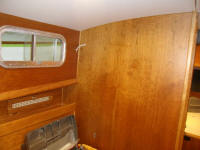
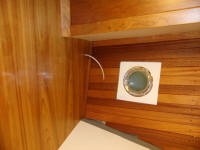
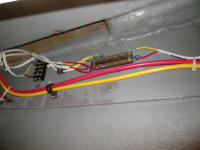
cabin that I'd be installing. Earlier, I'd run the
main conductors forward into the space, and provided a
terminal block for additional connections. Now,
with lengths of leftover wire, I ran two cables--one
into the port v-berth, the other to the forward bulkhead
above the dinette--for the eventual lighting fixtures,
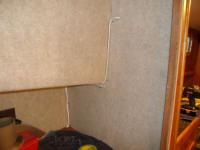
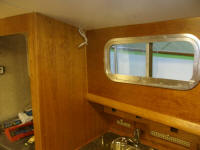
leaving a tail of wire for the final connections later. |
 |
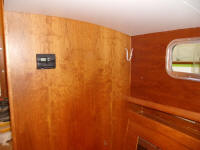
During a much-earlier wiring phase, I'd already run a
similar wire stub out for the port aft side of the
dinette. |
 |
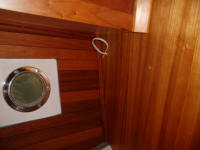
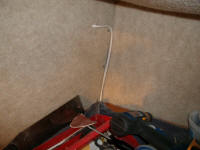
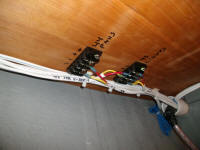
On the starboard side, with a similar terminal block and
wiring situation at hand, I ran two additional
conductors, for the starboard v-berth and the forward
end of the galley. I planned a final light fixture
on the bulkhead at the aft end of the galley also, but
I'd deal with its wiring a bit later. |
 |
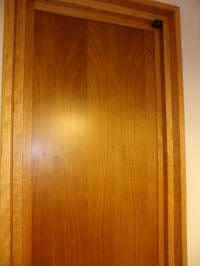
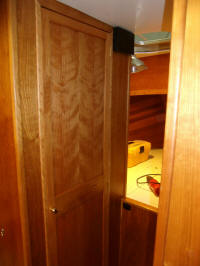
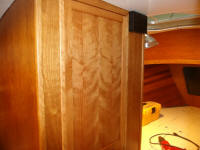
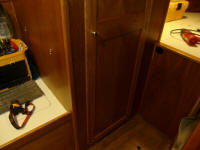
With the work in the head complete, I hung the new head
door, a fussy process that seemed to take longer than
building the door itself. Small hardware, tight
spaces, tiny fasteners: Tim's Holy Trinity.
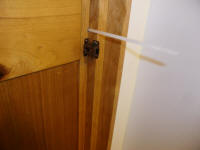
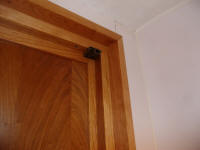
I went simple on the hardware: non-mortise hinges
(3 sets), the same solid brass knob I'd used on all the
cabinet doors in the boat, and two roller door catches
to hold the door shut. I planned to also add some
regular latch hooks inside and out to "lock" the door
from inside when in use, if needed, and also to secure
the door from without should it be necessary.
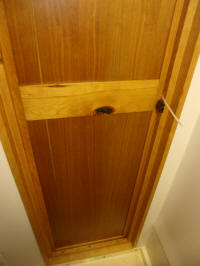
Later, I'd add a handle to the inside of the door, but I
didn't have anything suitable on hand yet. To
close the door from within the head while I installed
the door catches, I threaded a wire tie through the hole
for the outer knob. |
 |
| |
Total Time Today: 5.75 hours
|
<
Previous | Next > |
|
|


