Project Log: Thursday, February 6, 2014
The boat's original sidelights were mounted on teak
running boards atop the pilothouse. These
were in poor condition when I removed them, but I kept
them in storage since I liked the basic concept and
wanted to re-create the boards. As part of my
continuing effort to complete and make weathertight all
required items on the boat's exterior, as well as a
somehow appealing--on this day--means of getting back
into things after a couple weeks without any progress, I
decided to build new running boards.
There was a mirror-image board for the port side, but
for the purposes of layout I used only the starboard
one, which I'd brought down from storage some time
earlier for the purpose.
|
 |
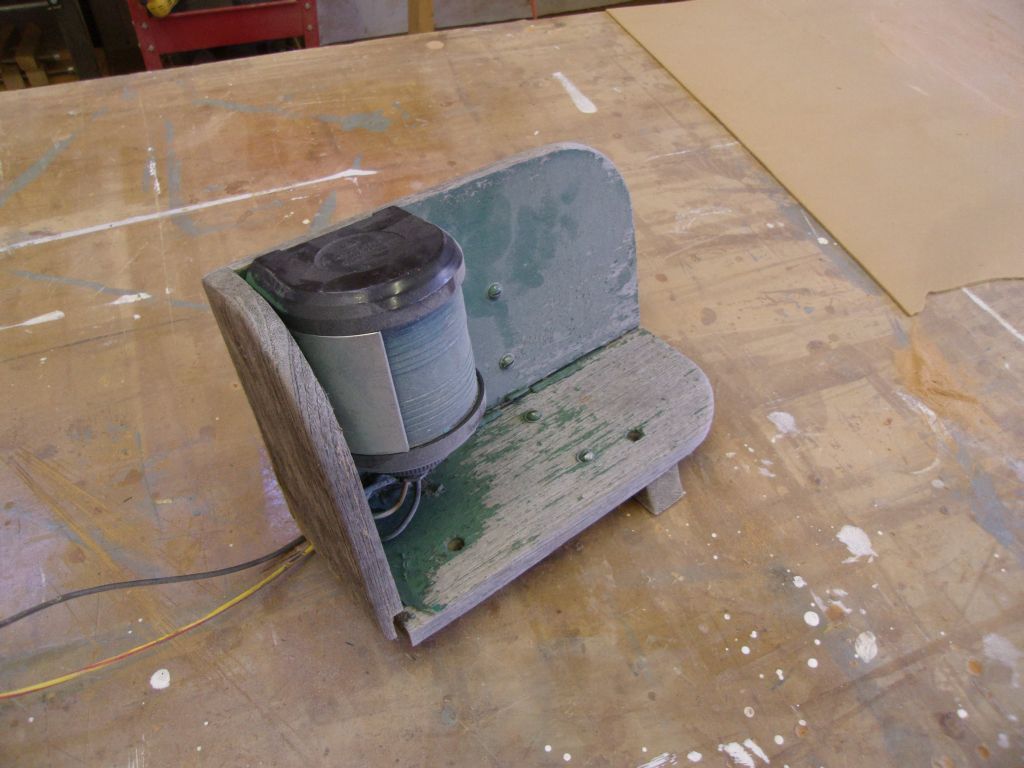
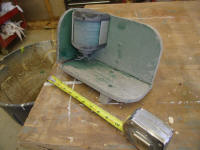
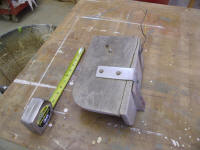
The original running boards were built from slim teak
that had once been fitted together with small nails,
half-lap joints, and a metal L-bracket (whether the
bracket was original or a later means of strengthening I
did not know). I did not plan to emulate this
construction, though I'd duplicate the overall
proportions and shape of the finished product.
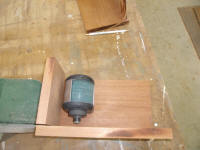
However, I did intend to use new versions of the same
navigation lamps, in this case the Aquasignal series 40,
a large, venerable, heavy-duty (at least by comparison
to most chintzy lights on the market) lamp that looked
appropriate to the task. The originals probably
still worked, but were weathered and worn and ready for
renewal.
I looked into supplying new LED navigation lamps of
similar appearance, which was my initial plan, but
decided their much-higher price was not warranted in
this case, since nav lights are not particularly
power-hungry to begin with, and on this boat, with an
ample battery bank planned and the likelihood that the
engine would be running given that she is, after all, a
motorsailer, I couldn't see any benefit to using the LED
fixtures, not for twice the already substantial price of
the series 40 incandescent lamps. I ordered the
new fixtures, but continued construction using the old
one as a guide.
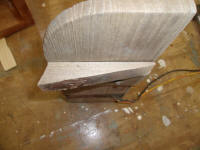
To begin, I prepared several oversized pieces of
mahogany stock from which to fashion the new running
boards. I selected Honduras mahogany because I had
a supply on hand, didn't have any teak, and varnished
mahogany would hold up well and complement the varnished
teak on board. As with the originals, I planned to
paint the inside faces of the boards with green and red
paint; the remaining surfaces would be varnished.
I used thicker stock than original because I thought the
heavier appearance would be apt. And anyway, I
hate thickness planing and avoid it at all costs; my
poor overworked planer is long overdue for replacement,
but since I seldom use it it simply gets continually
pushed further into the basement of non-necessity. |

 |
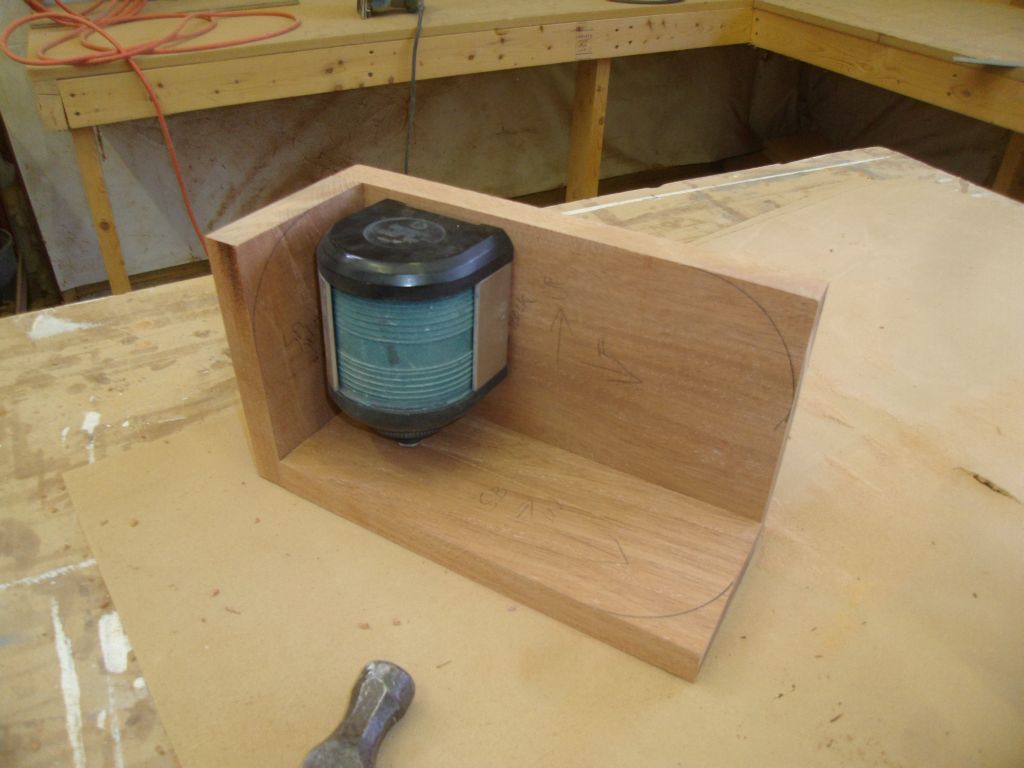
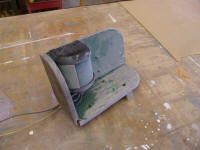
I planned a minor change in the overall height dimension
of the running boards to more closely match the height
of the light fixture itself; I'd run the light's wires
directly through the base and make the connections
beneath, keeping the excess wire out of sight. The
original setup allowed a little more room beneath the
lamp, but I liked my plan better. So I used the
original fixture--after double-checking online to ensure
that the dimensions of the new Series 40 were the
same--to determine the final dimensions of the rough
blanks I'd cut.
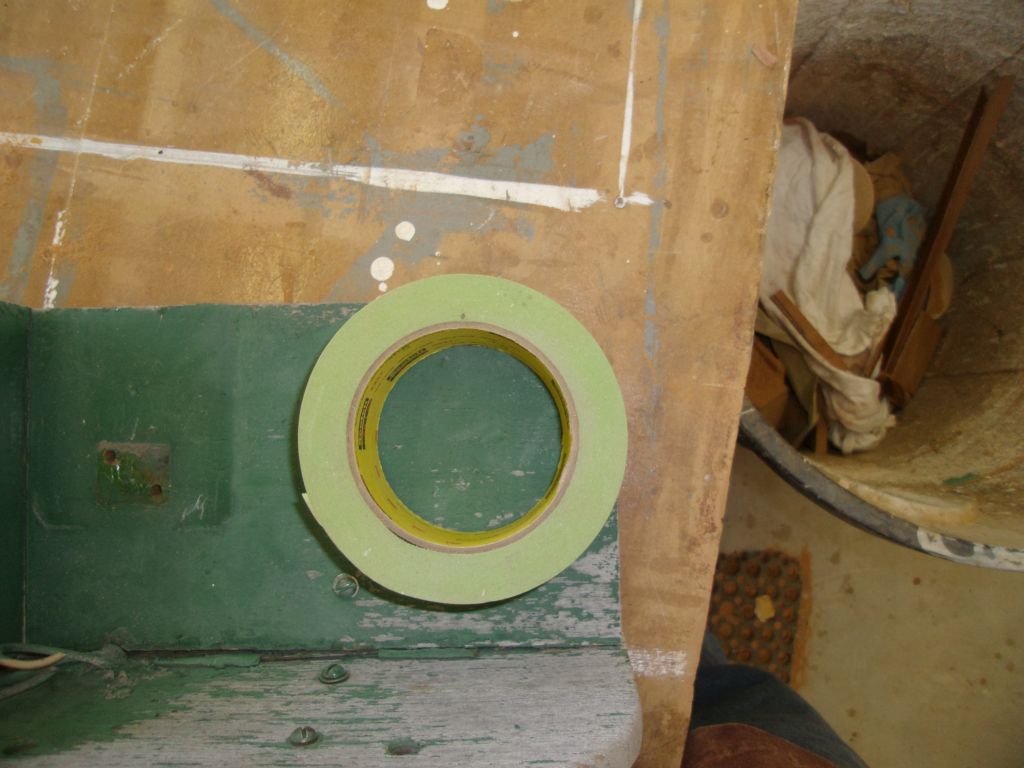
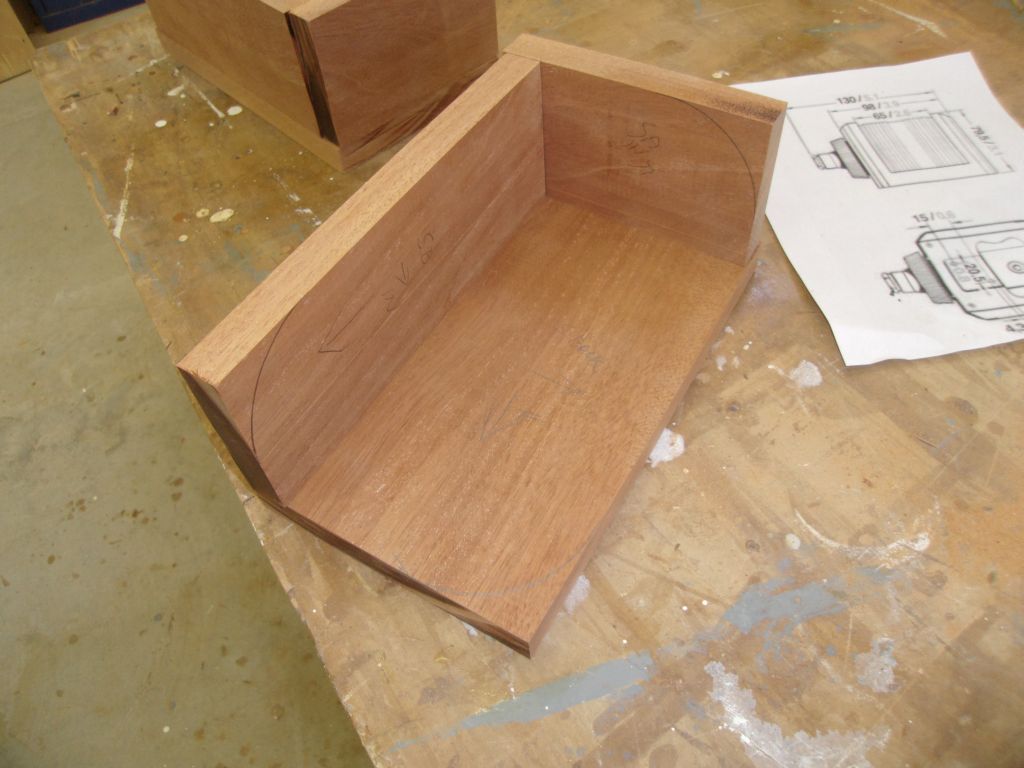
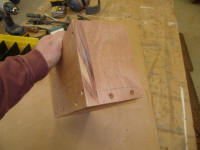
The original running boards featured curved corners,
which I would copy on the new. The radius of the
existing curve happened to match exactly a roll of tape
that I had on hand, so I used that to strike the arcs on
the new boards after I dimensioned them to their final
sizes. |


 |
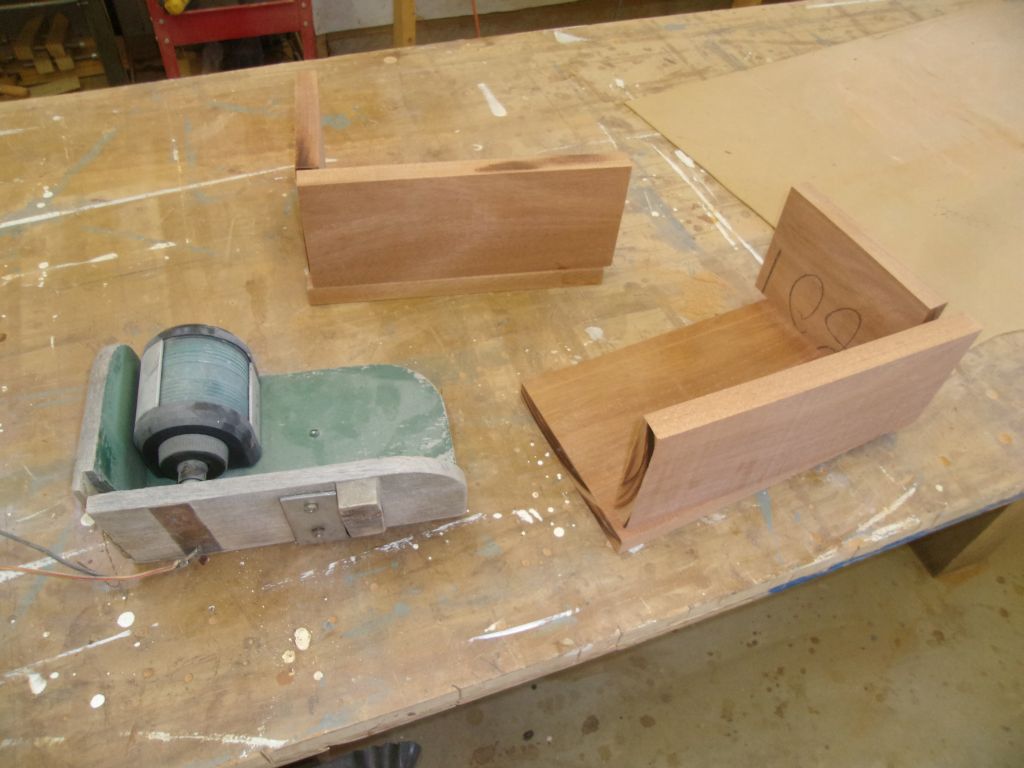
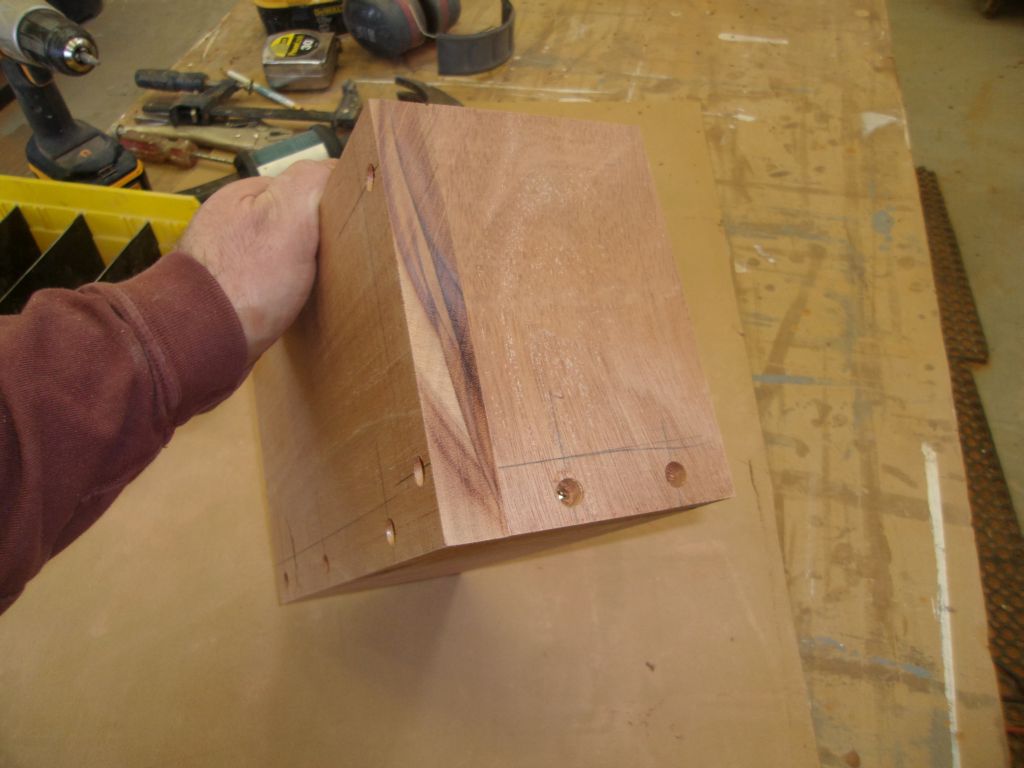
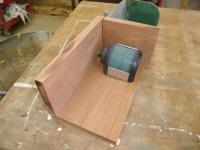
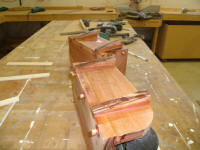
I arranged the three pieces in such a way as to minimize
exposed end grain once assembled, but otherwise elected
against fancy joints, shiplaps, or other such things,
choosing instead to rely on modern adhesives and
fasteners to secure the running boards together.
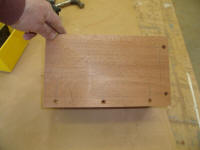
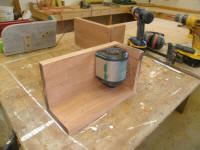
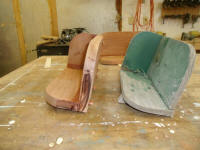
To that end, while all edges were still square, I
clamped them together and predrilled screw holes where
needed, dry-assembling both sides (port and starboard)
before continuing. This also ensured that I built
mirror-image boards for each side and didn't blindly
build two identical assemblies.
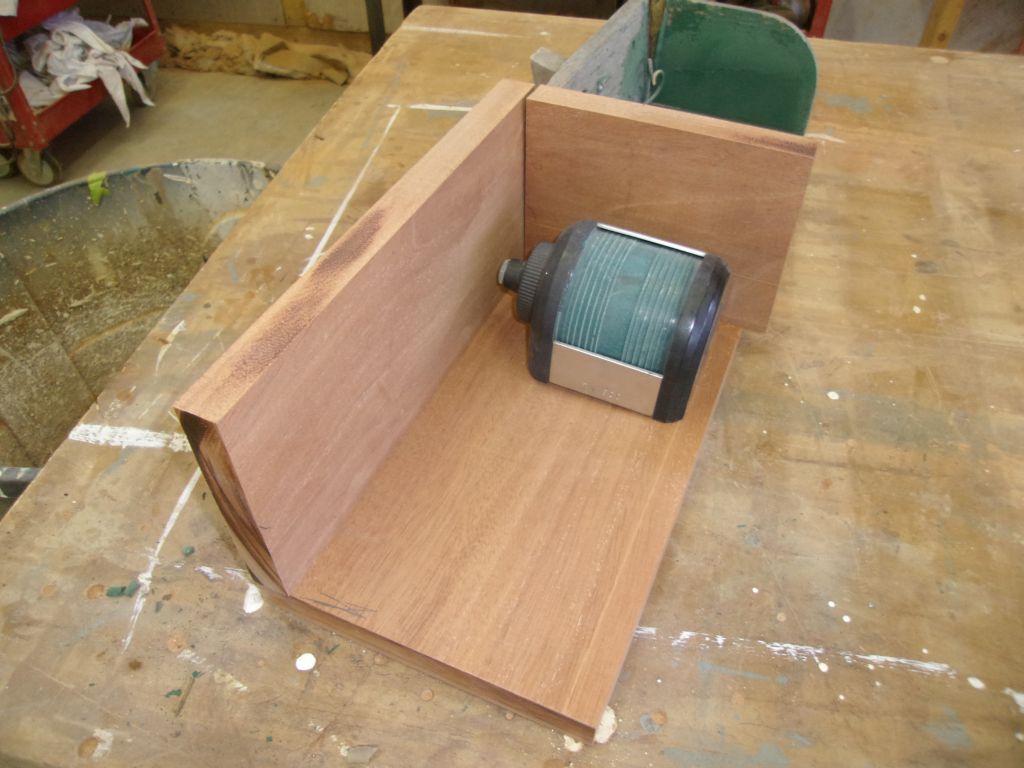
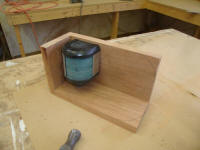
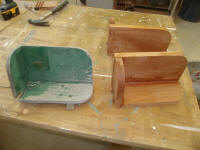
Note: I know I used the green light (and installed
backwards) in the port running board in these
photos--it's just what I had on hand for demonstration
purposes. |
 |
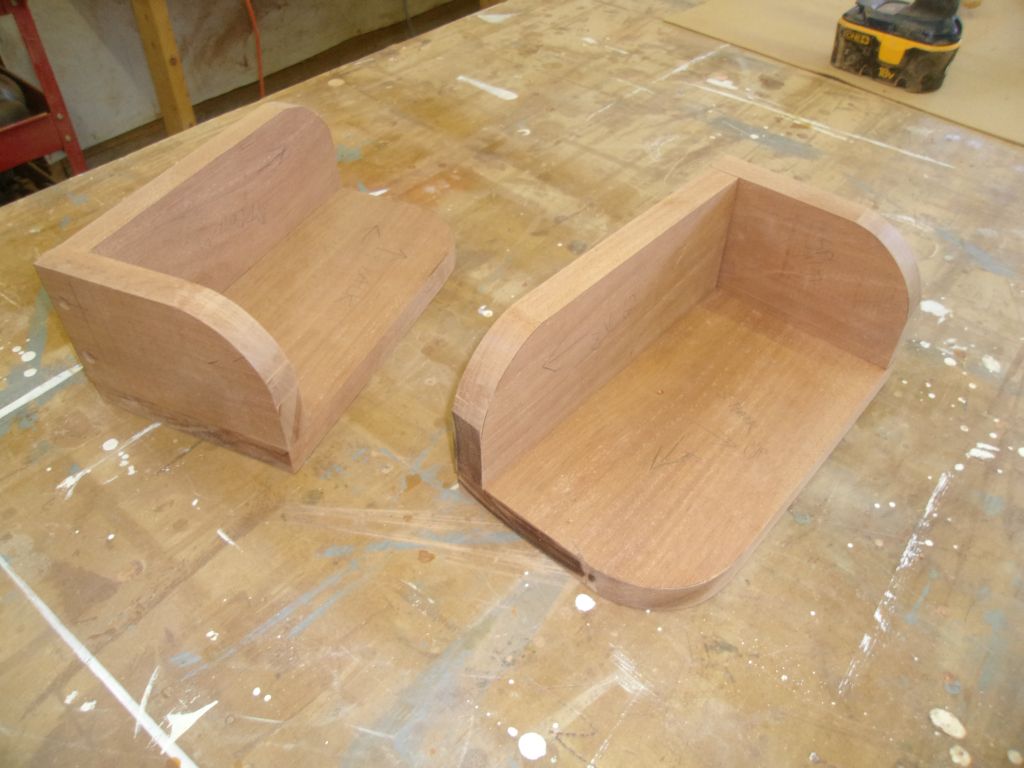
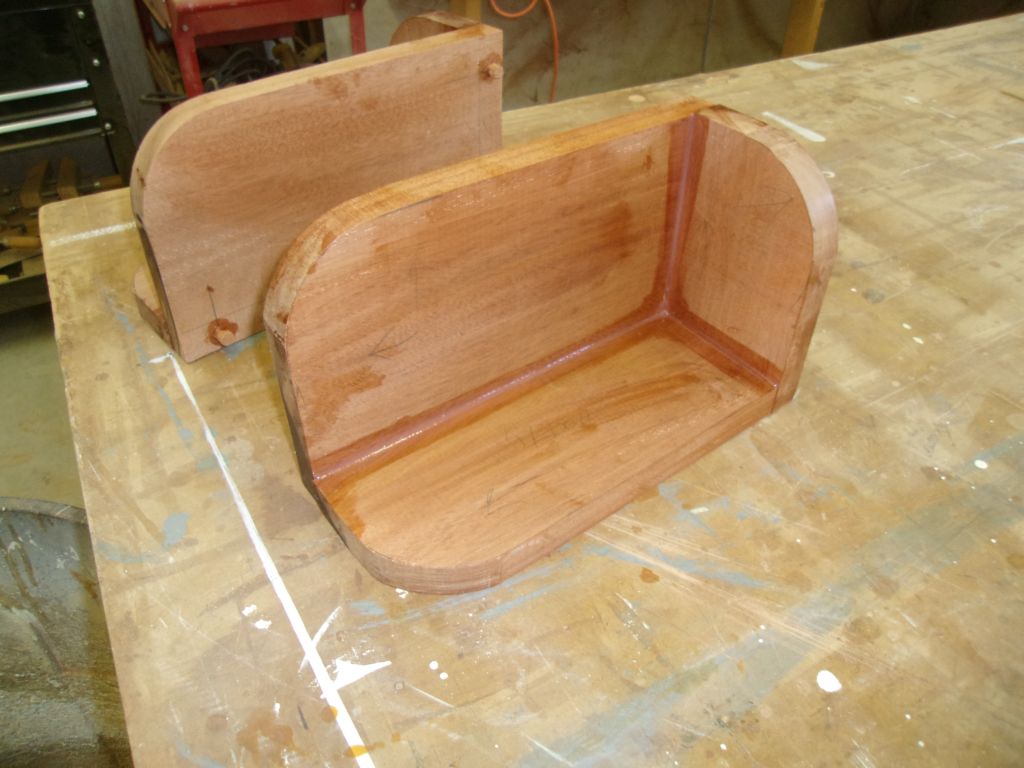
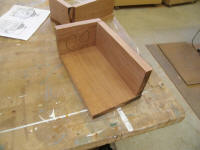
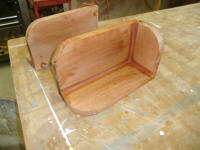
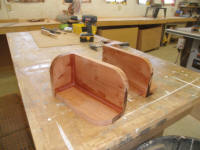
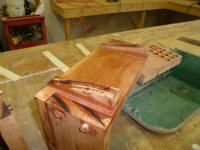
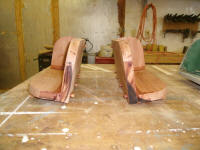
Afterwards, I removed the screws and cut the curves on
the three sides as needed. Then, after cleaning
the mating surfaces, I epoxied and screwed the two
assemblies together, leaving smooth and visible--but
small--fillets on the inside corners to add strength and
to avoid corners where water might collect; the insides
of the running boards would be painted. I bunged
the fastener holes. |

 |
I deliberately left all edge milling and sanding till
later; while certain aspects of this might have been
easier to do before assembly, it would have also been
far too easy to run a curved edge detail on some edge
that didn't want it, ruining the piece. Also, I
was unsure exactly how I'd treat all edges and was
mulling over some ideas, so on balance leaving this work
till later made sense to me.
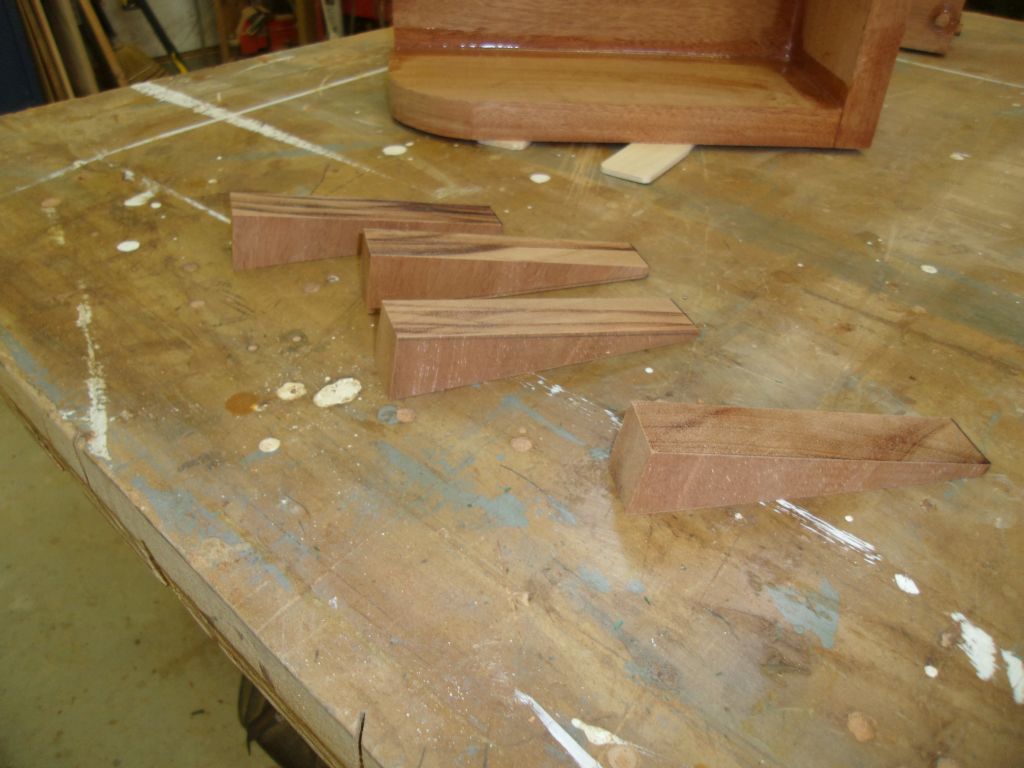
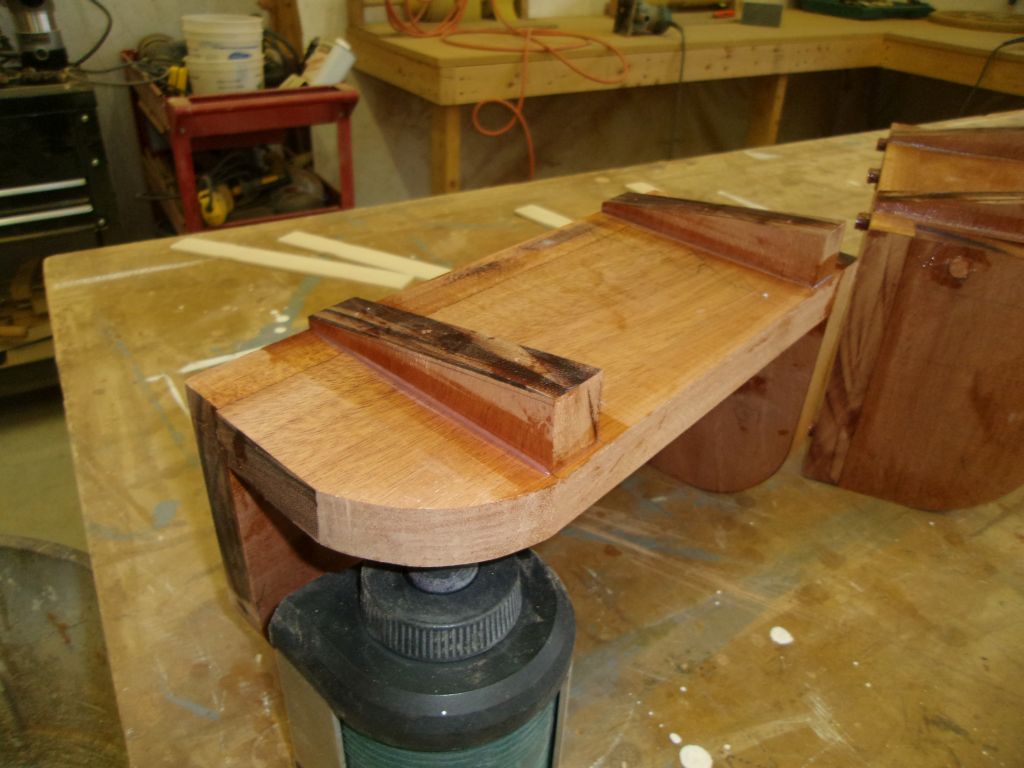
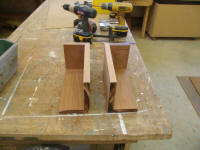
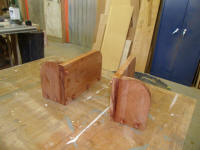
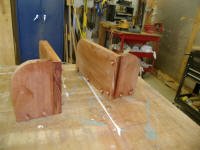
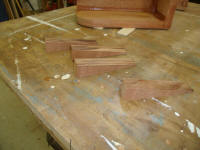
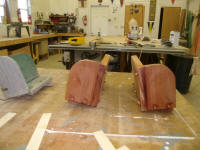
To mount the running boards level on the angled roof of
the pilothouse, the original running boards featured
wedges beneath the platform, which kept the platform
level and still allowed drainage beneath. This
worked for me, other than the ugly outward angle of the
short side of the wedge, so I copied the angle of the
original wedge (it turned out to be 10°) and, leaving
the short edge 90° to the platform base, fabricated four
new ones to fit the new running boards. I glued
the wedges to the underside of the platforms, tacking
them with stainless brads while the epoxy cured. I
left small fillets at the edges of the wedges. |

 |
| |
Total Time Today: 4 hours
|
<
Previous |
Next > |
|
|