Project Log: Friday, February 7, 2014
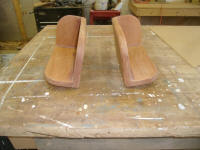
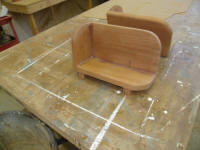
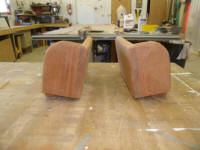
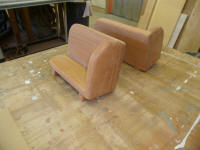
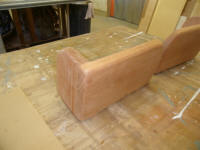
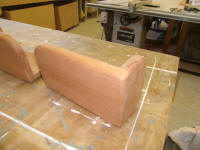
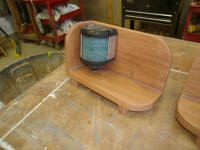
After chiseling away the excess bungs, I used a router
and a 1/2" rounding bit to ease the outer edges of the
pair of running light boards--just those that would
later be varnished. Then, I sanded the pieces
smooth through all the grits, removing tool marks and
preparing the surfaces for paint and varnish. In
areas to receive paint, or at the transitions between
paint and varnish, I sanded modest rounded corners at
the edges, which small roundovers would make it easier
to demark the two areas while still avoiding a sharp
edge.
|
 |
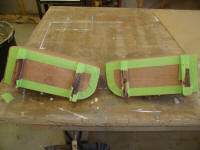
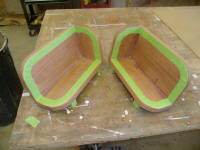
I masked off the areas to be painted, keeping the tape
just shy of the sanded roundovers. |
 |
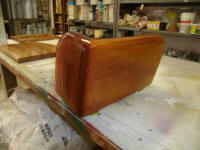
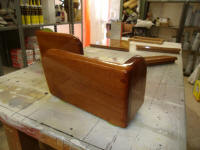
Then, I applied a sealer coat of varnish to the
remaining areas, the first of many. |
 |
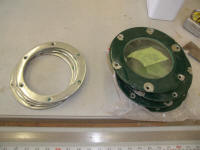
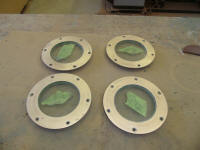
The four round deadlights from the hull in the forward
cabin, which I'd removed long ago at the beginning of
the project, required some work before I could reinstall
them. During the green paint job under previous
ownership, these frames had been painted with Awlgrip,
and this had to go, not only because the color was
wrong, but also because the paint had chipped out when I
removed the fasteners, which had also been painted in.
The inner trim rings, which were chromed bronze, were in
acceptable condition and would require a little cleaning
and polishing. |
 |
The deadlights were bronze (chromed), and I hoped to
leave them natural. So with coarse sandpaper on my
sander, I removed the previous coating system,
eventually reaching the old pitted chrome and, beneath
that, the original bronze. Once I'd removed the
old coating and plating, I sanded the bare metal to 120
grit, and scraped away vestiges of paint from the narrow
edge between the glass and the flange. For now, I set
these aside while I debated whether to leave the metal
natural or treat it with a clear coating to maintain the
current appearance. |
 |
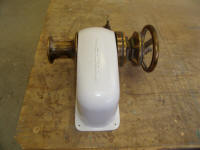
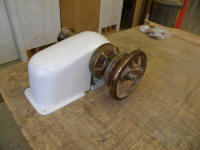
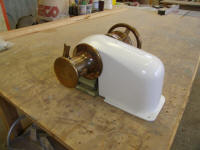
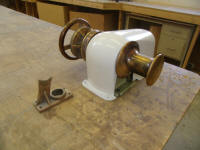
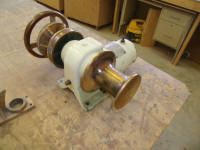
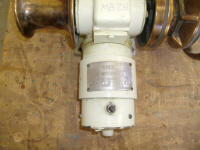
Much earlier during the project, on the advice of a
friend, I'd purchased an older Ideal windlass model CWM,
a horizontal electric windlass sturdily constructed of
bronze and of simple design and renowned durability.
The windlass was complete with a fiberglass cover in
excellent condition, plus two bronze foot switches.
This old windlass appealed to be because of its bronze
constriction, simple design, ease of maintenance, and
the reputation of the manufacturer. There was good
documentation available online about these windlasses,
their repair, and maintenance thereof, and all
replacement parts were still available.
|
 |
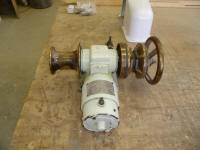
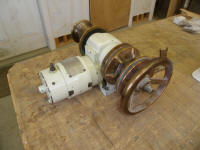
Because it was an old model, the electric motor was
non-reversing, meaning the only way to drop anchor or
let out scope would be to release the brake and allow
gravity to run its course. Newer windlasses
feature a reversing motor that allows mechanical backing
out of the chain, a feature that I wanted.
Fortunately, this change would be as easy as swapping
out the motor for a new one designed for reverse
operation.
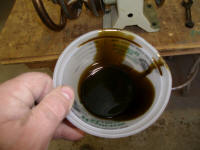
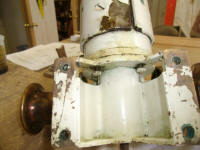
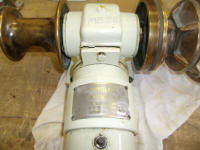
Removing the old motor was easy, a matter of removing
three screws after first draining the gear oil within. |
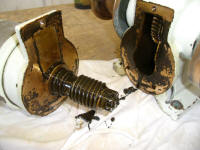 |
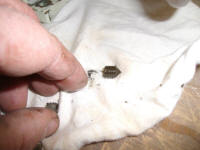
Once I removed the motor, I noticed a setscrew had also
come out of the reservoir with some of the waste oil.
Upon further inspection, I found that this setscrew
belonged on the horizontal shaft to hold it in position;
I'd noticed earlier that the whole shaft, along with the
capstain and wildcat, could move side to side by a half
inch or so, clearly because this setscrew was missing
(and its twin, on the other side of the shaft, was
loose). I replaced the setscrew and tightened both
securely. |
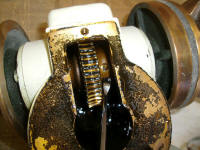 |
Afterwards, I cleaned out the reservoir, removed the
remaining gasket material from the motor's mounting
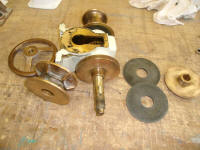
area, and performed basic maintenance on the windlass
parts as documented online, cleaning up various friction
surfaces around the wildcat and applying a little grease
to the areas directed before reassembling the wildcat
and putting the windlass aside while I waited to order
the new motor and other parts required for its
installation. |
 |
| |
Total Time Today: 4.5 hours
|
<
Previous | Next > |
|
|


