Project Log: Saturday, January 18, 2014
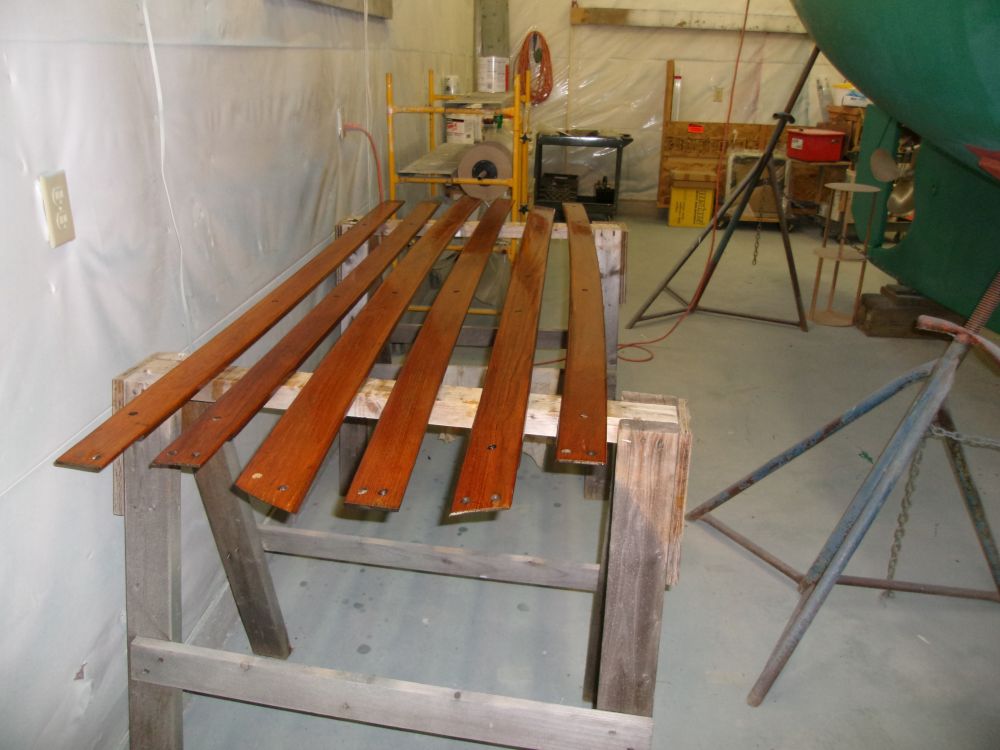
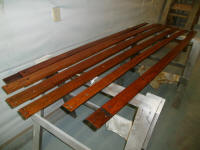
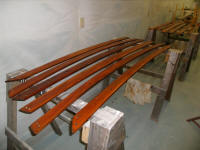
With 220 grit, I lightly sanded the bulwark planks, then
solvent-washed and, later, applied a second coat of
varnish to all surfaces.
|
 |
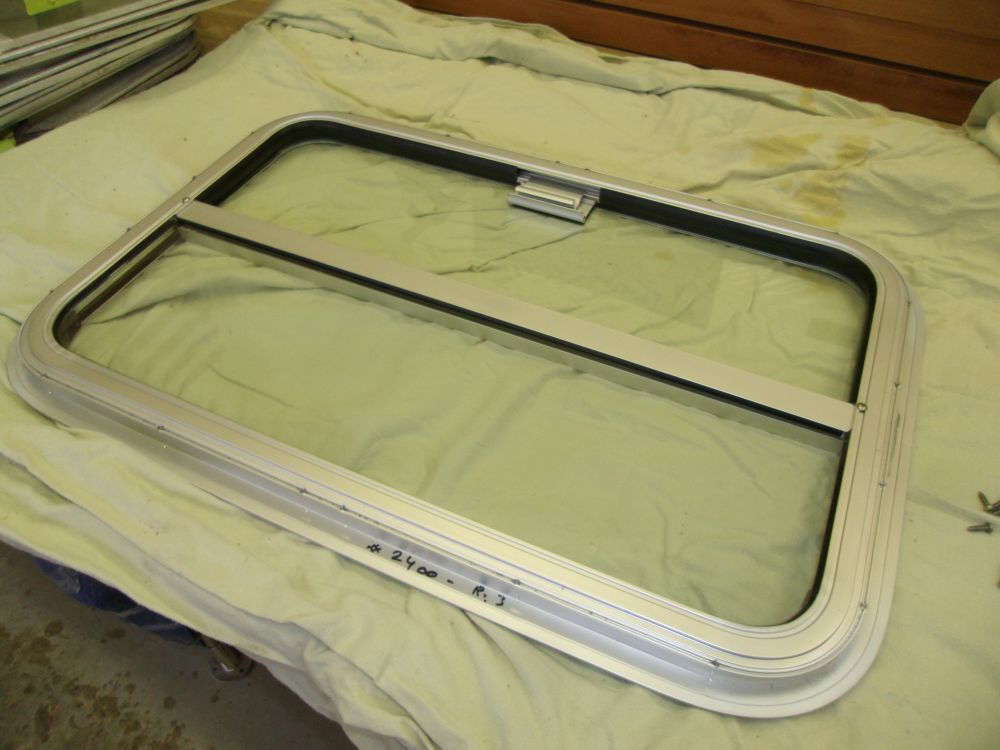
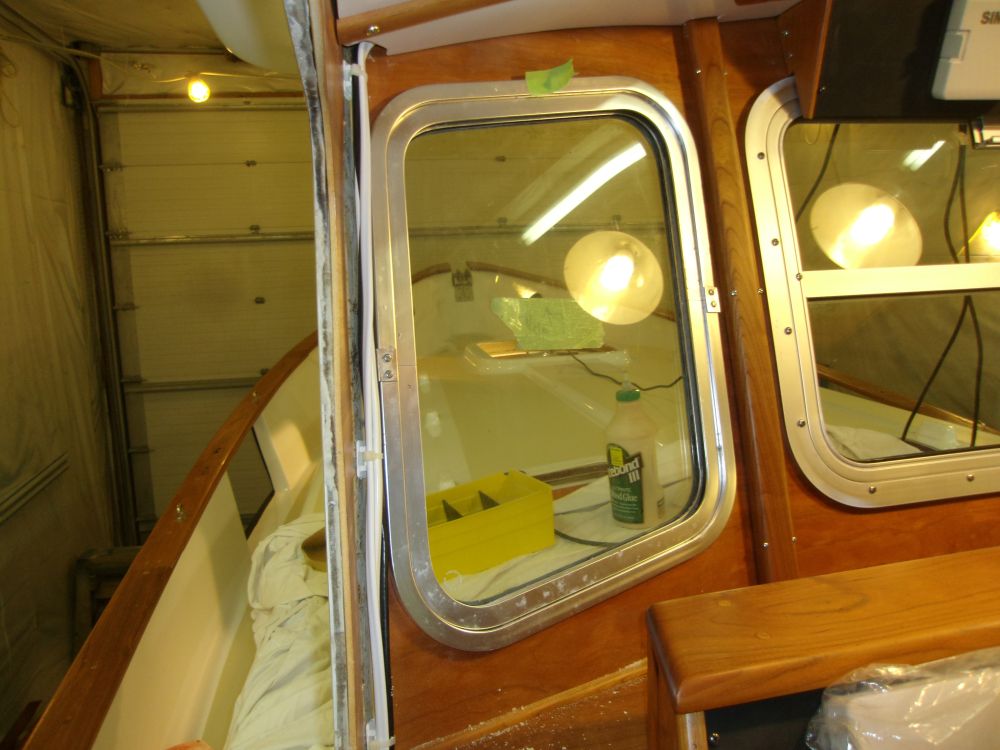
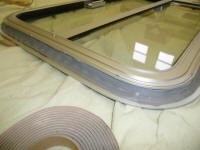
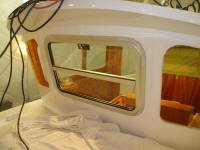
Now I turned to the ports. I decided to begin with
the new center unit in the pilothouse, which I'd already
test-fit earlier and which required no cleanup or other
work to prepare, other than to clean off the dust that
had collected. Once clean, I installed
strips of butyl tape around the perimeter of the
mounting flange, providing enough extra to squeeze out
to (hopefully) the edge of the exterior flange without
being too much to properly compress during installation. |
 |
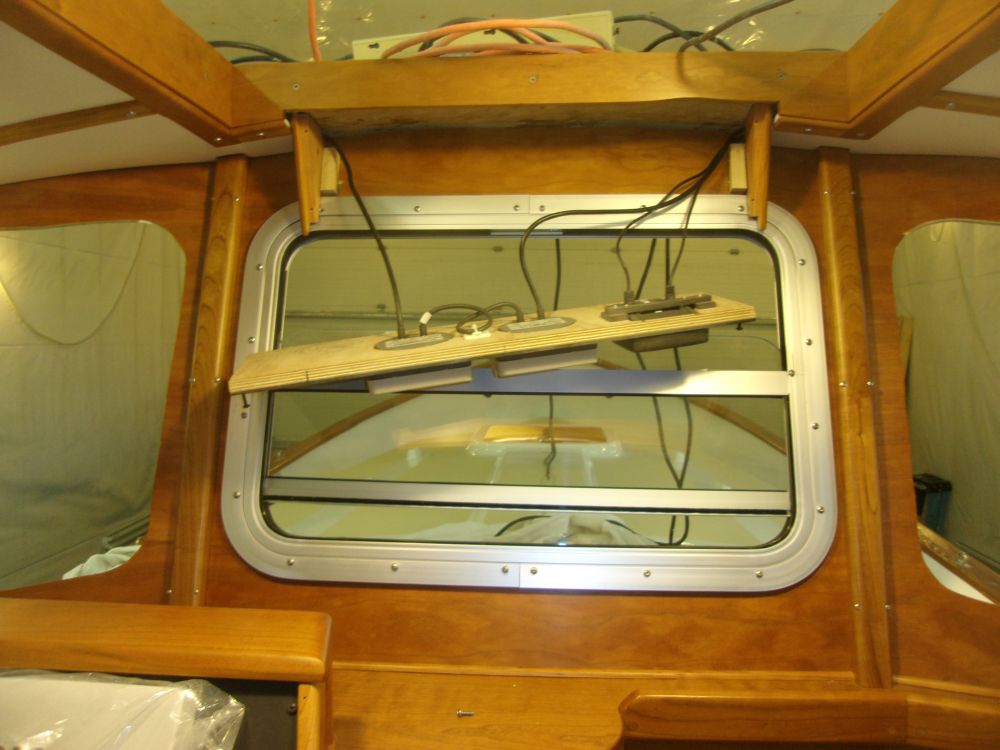
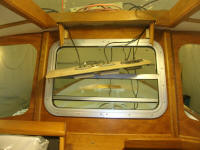
In the boat, I temporarily unscrewed the upper
electronics box panel to provide access to the top
portion of the opening, and inserted the window from
outside, then secured it with its screwed-on mounting
flange from inside. A very simple, clean, and neat
installation technique with no external fasteners to
deal with. Once I'd tightened all the fasteners
appropriately, working around incrementally to slowly
pull the flange into the sealant, I could reinstall the
overhead box. |
 |
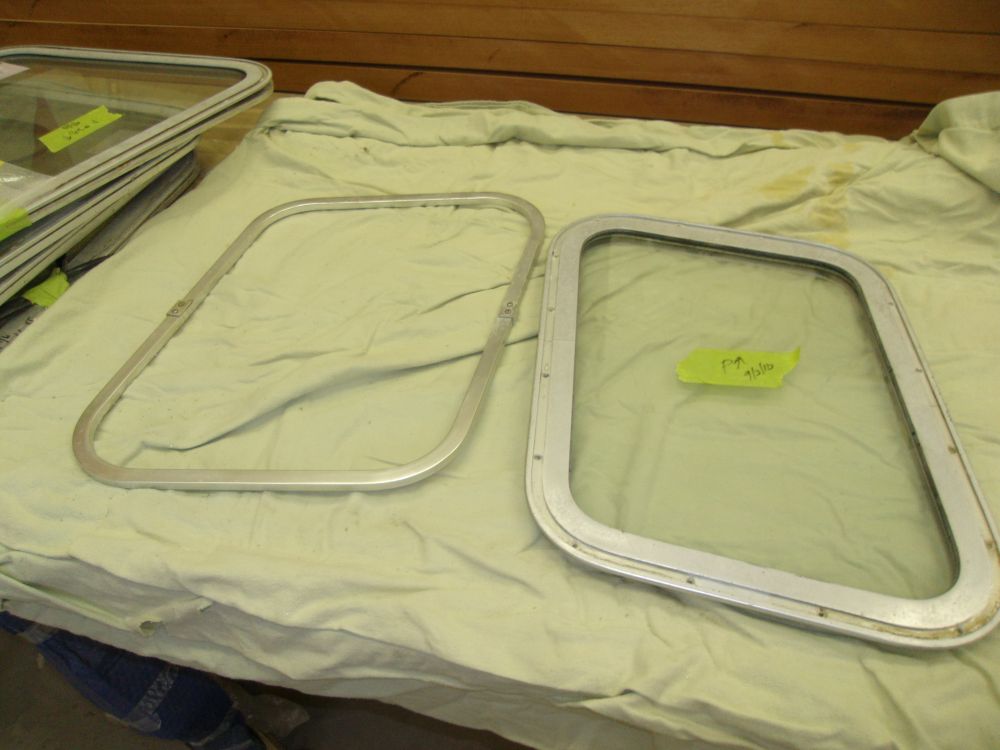
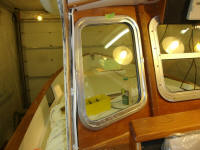
Since I had set up, more or less on the port side of the
pilothouse, I continued with the small forward window on
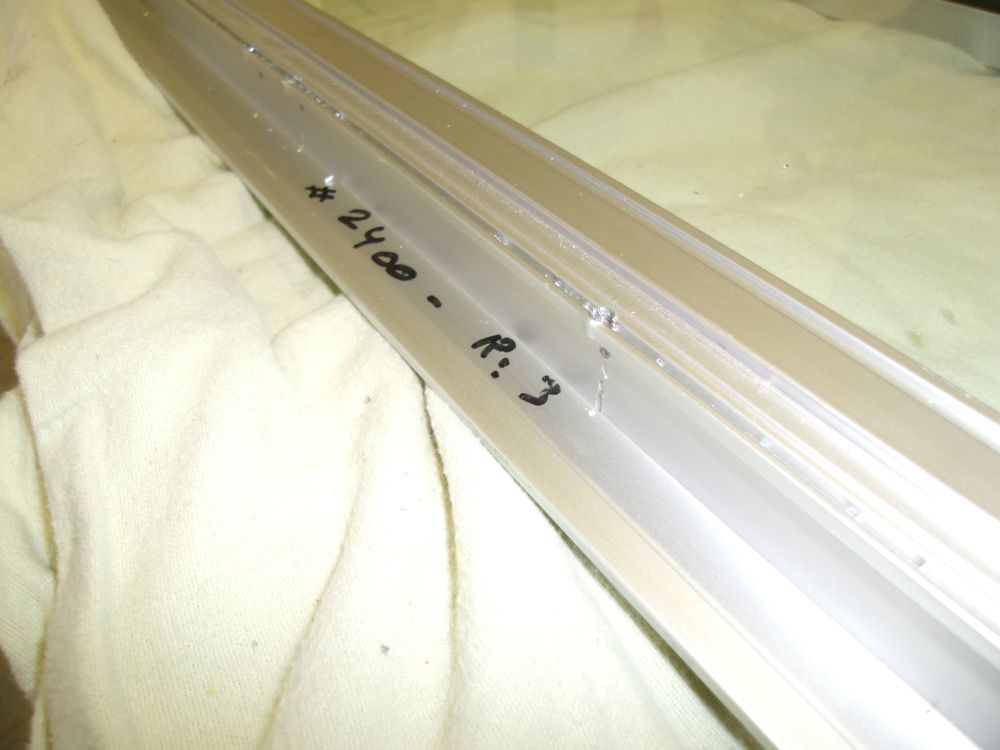
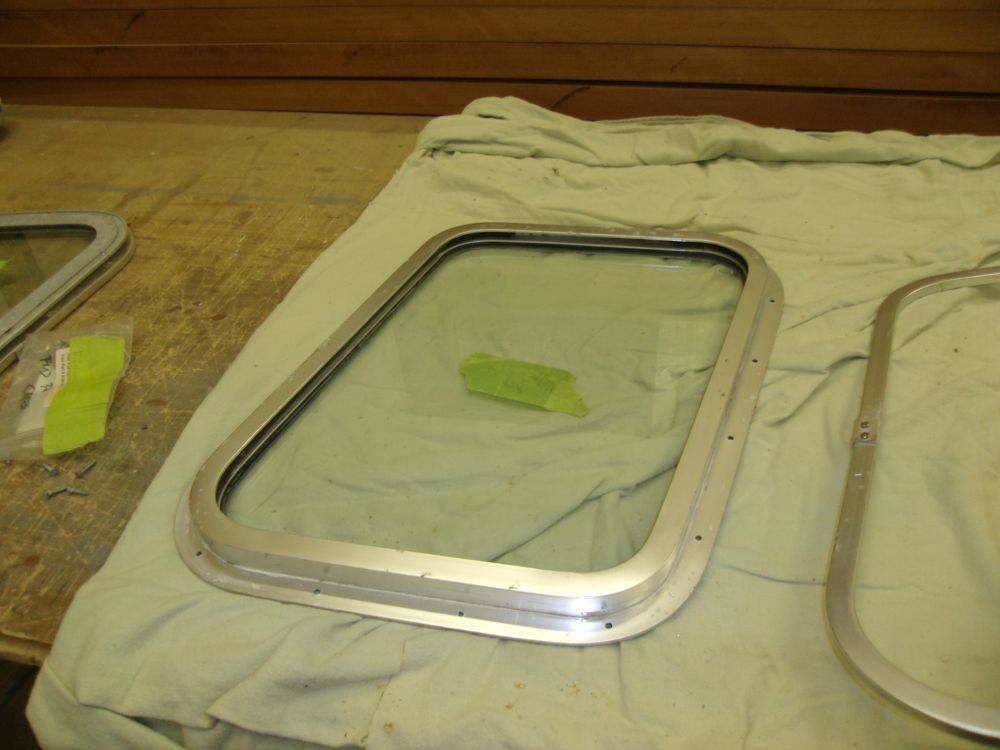
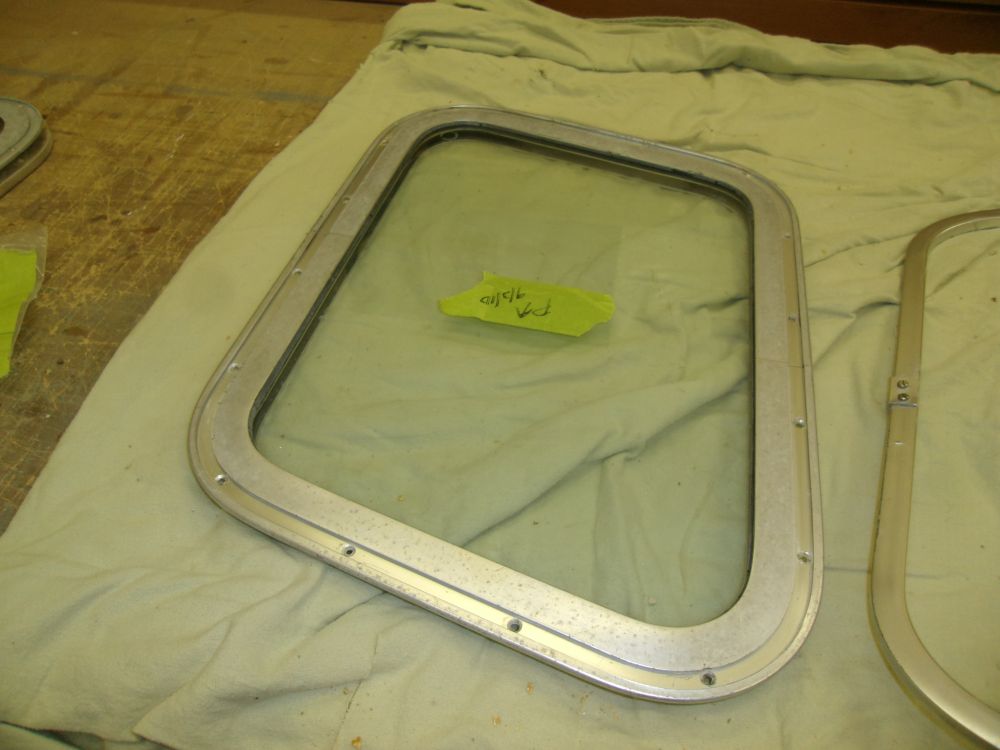
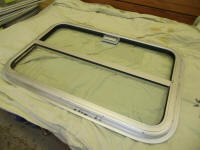
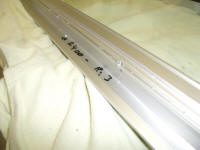
the port side. Down on the bench, I cleaned up the
mounting flanges as needed to remove what was left of
the old bedding compound--something along the lines of
household window glazing, with its distinct texture and
odor. The remnants cleaned up easily, and I
lightly polished the exterior of the aluminum frame with
some metal polish, accepting that these windows were
nearly 40 years old and were not going to look as
smooth and shiny as the brand-new center window.
But they still looked OK.
|


 |
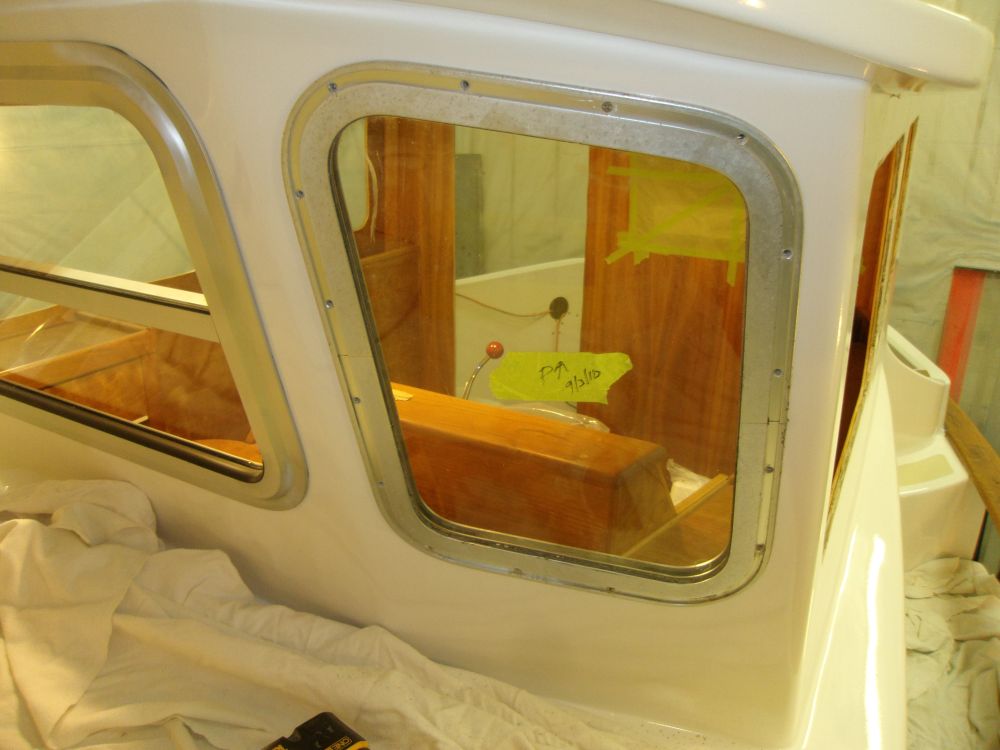
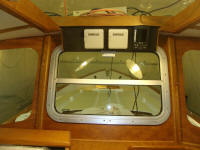
Up at the boat, I dry-fit the window; I had to pare away
some of the plywood at the edge of the opening to allow
the window to slip in. The original windows like
this one used screws driven from the outside, through
holes in the fiberglass around the opening, and into the
interior trim ring. The benefit of this
arrangement was that the additional 1/4" thickness of
the plywood with which I'd lined the cabin didn't pose
an issue with the window installation, as the trim ring
inside would simply stand a little proud of the window
frame rather than be flush or even recessed; all in all
the difference in appearance was negligible, and, with
slightly longer screws to make up the additional
thickness (#6 x 1" vs. #6 x 3/4" originally), securing
the windows was easy. |

 |
By now it was getting late, and since this was the first
of many more windows to install using identical methods,
I'd been taking my time and working through the process
logically, so rather than push on and try to rush, I
decided to leave the final installation of this unit
till next time.
The real challenge with the remaining windows would be
to locate suitable exterior trim to fit in the recessed
channel and cover the exposed screw heads from outside.
I'd saved the original material where I could, but some
of it was in poor condition or missing entirely.
More on this later. |
|
Total Time Today: 3.75 hours
|
<
Previous | Next > |
|
|