Project Log: Sunday, January 19, 2014
Picking up where I left off, I spent the day installing
the windows in the pilothouse. For each of the six
units I installed (the aft-facing window would have to
wait till later, after the cockpit area was painted), I
followed the same basic steps.
After first cleaning the window frames of old sealant
and other debris, I dry-fit each window in its opening,
adjusting the opening as needed to allow the window to
fit. Once fit, I drilled through-holes at each
fastener location, then dry-fit the inside section of
the frame, securing it with several screws and then
testing a screw at each location to ensure the frames
were properly aligned--an additional step that I started
after installing the first window.
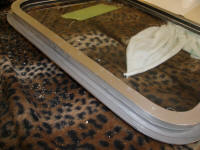
Once I was satisfied with the dry-fit, I removed the
window and wrapped the mounting flange with two strips
of butyl tape, covering the entire flat area of the
flange and wrapping slightly onto the section of the
frame that would fit into the raw opening. |
 |
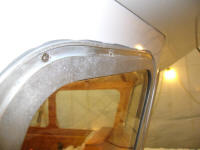
Finally, I installed the window in the opening, pressing
it into the sealant, and from the inside installed the
trim ring before installing the screws from outside,
securing the window to the boat and pressing out excess
sealant around the flange.
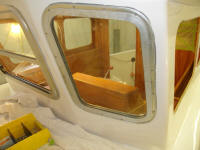
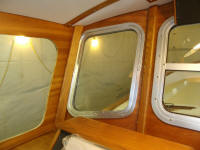
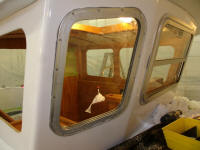
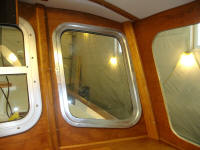
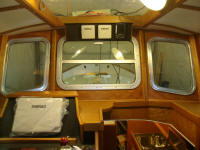
I started with the two small forward windows in the
pilothouse. For now, I left the excess sealant
around the outside; I'd clean that up a little later.
Before installation, I'd removed the wooden trim over
the wire chases at each pilothouse corner; I'd made
these earlier so they would fit around the window frames
once installed. |
 |
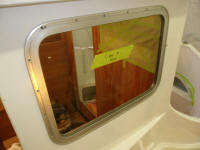
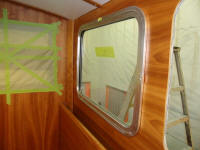
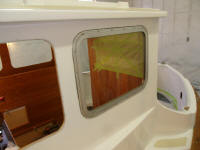
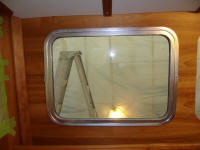
Next, for each side of the pilothouse, I installed the
after side window, which was a fixed panel of glass; I
installed this one first so I could reach through the
forward opening to install and hold the trim ring in
place. (Note: I apparently mis-labeled this
window when I removed it years ago, as it is clearly the
port side window; the little bag of fasteners and rubber
molding that I'd also secured to the window was properly
labeled.) |
 |
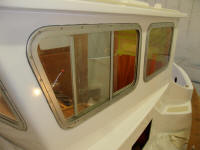
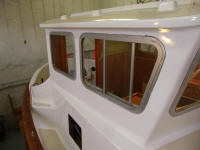
With the after window in place, I could install the
forward window, which was an opening window so I could
still reach both sides as needed during the initial
installation steps. Once I'd completed both
windows on the port side, I moved over to the other side
and installed the final two.
|
 |
This mostly used up my supply of screws (the large
windows required over 20 screws each), and anyway I'd
had quite enough of the chore for now. I
left the butyl squeezeout for another time; the good
thing about this stuff was that it wouldn't cure or
harden, and I could theoretically clean it up anytime. |
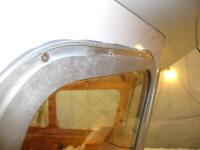
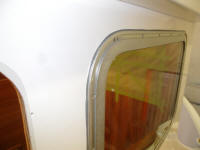 |
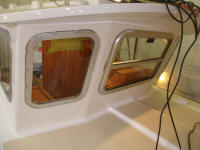
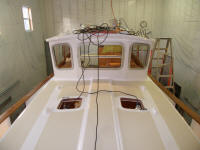
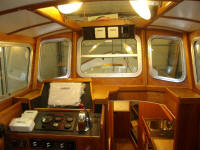
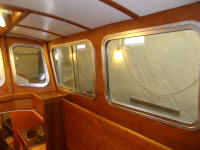
I'd made good progress, and the boat was feeling more
whole all the time. I'd only briefly experienced
the boat with its windows in place, as their removal was
one of the first things I did during the project, so it
was sort of weird to be inside the pilothouse surrounded
by glass. |
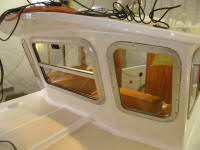
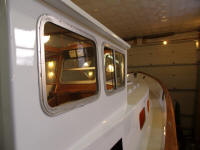
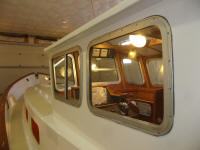
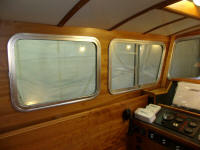
 |
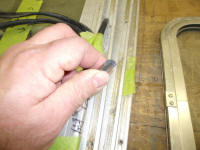
Though these windows were installed, I still had to
figure out how to cover the screws from
outside--important for looks, perhaps, but also to add
one more layer of weather protection. I doubted I
could reuse any of the original molding, and I knew that
I was missing sections of it anyway.
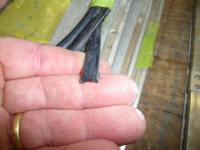
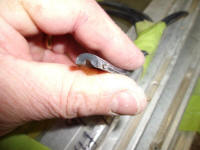
The molding is rubber, perhaps 3/8" across, with a sort
of omega shape. It fits into the channel on the
outsides of the window frames. I'd start searching
some of my favorite suppliers and other sources to see
if I could locate a suitable replacement. |
 |
| |
Total Time Today: 4.5 hours
|
<
Previous | Next > |
|
|


