Project Log: Monday, March 31, 2014
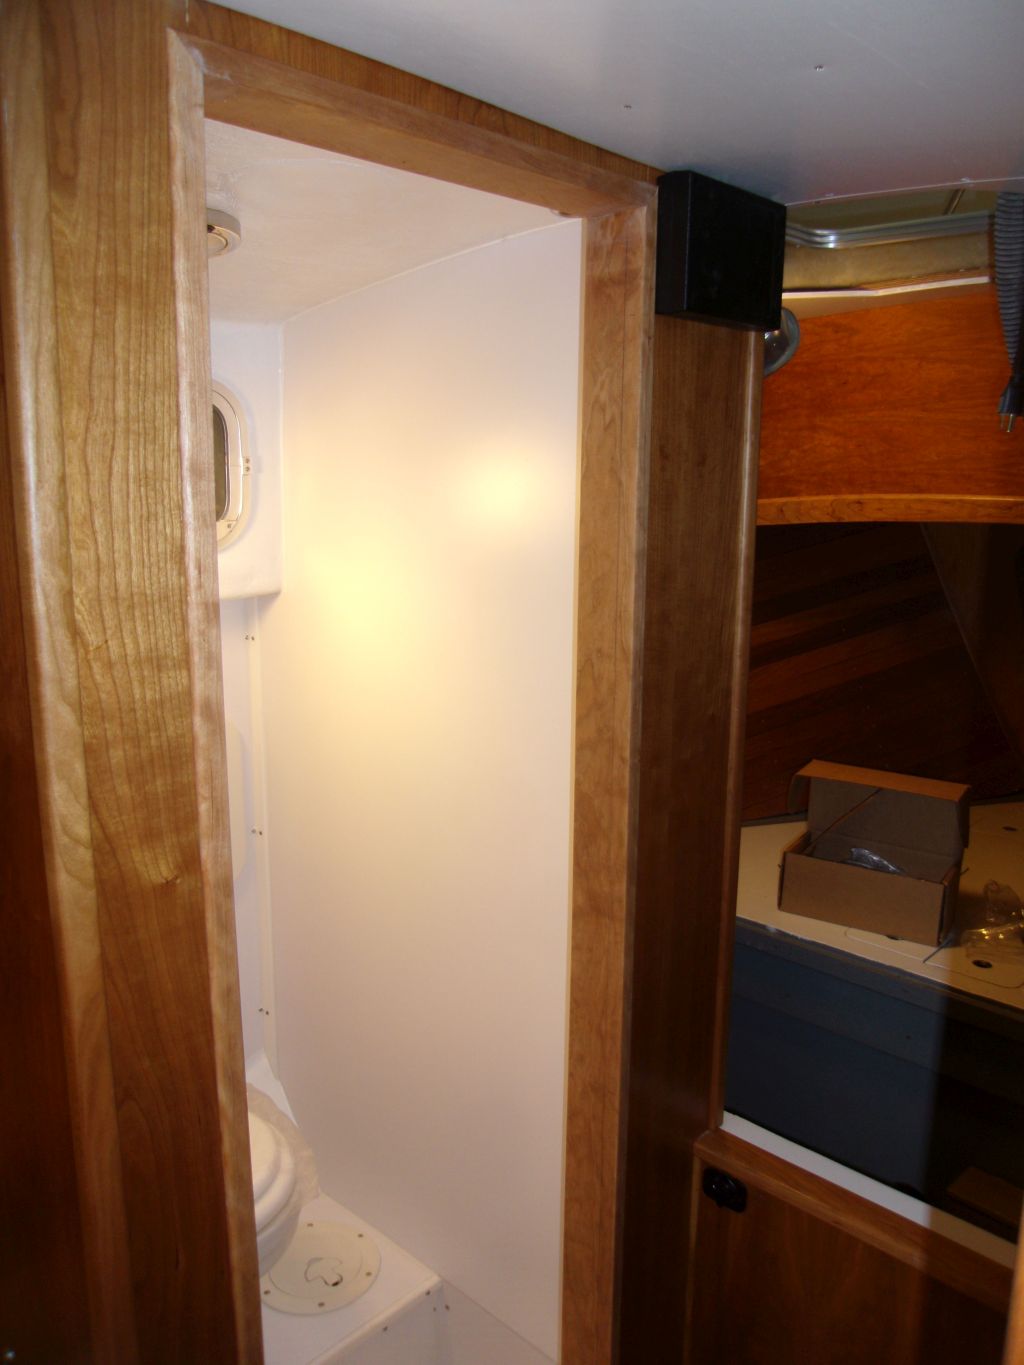
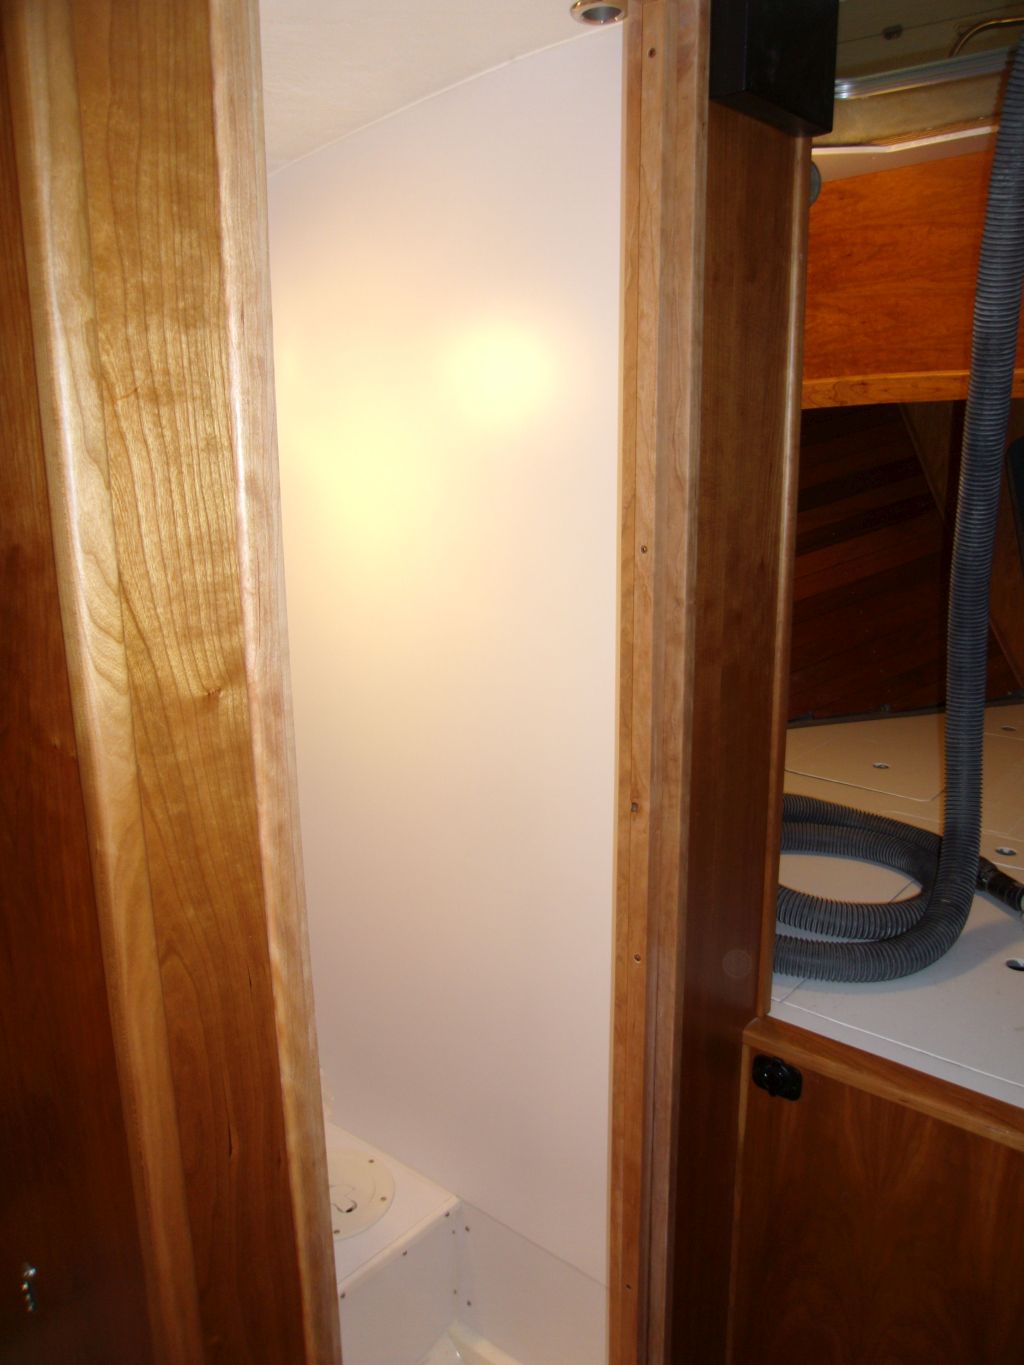
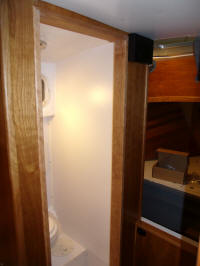
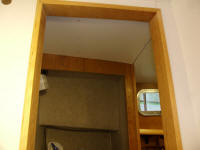
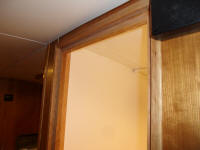
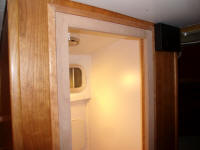
Continuing work on the head doorway, I spent some time
dry-fitting the new door trim pieces, beginning with a
solid sill at the bottom, on which I'd cut a small angle
on the inside portion (on the head side of where the
door stop would eventually end up), designed to shed
water. With the sill in place, I cut and fitted
the side and top pieces, mitering the top corners.
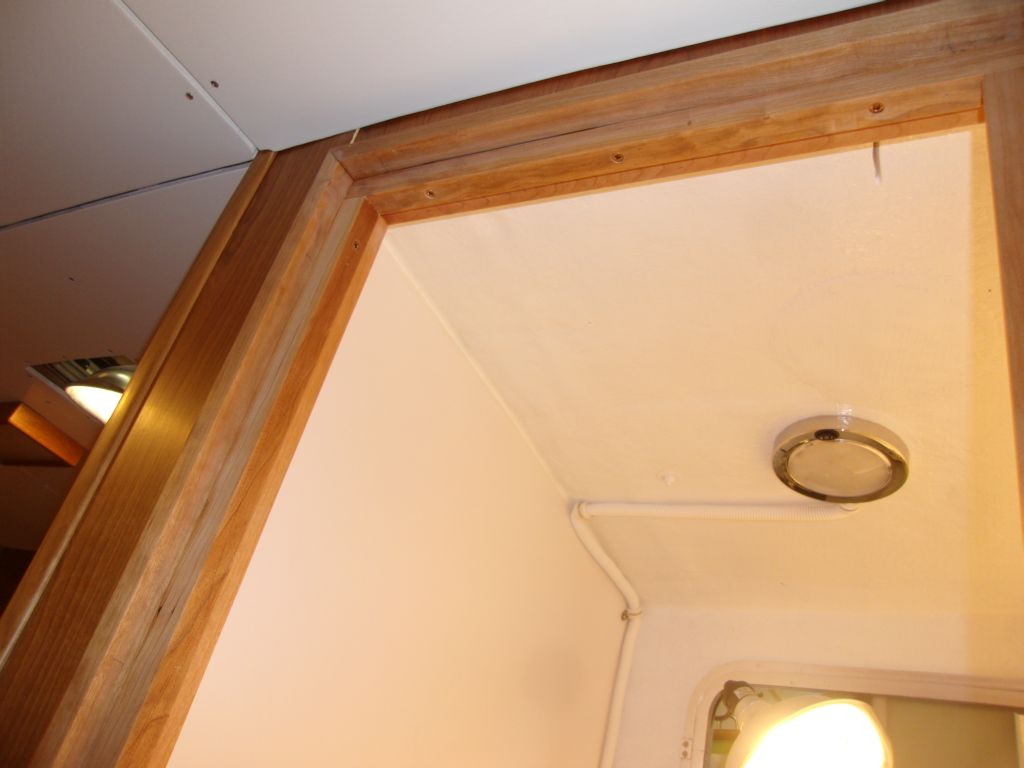
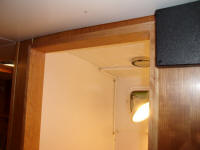
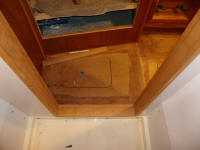
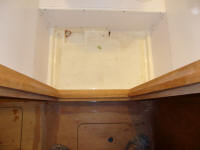
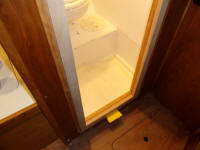
Once I'd cut all the pieces properly, I installed them
permanently. First, I installed the sill, then
installed the remaining pieces with glue and stainless
brads that I drove into the area that would later be
covered by the door stops.
|
 |
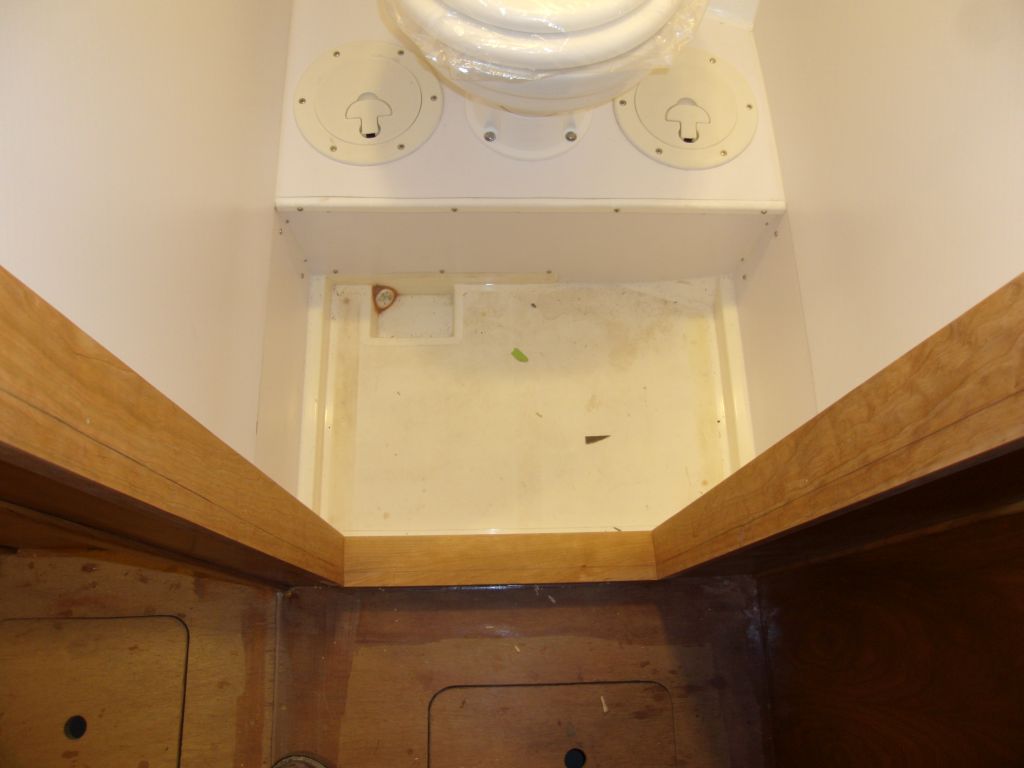
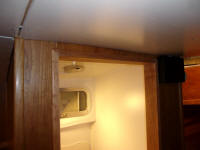
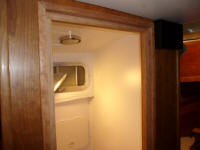
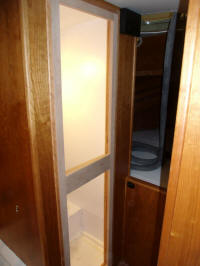
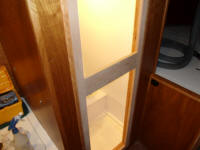
Next, from 7/8" square stock that I'd prepared and
seal-coated along with the trim, I installed the door
stop all the way around the opening, friction-fitting
the pieces and finally installing with glue and brads to
hold them before installing flush bronze screws that
held them, as well as the trim beneath, in place
securely I set the door stop 3/4" in from the
outside edge, the thickness of the door. |


 |
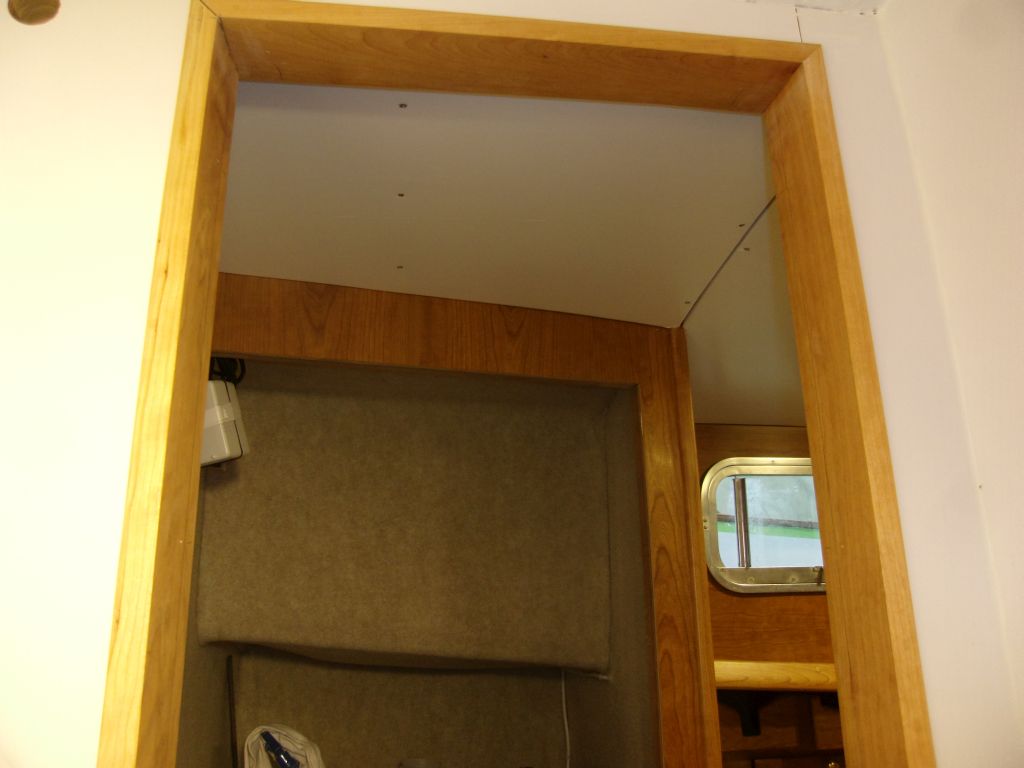
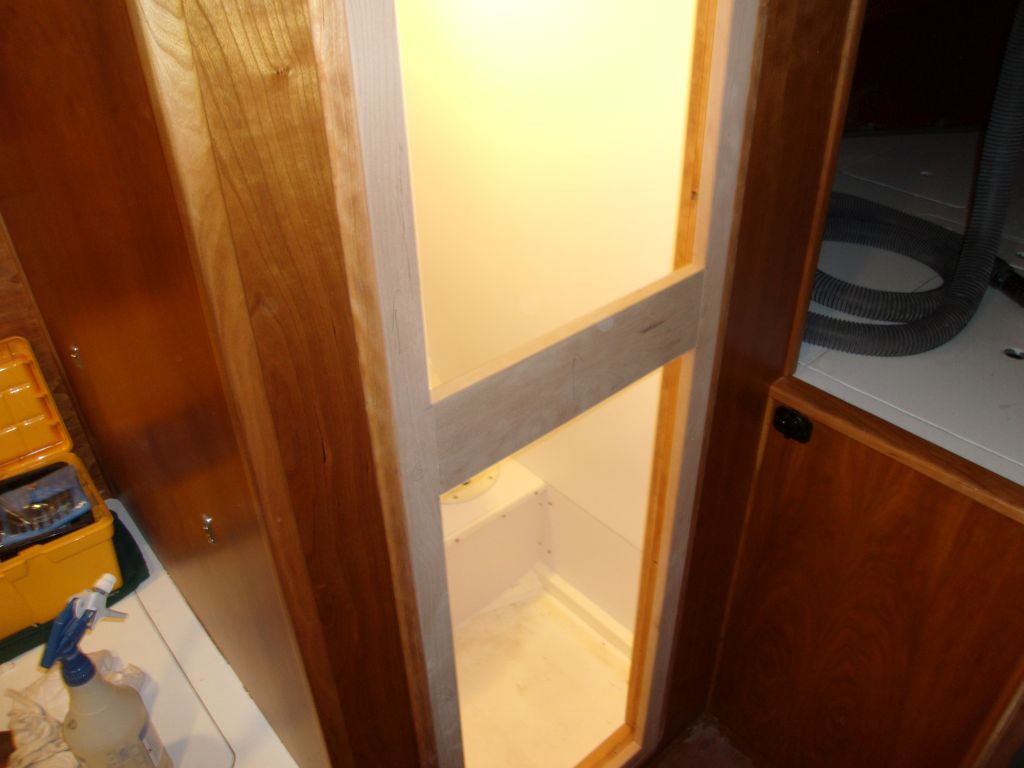
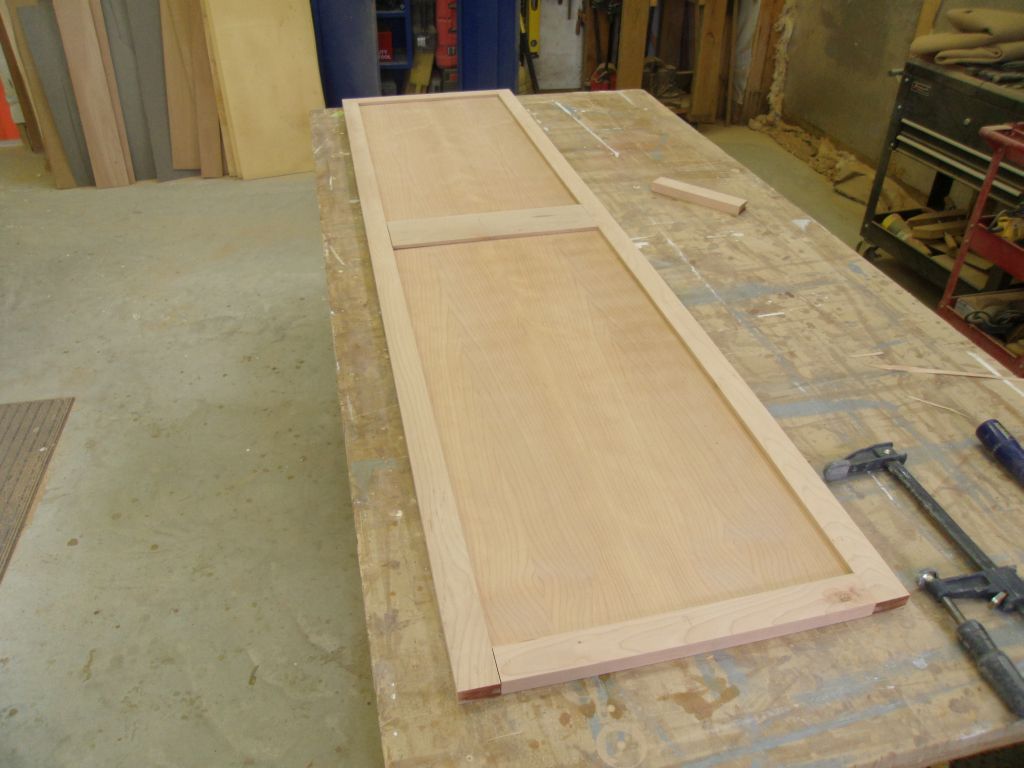
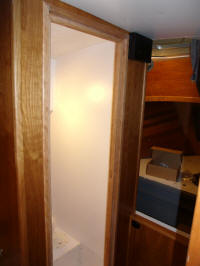
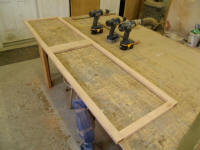
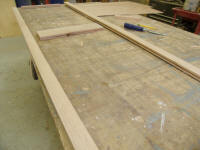
Now that I had the final opening size, from stock I'd
prepared earlier I cut to length rails and stiles for
the door itself, allowing room for hinges as well as a
small gap all the way around. I planned a simple
flat panel door, with two plywood panels and a simple
frame. I planned to use screws for added strength
at the joints, so this meant I could dry-assemble the
frame and easily test-fit it in the opening. I
found my first width measurement was a little tight at
the top, so I slightly trimmed the three rails as
needed. |
 |
With the pieces cut to their final lengths, I milled
grooves on the inside edges, then cut 1/4" cherry
plywood panels to fit. I dry-fit the assembly to
check the fit, but left final gluing for next time. |
 |
| |
| |
Total Time Today: 4.5 hours
|
<
Previous |
Next > |
|
|