Project Log: Tuesday, May 12, 2015
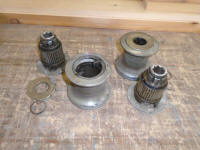
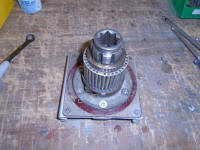
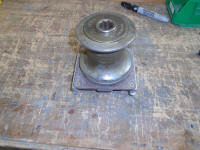
The three old Barient #10 winches I'd selected for the
main and mizzen mast halyards were good solid winches,
but had suffered from years of poor maintenance.
The net result was that the pawls and bearings were
caked with heavy grease, affecting the function of these
winches. I'd first noticed the problem when I
installed one of the winches on the mizzen mast, but the
other two were in similar condition.
|
 |
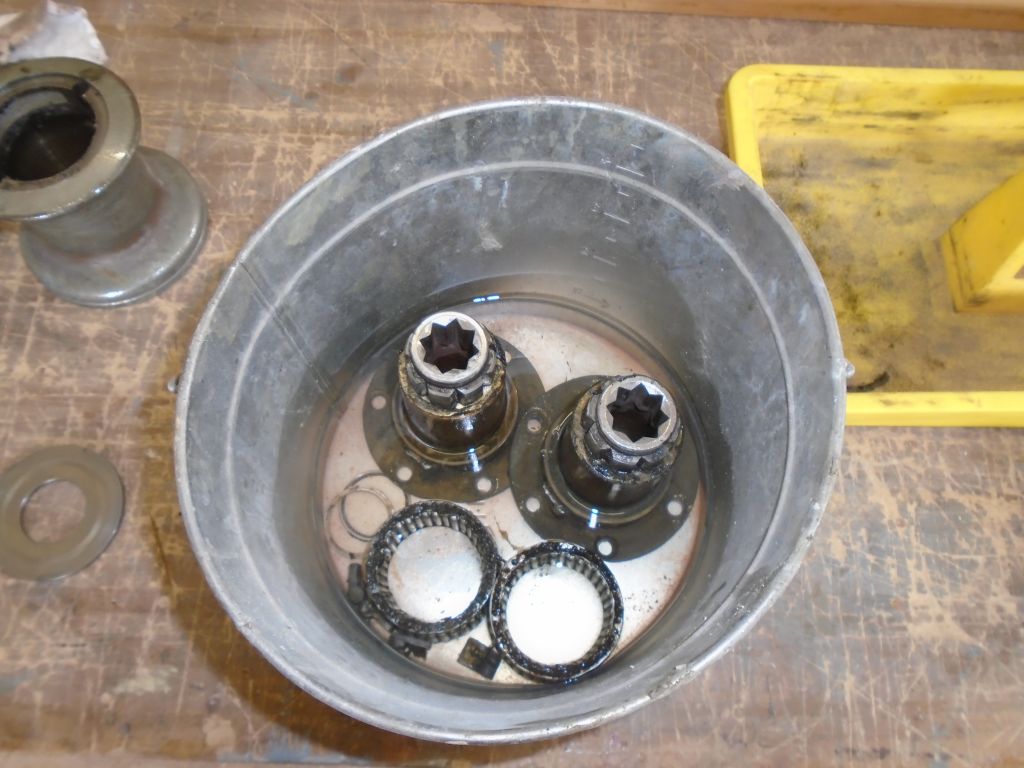
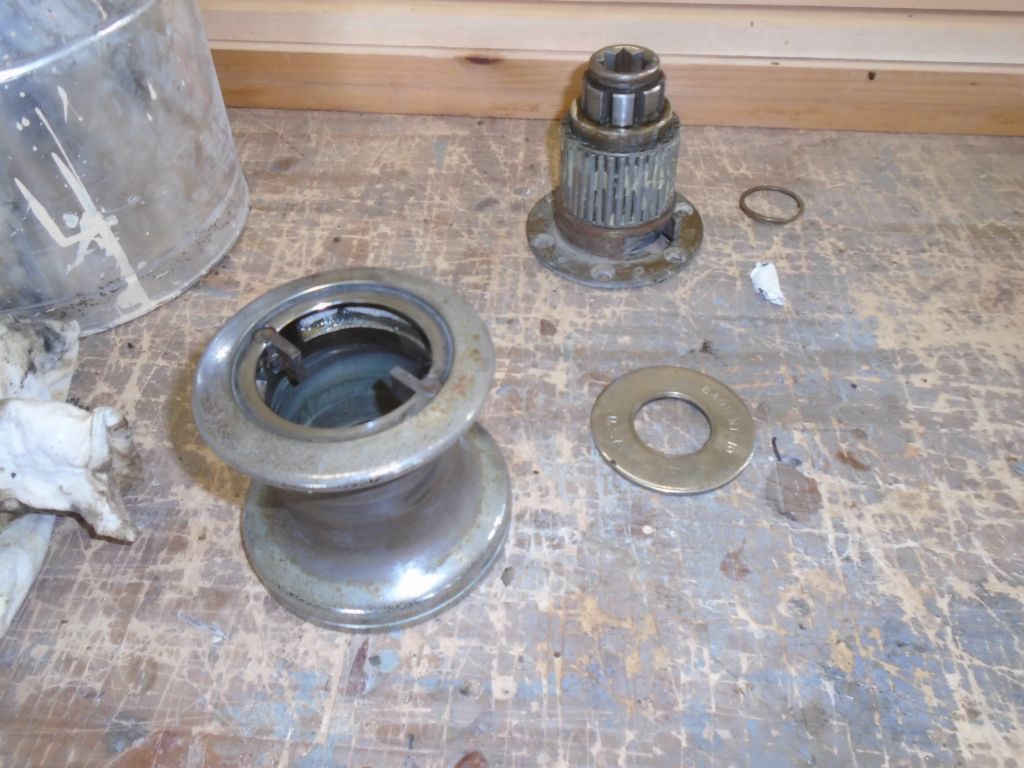
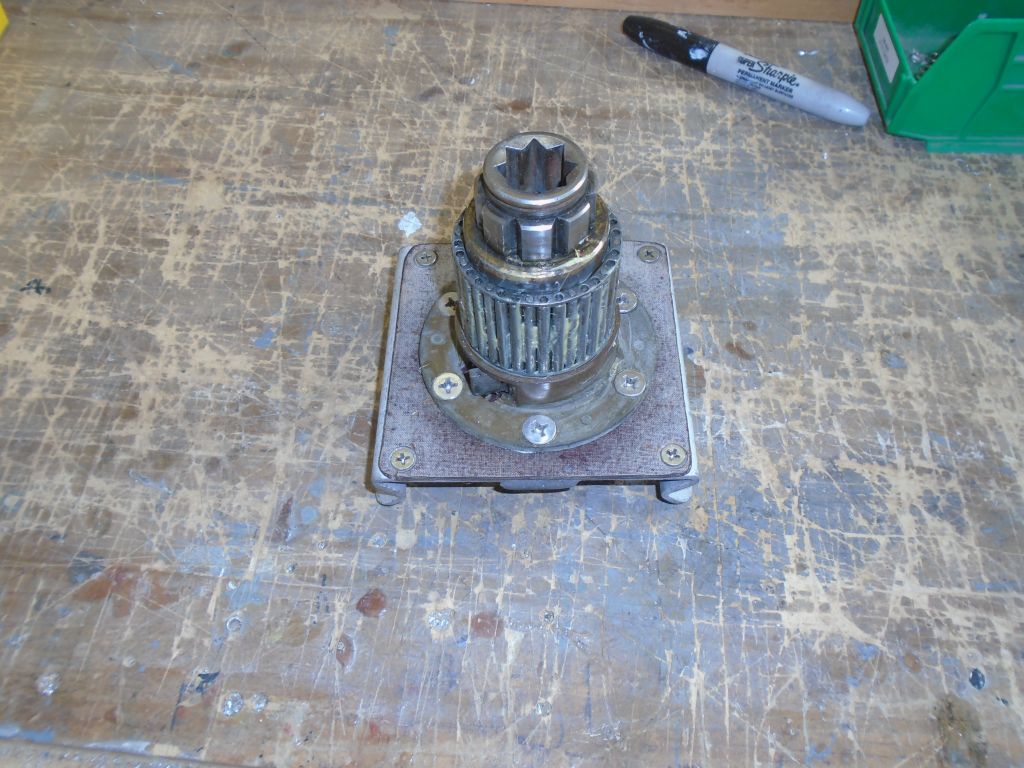
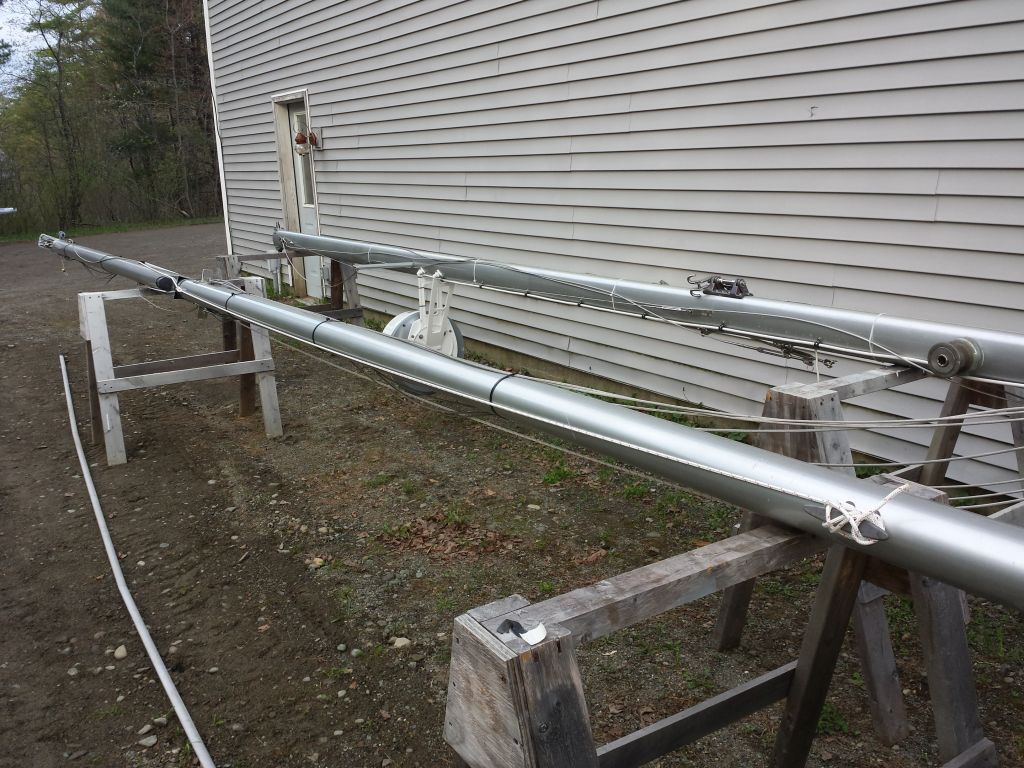
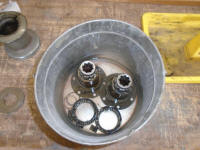
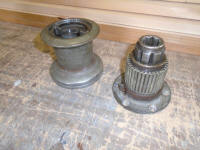
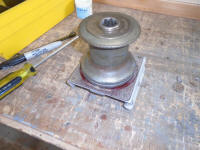
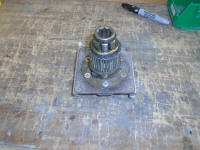
Starting with the mizzen winch, I removed the works from
the mast (leaving the base in place) and cleaned the
pawls and bearings thoroughly, and removed the heavy
grease from all areas. I found that the two top
pawl springs were either missing or damaged, so I
pirated a fourth copy of the winch that I had on hand to
steal its pawl springs, since I didn't have any spares
on hand. Afterwards, I lightly greased the shaft
and bearings, and reassembled the winch, which now
worked well.
Meanwhile, I soaked the other two winch bases and their
parts in solvent, then cleaned these up and regreased
them appropriately. |
 |
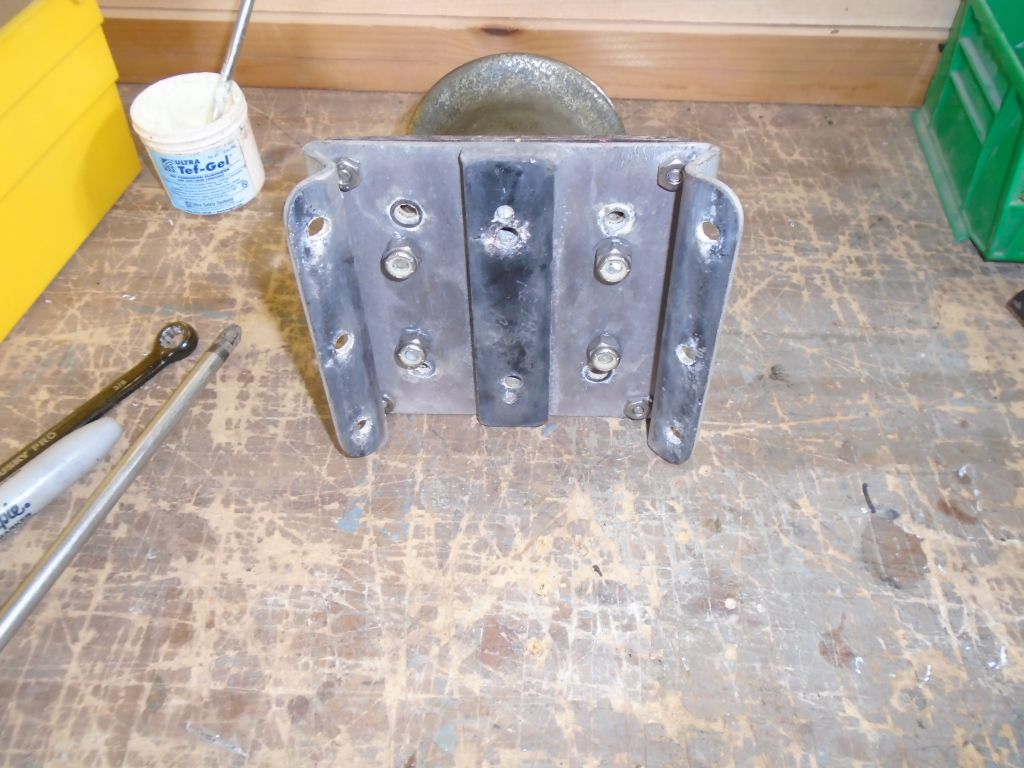
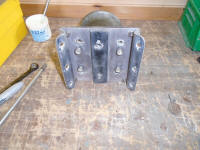
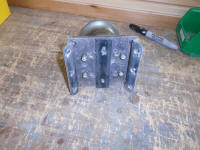
The original mainmast setup had a pair of
slightly-raised bases for the winches, which were in
good condition and could accommodate the "new" winches.
The design allowed (required, actually) the winches be
installed first, before the base was installed on the
mast, so I prepared the bases by reinstalling the
phenolic cover places with new fasteners, then marked,
drilled, and tapped for the new winch bases before
bolting them in place. |
 |
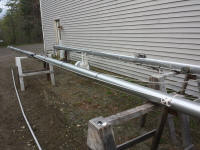
Continuing mast work, I set up and installed the main
control line for the lazy jacks, the bare minimum
required before the mast could be stepped. I hoped
to do more layout later, but at least the main lines
were in place and ready for the next steps. This
control line ran from one side of the mast, through a
cheek block above the spreaders, down to an adjustable
block on the front of the mast (secured with a line near
the gooseneck with a cleat), then back up to the
opposite cheek block and down. The bitter ends of
these two lines would eventually form the main leg for
the lazy jacks leading to the boom. |
 |
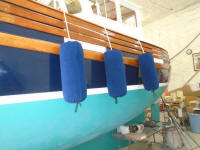
In other important works, I assembled three new fenders
with new lines and Polarfleece covers. |
 |
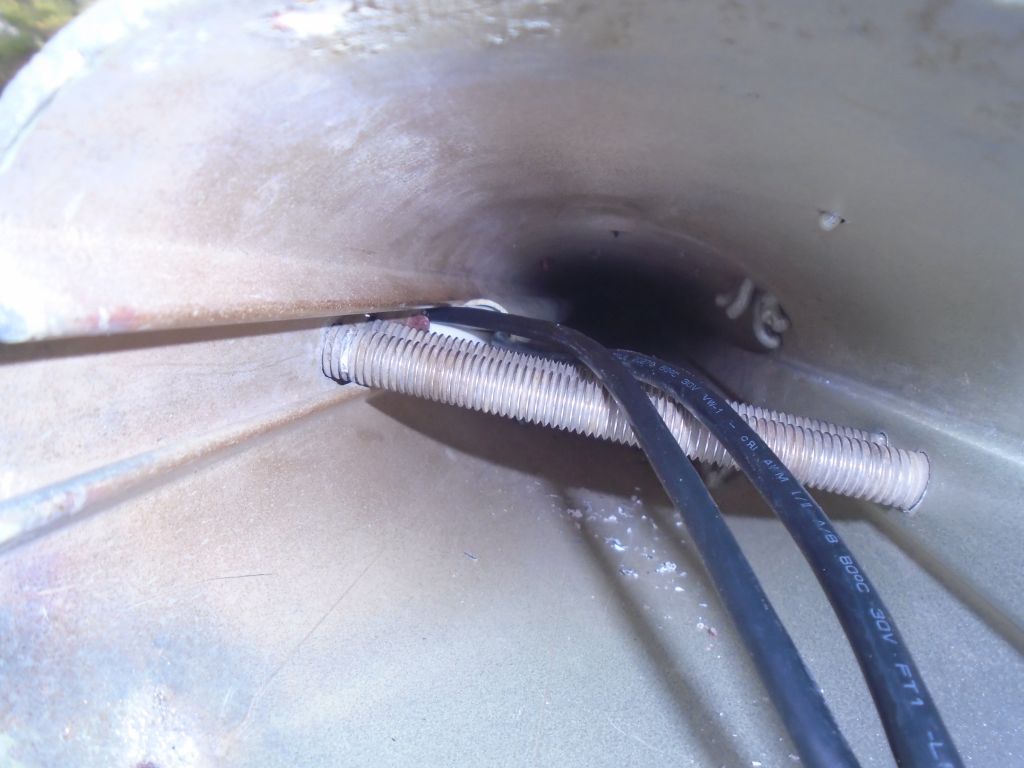
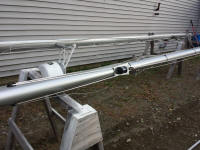
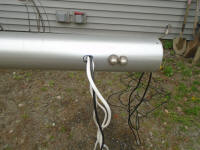
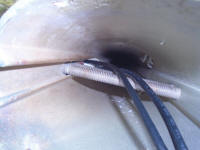
To prepare the mast wiring for its entry into the boat
once stepped, I drilled a hole in the forward side of
the mast, through which to lead the wires. I'd
eventually install a fitting here to accept a flexible
conduit (the other end of which would connect to the
mating fitting on deck, leading into the junction box).
I chose the forward side of the mast because should the
mast be converted to a tabernacle in the future, the
wiring exit would need to be clear of the tabernacle
sides. I led the wires through, and would continue
work here soon. |
 |
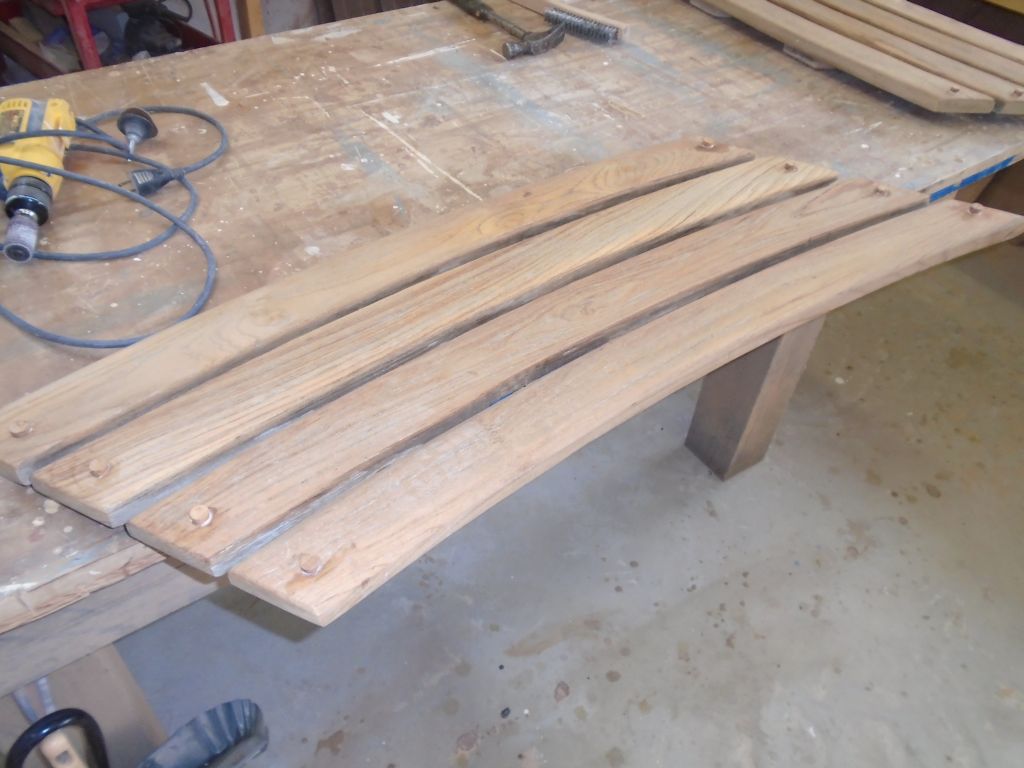
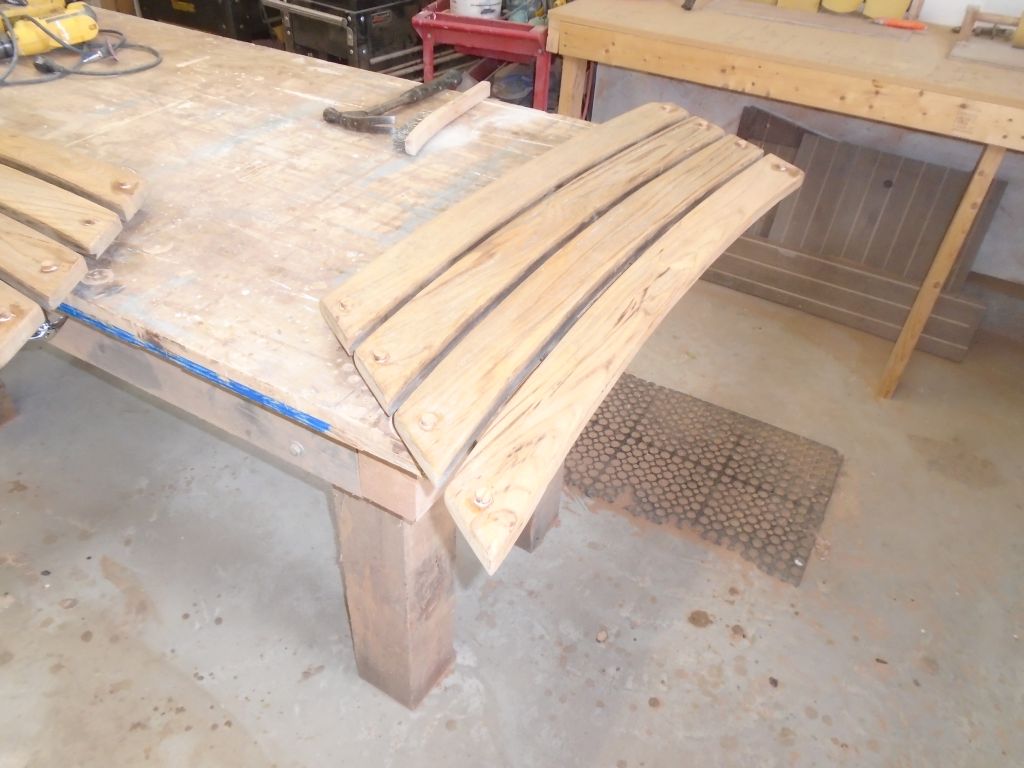
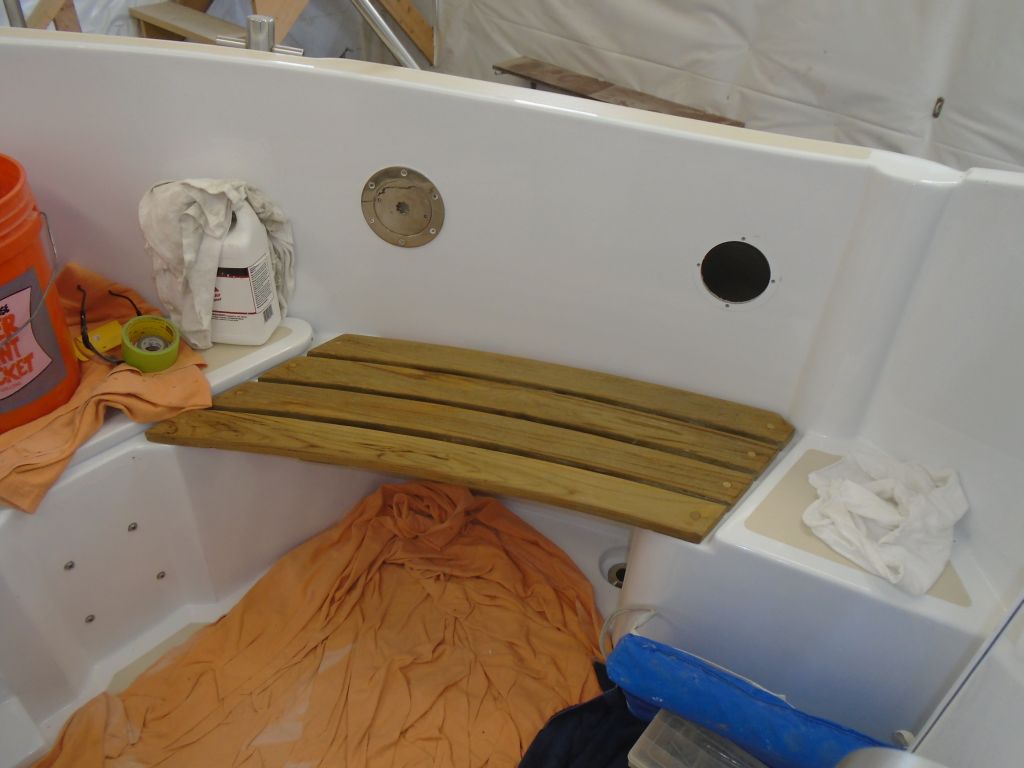
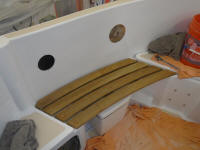
I bunged the old screw holes in the teak cockpit seats,
and when the glue had dried I pared off the excess bungs
and installed the seats one last time. |


 |
Meanwhile, I took care of sundry items, including a
wiring issue with the shower sump pump. When I'd
finished its wiring the other day, it wouldn't operate,
and I traced the issue to the fact that I'd led its main
feed to the wrong breaker in the panel. After
correcting the issue, the pump worked as expected.
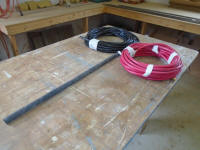
In the afternoon, the required cable for the windlass
installation arrived, so it looked like I'd be busy with
that in the immediate future. With ample
conservatism, I selected 1/0 cable for the job, and to
prepare for its installation I took the time to
preinstall a number of wire tie holders along the
proposed route for the cable so they'd be in place and
ready to hold the cable. I was awaiting various
new windlass parts to rebuild the old Ideal windlass,
but could begin the main cable installation at once. |
 |
| |
Total Time Today: 6.25 Hours |
<
Previous | Next > |
|
|